Selenium with Cucumber JS
Your guide to running Selenium Webdriver tests with Cucumber JS on BrowserStack.
Introduction
BrowserStack gives you instant access to our Selenium Grid of 2000+ real devices and desktop browsers. Running your Selenium tests with Cucumber JS on BrowserStack is simple. This guide will help you:
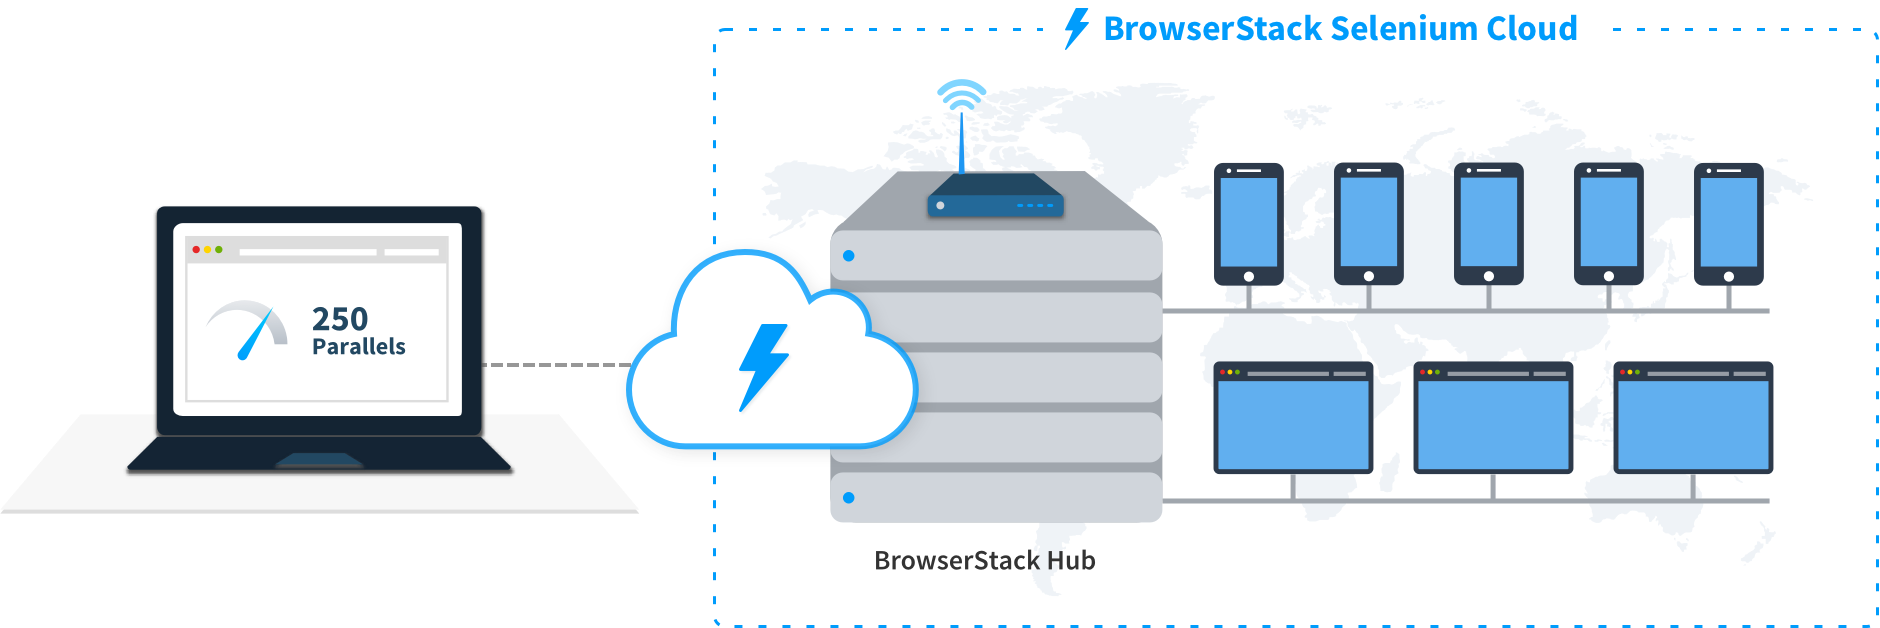
- Run a sample Selenium Webdriver test with Cucumber JS on BrowserStack
- Setup your Cucumber JS test suite to be able to test URLs in your internal network
- Understand and configure the core capabilities in your Selenium test suite
- Speed up your Cucumber JS test suite with parallel testing
- Use our REST API to update your tests
Prerequisites
Before you can start running your Selenium tests with Cucumber JS:
- Install Cucumber JS using npm
# Install using npm npm install cucumber
Integration with BrowserStack
To understand how to integrate with BrowserStack, we will look at two things:
- A sample test case written in Cucumber JS with NodeJS
- Integration of this sample test case with BrowserStack
Sample Test Case
The sample Cucumber JS test case below searches for the string "BrowserStack" on Google, and checks if the title of the resulting page is "BrowserStack - Google Search"
// Google Feature Feature: Google Search Functionality Scenario: Can find search results When I type query as "BrowserStack" Then I submit Then I should see title "BrowserStack - Google Search"
Once we have defined the feature file, which contains the test case, we now need to create the step definition. The step definition for the Cucumber JS test case shown above is:
// Google Steps module.exports = function() { this.When(/^I type query as "([^"]*)"$/, function (searchQuery, next) { this.driver.get('https://www.google.com/ncr'); this.driver.findElement({ name: 'q' }) .sendKeys(searchQuery + '\n').then(next); }); this.Then(/^I submit$/, function (next) { var self = this; this.driver.findElement({ name: 'btnG' }) .click() .then(function() { self.driver.wait(function () { return self.driver.isElementPresent(webdriver.By.id("top_nav")); }, 5000); next(); }); }); this.Then(/^I should see title "([^"]*)"$/, function (titleMatch, next) { this.driver.getTitle() .then(function(title) { assert.equal(title, titleMatch, next, 'Expected title to be ' + titleMatch); }); }); };
Now that we have created the feature file and the step definition, we are ready to integrate this Cucumber JS test case into BrowserStack.
Integrating with BrowserStack
Now that we have created a feature file and step definitions, we can integrate our Cucumber JS test case into BrowserStack. We now create a hooks.js and env.js file, as show below:
// hooks.js var config_file = '../../conf/' + (process.env.CONFIG_FILE || 'single') + '.conf.js'; var config = require(config_file).config; var username = process.env.BROWSERSTACK_USERNAME || config.user; var accessKey = process.env.BROWSERSTACK_ACCESS_KEY || config.key; var createBrowserStackSession = function(config, caps){ return new webdriver.Builder(). usingServer('http://'+config.server+'/wd/hub'). withCapabilities(caps). build(); } var myHooks = function () { var bs_local = null; this.Before(function (scenario, callback) { var world = this; var task_id = parseInt(process.env.TASK_ID || 0); var caps = config.capabilities[task_id]; caps['browserstack.user'] = username; caps['browserstack.key'] = accessKey; if(caps["browserstack.local"]){ // Code to start browserstack local before start of test and stop browserstack local after end of test bs_local = new browserstack.Local(); bs_local.start({'key': accessKey }, function(error) { if (error) return console.log(error.red); world.driver = createBrowserStackSession(config, caps); callback(); }); } else { world.driver = createBrowserStackSession(config, caps); callback(); } }); this.After(function(scenario, callback){ this.driver.quit().then(function(){ if(bs_local){ bs_local.stop(callback); } else callback(); }); }); }; module.exports = myHooks;
// env.js var configure = function () { this.setDefaultTimeout(60 * 1000); }; module.exports = configure;
We now need to create a config file, which contains the BrowserStack Hub URL and credentials required to connect to the BrowserStack Selenium grid.
exports.config = { user: 'USERNAME', key: 'ACCESS_KEY', server: 'hub-cloud.browserstack.com', capabilities: [{ browserName: 'chrome', name: 'Bstack-[CucumberJS] Sample Test' }] }
We are now ready to run the test on BrowserStack, using the following command:
CONFIG_FILE=single ./node_modules/cucumber/bin/cucumber.js features/single.feature
Testing on Internal Networks
BrowserStack enables you to run your Cucumber JS automated tests on your internal development environments, on localhost, and from behind a corporate firewall. This feature is called "Local Testing".
Local Testing establishes a secure connection between your machine and the BrowserStack cloud. Once you set up Local Testing, all URLs work out of the box, including HTTPS URLs and those behind a proxy or firewall.
Configuring your Cucumber JS tests for Local Testing takes just three steps:
-
Download and run the BrowserStackLocal binary:
# Install using npm npm install browserstack-local
-
Next, you need to update your Cucumber JS config file, local.conf.json, and set the browserstack.local capability to true:
exports.config = { user: 'USERNAME', key: 'ACCESS_KEY', server: 'hub-cloud.browserstack.com', capabilities: [{ browserName: 'chrome', name: 'Bstack-[CucumberJS] Local Test', 'browserstack.local': true }] }
Here is a sample feature and steps file which using Local testing:
// Local Feature Feature: BrowserStack Local Testing Scenario: Can check tunnel working When I open health check Then I should see "Up and running"
// Local Steps 'use strict'; var assert = require('cucumber-assert'); var webdriver = require('selenium-webdriver'); module.exports = function() { this.When(/^I open health check$/, function (next) { this.driver.get('http://bs-local.com:45691/check'); next(); }); this.Then(/^I should see "([^"]*)"$/, function (sourceMatch, next) { this.driver.getPageSource() .then(function(source) { assert.equal(source.indexOf(sourceMatch) > -1, true, next, 'Expected source to contain ' + sourceMatch); }); }); };
-
You can now run your Cucumber JS test using BrowserStack Local with the following command:
CONFIG_FILE=local ./node_modules/cucumber/bin/cucumber.js features/local.feature
Configuring capabilities
To run your Cucumber JS test suite on our Selenium grid, you have to configure a couple of capabilities so that your tests execute on a remote browser. BrowserStack supports the full complement of Selenium capabilities, and also has several advanced capabilities which give you full control over how you want to run your Cucumber JS test suites.
The sections below detail the different capabilities and provide examples of how to use them.For a full reference of all the Selenium and custom capabilities we support, visit our Capabilities page.
Run tests on desktop browsers and real mobile devices
Using the drop-down menus, select a combination of operating system, browser, and screen resolution. To see the order of precedence for the capabilities, please read about parameter override rules here.
You can additionally run your Cucumber JS tests on real Android and iOS devices in our datacenters.
Look for the icon to select a real device.
capabilities: [{ 'os': 'Windows', 'os_version': '7', 'browser': 'IE', 'browser_version': '8.0', 'resolution': '1024x768' }]
For a list of all supported devices, visit the Browsers and Devices page.
Builds and projects
Keep track of all your automated tests using the build and project capabilities. Group your tests into builds, and builds further into projects.
capabilities: [{ 'build': 'version1', 'project': 'newintropage' }]
Self-signed certificates
To avoid invalid certificate errors while testing on BrowserStack Automate, set the acceptSslCerts capability in your test to true.
capabilities: [{ 'acceptSslCerts': true }]
Enable and Disable Pop-ups
ChromePopup blocker is disabled by default in Chrome >= 43. To enable the popup blocker, create a chromeOptions capability, and pass the disable-popup-blocking as excludeSwitches to the capability.
capabilities: [{ 'chromeOptions': { 'excludeSwitches': ["disable-popup-blocking"] } }]
To disable the popup blocker in Chrome < 43, create a chromeOptions capability, and pass the --disable-popup-blocking argument to the capability.
capabilities: [{ 'chromeOptions': { 'args': ["--disable-popup-blocking"] } }]IE
To enable the popups in IE, use the browserstack.ie.enablePopups capability.
capabilities: [{ 'browserstack.ie.enablePopups': true }]Safari
To enable the popups in Safari, use the browserstack.safari.enablePopups capability.
capabilities: [{ 'browserstack.safari.enablePopups': true }]
Debugging
BrowserStack provides a range of debugging tools to help you quickly identify and fix bugs you discover through your automated tests.
Text LogsText Logs are a comprehensive record of your test. They are used to identify all the steps executed in the test and troubleshoot errors for the failed step. Text Logs are accessible from the Automate dashboard or via our REST API.
Visual LogsVisual Logs automatically capture the screenshots generated at every Selenium command run through your Cucumber JS tests. Visual logs help with debugging the exact step and the page where failure occurred. They also help identify any layout or design related issues with your web pages on different browsers.
Visual Logs are disabled by default. In order to enable Visual Logs you will need to set browserstack.debug capability to 'true'.
capabilities: [{ 'browserstack.debug': true }]Video recording
Every test run on the BrowserStack Selenium grid is recorded exactly as it is executed on our remote machine. This feature is particularly helpful whenever a browser test fails. You can access videos from Automate Dashboard for each session. You can also download the videos from the Dashboard or retrieve a link to download the video using our REST API.
To disable video recording, add the following code snippet:
capabilities: [{ 'browserstack.video': false }]Console Logs
Console Logs capture the browser's console output at various steps of the test to troubleshoot javascript issues. You can retrieve Console Logs using our REST API. You will also be able to download logs from Automate Dashboard.
Console Logs are enabled with log level set to 'errors' by default. To set different log levels, you need to use the capability browserstack.console with values 'disable', 'errors', 'warnings', 'info' or 'verbose', as shown below:
capabilities: [{ 'browserstack.console': 'errors' }]Network Logs
Network Logs capture the browser's performance data such as network traffic, latency, HTTP requests and responses in the HAR format. You can download network logs using the REST API or from the Automate Dashboard. You can visualize HAR files using the HAR Viewer.
Network Logs are disabled by default. To enable Network Logs use the capability browserstack.networkLogs with the value 'true', as shown below:
capabilities: [{ 'browserstack.networkLogs': 'true' }]
Speed up testing
The BrowserStack Selenium grid gives you the infrastructure you need to scale. Features like Parallel Testing and Queuing enable you to scale faster.
On BrowserStack, you can run multiple Cucumber JS tests at the same time across various browser, device and OS combinations. This is “Parallel Testing”. Parallel Testing gives you the same benefits as running a multi-threaded application helps you reduce the run time of your test suite, resulting in faster build times and faster releases.
To run tests on multiple browsers in parallel with Cucumber JS on BrowserStack, modify the config file as below:
exports.config = { user: 'USERNAME', key: 'ACCESS_KEY', server: 'hub-cloud.browserstack.com', commonCapabilities: { name: 'Bstack-[CucumberJS] Parallel Test', "browserstack.debug": true }, capabilities: [{ browserName: 'chrome' },{ browserName: 'firefox' },{ browserName: 'safari' },{ browserName: 'internet explorer' }] } // Code to support common capabilities exports.config.capabilities.forEach(function(caps){ for(var i in exports.config.commonCapabilities) caps[i] = caps[i] || exports.config.commonCapabilities[i]; });
Capabilities for each environment can be customised as explained earlier.
You need the following custom script to launch the tests in parallel.
#!/usr/bin/env node var child_process = require('child_process'); var config_file = '../conf/' + (process.env.CONFIG_FILE || 'single') + '.conf.js'; var config = require(config_file).config; process.argv[0] = 'node'; process.argv[1] = './node_modules/.bin/cucumber-js'; for(var i in config.capabilities){ var env = Object.create( process.env ); env.TASK_ID = i.toString(); var p = child_process.spawn('/usr/bin/env', process.argv, { env: env } ); p.stdout.pipe(process.stdout); }
You can now run your tests in parallel on BrowserStack using the following command:
# Run using custom runner CONFIG_FILE=parallel ./scripts/cucumber-runner.js features/single.feature
With queuing, you can launch an additional number of parallel tests with different browser configurations that will be queued in a sequence. For instance, if you want to run 5 additional tests, apart from your subscribed limit of 2 parallel tests, BrowserStack will queue the additional 5 tests until one of the 2 initial tests finish, and a slot is available for execution. With queuing, you don't need to worry about managing your test pipeline - we automatically take care of scheduling and execution for you.
With this feature, accounts up to 5 parallel tests can queue 5 tests. Beyond 5 parallel tests, an equivalent number of tests will be queued.
REST API
BrowserStack provides a comprehensive REST API to access and update information about your tests. Shown below is a sample code snippet which allows you to mark your tests as pass or fail based on the assertions in your Cucumber JS test cases.
var request = require("request"); request({uri: "https://USERNAME:ACCESS_KEY@api.browserstack.com/automate/sessions/<session-id>.json", method:"PUT", form:{"status":"completed","reason":""}})
A full reference of our REST API can be found here.