Report bugs on Jira or Azure DevOps from BrowserStack App Accessibility Testing
Learn how to report bugs directly from App Accessibility Testing by integrating with Jira and Azure DevOps.
Integrate Jira or Azure DevOps to report bugs directly from App Accessibility Testing. You can use this integration to:
- Create a Jira or Azure DevOps issue for an entire accessibility report.
- Create an issue for individual scans within a report.
- Unlink existing tickets and link different tickets as needed.
Integrate Jira with App Accessibility Testing
Follow these steps to integrate Jira with App Accessibility Testing.
You can integrate Jira with BrowserStack either as a stand-alone process or when reporting an issue.
Skip the following procedure if you have already integrated Jira with BrowserStack or if you prefer to integrate it as a part of the reporting process. To report an issue using Jira, see Report a Jira issue.
Log in to BrowserStack App Accessibility Testing.
In the sidebar, click Integrations.
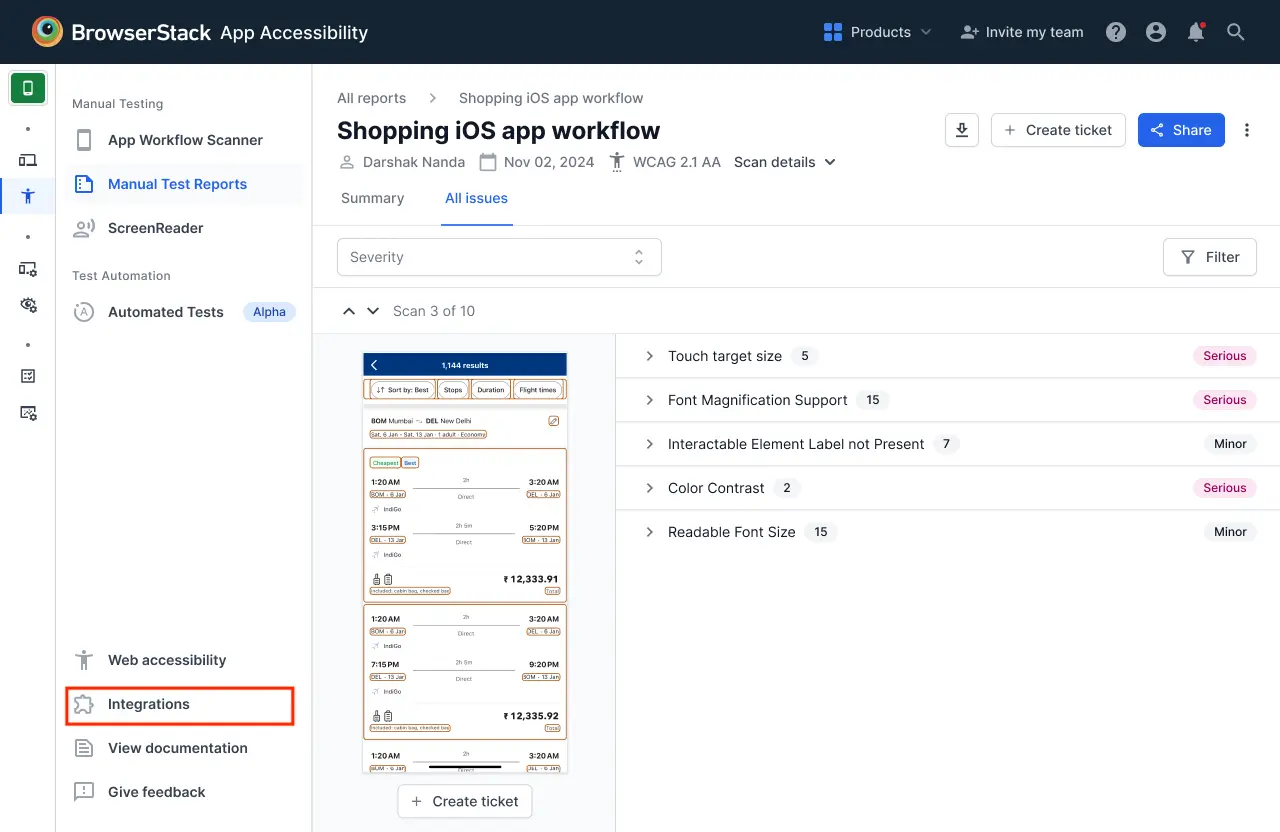
On the Integrations page, click Connect on the Jira row.
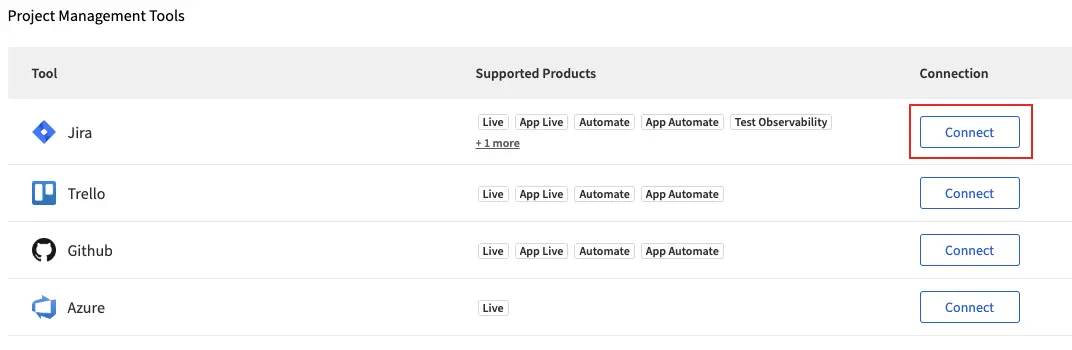
In the pop-up window, select Jira On Cloud or Self Hosted from the drop-down menu based on your Jira configuration.
Choose your authentication method:
- To authenticate using OAuth, click Connect using OAuth. In the Log in to continue pop-up window, select your preferred credential manager and enter your OAuth credentials.
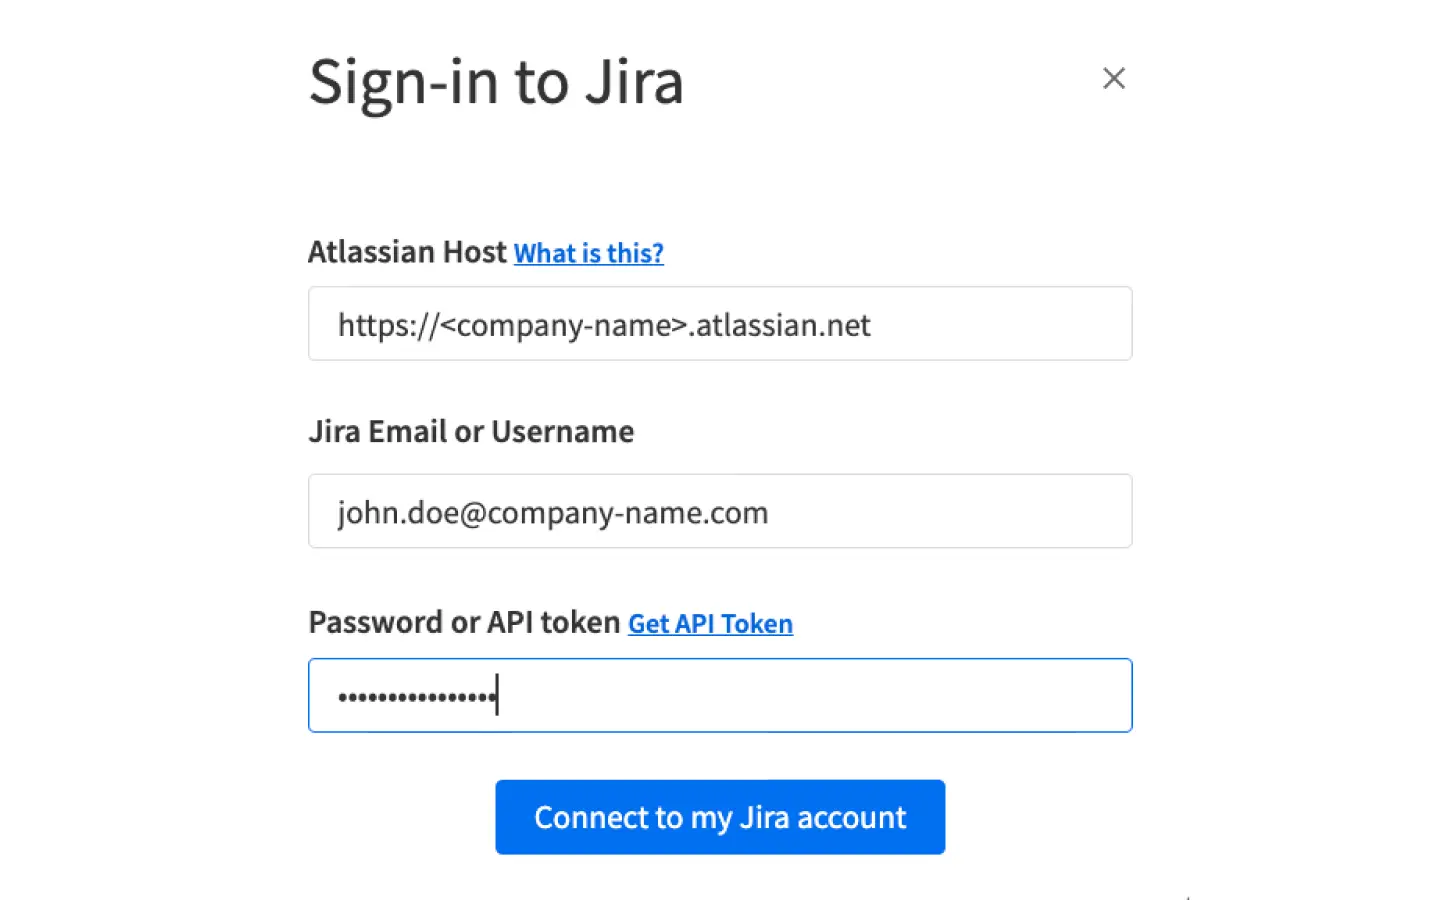
- TTo authenticate with a PAT or connect to a self-hosted Jira configuration, click Connect using PAT or Self-hosted, and enter your credentials:
- Atlassian Hostname (
https://<company-name>.atlassian.net) - Jira Email or Username
- API token or password. To generate an API token, click Get API Token.
- Atlassian Hostname (
BrowserStack recommends using an API token instead of a password.
Click Accept on the BrowserStack JIRA Integration is requesting access to your Atlassian account page to integrate Jira with App Accessibility Testing.
Report a Jira issue
Follow these steps to report an issue using Jira with App Accessibility Testing.
You can create a Jira issue for the entire report or for individual scans in a report:
-
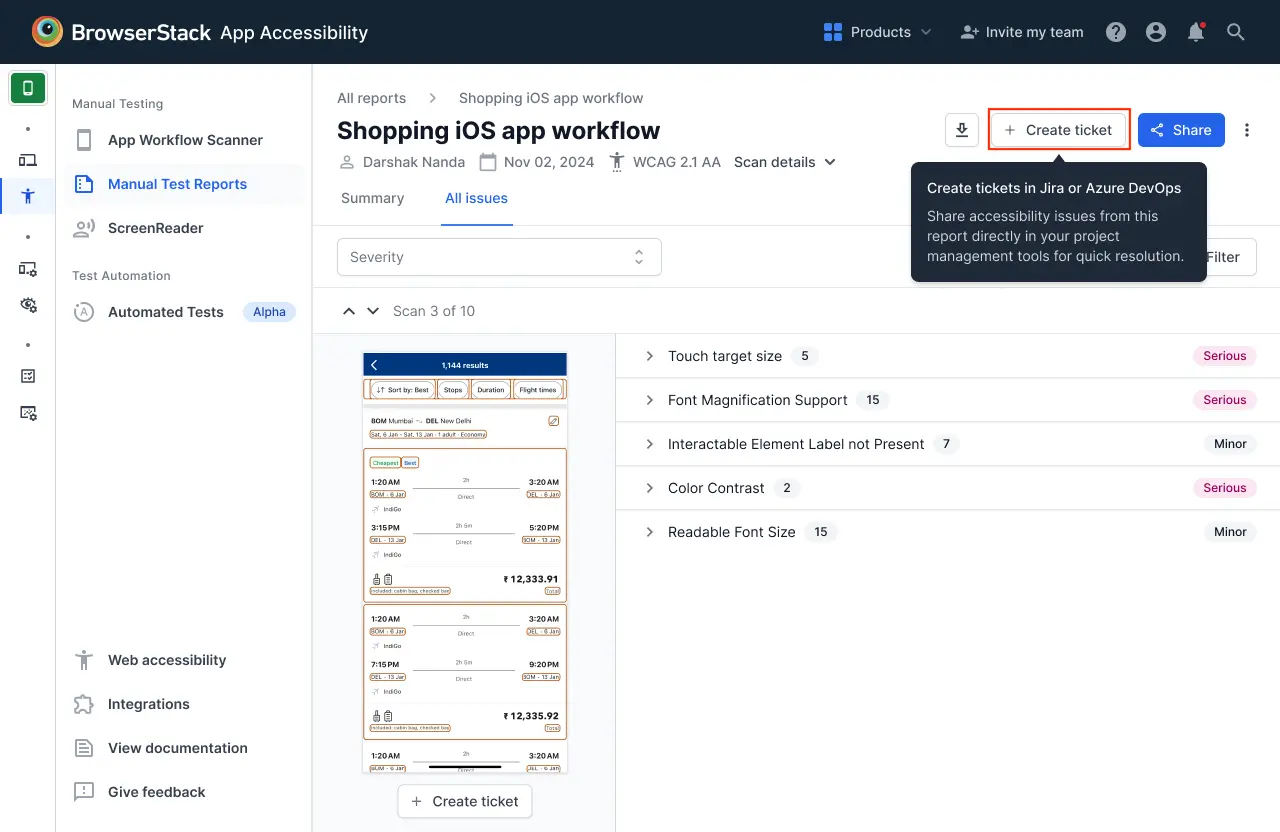
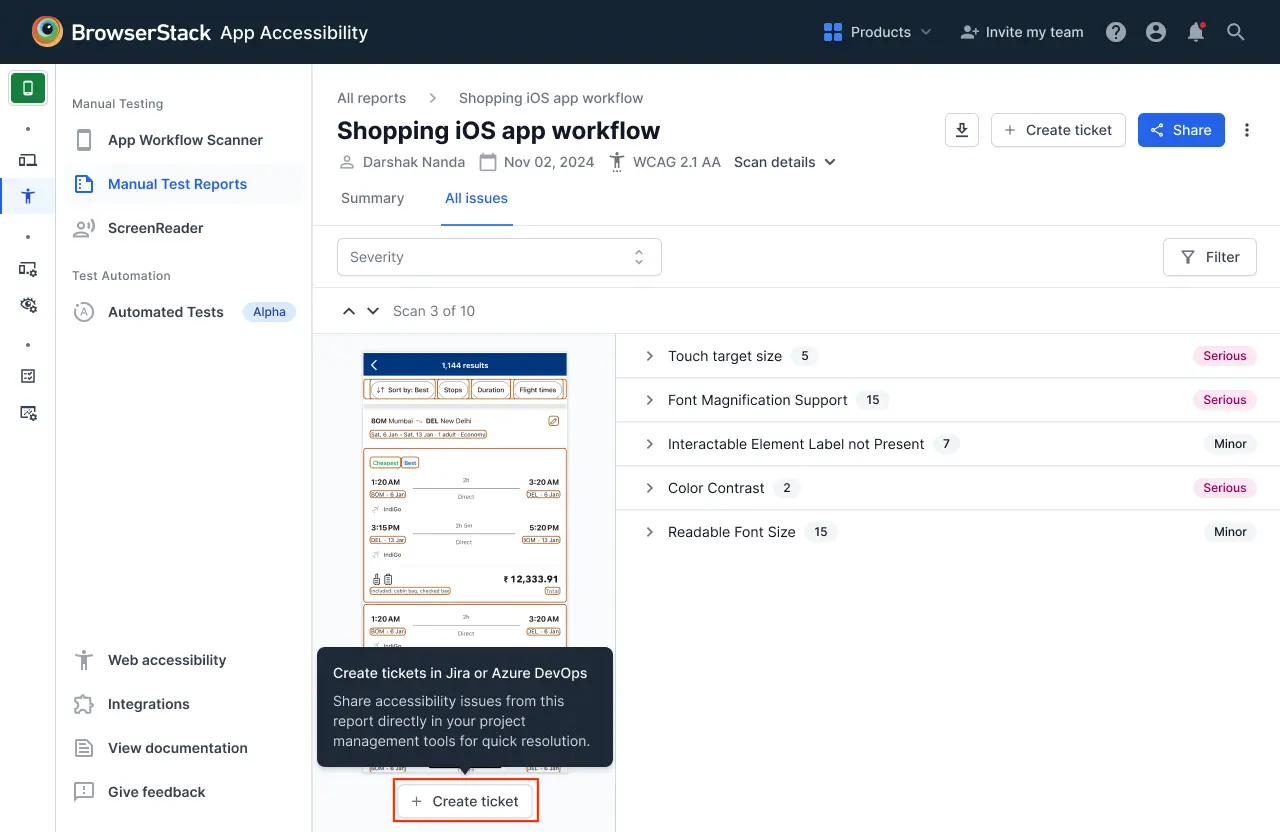
To create an issue for the entire report, navigate to the App Accessibility Testing report and click Create ticket below the top navigation bar.
-
To create an issue for individual scans in a report, click Create ticket below the scan report.
If you have not integrated Jira with BrowserStack, select Jira in the Available Integrations pop-up window and complete the authentication. For detailed information about Jira authentication and integration, refer to step 3 to 6 of Integrate Jira with App Accessibility Testing.
In the Jira pop-up window, select your Organization from the drop-down. This field will be auto-populated for all later issues that you create.
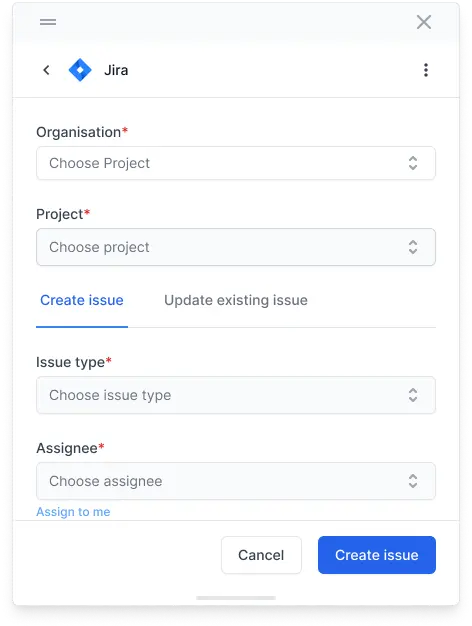
Select a project from the drop-down. App Accessibility Testing automatically picks up all the fields in your Jira project. This field will be auto-populated for all later issues that you create.
Click the Create Issue tab and select the issue type.
Enter the bug details. Click Show all fields to view all the fields.
The Label, Project, Issue Type, Summary, and Description fields are auto-populated by App Accessibility Testing. You can edit these fields based on your requirements.
Click Create Issue.

A success message banner will appear, indicating that the Jira issue was created.

You can click View issue on the success message banner to view the bug on Jira.
If you encounter the Create a project in your Jira in order to continue error when raising a Jira issue, disconnect Jira and reconnect using an API token instead of a password. For detailed information on how to connect Jira using an API token, see Integrate Jira with App Accessibility Testing.
Manage linked Jira tickets
This feature is only available for manual test reports.
You can unlink an existing Jira ticket from an App Accessibility report and then link a different ticket if needed. You can unlink tickets from:
- The entire report (report level)
- Individual scans within a report (scan level)
- Individual accessibility issues (issue level)
Unlink a Jira ticket
To unlink a Jira ticket from an App Accessibility report:
Navigate to the App Accessibility Testing report where you want to unlink a ticket.
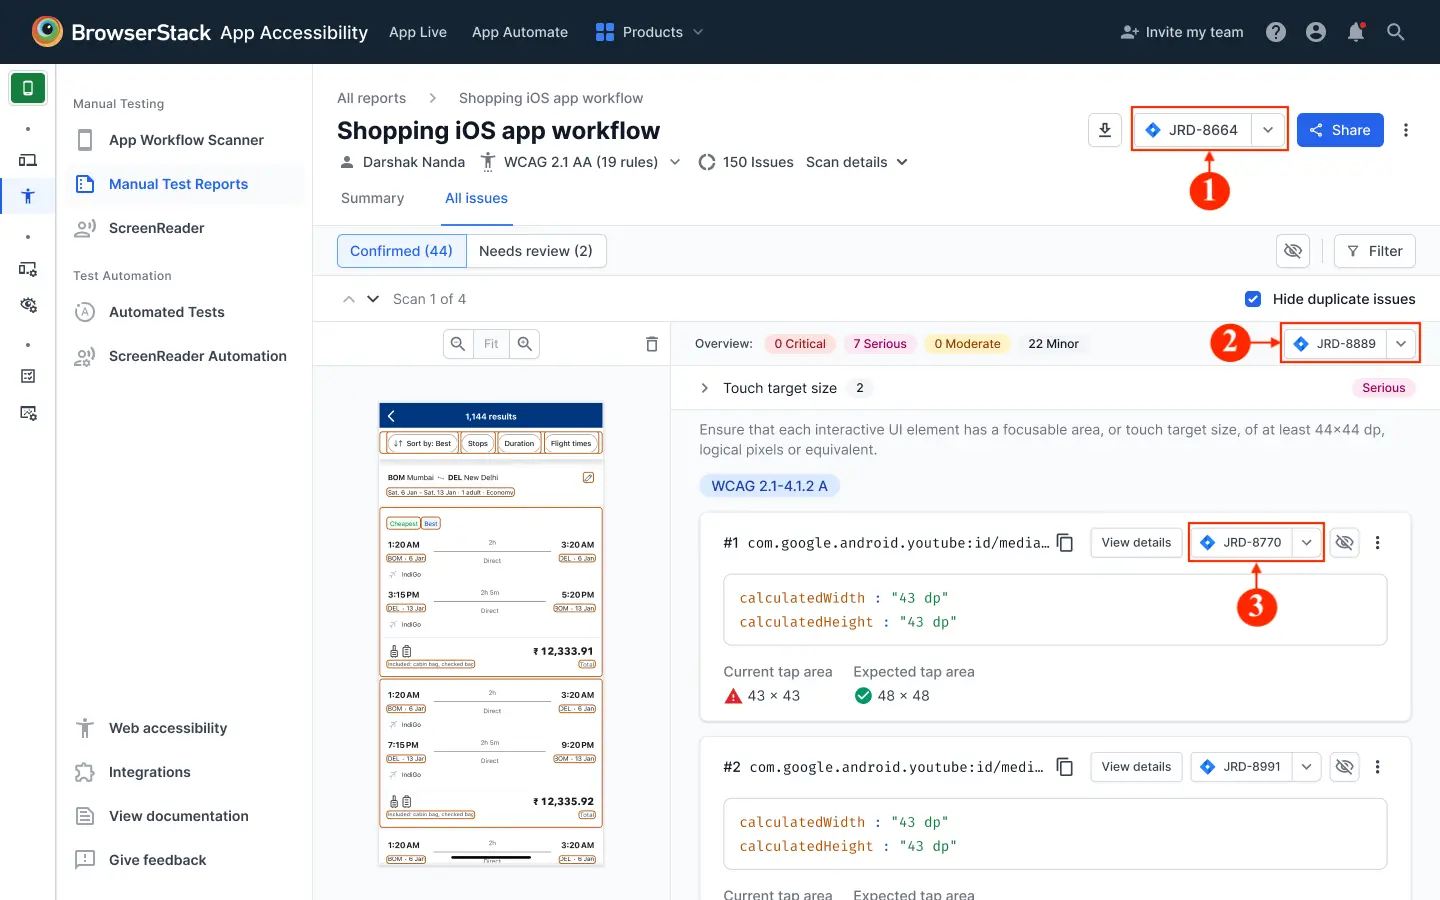
Locate the linked Jira ticket you want to unlink:
- Report level: Click the Jira ticket link below the top navigation bar. See annotation 1 in the following screenshot.
- Scan level: Click the Jira ticket link below the scan report. See annotation 2 in the following screenshot.
-
Issue level: Click the Jira ticket link next to the specific accessibility issue. See annotation 3 in the following screenshot.
Click Unlink in the dialog box that appears next to the ticket.
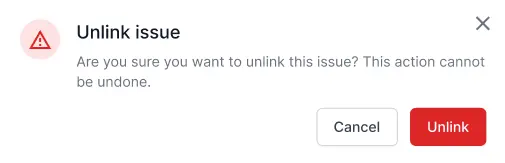
In the confirmation modal, review the warning message and click Unlink to remove the association.
The ticket link is removed from the App Accessibility report. The Jira issue remains unchanged in your Jira workspace.
Relink a different Jira ticket
To link a different Jira ticket after unlinking:
After unlinking a ticket, click Create ticket at the report, scan, or issue level where you want to create a new association.
Follow the same process as creating a new Jira issue to link a different ticket to the report, scan, or issue.
Integrate Azure DevOps with App Accessibility Testing
Follow these steps to integrate Azure DevOps with App Accessibility Testing.
You can integrate Azure DevOps with BrowserStack either as a stand-alone process or when reporting an issue.
Skip the following procedure if you have already integrated Azure DevOps with BrowserStack or if you prefer to integrate it as a part of the reporting process. To report an issue using Azure DevOps, see Report an Azure DevOps issue.
Log in to BrowserStack App Accessibility Testing.
In the sidebar, click Integrations.
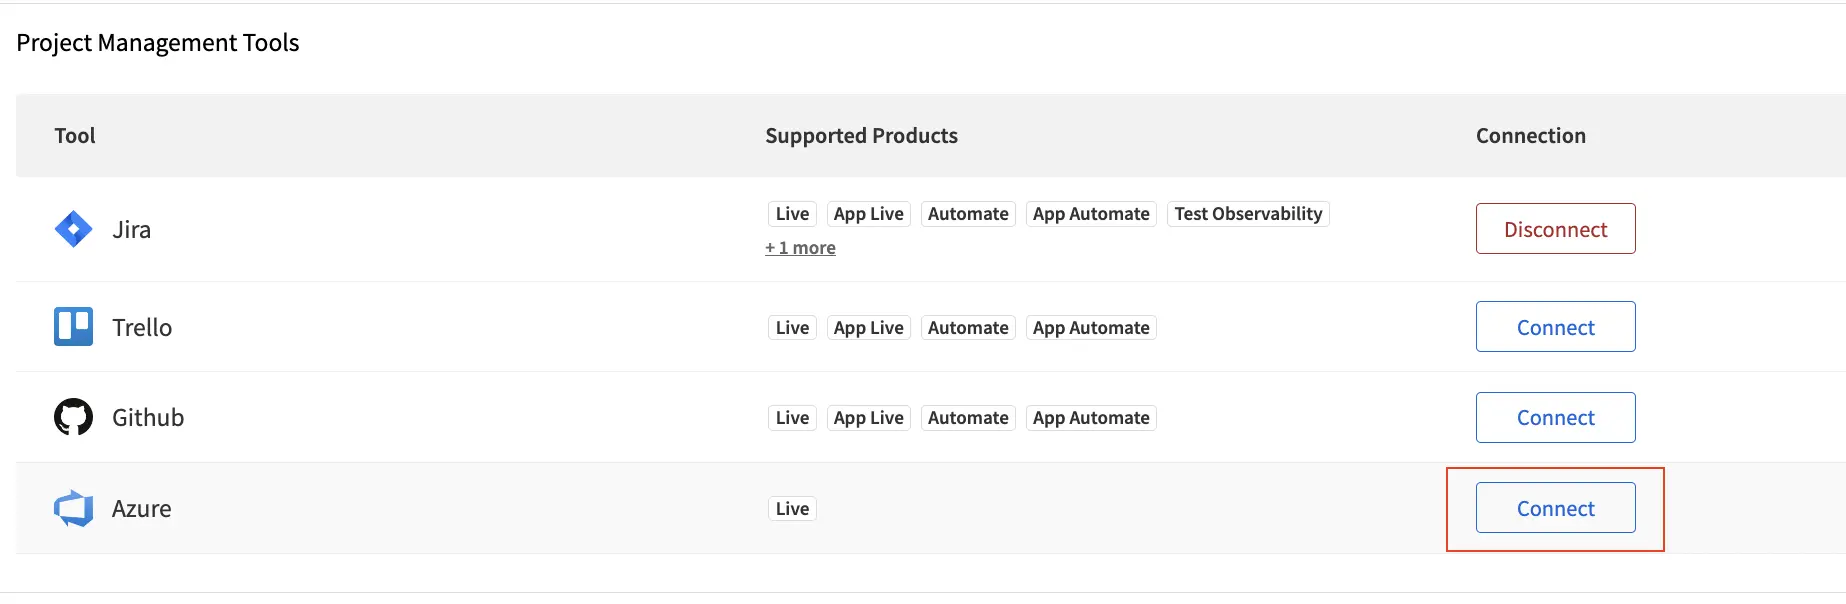
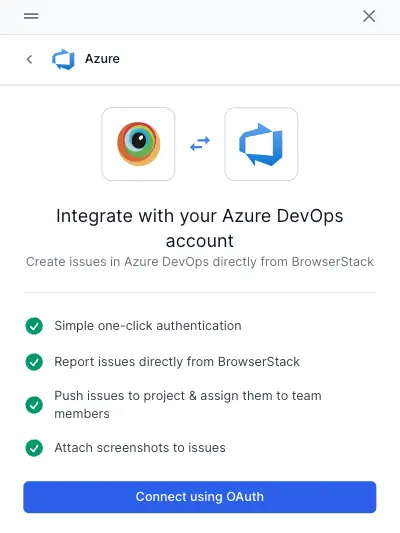
On the Integrations page, click Connect on the Azure row.
In the pop-up window, click Connect using OAuth.
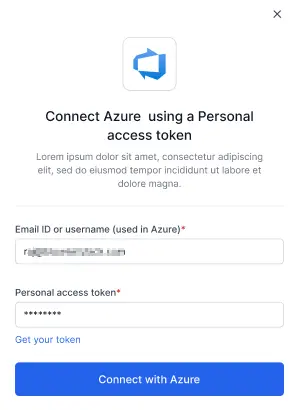
Enter your Azure personal access token and click Connect with Azure.
Report an Azure DevOps issue
Follow these steps to report an issue using Azure DevOps with App Accessibility Testing.
You can create an Azure DevOps issue for the entire report or for individual scans in a report:
-
To create an issue for the entire report, navigate to the App Accessibility Testing report and click Create ticket below the top navigation bar.
-
To create an issue for individual scans in a report, click Create ticket below the scan report.
If you have not integrated Azure DevOps with BrowserStack, select Azure in the Available Integrations pop-up window and complete the authentication. For detailed information about Azure DevOps authentication and integration, see step 3 to 6 of Integrate Azure DevOps with App Accessibility Testing.
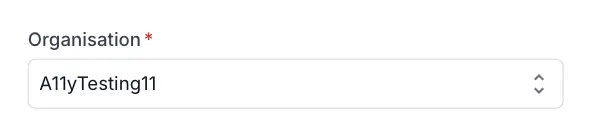
In the Azure DevOps pop-up window, select your Organization from the drop-down. This field will be auto-populated for all later issues that you create.
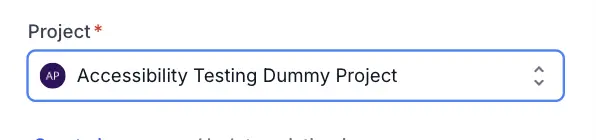
Select a Project from the drop-down. App Accessibility Testing automatically picks up all the fields in your Azure DevOps project. This field will be auto-populated for all later issues that you create.
Click the Create Issue tab and select the Work Item Type from the drop-down.
Enter the details about the issue. Click Show all fields to view all the fields.
The Label, Project, Work Item Type, Title, and Description fields are auto-populated by App Accessibility Testing. You can edit these fields based on your requirements.
Click Create.
A success message banner is displayed indicating that the Azure DevOps issue was created.

You can click View issue on the success message banner to view the bug on Azure DevOps.
Manage linked Azure DevOps work items
This feature is only available for manual test reports.
You can unlink an existing Azure DevOps work item from an App Accessibility report and then link a different work item if needed. You can unlink work items from:
- The entire report.
- Individual scans within a report.
- Individual accessibility issues.
Unlink an Azure DevOps work item
To unlink an Azure DevOps work item from an App Accessibility report:
Navigate to the App Accessibility Testing report where you want to unlink a ticket.
Locate the linked Azure DevOps work item you want to unlink:
- Report level: Click the Azure DevOps work item link below the top navigation bar. See annotation 1 in the following screenshot.
- Scan level: Click the Azure DevOps work item link below the scan report. See annotation 2 in the following screenshot.
-
Issue level: Click the Azure DevOps work item link next to the specific accessibility issue. See annotation 3 in the following screenshot.

Click Unlink in the dialog box that appears next to the work item.
In the confirmation modal, review the warning message and click Unlink to remove the association.
The work item link is removed from the App Accessibility report. The Azure DevOps work item remains unchanged in your Azure DevOps workspace.
Relink a different Azure DevOps work item
To link a different Azure DevOps work item after unlinking:
After unlinking a work item, click Create ticket at the report, scan, or issue level where you want to create a new association.
Follow the same process as creating a new Azure DevOps issue to link a different work item to the report, scan, or issue.
Metadata in Jira and Azure DevOps to aid in debugging
When you report an issue in Jira or Azure DevOps, App Accessibility Testing logs contextual metadata to the work item and makes debugging easier. As a result, you can reduce manual work, fix issues faster, and improve the data quality of your work items.
We're sorry to hear that. Please share your feedback so we can do better
Contact our Support team for immediate help while we work on improving our docs.
We're continuously improving our docs. We'd love to know what you liked
We're sorry to hear that. Please share your feedback so we can do better
Contact our Support team for immediate help while we work on improving our docs.
We're continuously improving our docs. We'd love to know what you liked
Thank you for your valuable feedback!