Run Ranorex tests with Automate
A step-by-step guide to running Ranorex tests with BrowserStack Automate
Checkout our AI-enabled and intuitive low-code recorder for scalable, reliable test execution

Ranorex is a GUI test automation framework which helps to execute testing of applications. It is designed to create automated test scripts without coding. Integrating Ranorex with BrowserStack will help you to run Ranorex recorded test scripts on 3000+ real devices and desktop browsers.
This guide helps you in:
- Getting started with Ranorex
- Setting up WebDriver Endpoint to run tests on BrowserStack Automate
- Executing Ranorex tests on BrowserStack Automate
- Testing privately hosted websites using Ranorex on BrowserStack
Getting started with Ranorex
-
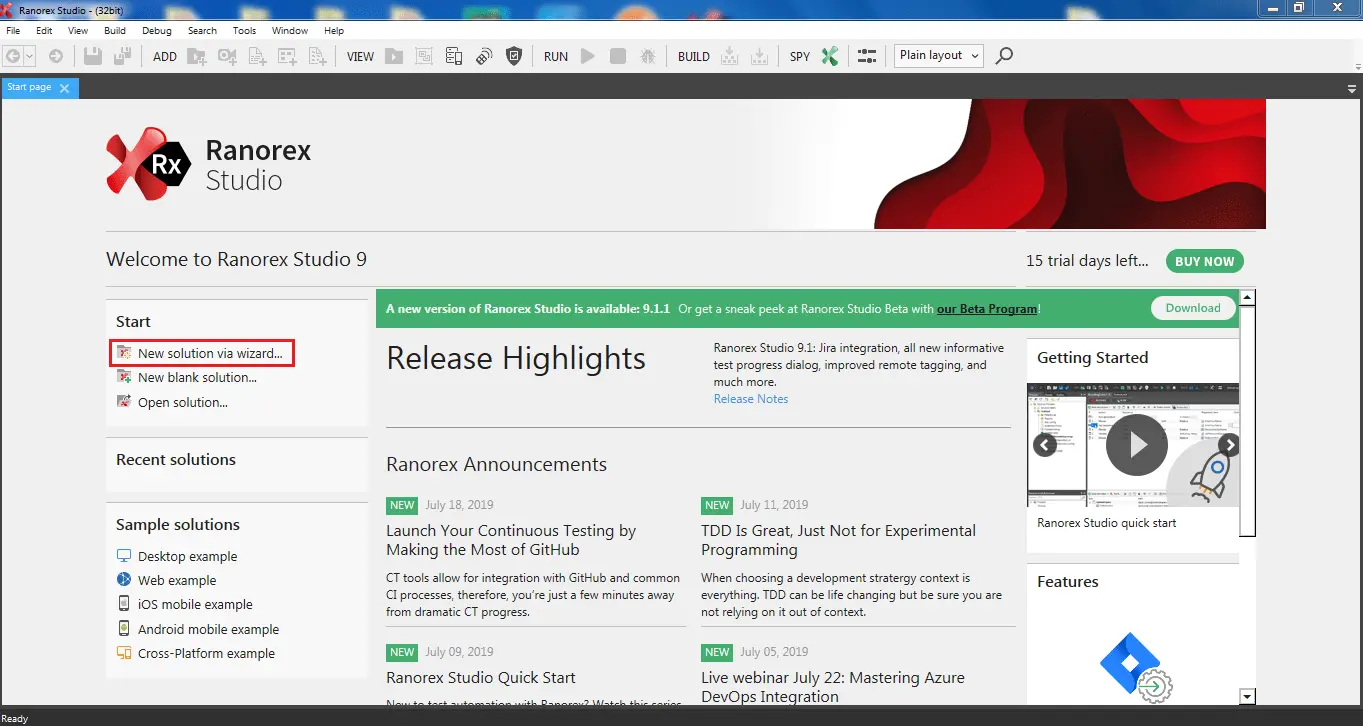
Start Ranorex and click on New solution via wizard as shown below:
-
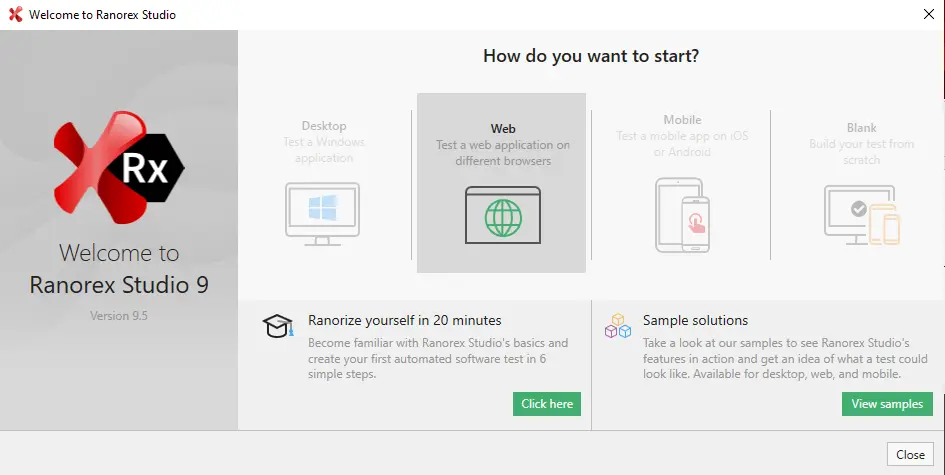
Select Web to test over different browsers.
-
Provide the Solution name and Location to store solution and select Continue.

-
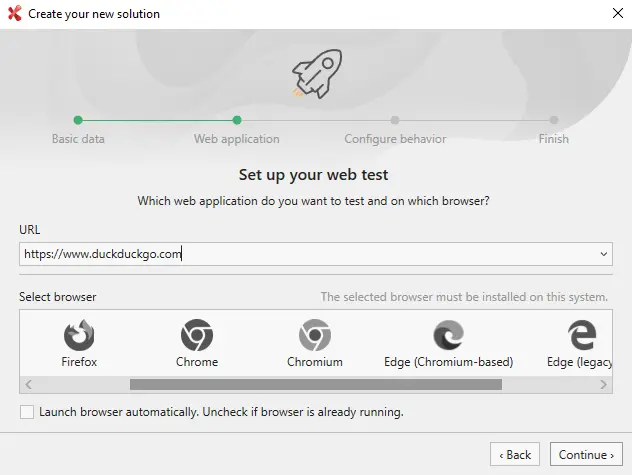
Specify the test URL and browser on which you would like to perform cross browser testing.
-
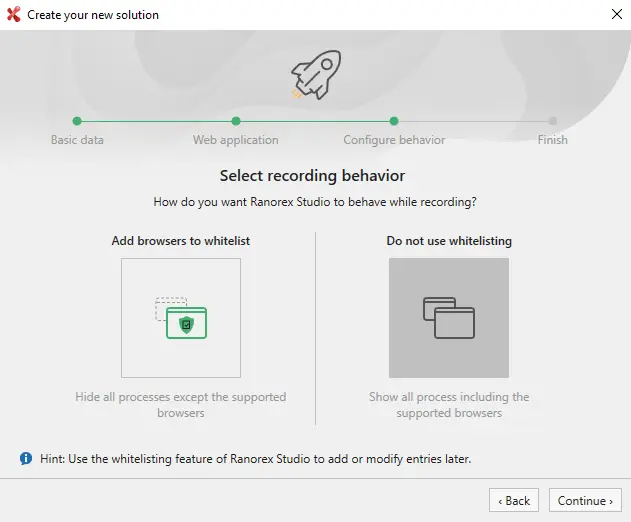
Select your recording behaviour as Do not use whitelisting as shown below:
-
Select Finish to complete creating of solution.

Setting up WebDriver Endpoint to run tests on BrowserStack Automate
-
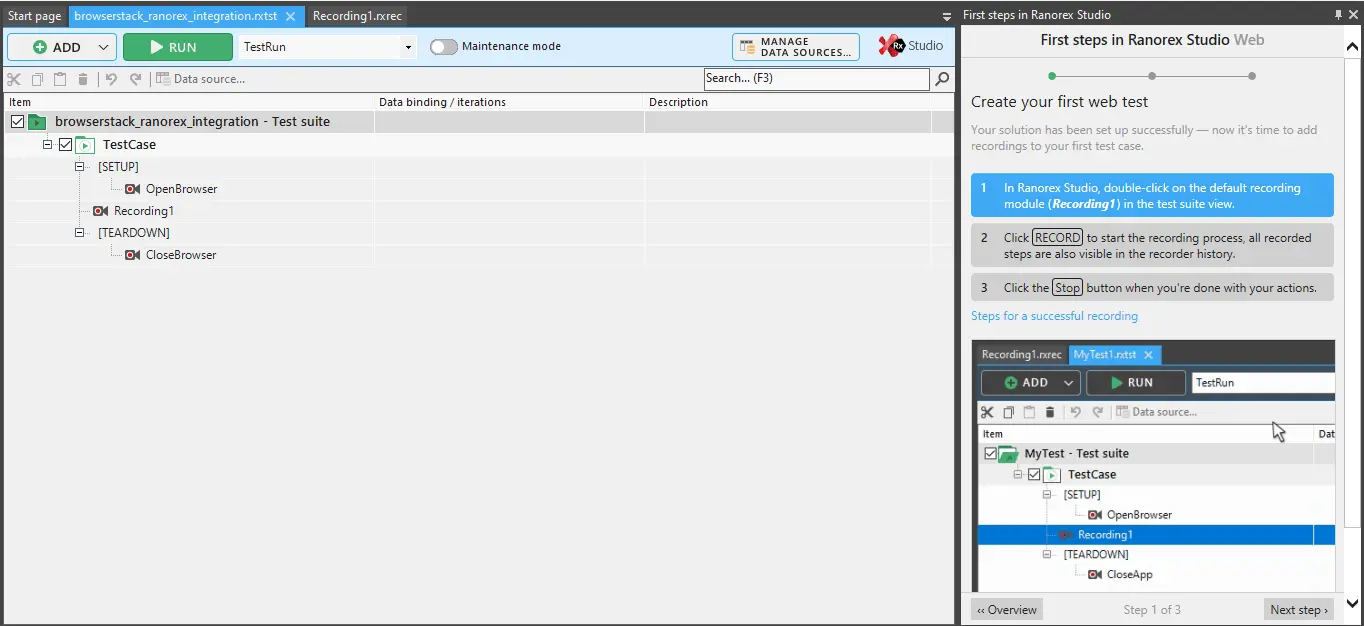
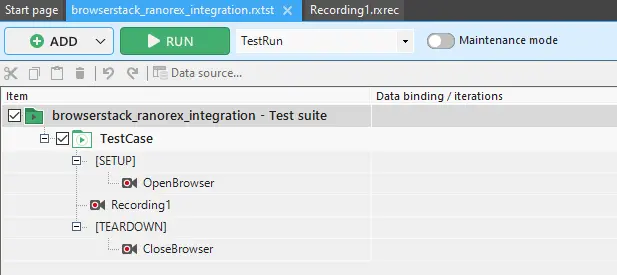
After successfully creating a solution, you will notice that a default test suite would be configured in Ranorex. The test suite has three files OpenBrowser, which contains step to open the browser with the URL specified in Step 4 of Getting started with Ranorex section, Recording1, which contains all the steps executed on the URL, and CloseBrowser, containing steps to close the application.
-
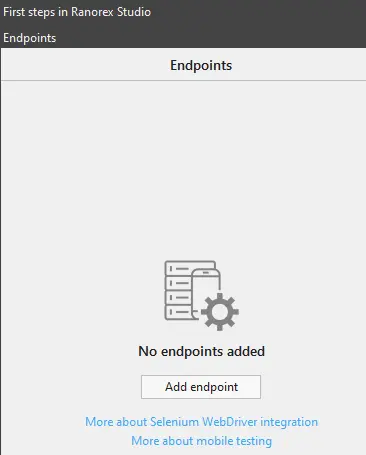
To run the test suite on Selenium Grid offered by BrowserStack, add the BrowserStack endpoint by selecting the Endpoints from View tab:

-
From the Endpoints window, select Add Endpoint:
-
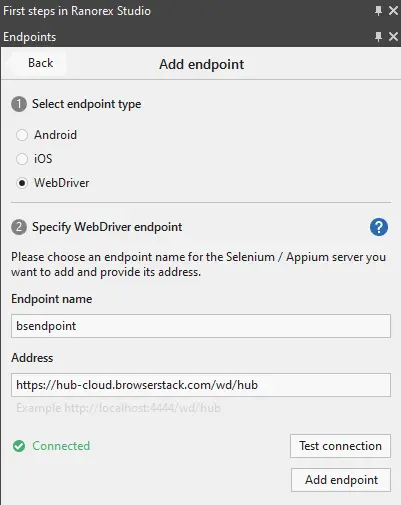
Select WebDriver in Select endpoint type section, provide an Endpoint name and Address(Hub URL). You can check your connection by clicking on Test connection. Click on Add endpoint as shown in the below figure:
-
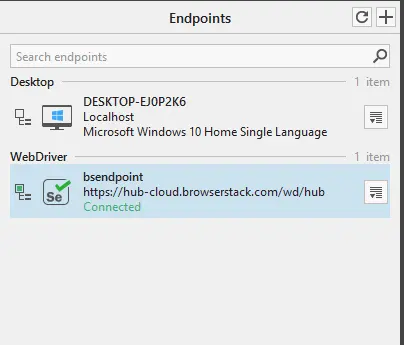
You have successfully setup a WebDriver endpoint for BrowserStack Selenium Grid Hub URL.
Executing Ranorex tests on BrowserStack Automate
-
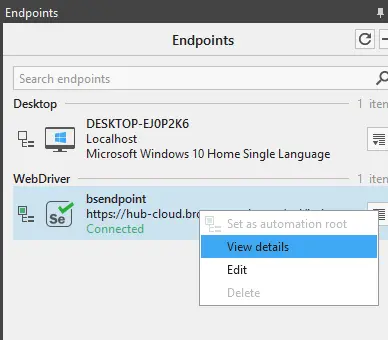
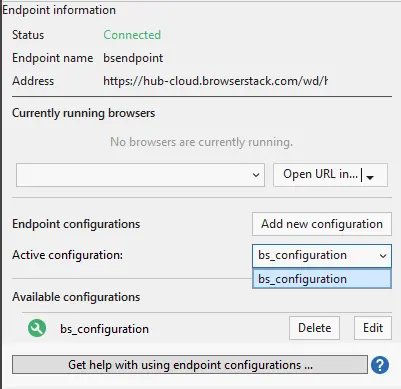
To execute Ranorex test on BrowserStack you need to add a new configuration to set up the BrowserStack desired capabilities, this can be achieved by selecting the Endpoints tab, select the View details option from the endpoint that you added.
 Click on Add new configuration
 -
Add the following capabilities in Capabilities section (you can refer to the capabilities generator to add other capabilities of your choice), and add a name to the configuration in the Name field and Save it.
-
Now, from the drop-down of Active configuration, select the configuration that you added in the previous steps:
-
Now, go to the test suite, select Recording1 and add new actions after clicking the Record button. Ensure to select Admin localhost Endpoint while recording the test cases.

-
You will find your actions are being recorded.

-
Once the configuration of open browser, recording, and close browser file is complete, come back to your test-suite and ensure that you have WebDriver set as an Endpoint to run the test on BrowserStack.
-
Select Run to run the test with all the recorded steps and with specific configurations on BrowserStack.
-
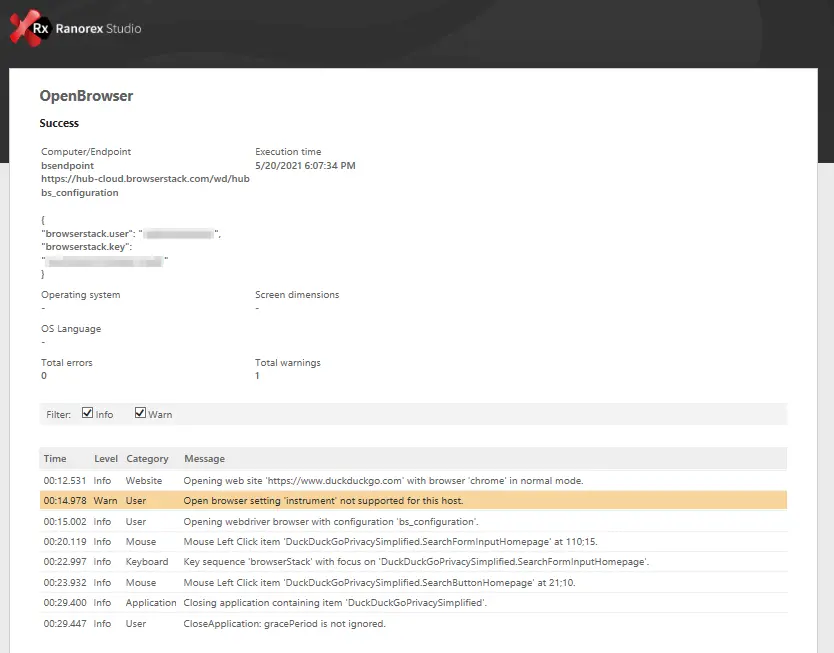
You will find that the test executes with specific configurations on the BrowserStack Automate dashboard, and a Ranorex report will be generated based on the test execution status as shown below:
Testing privately hosted websites using Ranorex on BrowserStack
BrowserStack enables you to run automated tests on your internal development environments, on localhost, and from behind a corporate firewall. This feature is called “Local Testing”.
Local Testing establishes a secure connection between your machine and the BrowserStack cloud. Once you set up Local Testing, all URLs work out of the box, including HTTPS URLs and those behind a proxy or firewall.
Enabling Local Testing with Automate is a simple two-step process:
- Establishing a Local Testing connection.
- Configuring setup so that your tests run through the Local Testing connection.
Enabling Local testing with Automate
You can setup the Local testing connection between your system and BrowserStack cloud by following the steps below:
- Download the appropriate Local testing binary for your system:
- Unzip the binary to a folder/directory on your machine.
- Open your command-line interface and navigate to the folder containing the Local binary.
- Run the binary using the following command:
./BrowserStackLocal --key YOUR_ACCESS_KEY
BrowserStackLocal.exe --key YOUR_ACCESS_KEY
- Your Local testing connection has now been established. You need to configure your tests test capabilities as shown in the next section.
The Local Testing connection is persistent. Your machine and BrowserStack Cloud remain connected unless you explicitly end the connection. Hence, close the connection after test execution is complete.
The Local Testing setup will differ slightly based on your requirements (for example, proxy settings, restricting connections to certain domains, etc.). Refer to our complete list of flags to set up Local Testing for different environments/network configurations.
Configuring tests to run with Local Testing connection
You have to keep in mind that while recording your Ranorex tests, you have recorded it for a private website like https://localhost.com. Now, to run that recorded test on BrowserStack, you have to add the following capability in the Capabilities config of Ranorex as shown in Point 2 of executing Ranorex tests on BrowserStack Automate section:
{
  "browserstack.local" : "true"
}
The binary connection needs to be established before creating a test session, and disconnected only after test execution is complete.
We're sorry to hear that. Please share your feedback so we can do better
Contact our Support team for immediate help while we work on improving our docs.
We're continuously improving our docs. We'd love to know what you liked
We're sorry to hear that. Please share your feedback so we can do better
Contact our Support team for immediate help while we work on improving our docs.
We're continuously improving our docs. We'd love to know what you liked
Thank you for your valuable feedback!