Manage user roles
View and manage roles of members to ensure proper access and restrictions.
BrowserStack uses Role-Based Access Control (RBAC) that determine what access and privileges does a user have on BrowserStack.
This page applies to organizations on the legacy RBAC model. If centralized RBAC is enabled for your organization, see Centralized RBAC.
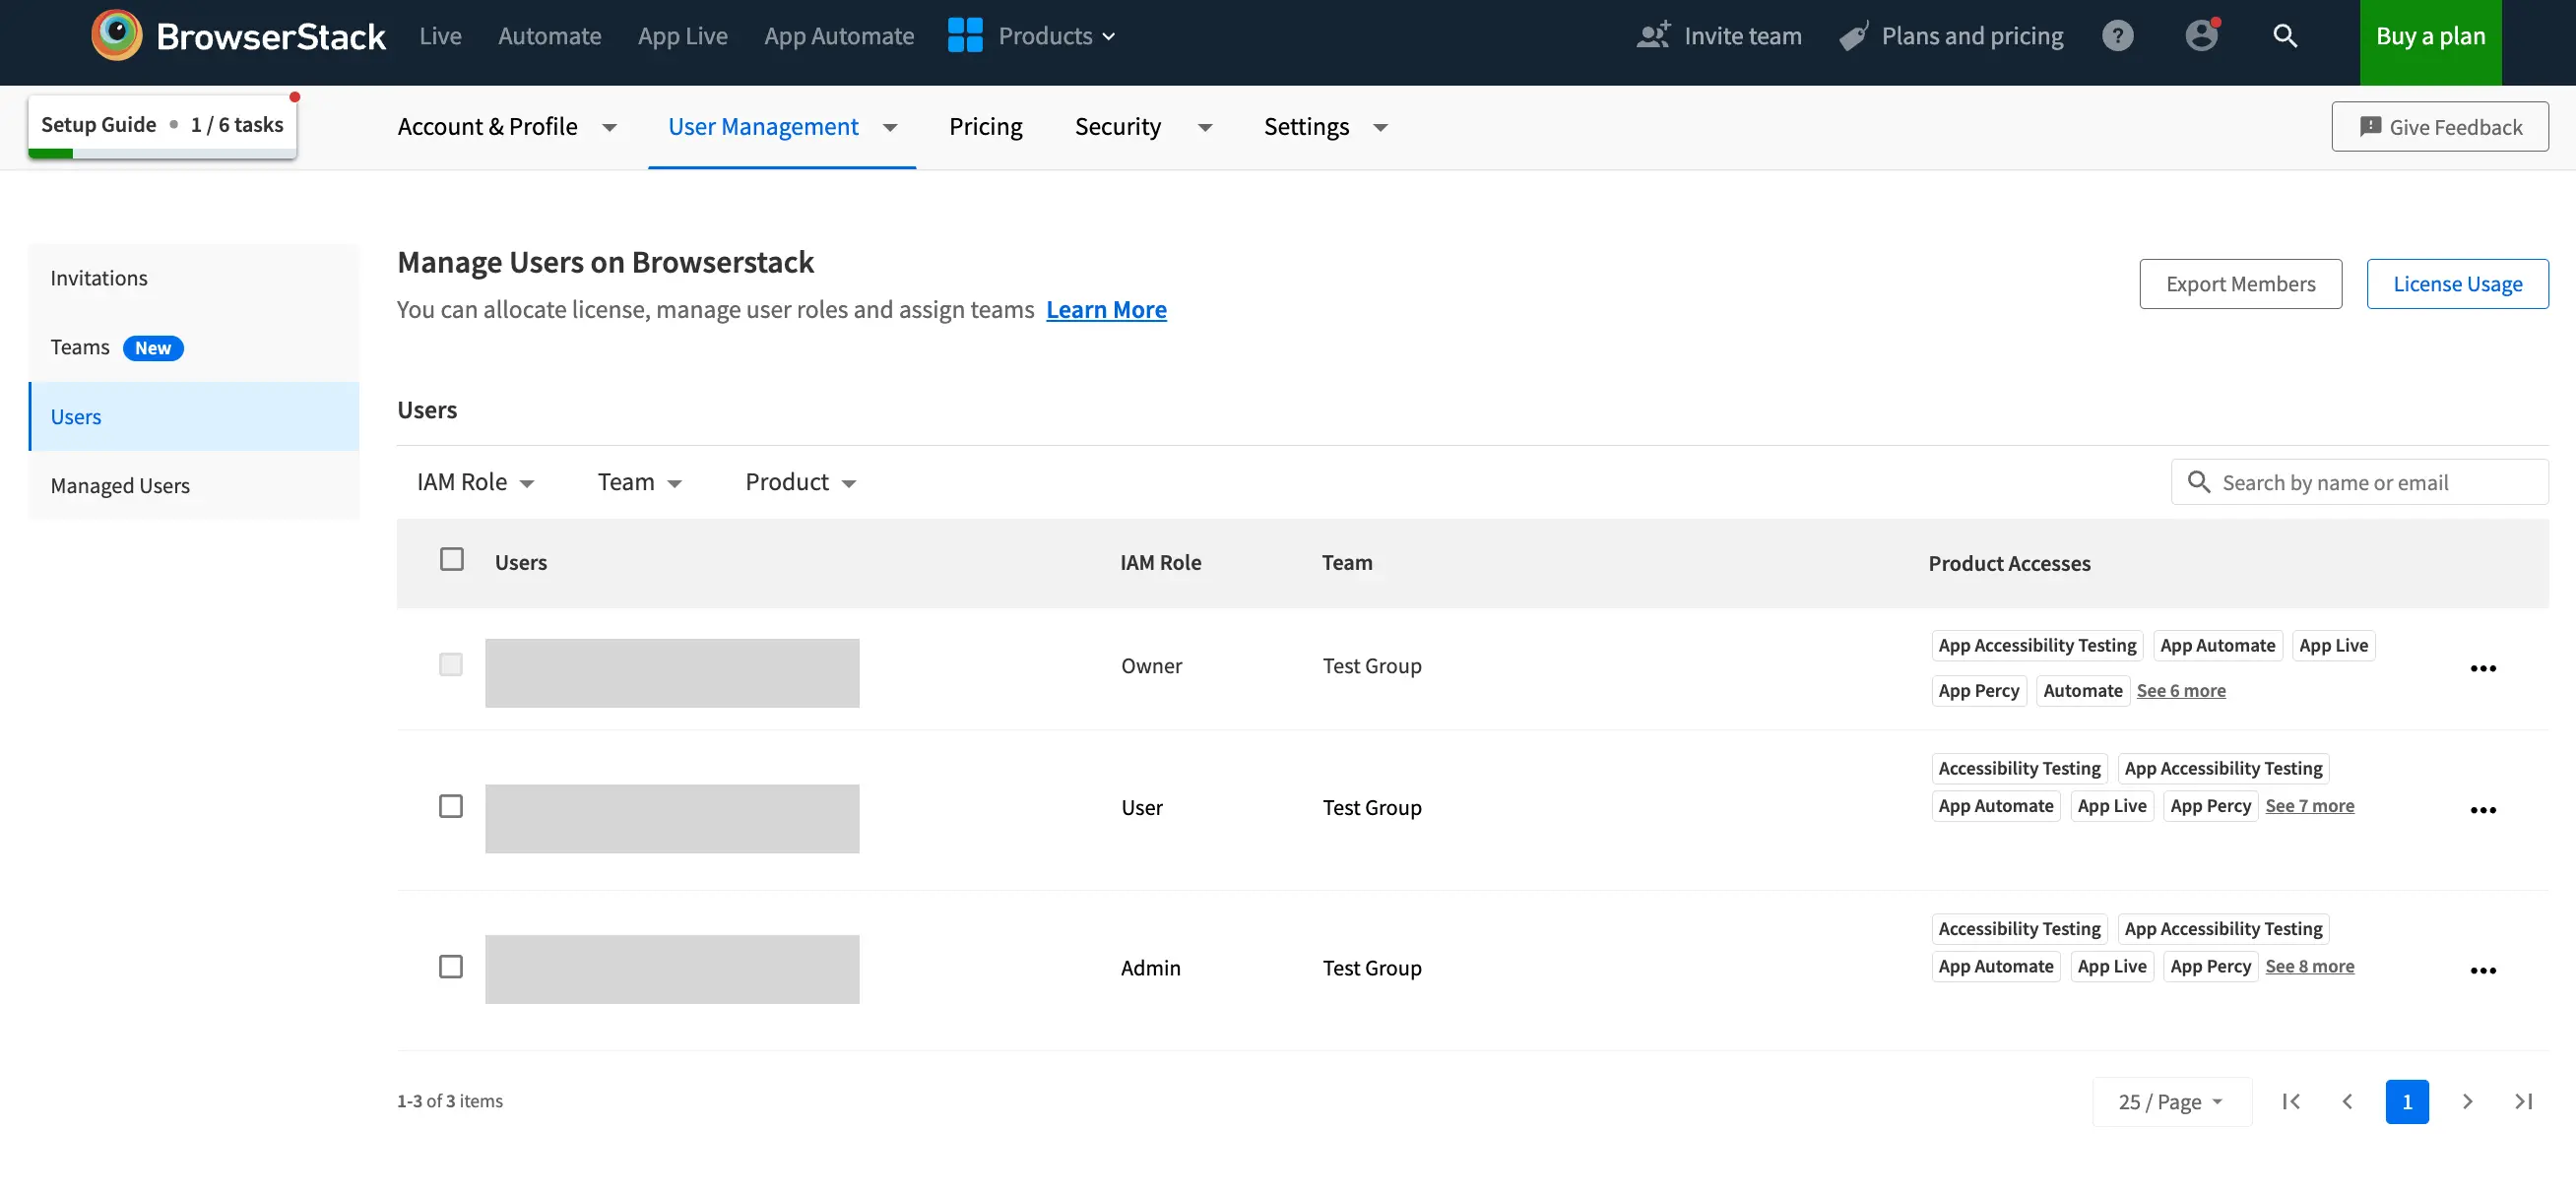
View IAM role
- You can view your IAM role from Account & Profile > My Profile section.
- Owner and Admin(s) can view the IAM roles assigned to other members from User Management > Users section.
Permissions to modify IAM roles
Owner and Admins can modify the IAM role for any user. Below is a table which summarizes the behaviour:
| IAM Role | Can modify role for |
|---|---|
| Owner | All members |
| Admin | All members (except Owner) |
| Team Admin | Only for their team members |
| User | None |
If Auto User Provisioning is enabled, members can be centrally added and managed from the Identity Provider(IdP) e.g. Okta, Azure AD.
Modify IAM roles
IAM Role in BrowserStack can be modified by performing the following steps:
- Log in to your BrowserStack account.
- Click the User Profile icon in the top-right corner, then select User Management and click Users.
- Find the user whose role needs to be modified)in the Users table.
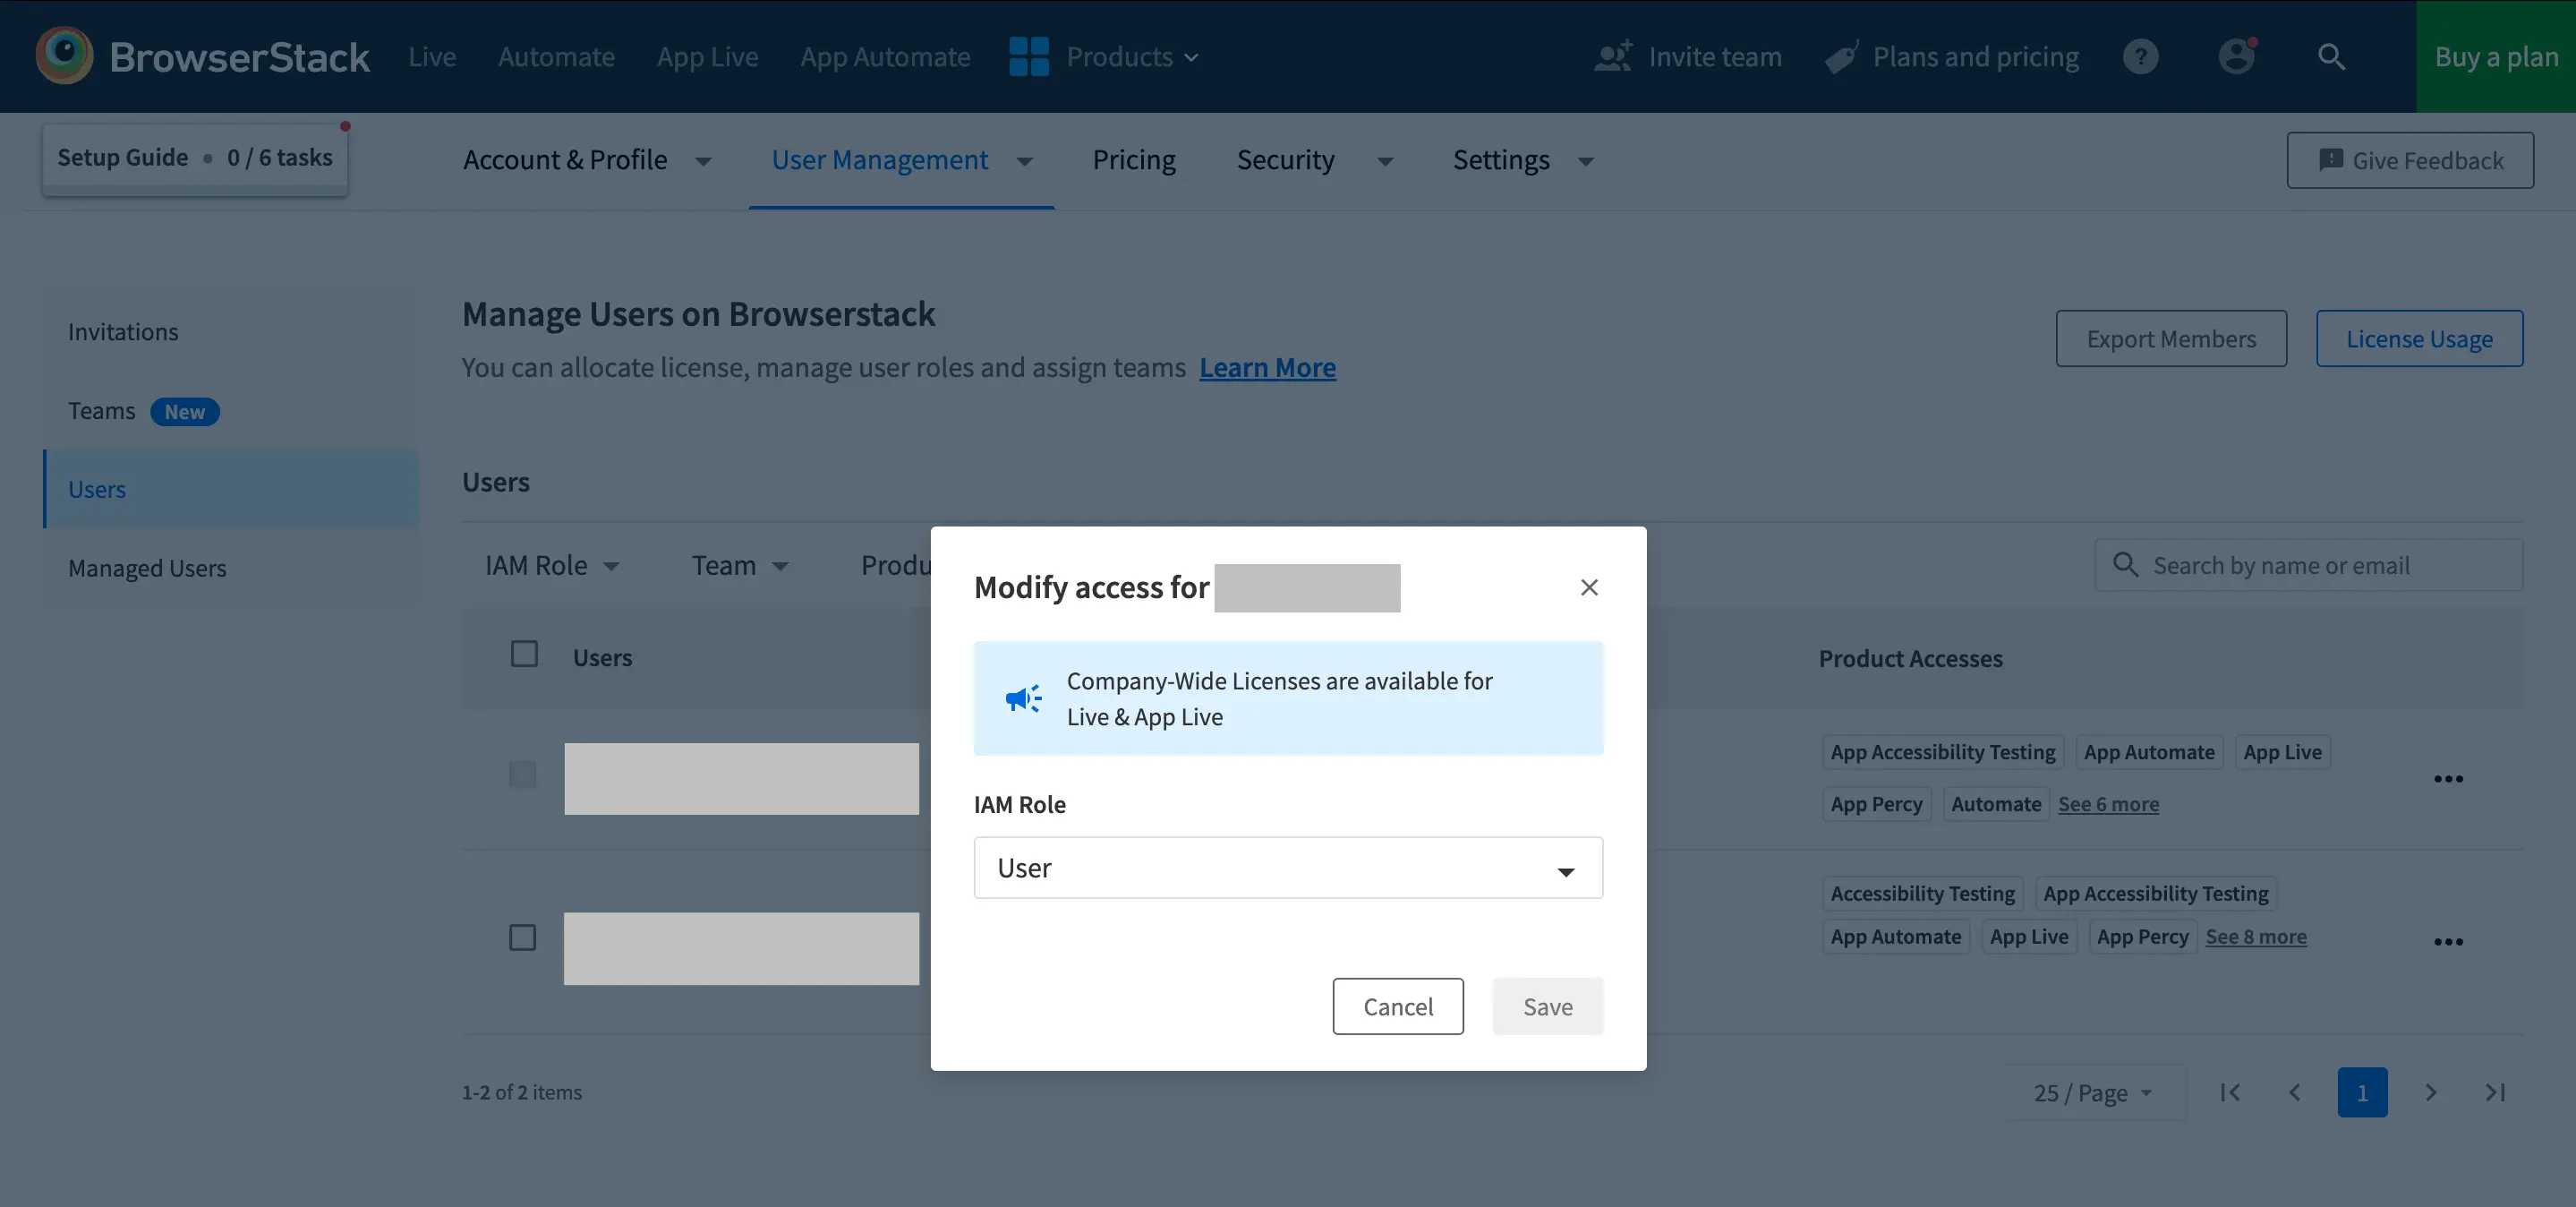
- Hover over the IAM Role entry for the user and click the Edit icon visible.
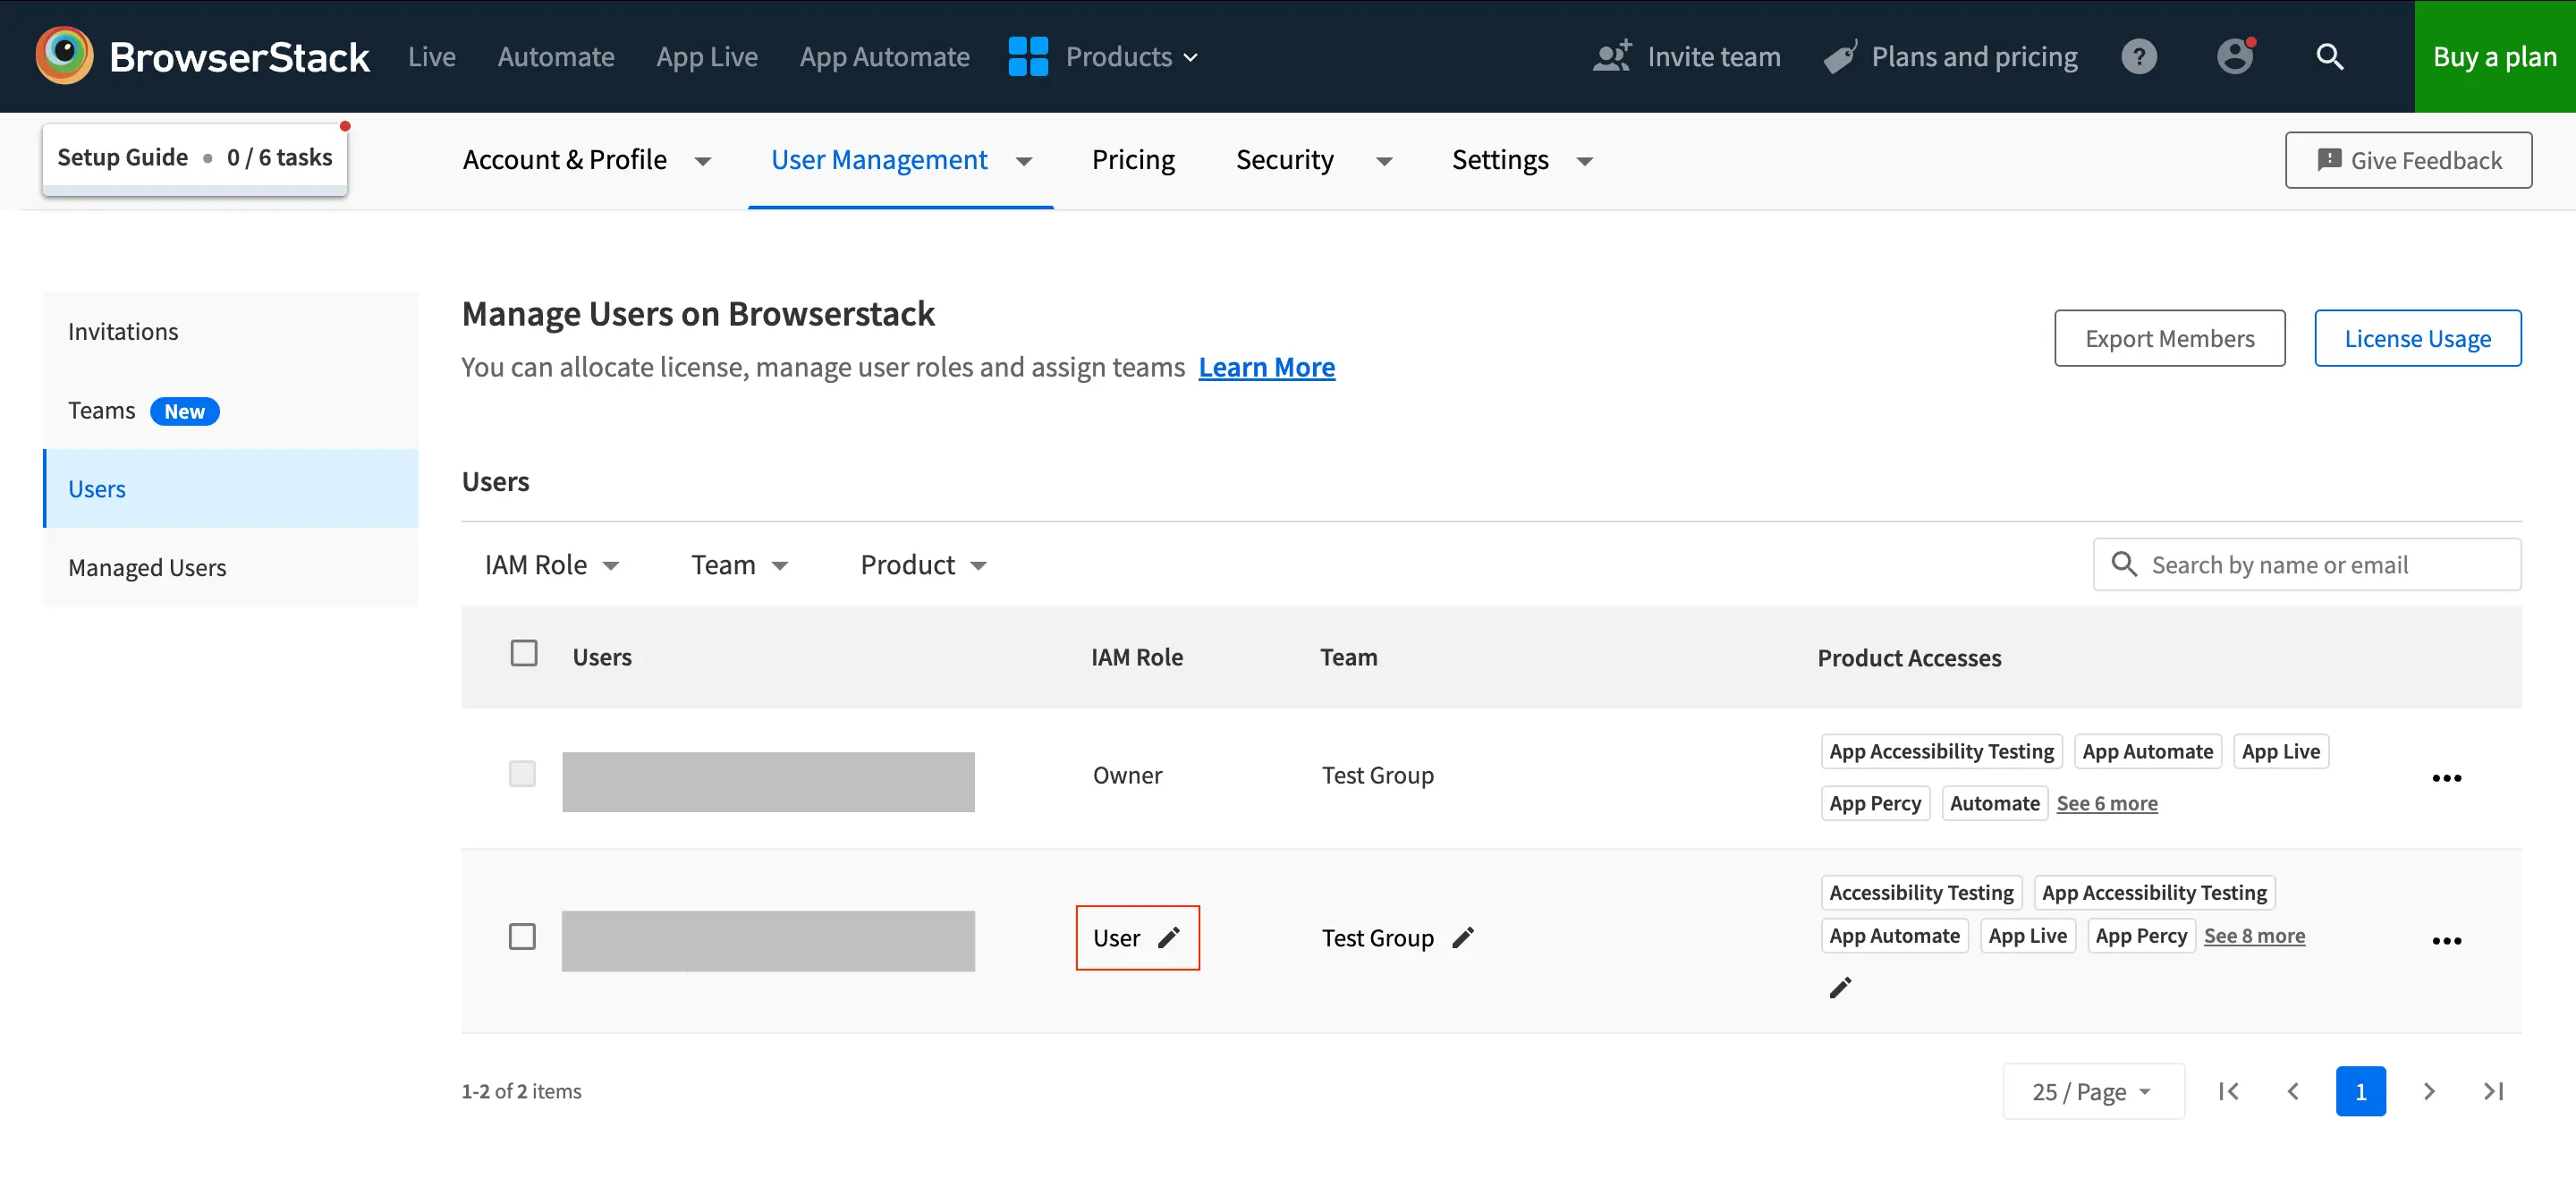
- Select the new role from the dropdown and click Save.
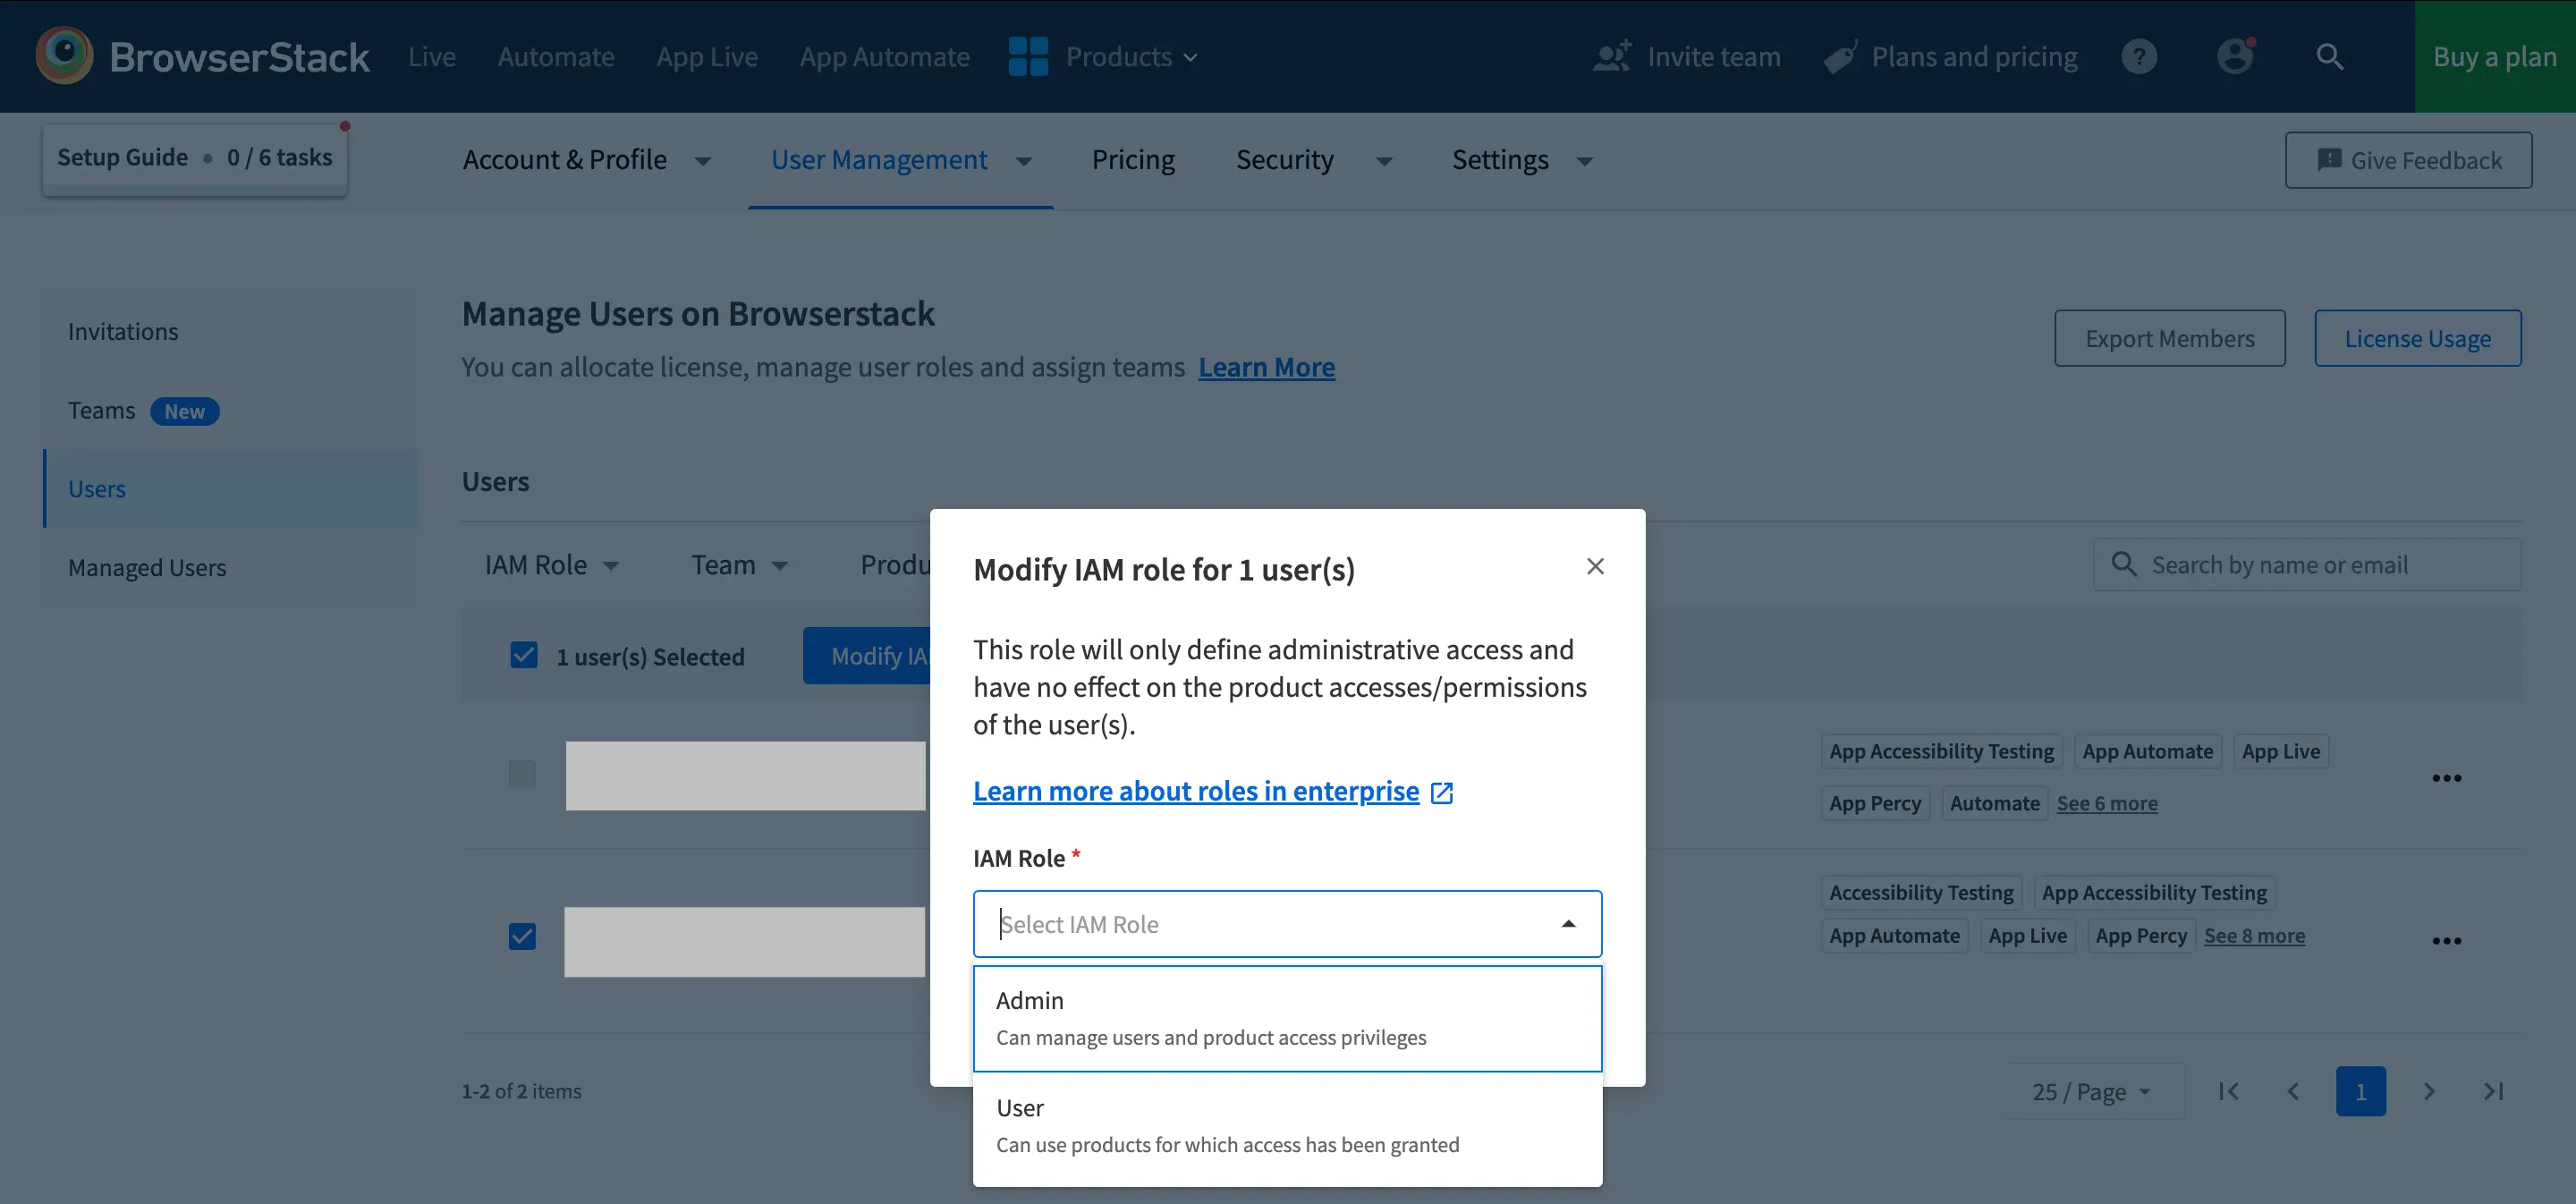
Modify IAM roles in bulk
BrowserStack allows you to perform bulk actions for modifying role by performing the following steps:
- Log in to your BrowserStack account.
- Click the User Profile icon in the top-right corner, then select User Management and click Users.
- Select the records you want to edit. You can apply filters to your table to filter out the records you want to edit.
- To edit a few individual records, select the checkboxes next to the records you want to edit.
- To edit all of the records, select the checkbox at the top left of the table.
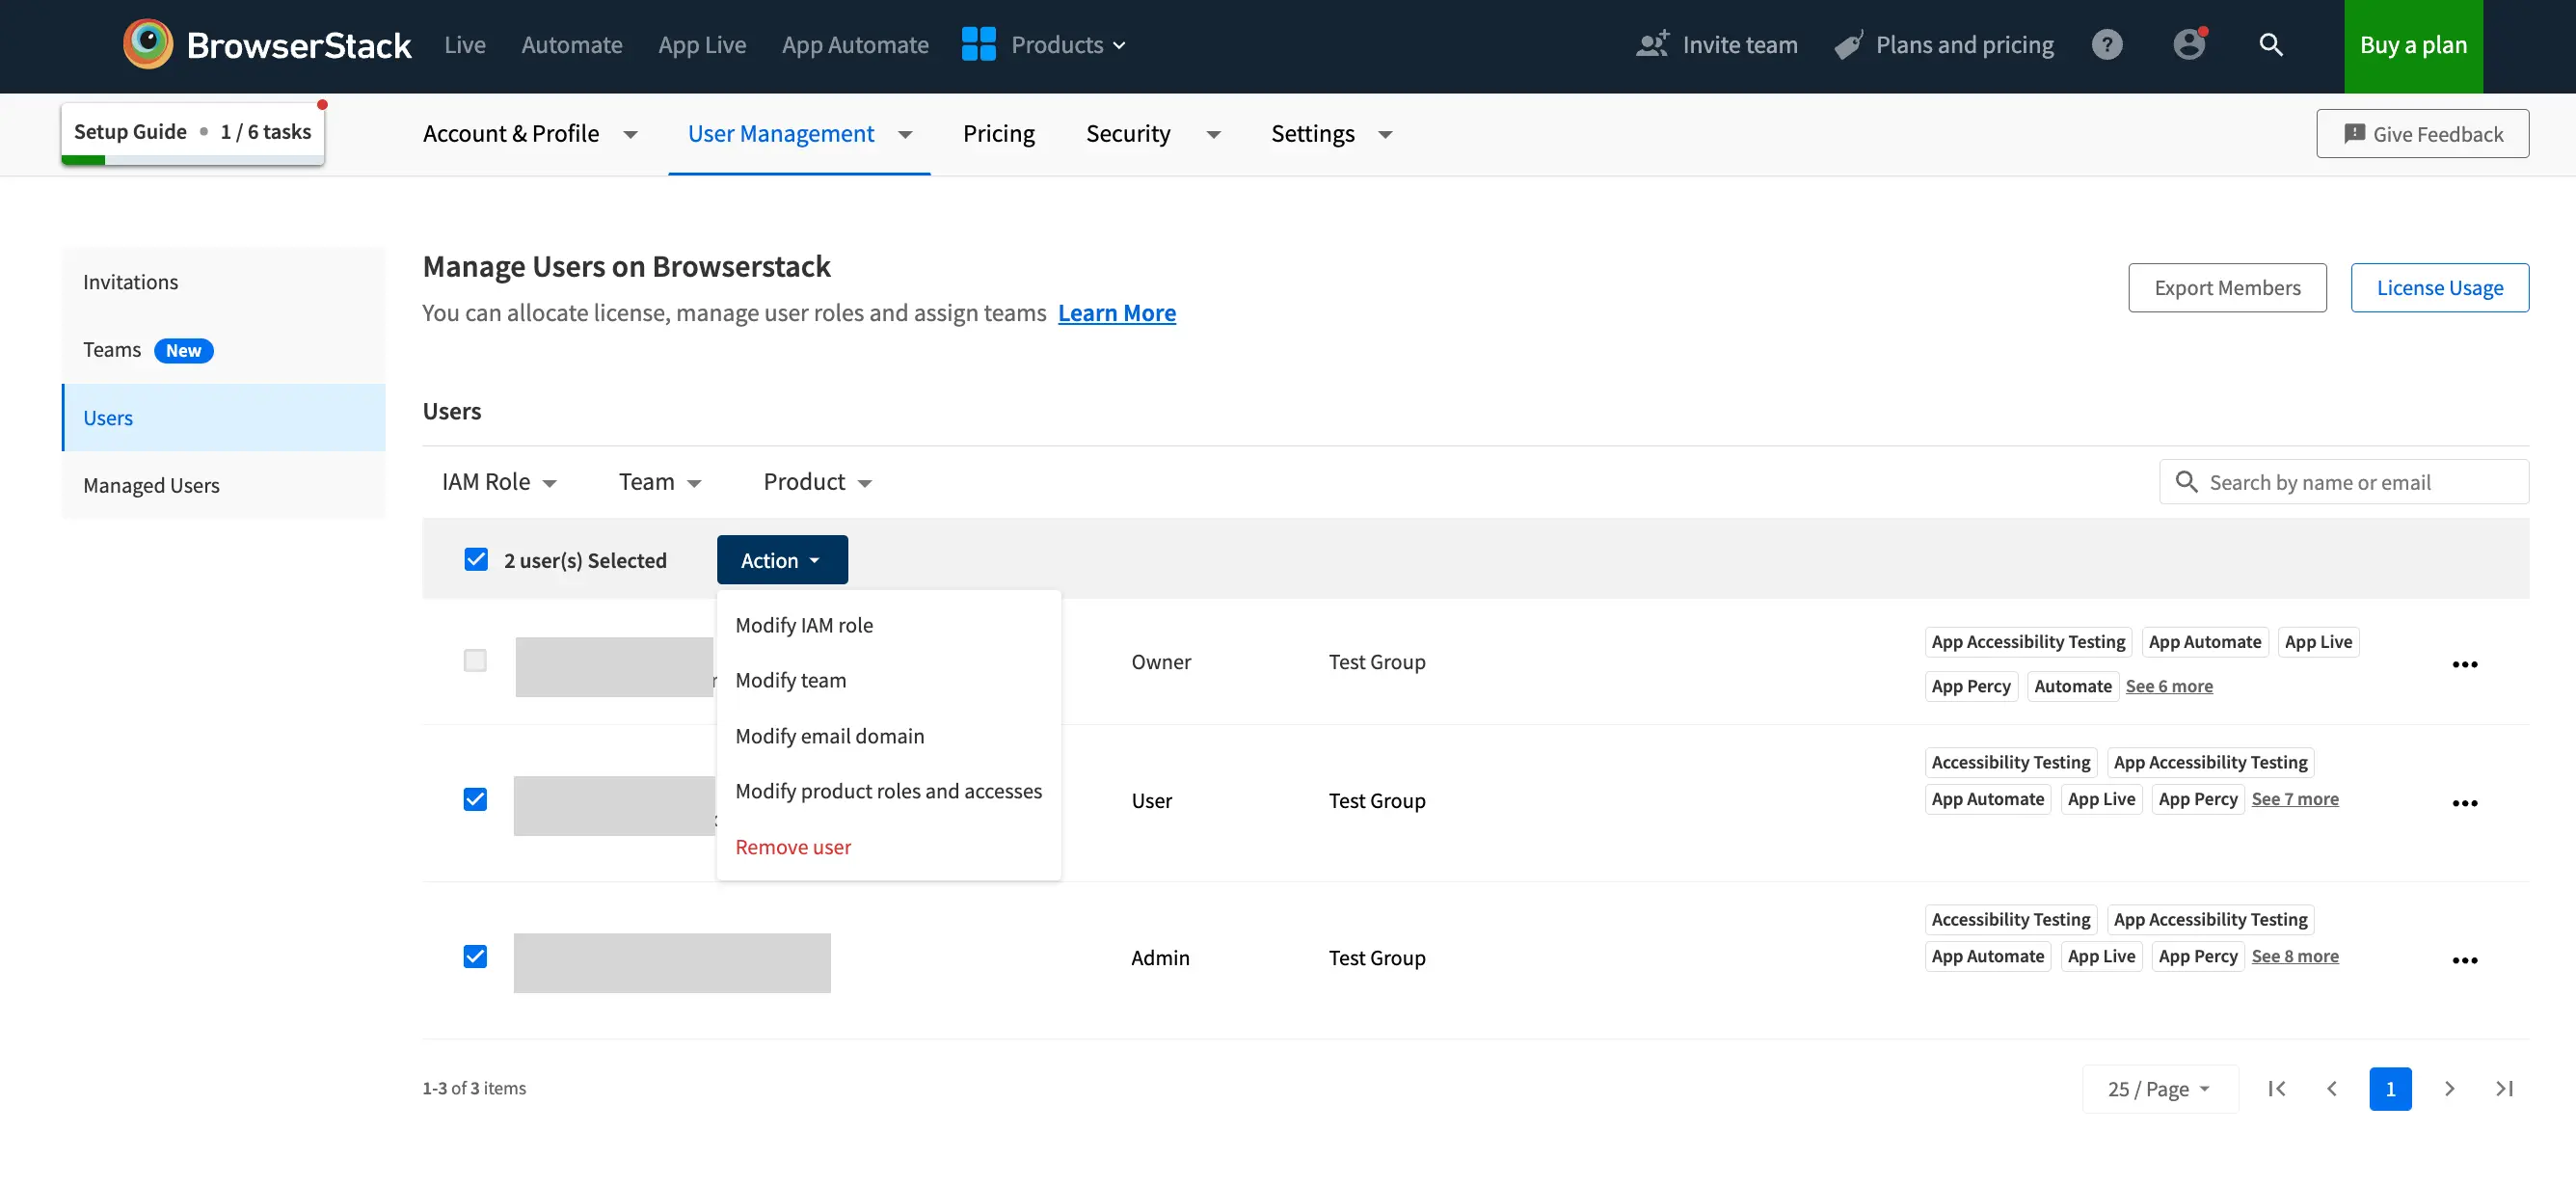
- Click Action at the top of the table and select Modify IAM role
- Select the IAM Role you want to assign to all the selected records from the dropdown and click Save
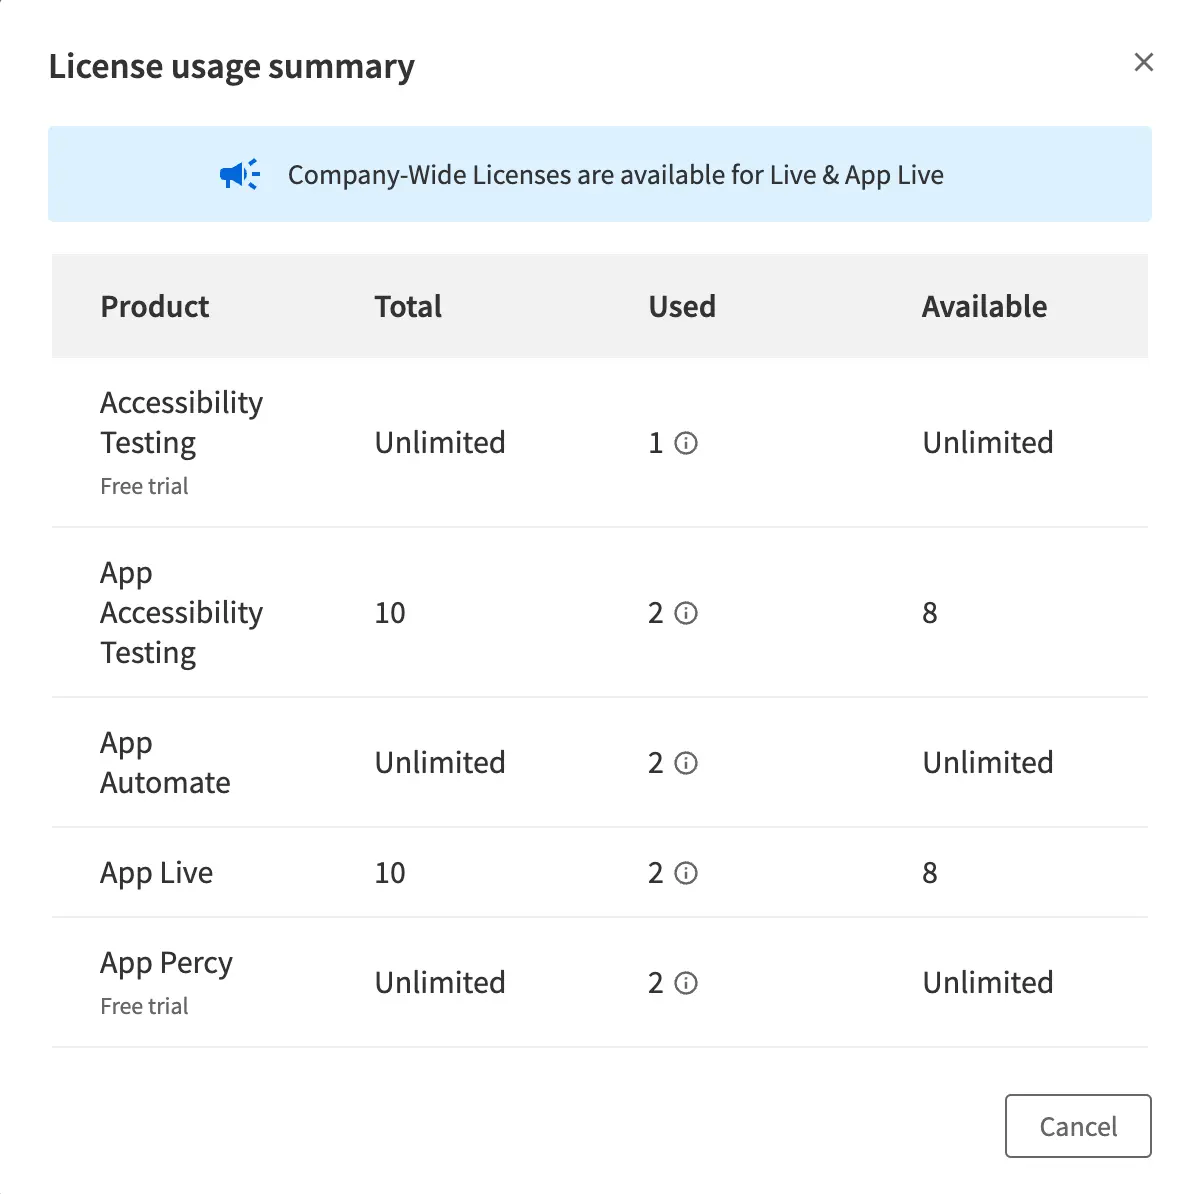
View license usage
View information about product-wise licenses used by users.
- Go to Account > User Management.
- On the navigation bar, click either the Invitations, Teams, Users or Managed Users tab.
- Click License Usage.
It displays the following license usage details.
Permissions to export users
An organization Owner or Admin can export a member list.
Export users
You can retrieve your organization’s user list in CSV format from the User Management tab.
- Go to Account > User Management.
- On the navigation bar, click Users.
- Click Export Members.
- Select the users that you would like to export in the Select the members to export dialog box.
-
Click the Export Users button. The users are downloaded in CSV format to your system.
The following is a sample CSV file of user list.

We're sorry to hear that. Please share your feedback so we can do better
Contact our Support team for immediate help while we work on improving our docs.
We're continuously improving our docs. We'd love to know what you liked
We're sorry to hear that. Please share your feedback so we can do better
Contact our Support team for immediate help while we work on improving our docs.
We're continuously improving our docs. We'd love to know what you liked
Thank you for your valuable feedback!