
 Join our Discord
Set up Local Testing in BrowserStack Live
Install BrowserStack Local as a desktop app or command-line binary to test your private websites on BrowserStack Live.
To reach your website on a private network, Live needs BrowserStack Local running on a machine that can access your website. You can run BrowserStack Local as a desktop app or as a command-line binary. To learn what happens behind the scenes, see How Local Testing works.
Choose a setup method
Both methods create the same secure connection. Pick the one that fits how you work:
| Method | Choose it if you | Supported OS |
|---|---|---|
| BrowserStack Local app | Prefer a graphical interface. The app connects to your session automatically when you open the dashboard. | Windows, macOS |
| Local binary | Prefer the command line, work on a machine without a desktop, or need Local flags to configure your connection. | Windows, macOS, Linux |
Prerequisites
Before you start, make sure you have the following:
- A BrowserStack account with access to Live.
- A machine that can reach your website. Install BrowserStack Local on this machine.
- For the Local binary only: your access key, available on your account settings page.
Set up with the BrowserStack Local app
The BrowserStack Local app is available for Windows and macOS. On Linux, set up Local Testing with the Local binary.
Choose the OS of the machine where you’re installing the app, and complete the following steps:
Download the installer
Select the tab for your OS, and download the BrowserStack Local app installer:
Download the Windows installer, BrowserStackLocal.msi:
Download the BrowserStack Local app for Windows
You can also download the installer from the Local Testing option on the Live vertical toolbar during a session.
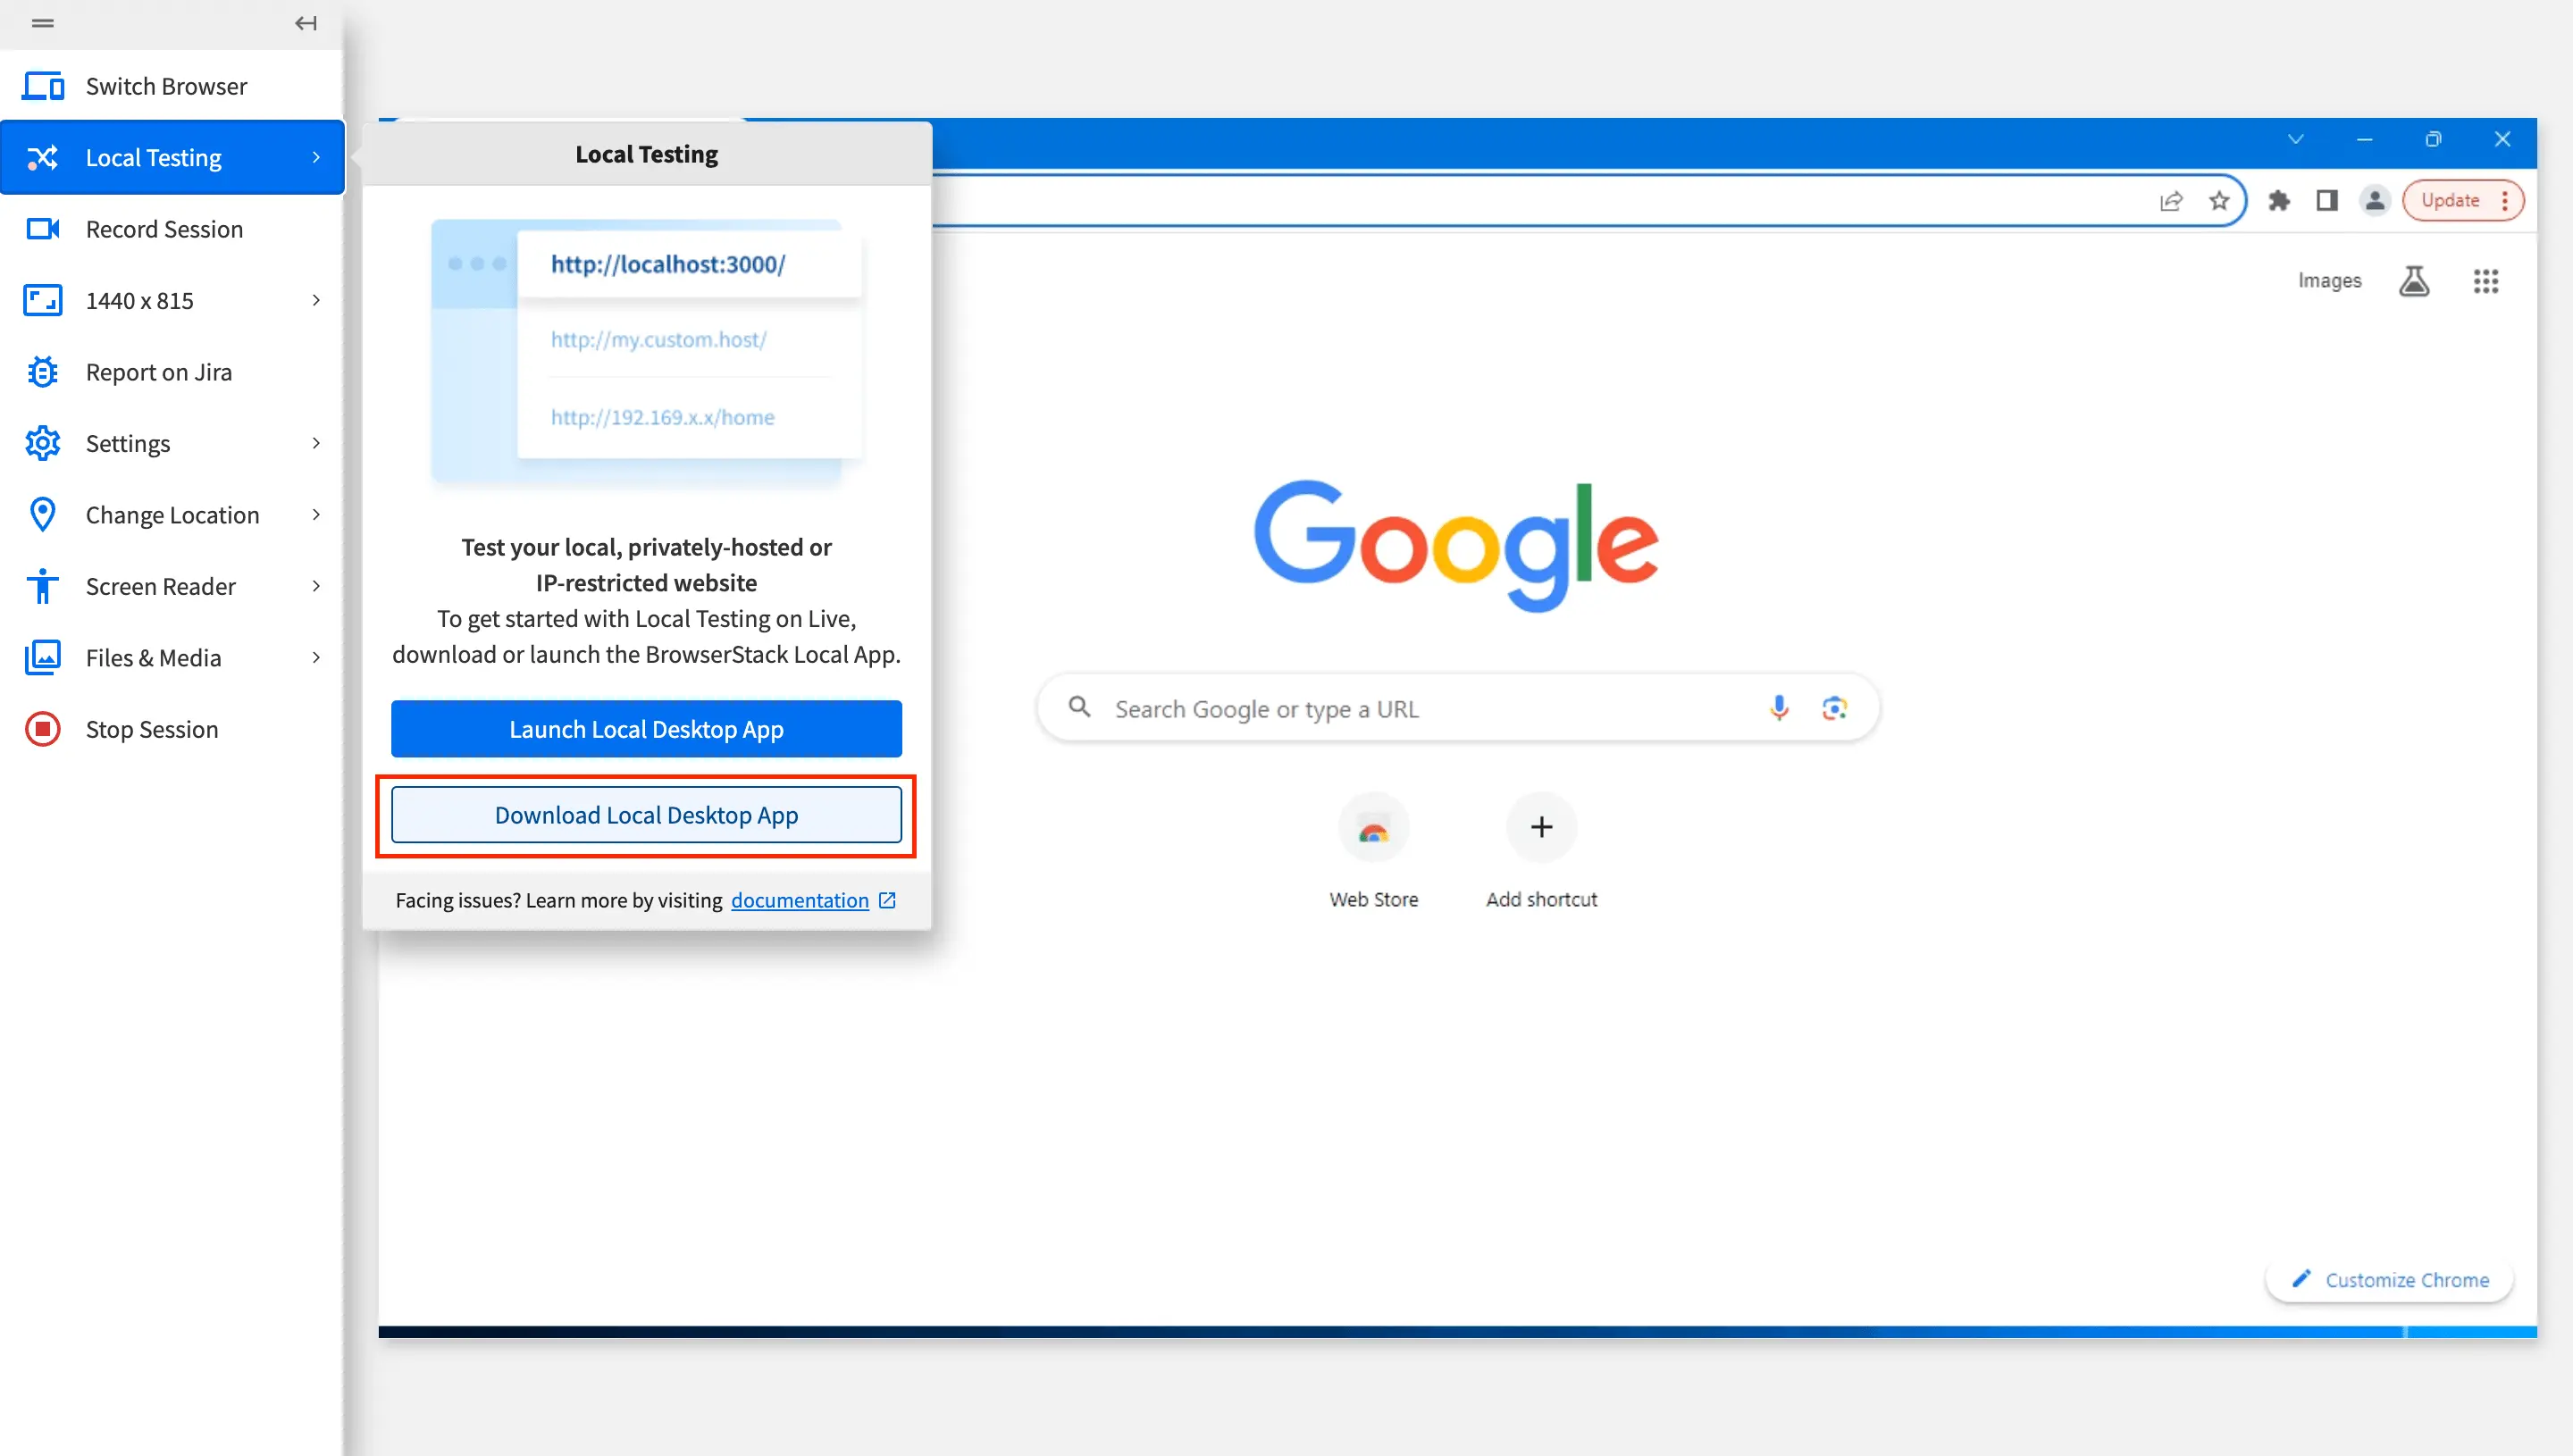
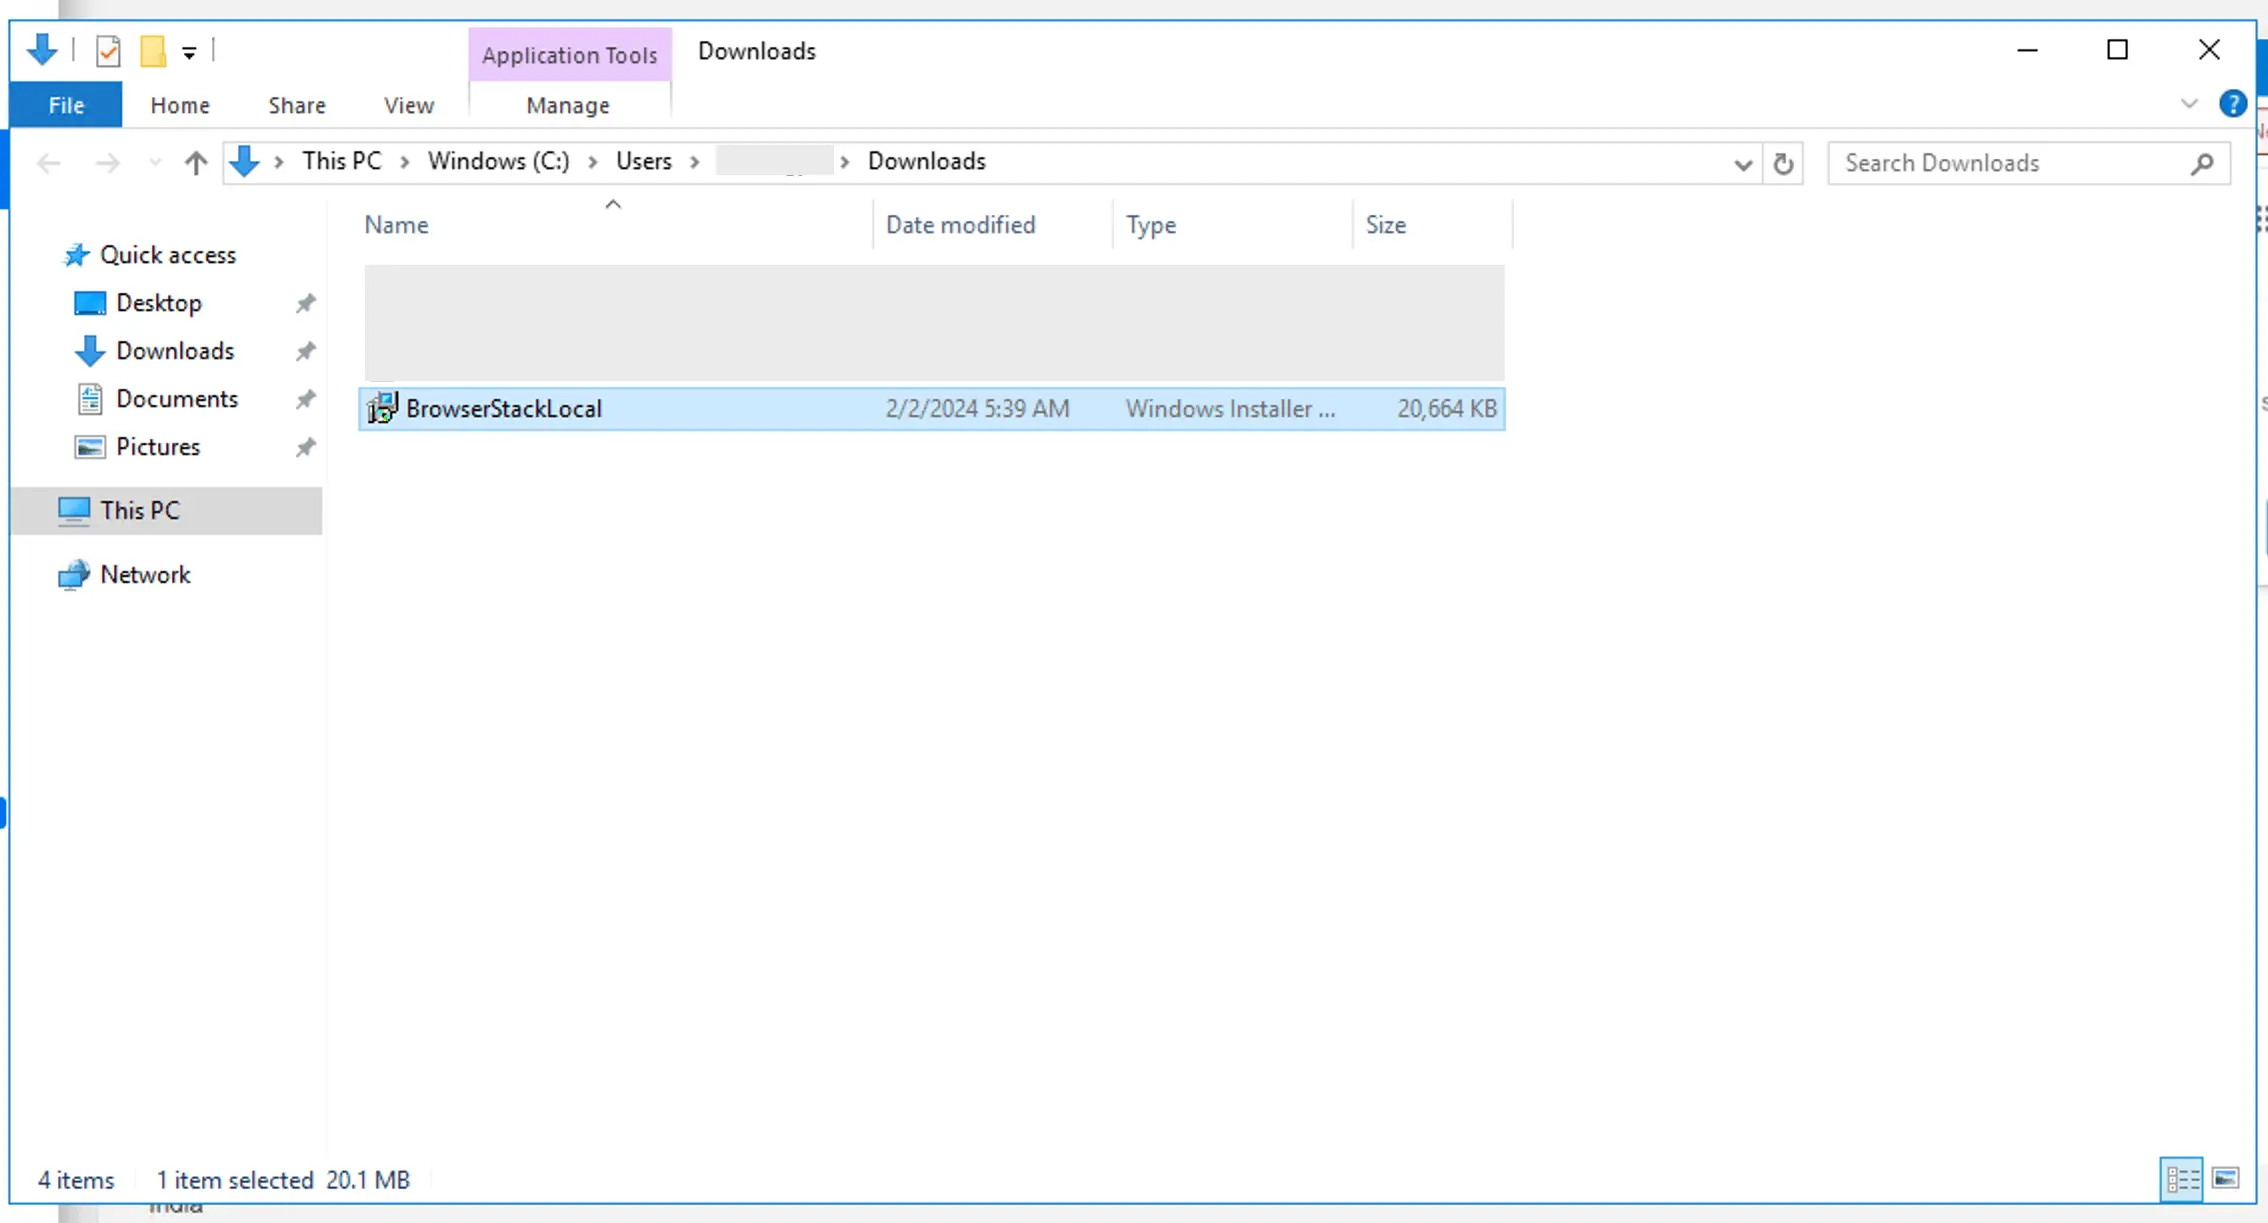
The installer is saved to your default downloads folder.
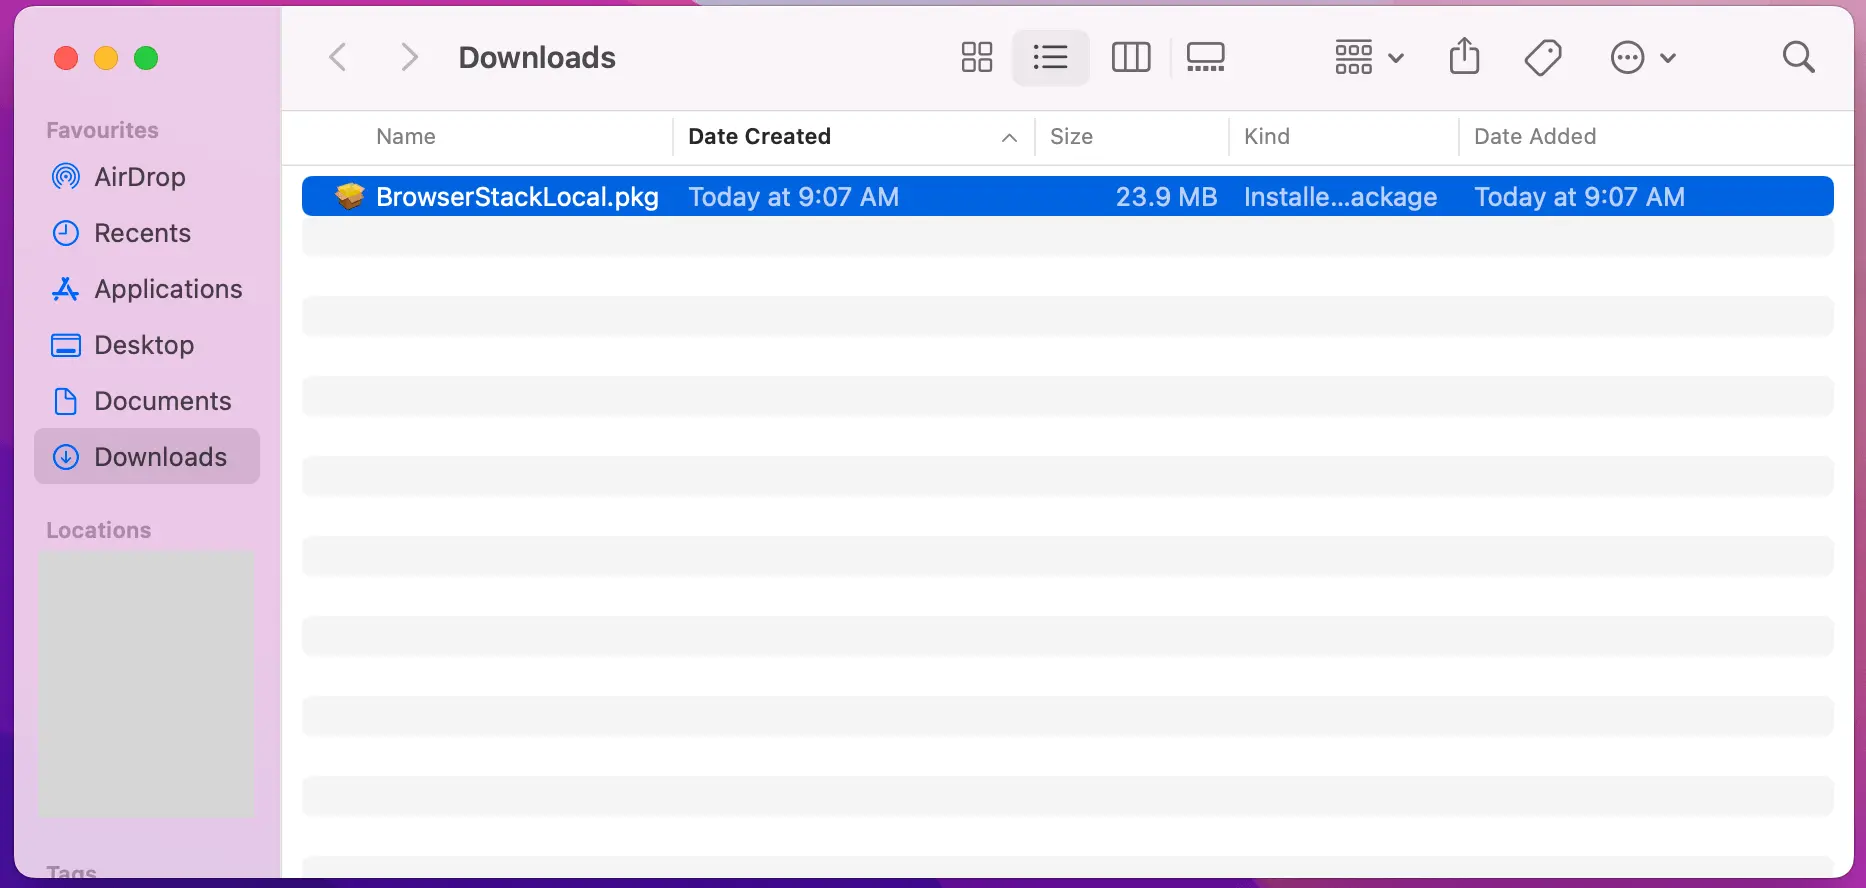
After you download the installer or during the installation, you might get some security warnings depending on your organization’s security restrictions. The download links are secure, so you can continue with the installation. The installer is digitally signed, identifying the publisher as BrowserStack Ltd.
Install the app
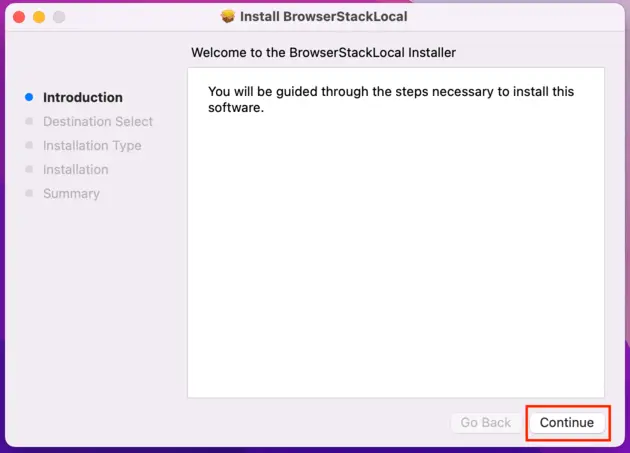
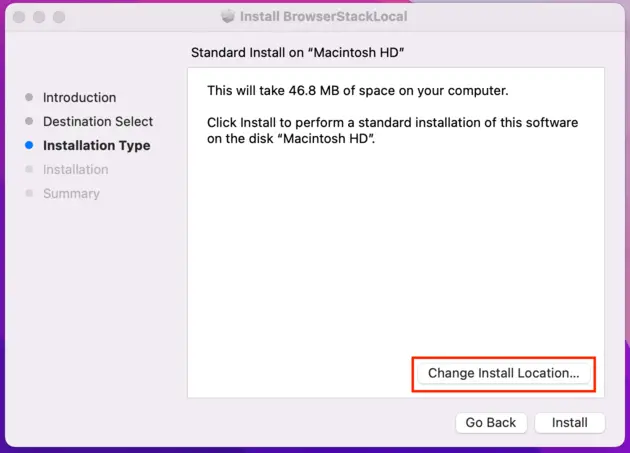
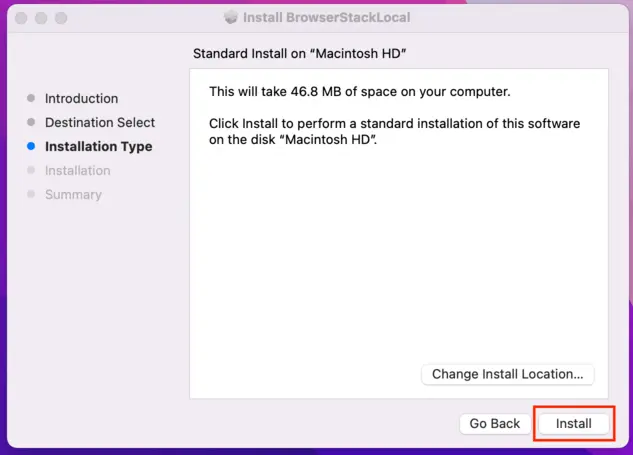
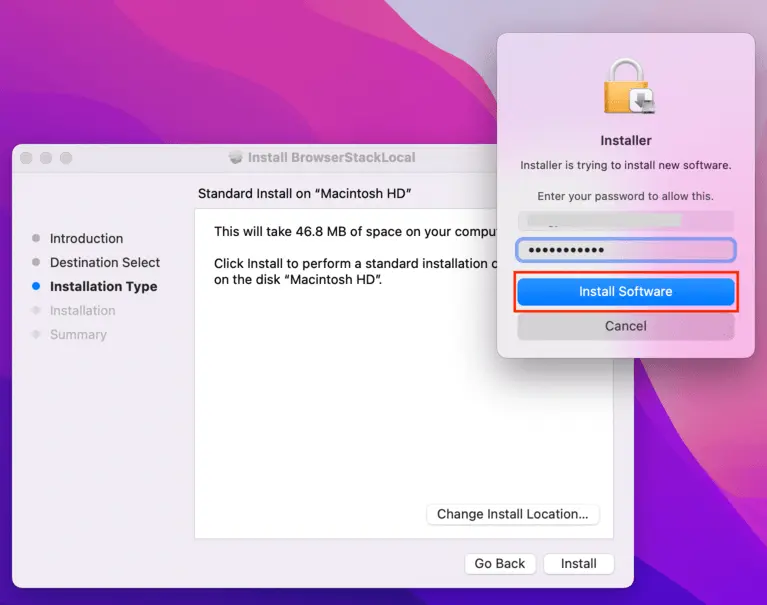
Select the tab for your OS, and follow the installation wizard:
-
Double-click the
BrowserStackLocal.msifile. If a security warning appears, click Run.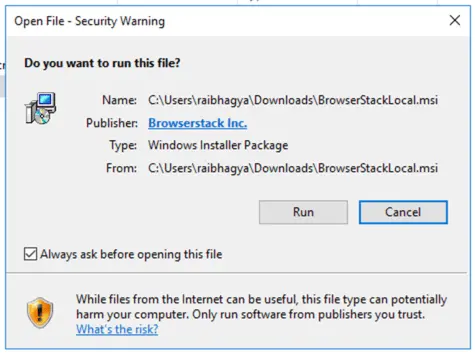
-
On the Welcome screen, click Next.
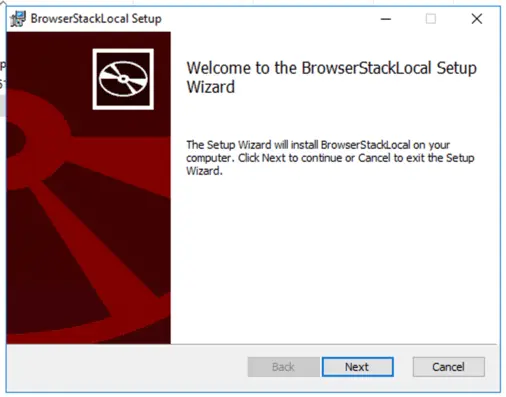
-
Select the destination folder for the app, and click Next.
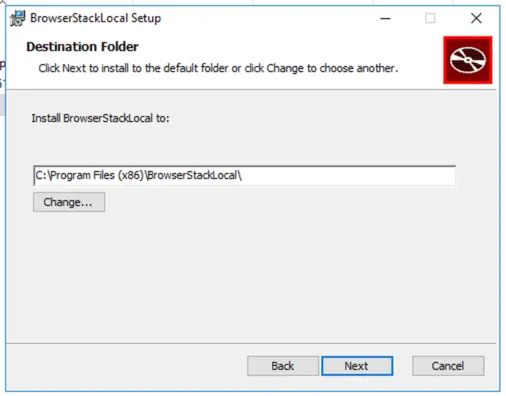
-
On the Ready to install BrowserStackLocal screen, click Install, and approve the authentication prompt.
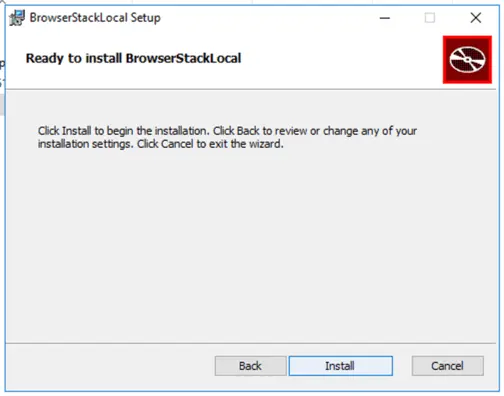
-
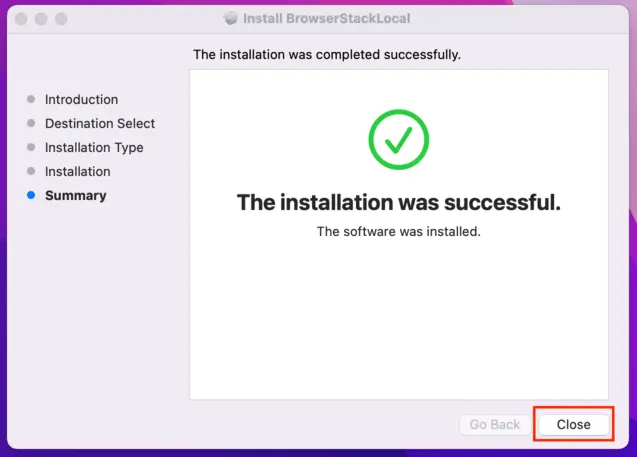
When the summary screen confirms the installation, click Finish.
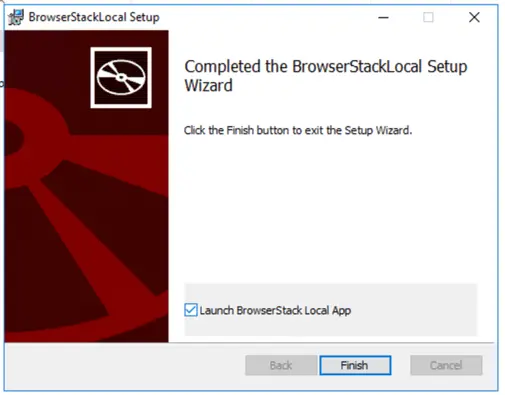
Launch the app and verify that it’s running
Select the tab for your OS to check that the app is running, or to launch it if it didn’t start automatically after installation:
If the app doesn’t start automatically, click the search button on the taskbar, type BrowserStackLocal, and select the app from the results. If the app isn’t listed, open it from the installation folder you selected.
When the app is running, its icon appears in the Windows system tray.
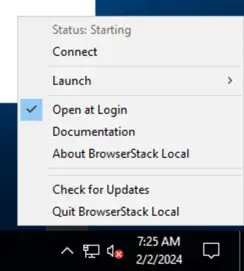
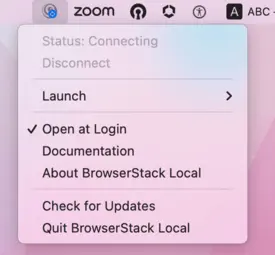
For details about the app’s options, see BrowserStack Local app UI options.
Connect the app to Live
Connect the app to Live so that your sessions can reach your website.
Open the Live dashboard in your browser. If the dashboard or a Live session is already open, the app connects automatically.
When the connection is set up, the app shows the Connected status.
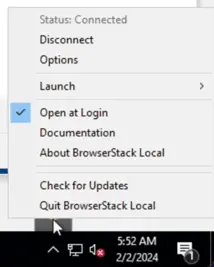
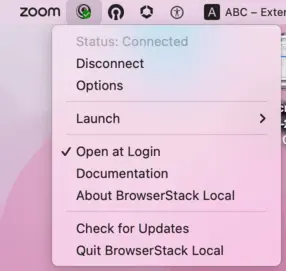
On the BrowserStackLocal app, if the status shows as Disconnected, then your setup might have network restrictions such as WebSockets traffic being blocked by the network or proxy server being used to access the internet. To resolve these issues, see Troubleshooting connectivity issues.
The BrowserStack Local app is now connected. Continue to Start testing.
Set up with the Local binary
Choose the OS of the machine where you’re running the binary, and complete the following steps:
Download the binary
Select the tab for your OS, and download the matching binary:
Download the BrowserStack Local binary for Windows.
After you download the binary or when you run the binary, you might get some security warnings depending on your organization’s security restrictions. You can still continue with the installation as the download links are secure. The binaries are digitally signed, identifying the publisher as BrowserStack Ltd.
Unzip the binary
The binary is packaged as a ZIP file, so extract it before you run it.
Save the extracted files to a folder that’s easy to find, such as your home folder.
Run the binary with your access key
Select the tab for your OS, and run the binary from the command line to open the Local Testing connection:
In Command Prompt or PowerShell, go to the folder that contains BrowserStackLocal.exe, and run the following command:
Replace YOUR_ACCESS_KEY with your access key. A success message in the command line confirms that BrowserStack Local is running.
Keep the command-line window open while you test. Closing it, or pressing Ctrl + C, stops the Local Testing connection.
Start testing
After BrowserStack Local is running, start a session by following these steps:
Start a Live session
Start a session from the dashboard to use your Local Testing connection.
Open the Live dashboard and launch a Live session. If a session was already running before you connected BrowserStack Local, the session restarts with Local Testing enabled.
On the Live vertical toolbar, a green indicator beside the Local Testing option confirms that Local Testing is enabled for your session.
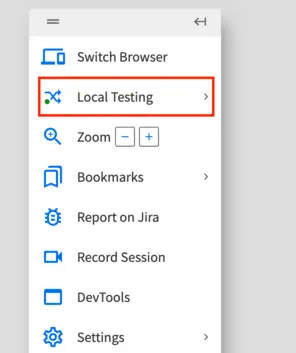
If the BrowserStackLocal app shows Connected but the Live session still asks you to install Local, enable Chrome’s Local network access permission:
- Click the padlock icon in the address bar.
- Enable the Local network access option.
- Reload the session tab. If the Local network access option isn’t available, update Chrome to the latest version.
Access your website
With Local Testing enabled, your session can now reach your website.
In the remote browser, enter your website address, such as localhost:3000, and test it as you would on your local machine.
On iOS, the localhost URL doesn’t work. The localhost URL automatically changes to http://bs-local.com. If the localhost URL doesn’t change automatically, replace localhost with bs-local.com manually. For example, instead of using localhost:3000, use bs-local.com:3000. Also, ensure that your local server is configured to serve requests from bs-local.com.
Next steps
If Local Testing is set up but your website still doesn’t load, your network might have restrictions. See the guide that matches your network:
To resolve common problems, see the following guides:
Related topics
We're sorry to hear that. Please share your feedback so we can do better
Contact our Support team for immediate help while we work on improving our docs.
We're continuously improving our docs. We'd love to know what you liked
Test web and mobile, from manual to automation, on real devices in one unified platform.
Contact UsWe're sorry to hear that. Please share your feedback so we can do better
Contact our Support team for immediate help while we work on improving our docs.
We're continuously improving our docs. We'd love to know what you liked
Thank you for your valuable feedback!