Use reports in Test Reporting & Analytics
Capture point-in-time snapshots of test execution, quality, performance, and release readiness data.
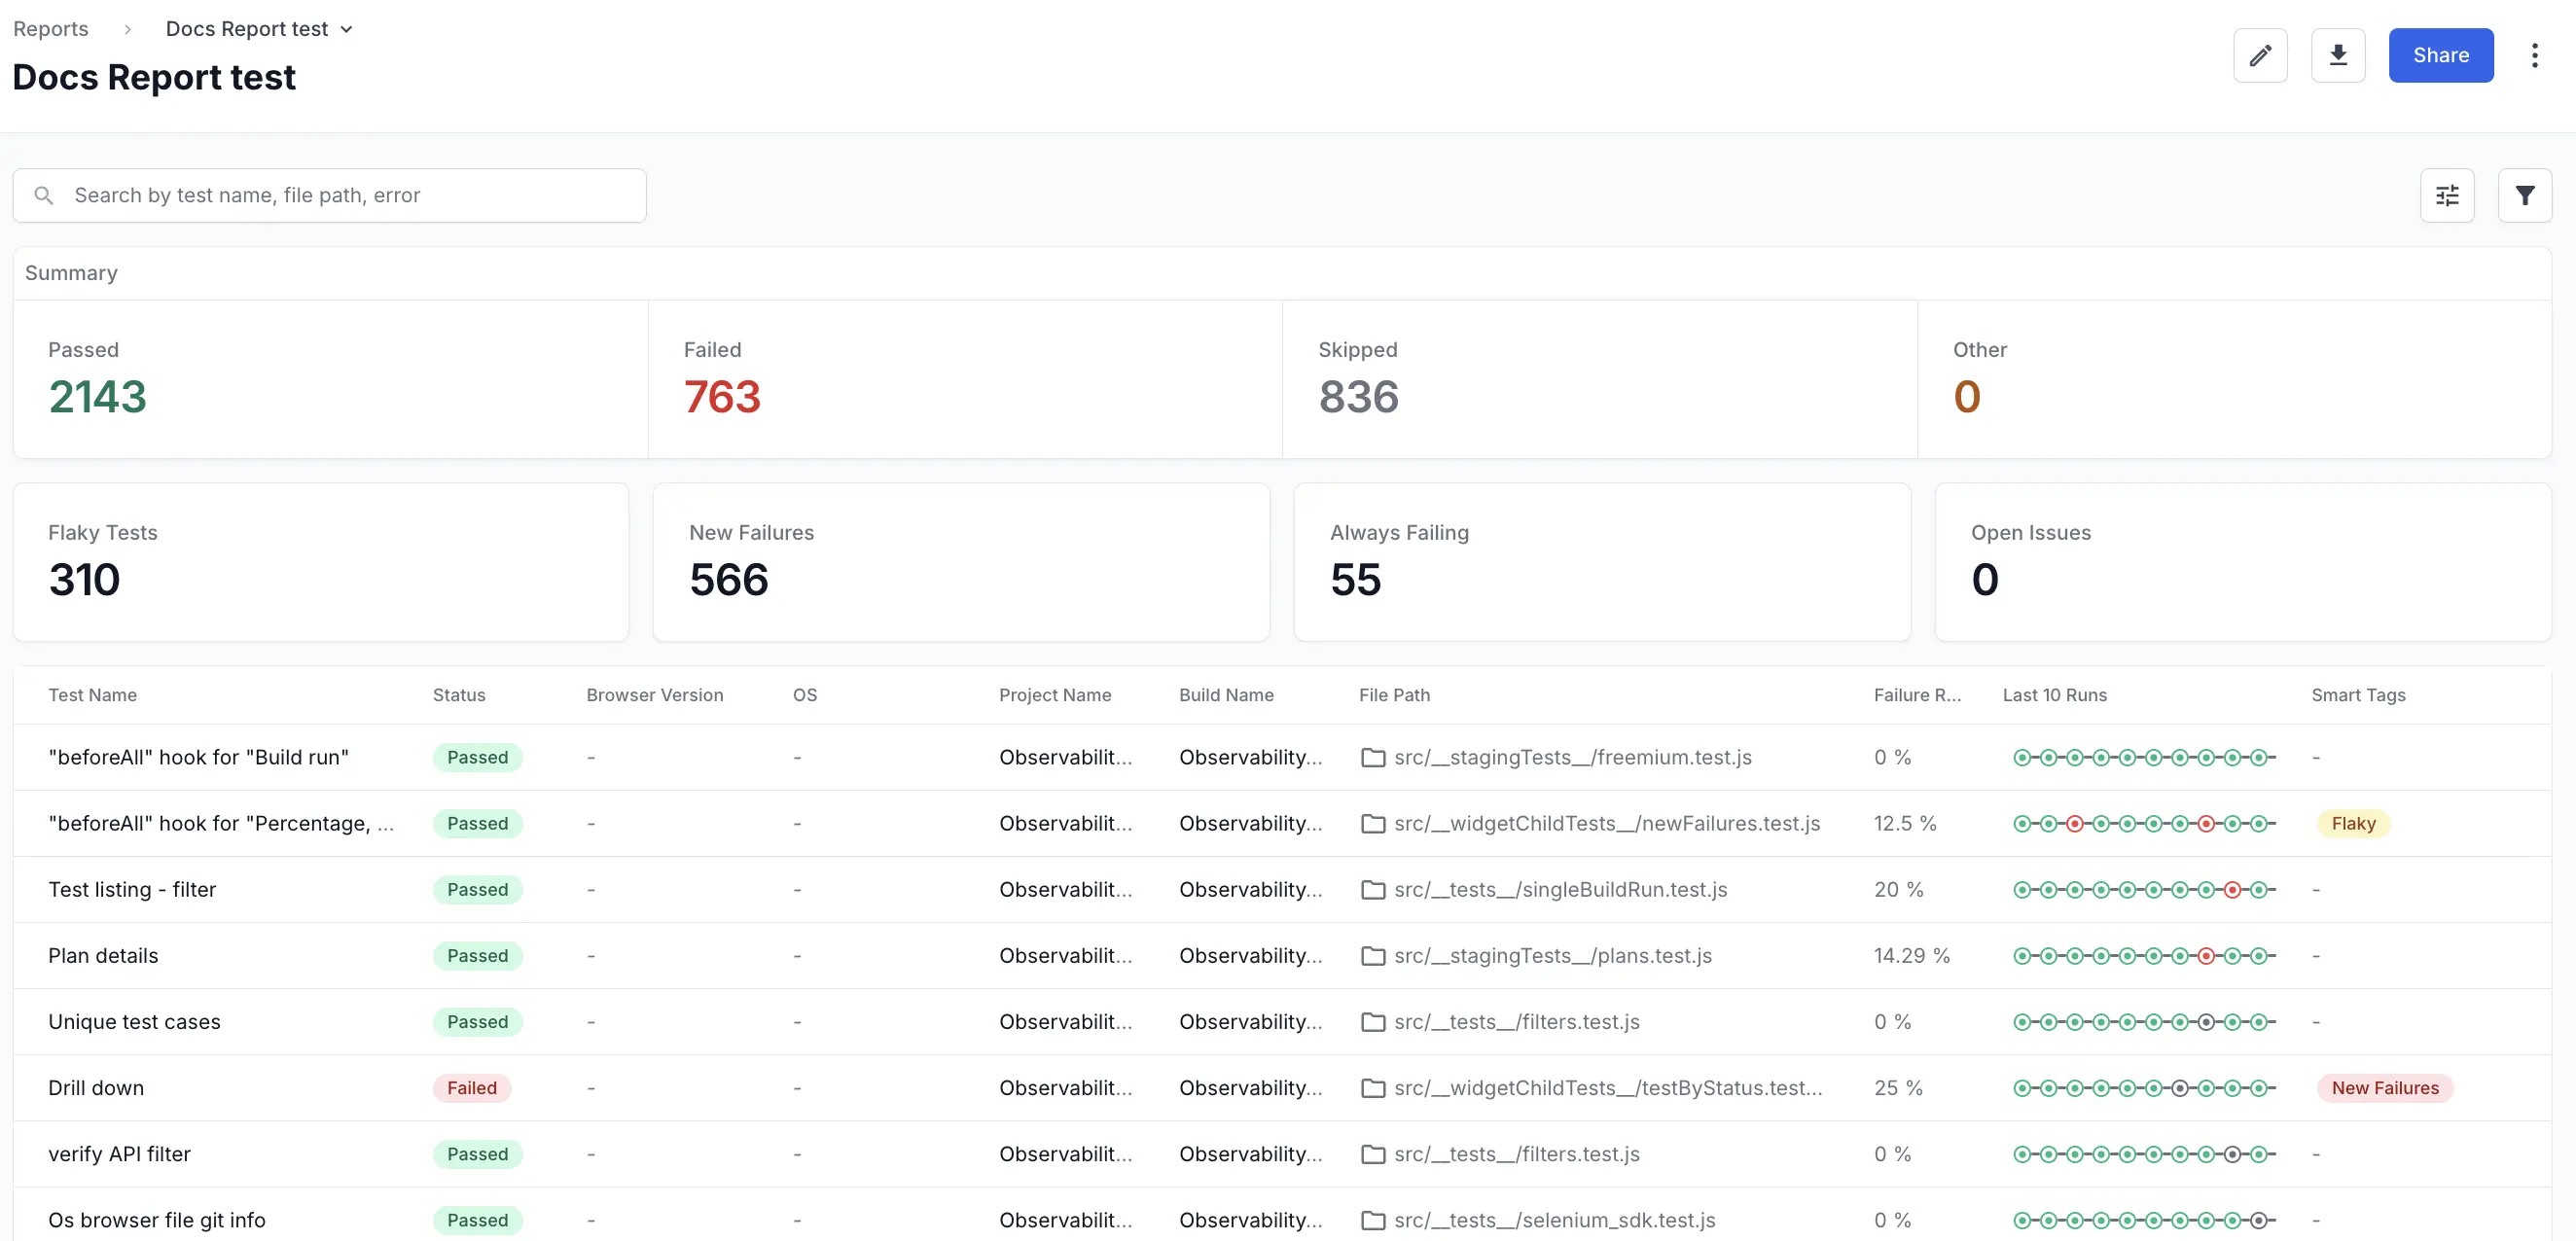
A report is a structured, configurable artifact that you can export, share, and archive.
You can create a report by picking data sources (projects, builds, tags, metadata), choose table columns, add stat tiles (summary metrics such as flaky tests, new failures, always failing, open issues). After creating a report, you can view them with your own filters, drill down, export, and share without changing the saved definition. A report stays fixed until you edit it.
Different types of reports
The following types of reports are currently available:
- Test execution report: Aggregates test executions across selected builds/projects to highlight coverage and surface stability, flakiness, failures, and open issues.
- Build comparison report: Compares two or more builds to highlight regressions, new failures, performance shifts, or coverage changes.
Each report type offers:
- Data sources: Tests, builds, projects, Jira defects (expanding over versions).
- Filters: Project, build name, tags/labels, time frame, branch, metadata, and ownership.
- Stat tiles: High‑value metrics (for example, flaky tests, new failures, always failing, open issues).
- Tabular view: Customizable columns such as test name, status, failure stack trace, build, project, file path, device/browser, failure rate, avg duration, flakiness percentage, last 10 runs sequence, tags, custom metadata fields, failure category, open issues, test type, assignee, priority, requirement, and creation/update times.
- Drilldown: Click a test row to open test health or debugger, or click a stat tile to apply a filter like ‘New Failures’.
Difference between dashboards and reports
The following table summarizes the key differences between dashboards and reports in Test Reporting & Analytics:
| Feature | Dashboards (Dynamic Monitoring) | Reports (Authoritative Snapshots) |
|---|---|---|
| Primary Purpose | Real-time, iterative monitoring during active development and CI cycles. | Point-in-time, formal artifacts for audits, approvals, milestone reviews, and coverage evidence. |
| Format & Display | Primarily chart/graph widgets (time-series, live trend visualization). | Primarily tabular data with a focused set of stat tiles and limited charts. |
| Interaction | Highly customizable layouts and on-the-fly experimentation. | Defined once in Edit Mode; View Mode prevents accidental structural changes. |
| Versioning | Not versioned; always reflects the most current, live data. | Planned support for snapshots (multiple versions annotated, for example, “Release v13”). |
| Distribution | Mostly in-platform usage by active team members. | Designed for export (PDF, CSV), sharing (public/private link), and archival. |
| Workflow Fit | Continuous observation, triage, and quick pivoting. | Sprint completion, release readiness, compliance, and historical comparison. |
| Strategic Principles | Use dashboards for dynamic monitoring; focus on real-time insights. | Use reports for authoritative snapshots; focus on formal documentation. |
How to create a report
Follow these steps in Edit Mode:
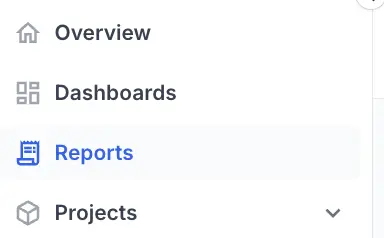
- Open Reports from the sidebar.
- Select Create Report.

- Choose a report type.

- Define data sources:
- Enter a name for the data source.
- Select a data source type, dynamic (queries data using filters) or static (selects specific runs).
- Add filters (project, build name, tags, custom metadata, branch, time frame) for dynamic data source or select specific runs for static data source.
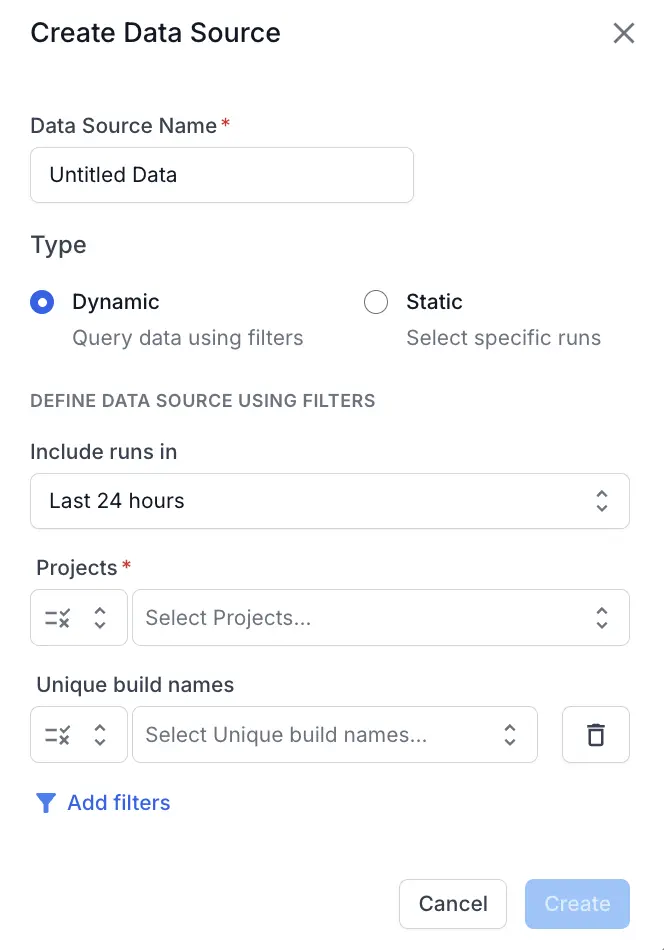
- Click Create.
- Click Save and finish.

- Enter a name for the report.
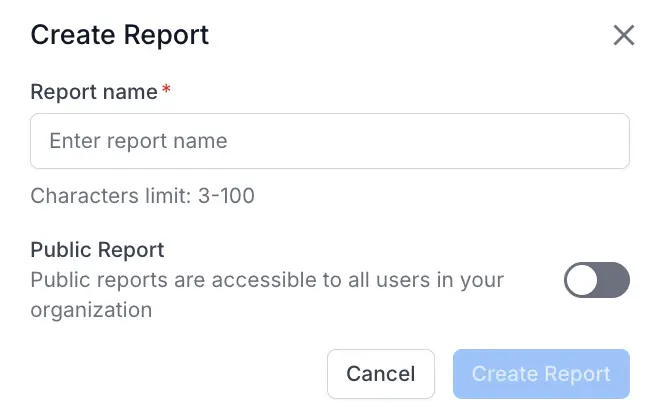
- Switch on Public Report if you want to share it within your organization.
- Click Create Report.
How to view a report
Follow these steps to view a report:
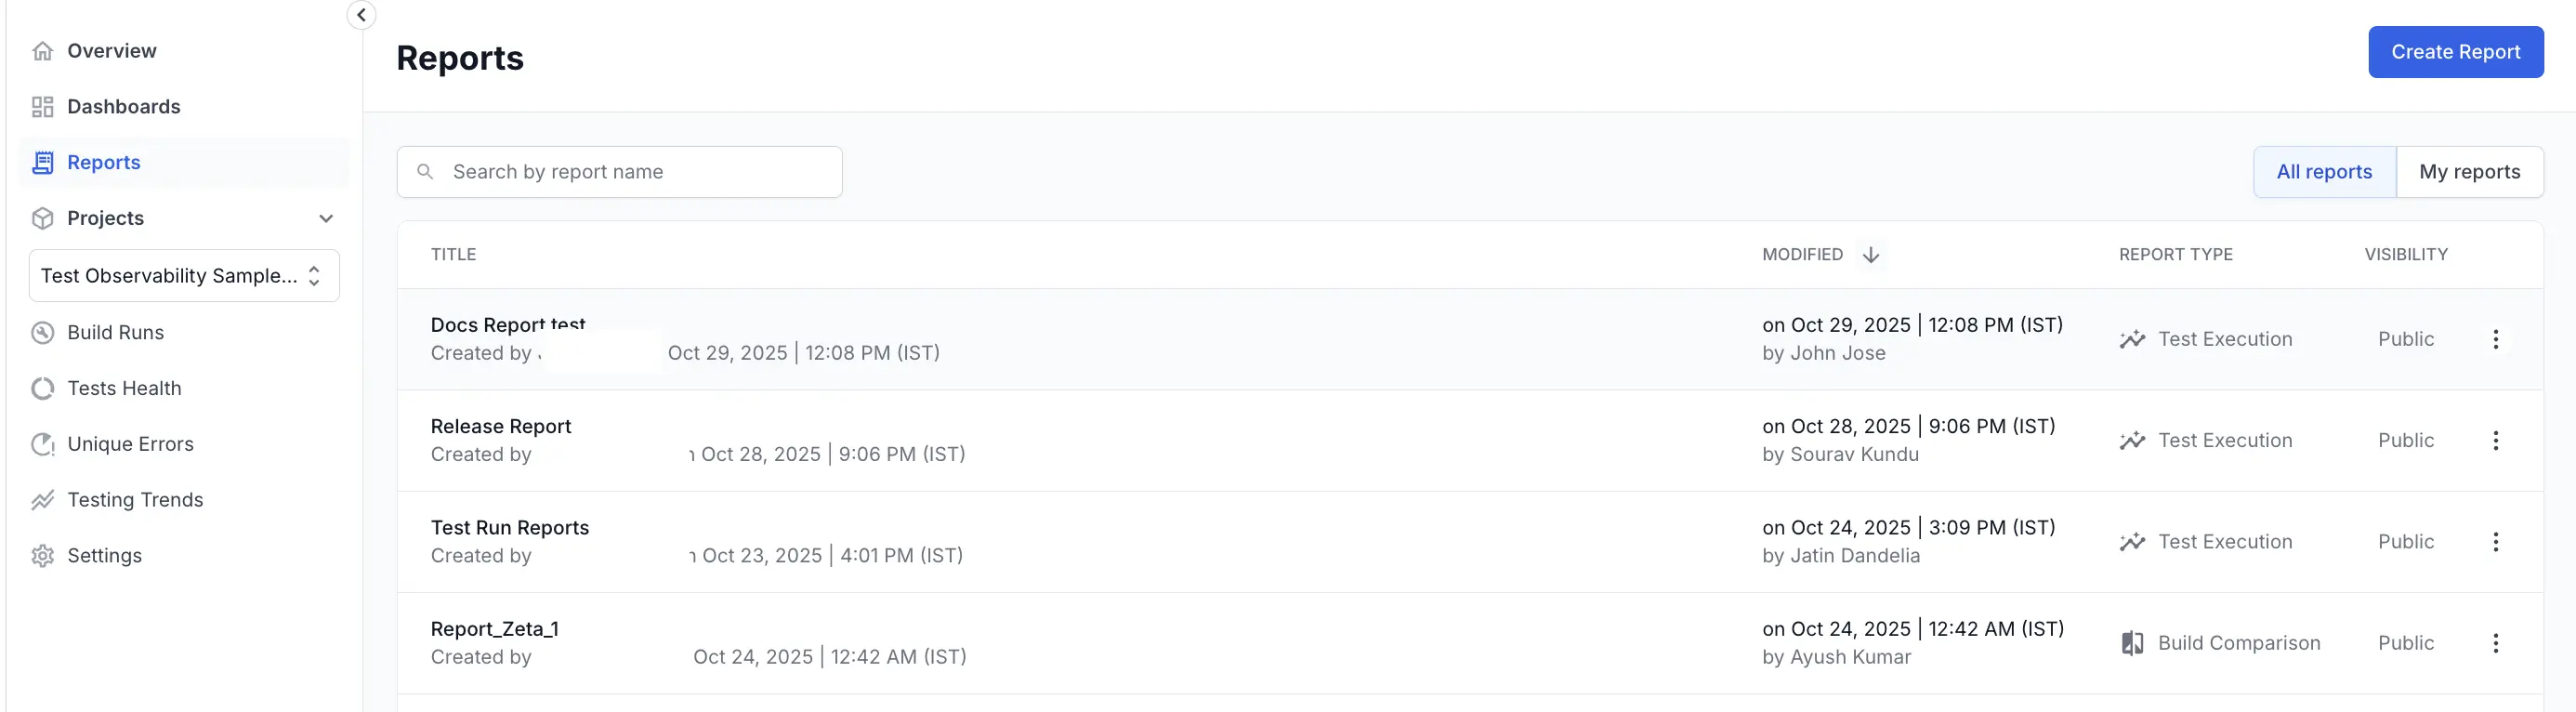
- Open Reports from the sidebar.
- From the list of available reports, you can select the report you want to view.
- Apply filters (your personal filter state does not change the saved configuration):
- Project, build, tag, branch, date range, owner, metadata fields.
- Results update stat tiles, charts, and table for your session only.
- Interact with stat tiles:
- Click a tile (for example, New Failures) to auto‑filter the table to matching tests.
- Drill down:
- Click a test row for aggregated history or debugger access.
- Hover over Last 10 runs sequence for run status tooltips.
- Expand failure stack trace column entries for detailed logs.
- Refine table view:
- Sort, search, and filter within columns (global search applies across fields).
- Export:
- You can download reports using the download buttons provided in the top-right corner.
- Share:
- Copy link (retains current filters).
- Use public URL if visibility is org‑wide.
Best practices
Follow these best practices to get the most out of reports:
- Keep filters consistent when performing trend comparisons.
- Quarantine highly unstable tests surfaced in flakiness metrics before release gating.
- Use combined build (test execution) reports as proof of coverage for sign‑off meetings.
- Regularly export and archive release readiness reports for compliance trails.
Troubleshooting
If you encounter issues while using reports, consider the following troubleshooting tips:
- Incomplete data: Verify project access and retention window coverage.
- Missing columns: Re‑enter Edit Mode to enable additional fields.
- Unexpected duplicates: Check overlapping data source segments; deduplication might mask intended separate entries.
Related resources
Reports and Dashboards together provide a comprehensive view of your testing landscape. Check out the custom dashboards documentation to understand whether a report or dashboard suits more for your use case.
We're sorry to hear that. Please share your feedback so we can do better
Contact our Support team for immediate help while we work on improving our docs.
We're continuously improving our docs. We'd love to know what you liked
We're sorry to hear that. Please share your feedback so we can do better
Contact our Support team for immediate help while we work on improving our docs.
We're continuously improving our docs. We'd love to know what you liked
Thank you for your valuable feedback!