Get your setup working faster. Join our Discord for optimisation tips from elite testers.Join our Discord
Upload attachments to tests in Test Reporting & Analytics
Learn how to upload attachments to tests in Test Reporting & Analytics.
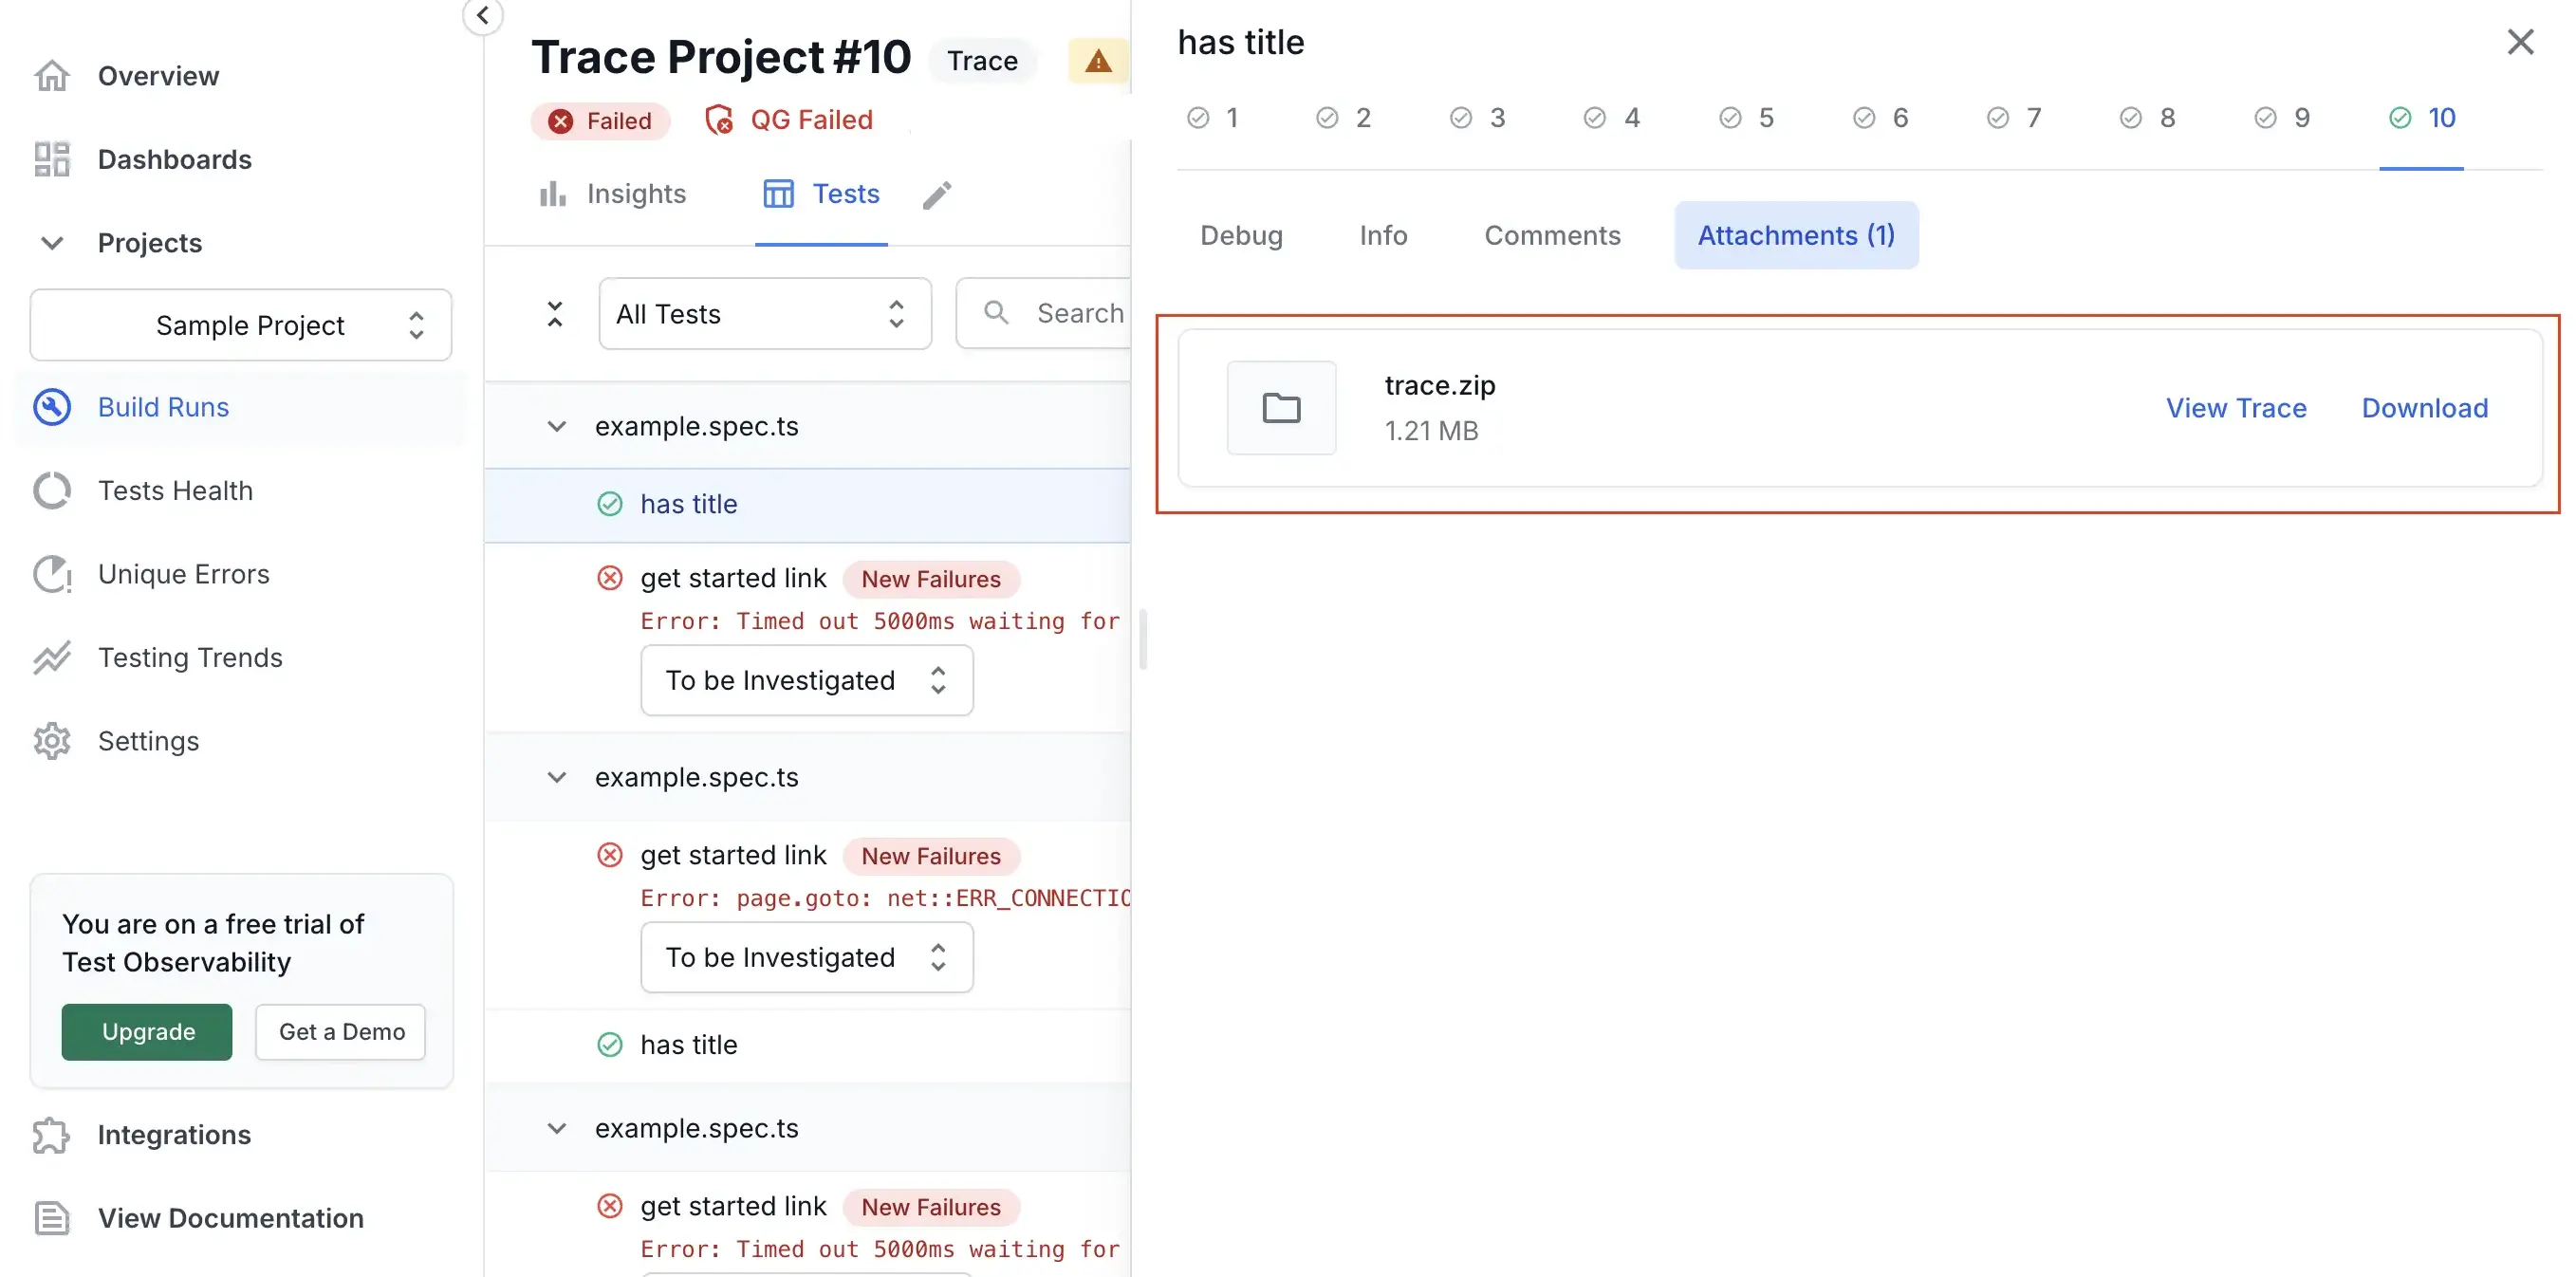
You can upload various files as attachments to tests in Test Reporting & Analytics.
Attachments are needed in the following use cases:
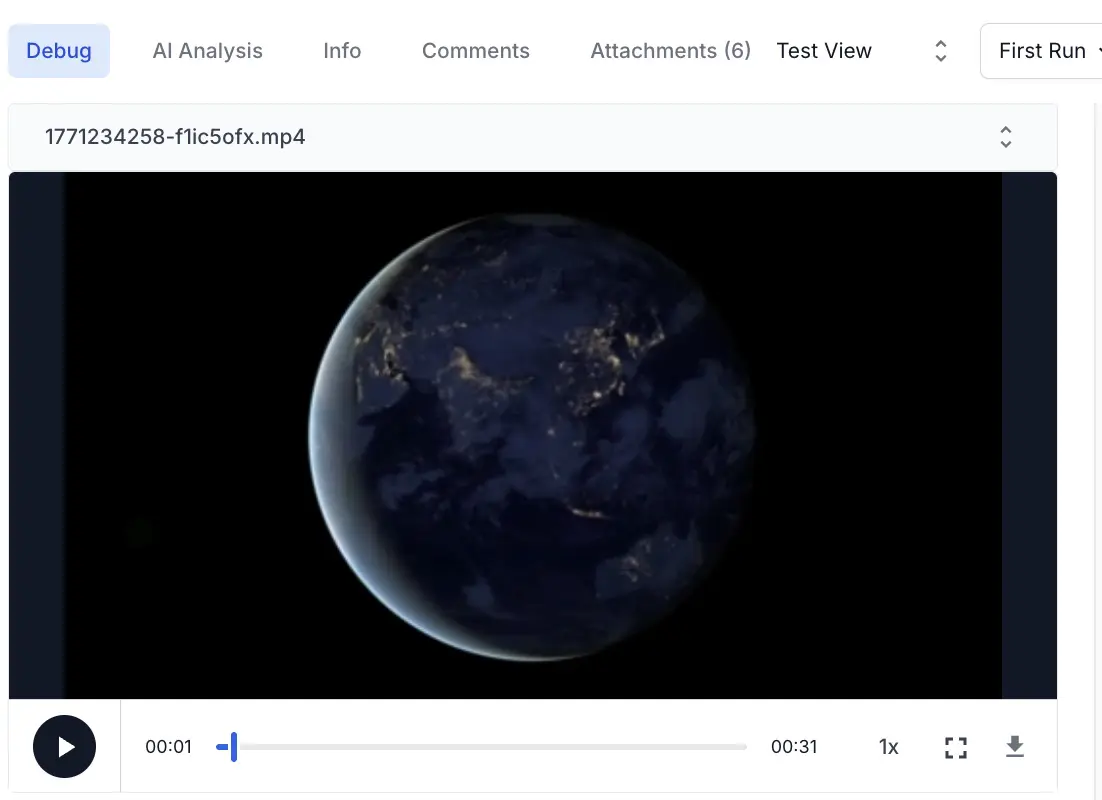
If your tests run outside the BrowserStack infrastructure, you might want to upload screenshots, videos, and other attachments to your tests to improve your Timeline Debugging experience.
You might want to add DOM, HTML files, custom log-out files, etc. which are otherwise not captured by BrowserStack. These additional logs and information will improve your debugging experience.
You can view attachments under the Attachments tab in the Timeline Debugging view of a test.
If you upload a video file as an attachment, the video can be played in the Timeline Debugging view.
How to upload attachments to tests
Currently, you can upload attachments using Java, Python, and Playwright-Node frameworks. You can upload attachments using Allure tests and JUnit-XML reports too. Test Reporting & Analytics will add this feature to other frameworks soon.
The syntax to upload attachments to your JUnit-XML reports is as follows:
<system-out><![CDATA[
# Either use multiple properties named "step"
[[PROPERTY|step=This is the first step.]]
[[PROPERTY|step=And this is the second step.]]
# Multi-line properties also work. Steps always support HTML
[[PROPERTY|step]]
This is a more complex test step with <strong>multiple lines</strong>
of text using a property with a text value.
[[/PROPERTY]]
# You can optionally also include a step result status as part
# of the property name in square brackets.
[[PROPERTY|step[passed]=This is a test step that passed.]]
[[PROPERTY|step[failure]=And this step had a failure.]]
[[PROPERTY|step[skipped]=This step wasn't executed.]]
[[PROPERTY|step[error]=And this step had an error.]]
# Some frameworks also support step sub fields using the following special tags.
[[PROPERTY|step[passed]]]
<test-step-subfieldname="Step">
This line describes this step. You can also use <strong>HTML</strong>.
</test-step-subfield><test-step-subfieldname="Expected">
You can optionally include more sub fields, e.g. for the expected results.
</test-step-subfield>
[[/PROPERTY]]
# Either use multiple properties named "attachment"
[[PROPERTY|attachment=screenshots/mp4-sample.mp4]]
[[PROPERTY|attachment=screenshots/csv-sample.csv]]
# Or append a unique index if your test framework requires this
[[PROPERTY|attachment1=screenshots/gif-sample.gif]]
[[PROPERTY|attachment2=screenshots/txt-sample.txt]]
# Or use the common attachment syntax used by many tools
[[ATTACHMENT|screenshots/screenshot1.png]]
[[ATTACHMENT|screenshots/gif-sample.gif]]
]]></system-out>
Did this page help you?
We're sorry to hear that. Please share your feedback so we can do better
Contact our Support team for immediate help while we work on improving our docs.
We're continuously improving our docs. We'd love to know what you liked
Thank you for your valuable feedback
Is this page helping you?
Yes
No
We're sorry to hear that. Please share your feedback so we can do better
Contact our Support team for immediate help while we work on improving our docs.
We're continuously improving our docs. We'd love to know what you liked

 Join our Discord