Guide to access private websites using Local Desktop Application based on your network
Setting up a Local connection that can access your private websites based on your network has 3 main steps
Step 1: Configure access key
As soon as you land on the Falcon dashboard, the 1st thing that you have to do is get your access key. If you don’t have the access key, then you can fetch it from your settings
Once you land on the settings page, scroll down to the Automate section and copy the access key.
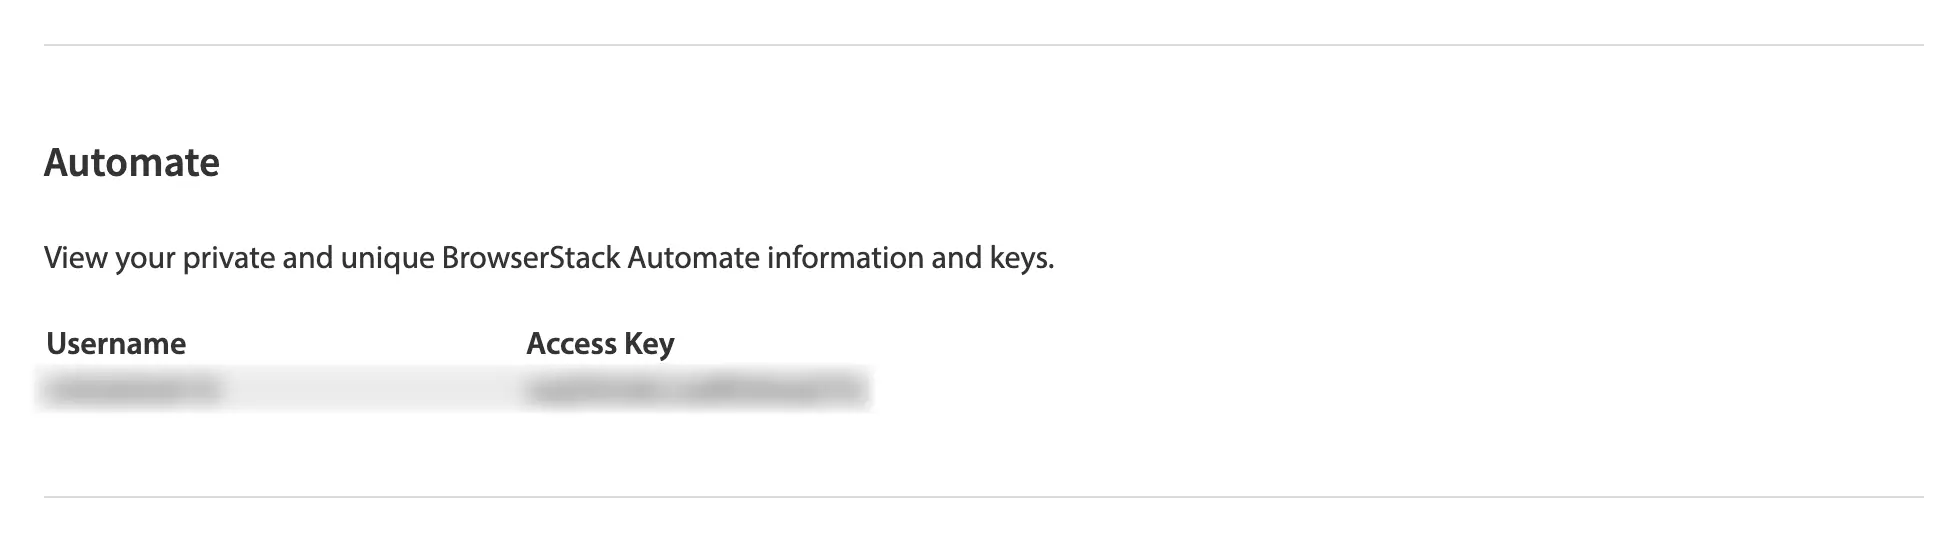
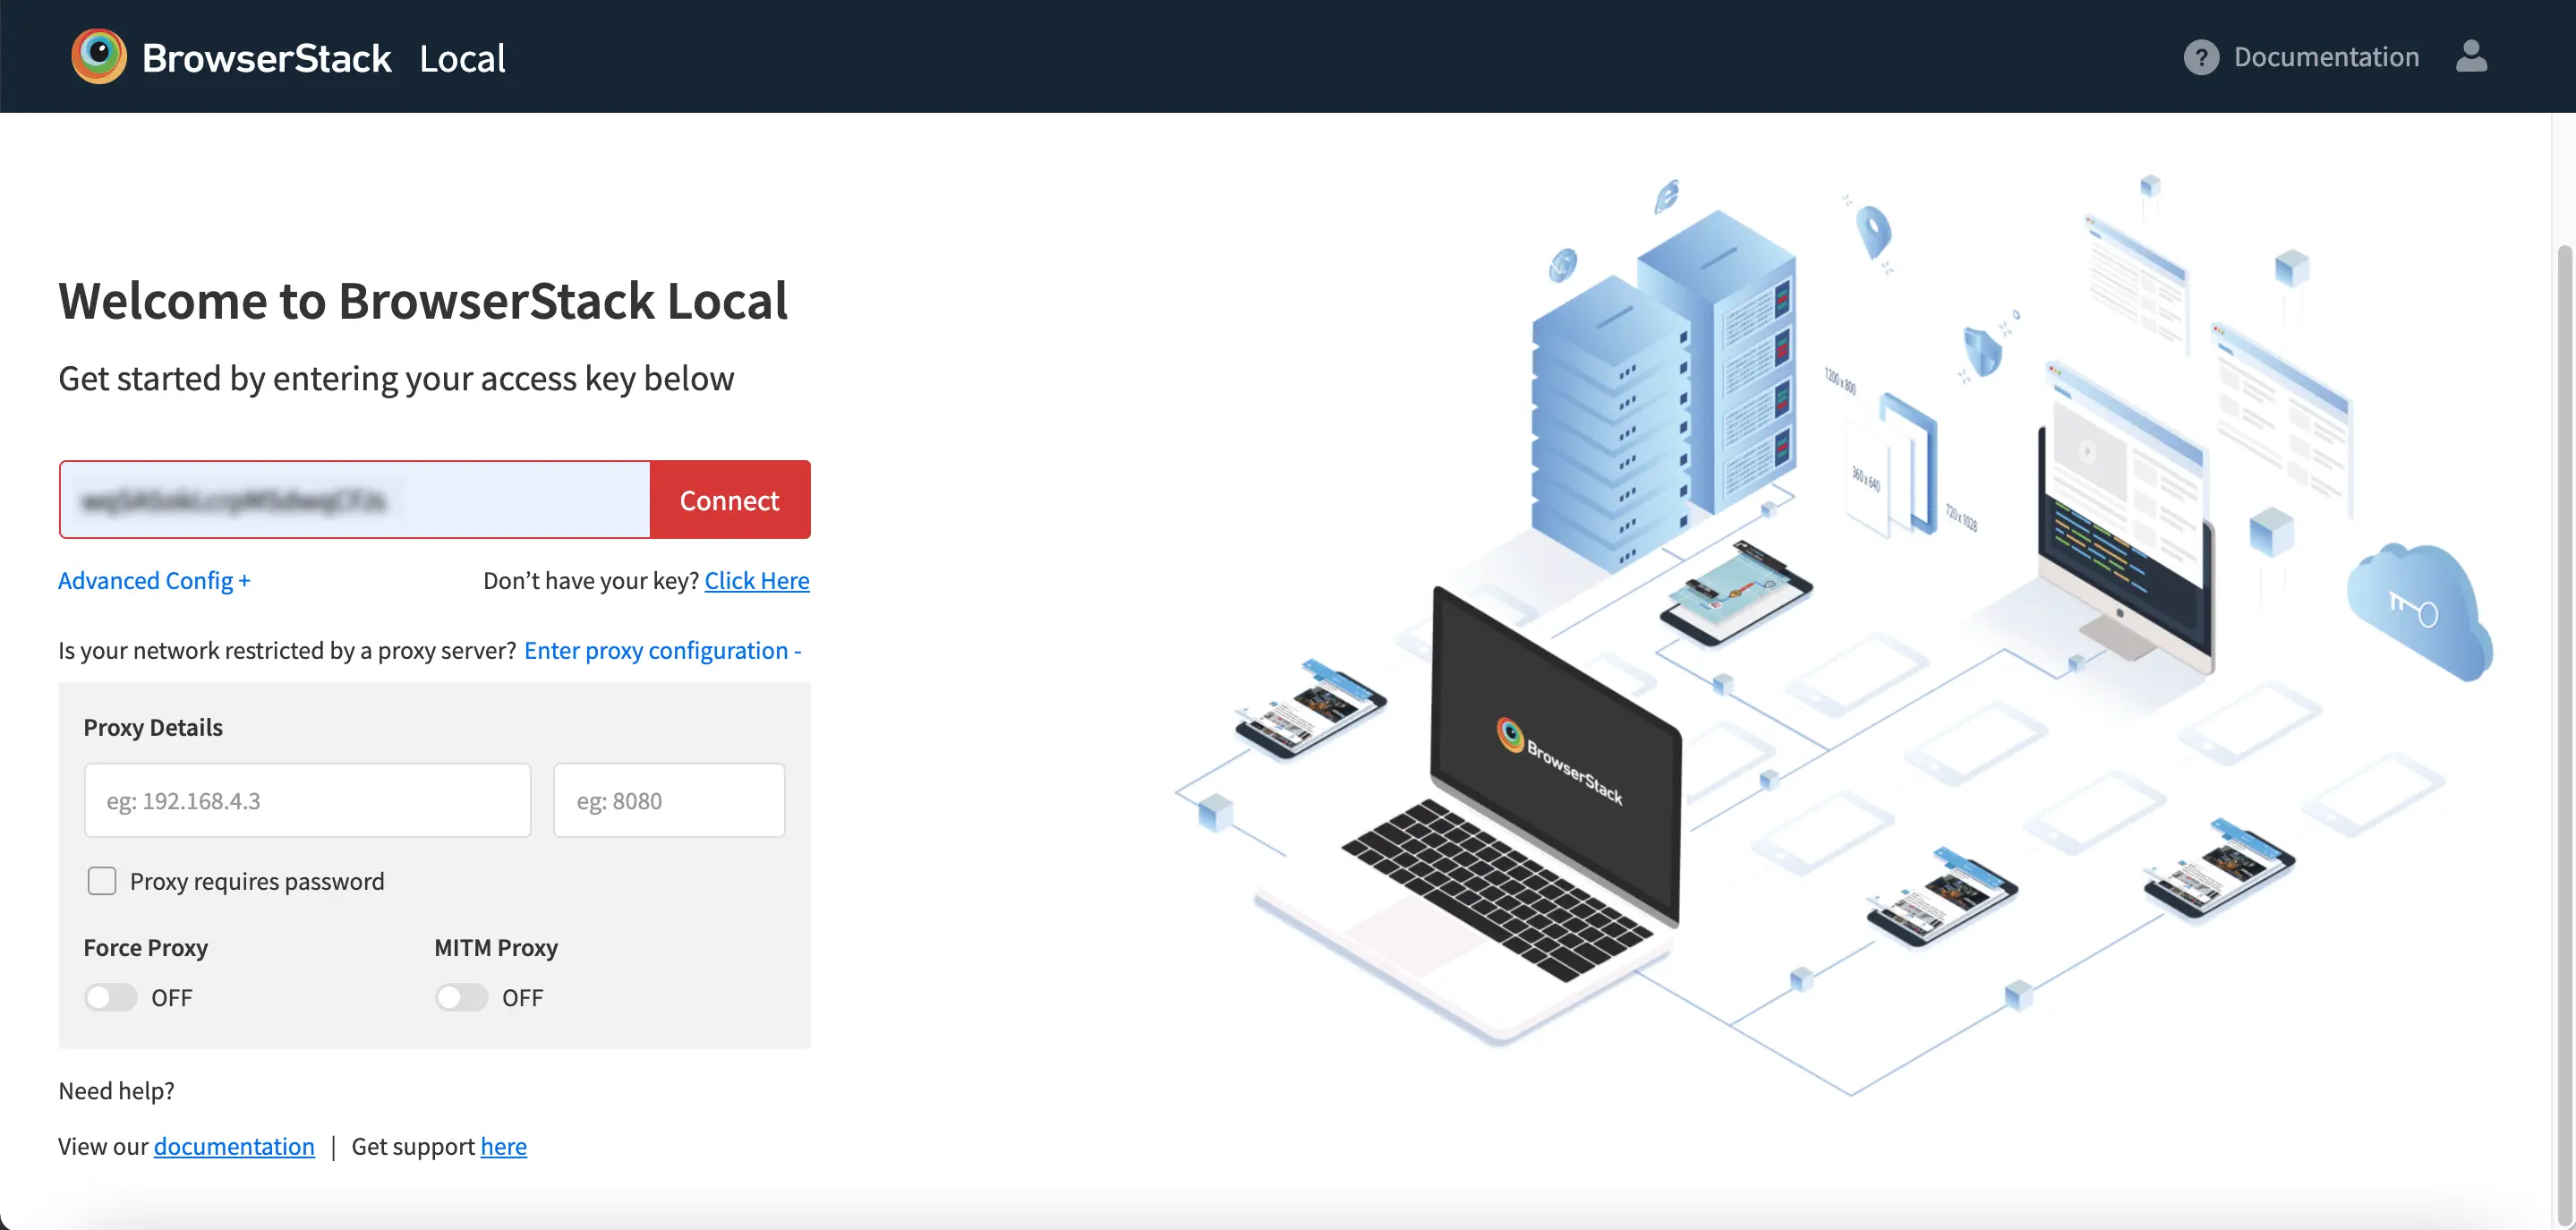
Paste the key in the “Access Key” Field on the “Local Configuration” page and hit submit.
Once you enter the key and click on submit you can get 2 outcomes
-
Either you will successfully connect and reach the local dashboard
-
You will get a connection failure error
Successfully connect to BrowserStack backend
In case your Application is able to connect to the BrowserStack backend you will see the following screenshot
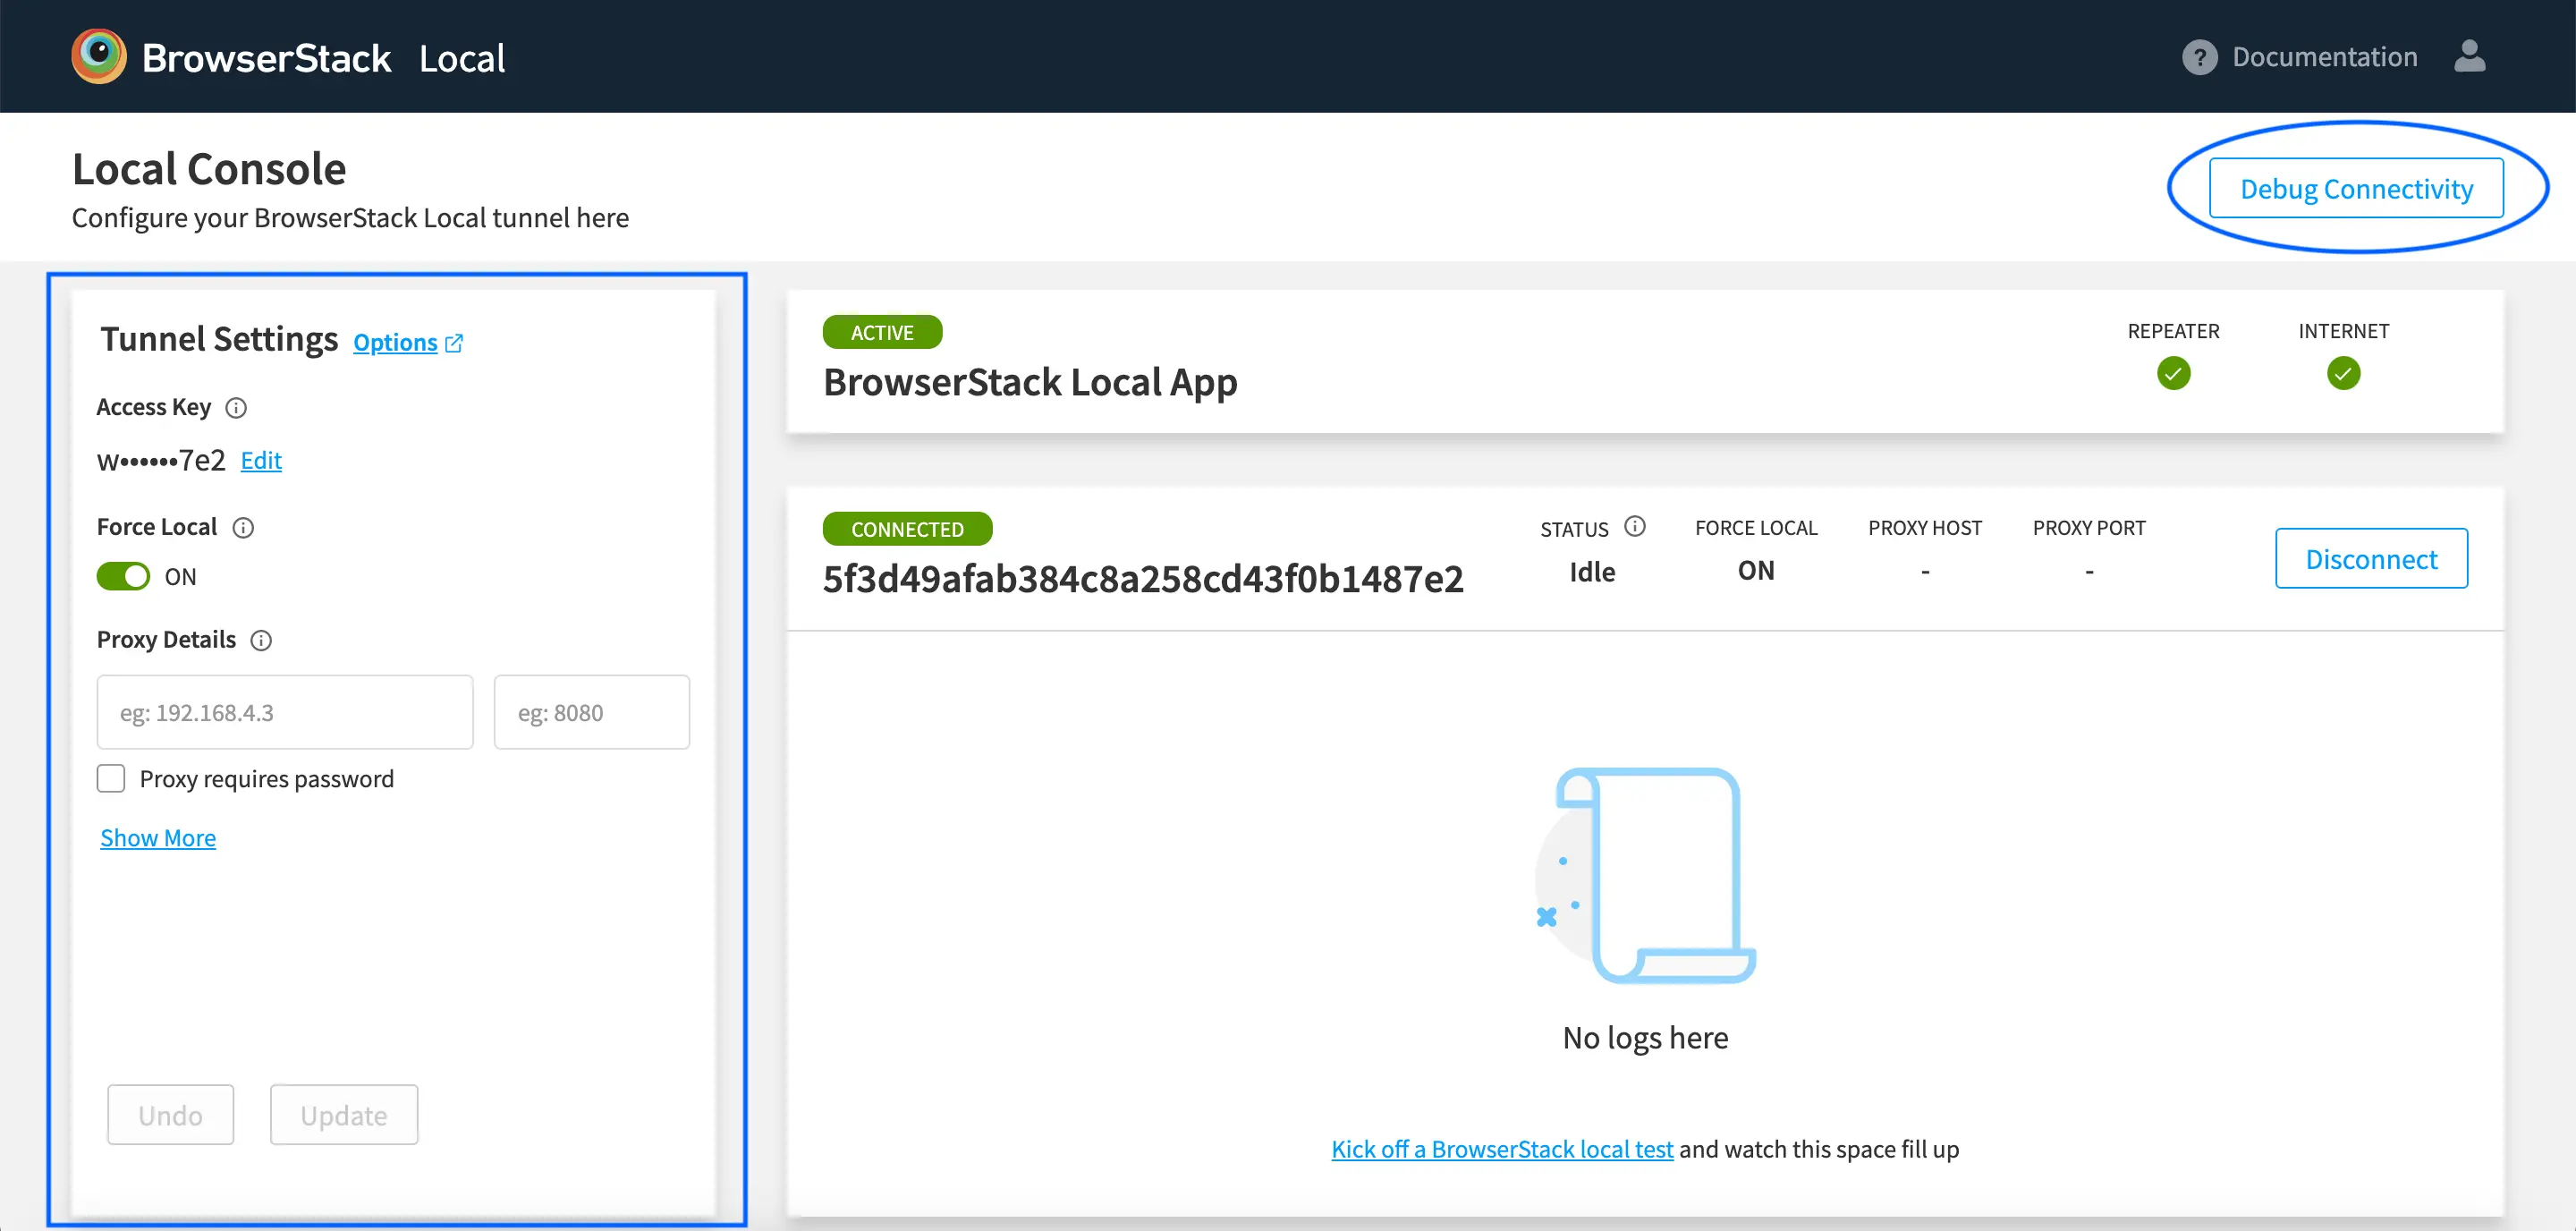
If you see the dashboard, please jump to step 3
Unable to connect error
You will get an “Unable to connect” error in case the Application is not able to connect to the BrowserStack backend due to network restrictions.
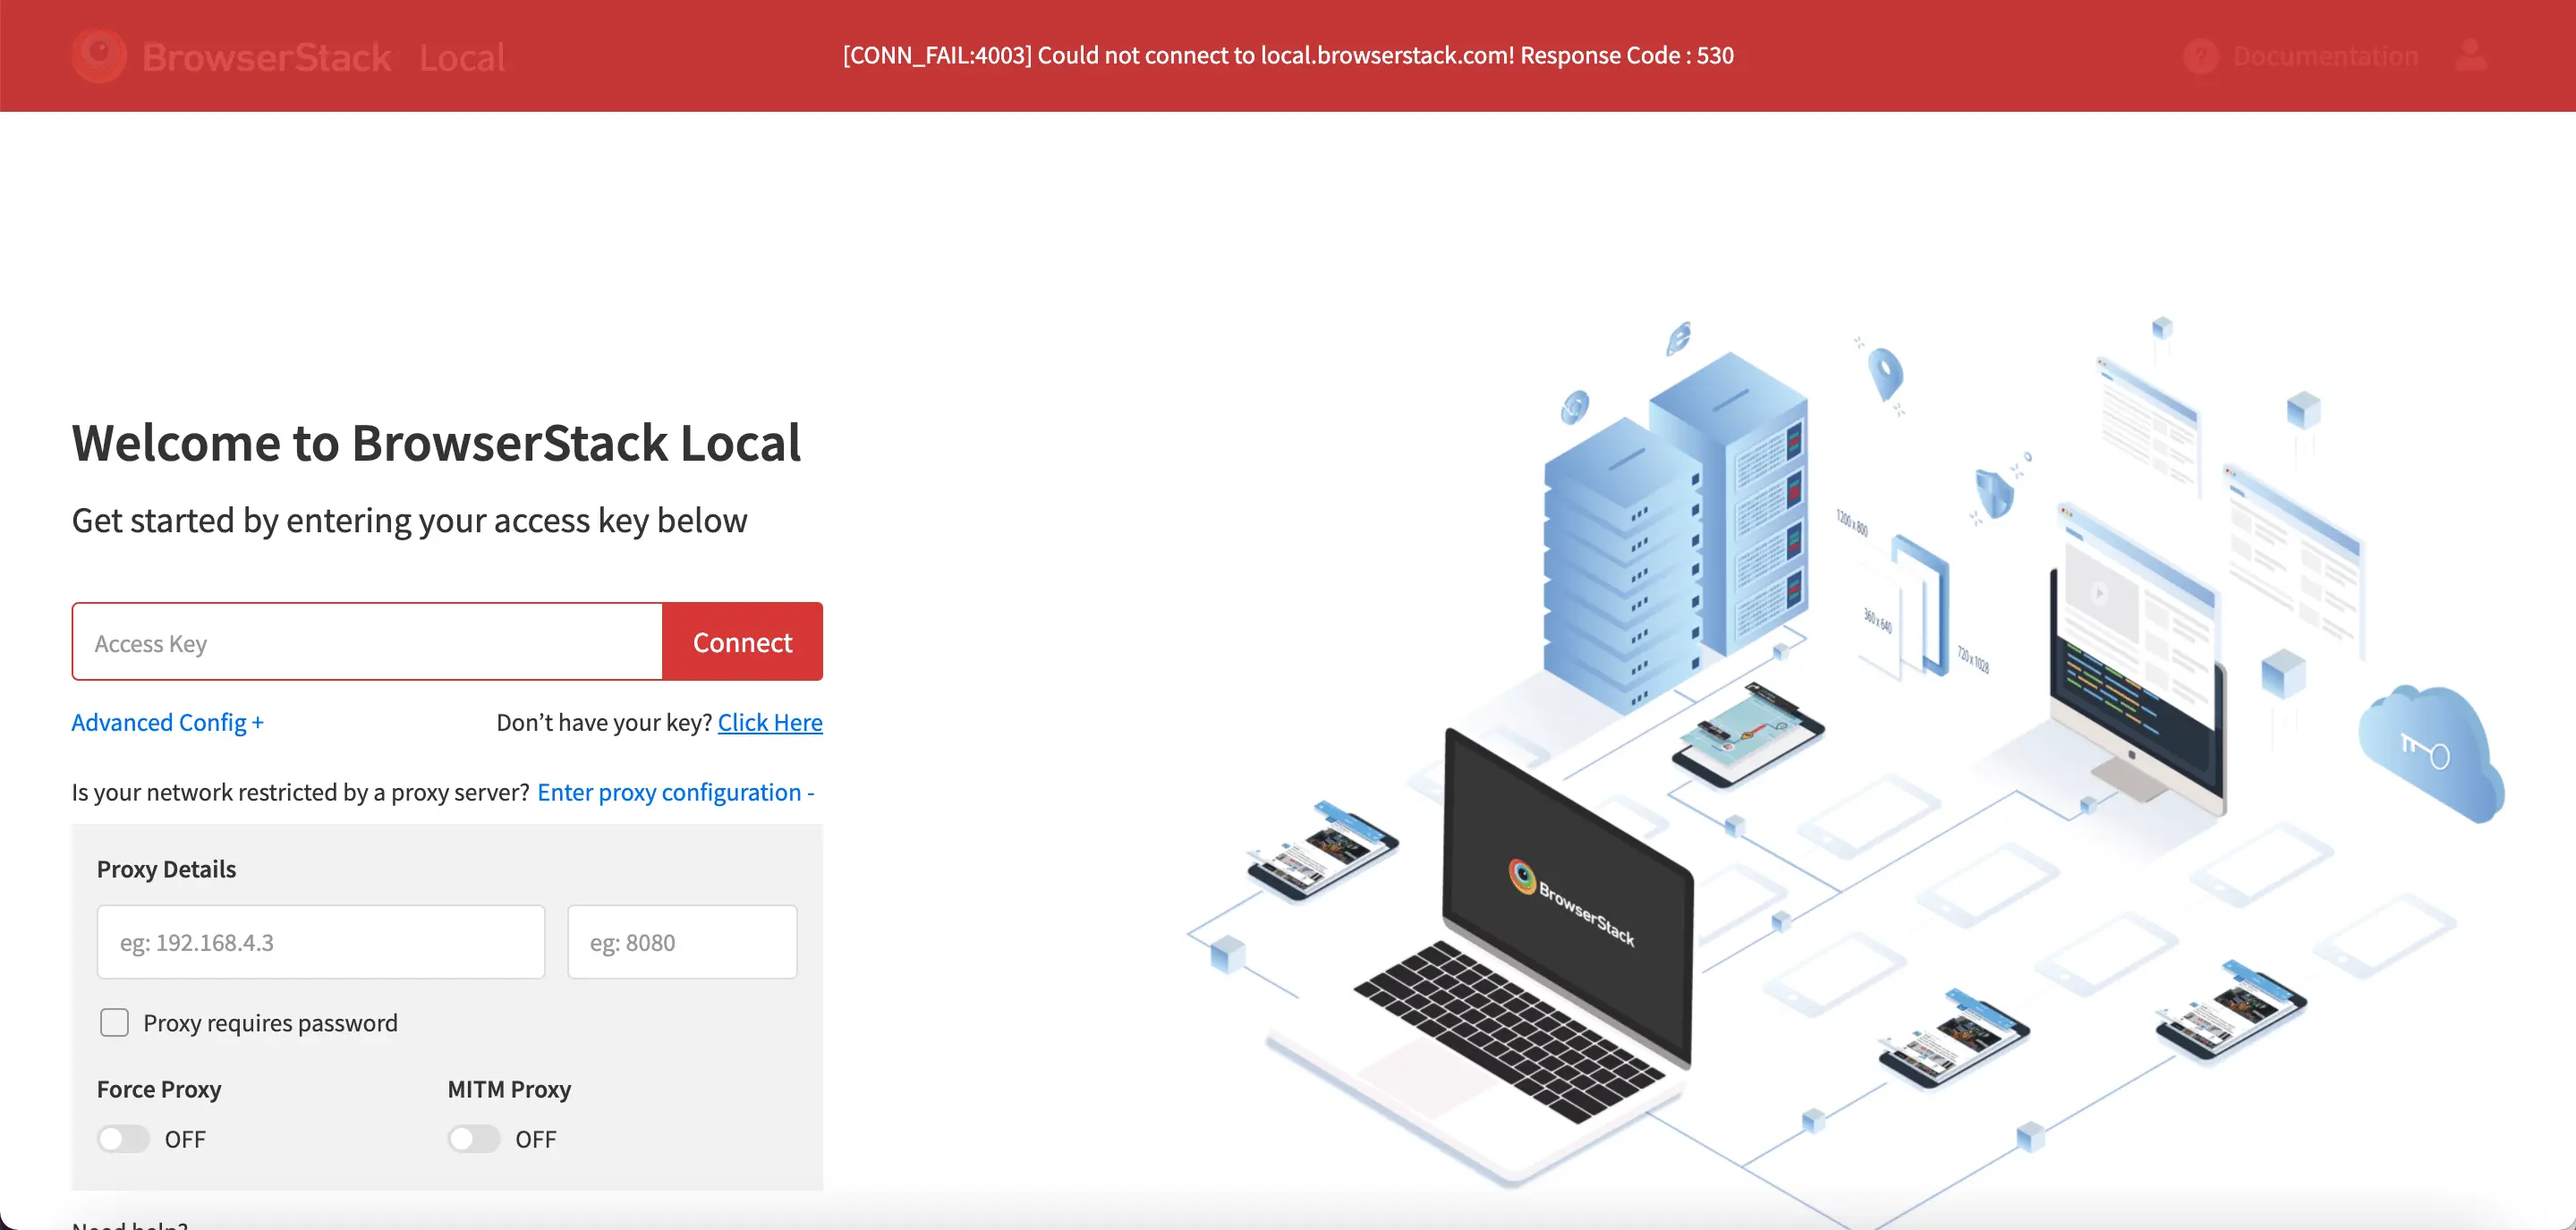
Please refer to the following step
Step 2: Solving the connection error
If you want to establish a connection from your Desktop Application to BrowserStack Local backend, you will have to ensure that BrowserStack Local backend is accessible from your machine through the network restrictions. Following are the possible scenarios because of which you are not able to establish a network connection.
Proxy with no SSL Inspection
In case there is a proxy in your network, you will have to configure the proxy details within the BrowserStack Local Application so that it can establish a tunnel connection with the BrowserStack Local backend. This can be done in 2 ways
- Direct proxy details - Enter the proxy host, proxy port and proxy credentials (if any) on the configuration page so that the Application can use it to establish a connection
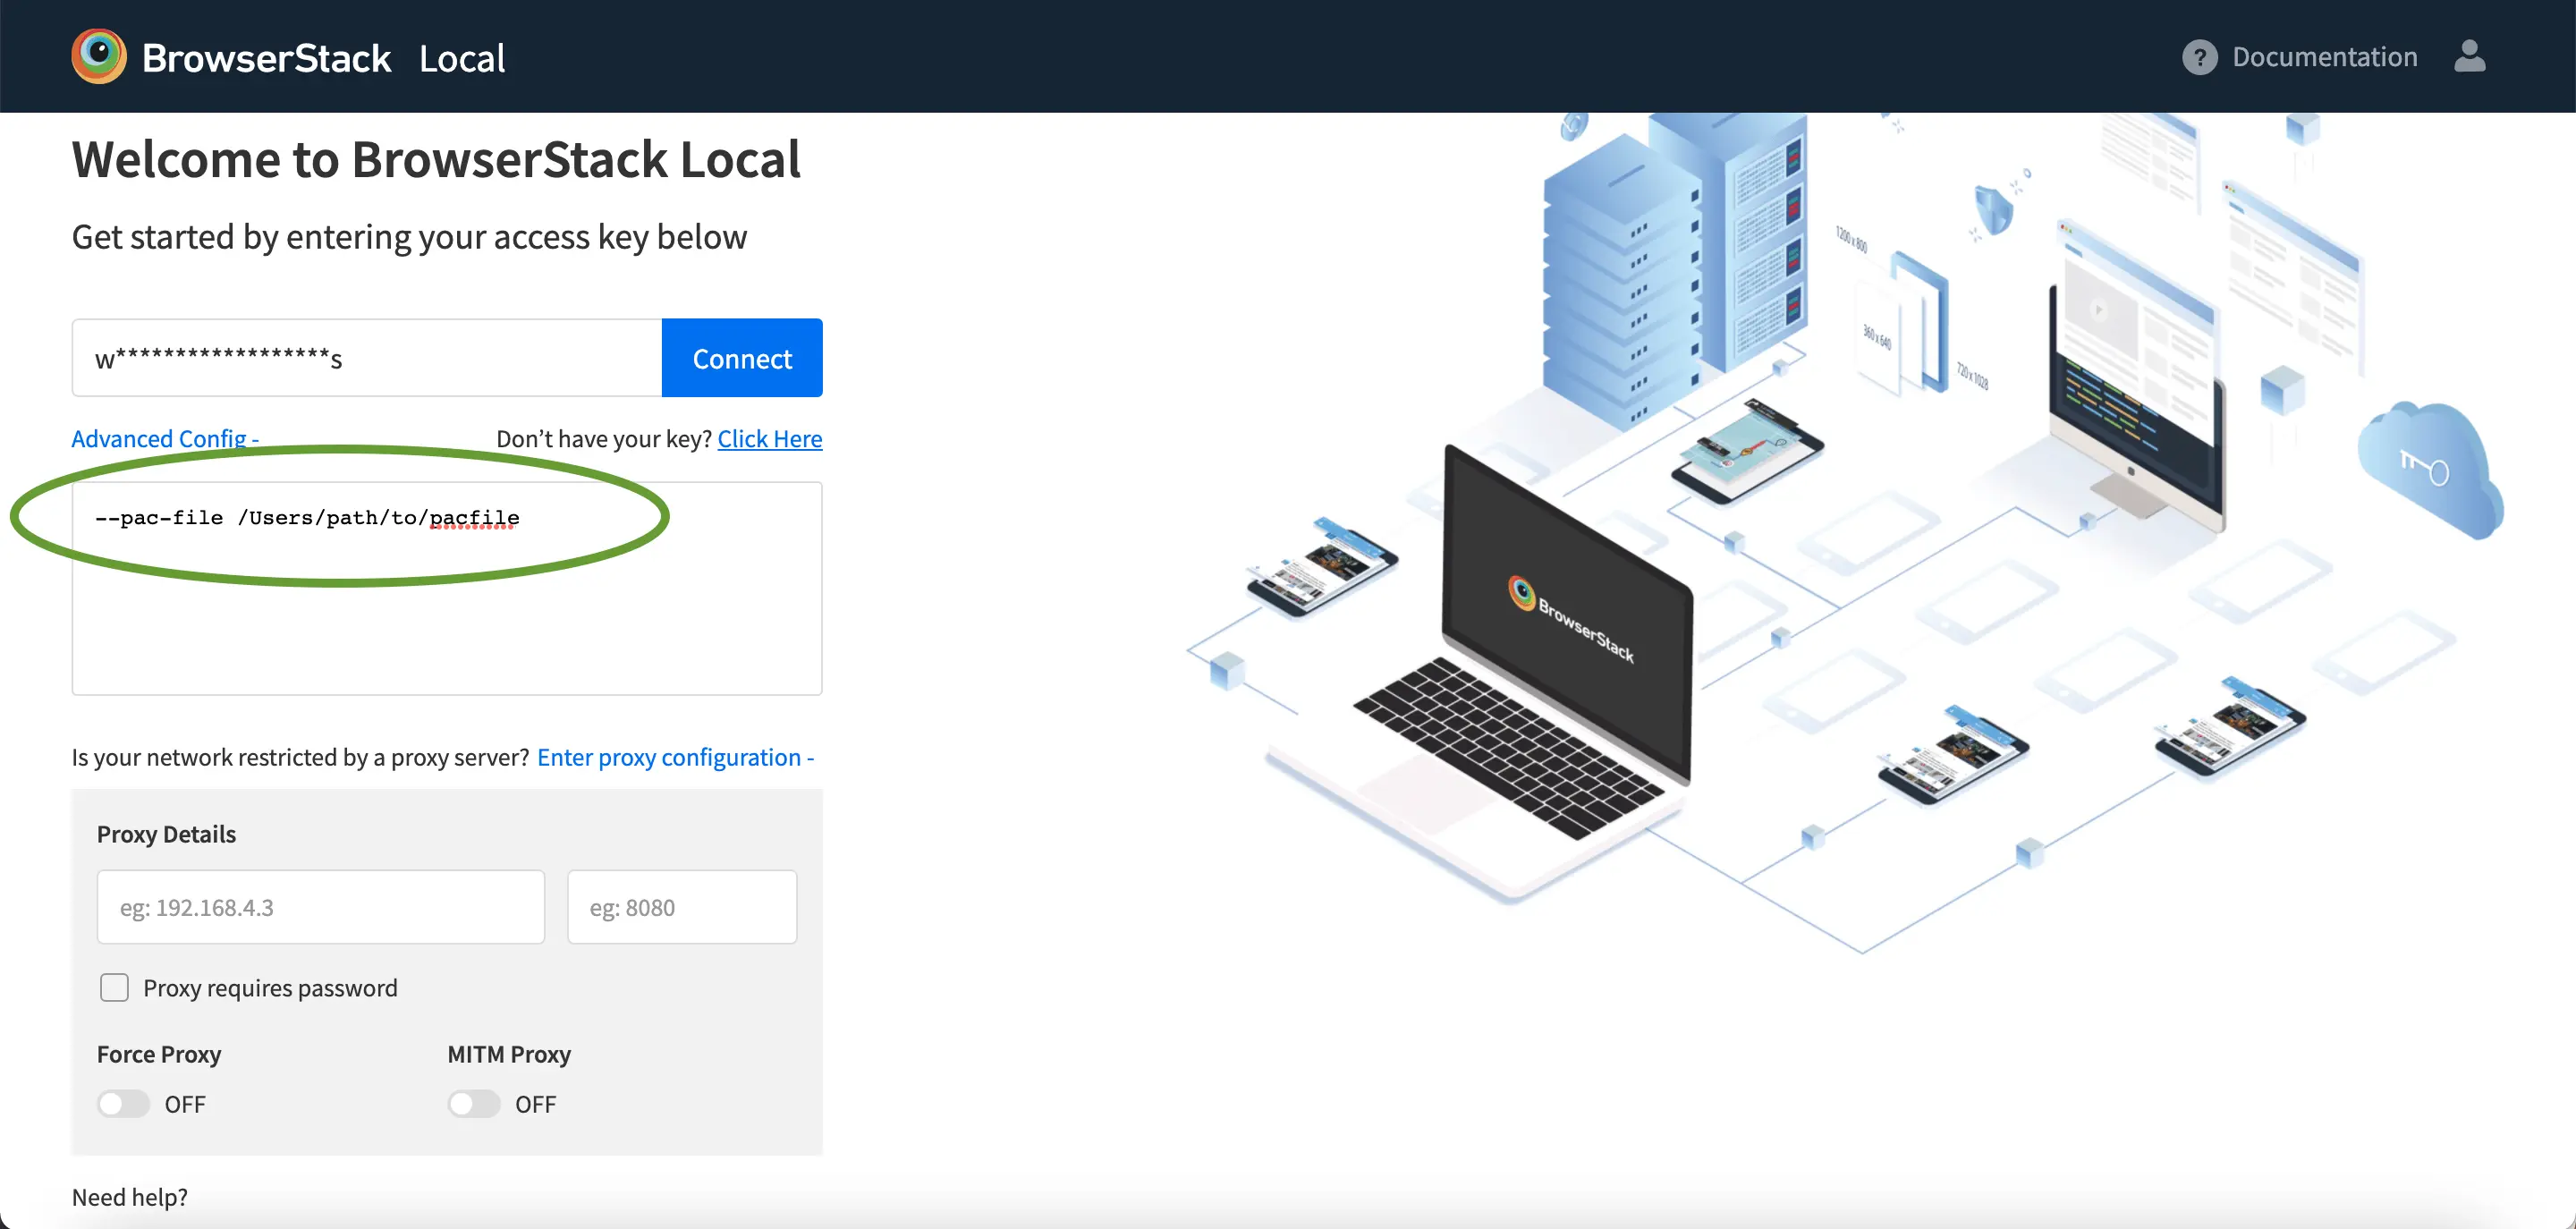
- PAC File - In case your organization uses a PAC file. Download the file, place it in a secure location on your machine and provide the absolute file path as an argument in the advanced config as shown below
Proxy with SSL Inspection
In case your proxy has SSL inspection enabled, please retry connecting after disabling SSL inspection. Please reach out to support in case further assistance is needed.
Step 3: Configuring the Local tunnel connection based on your network setup
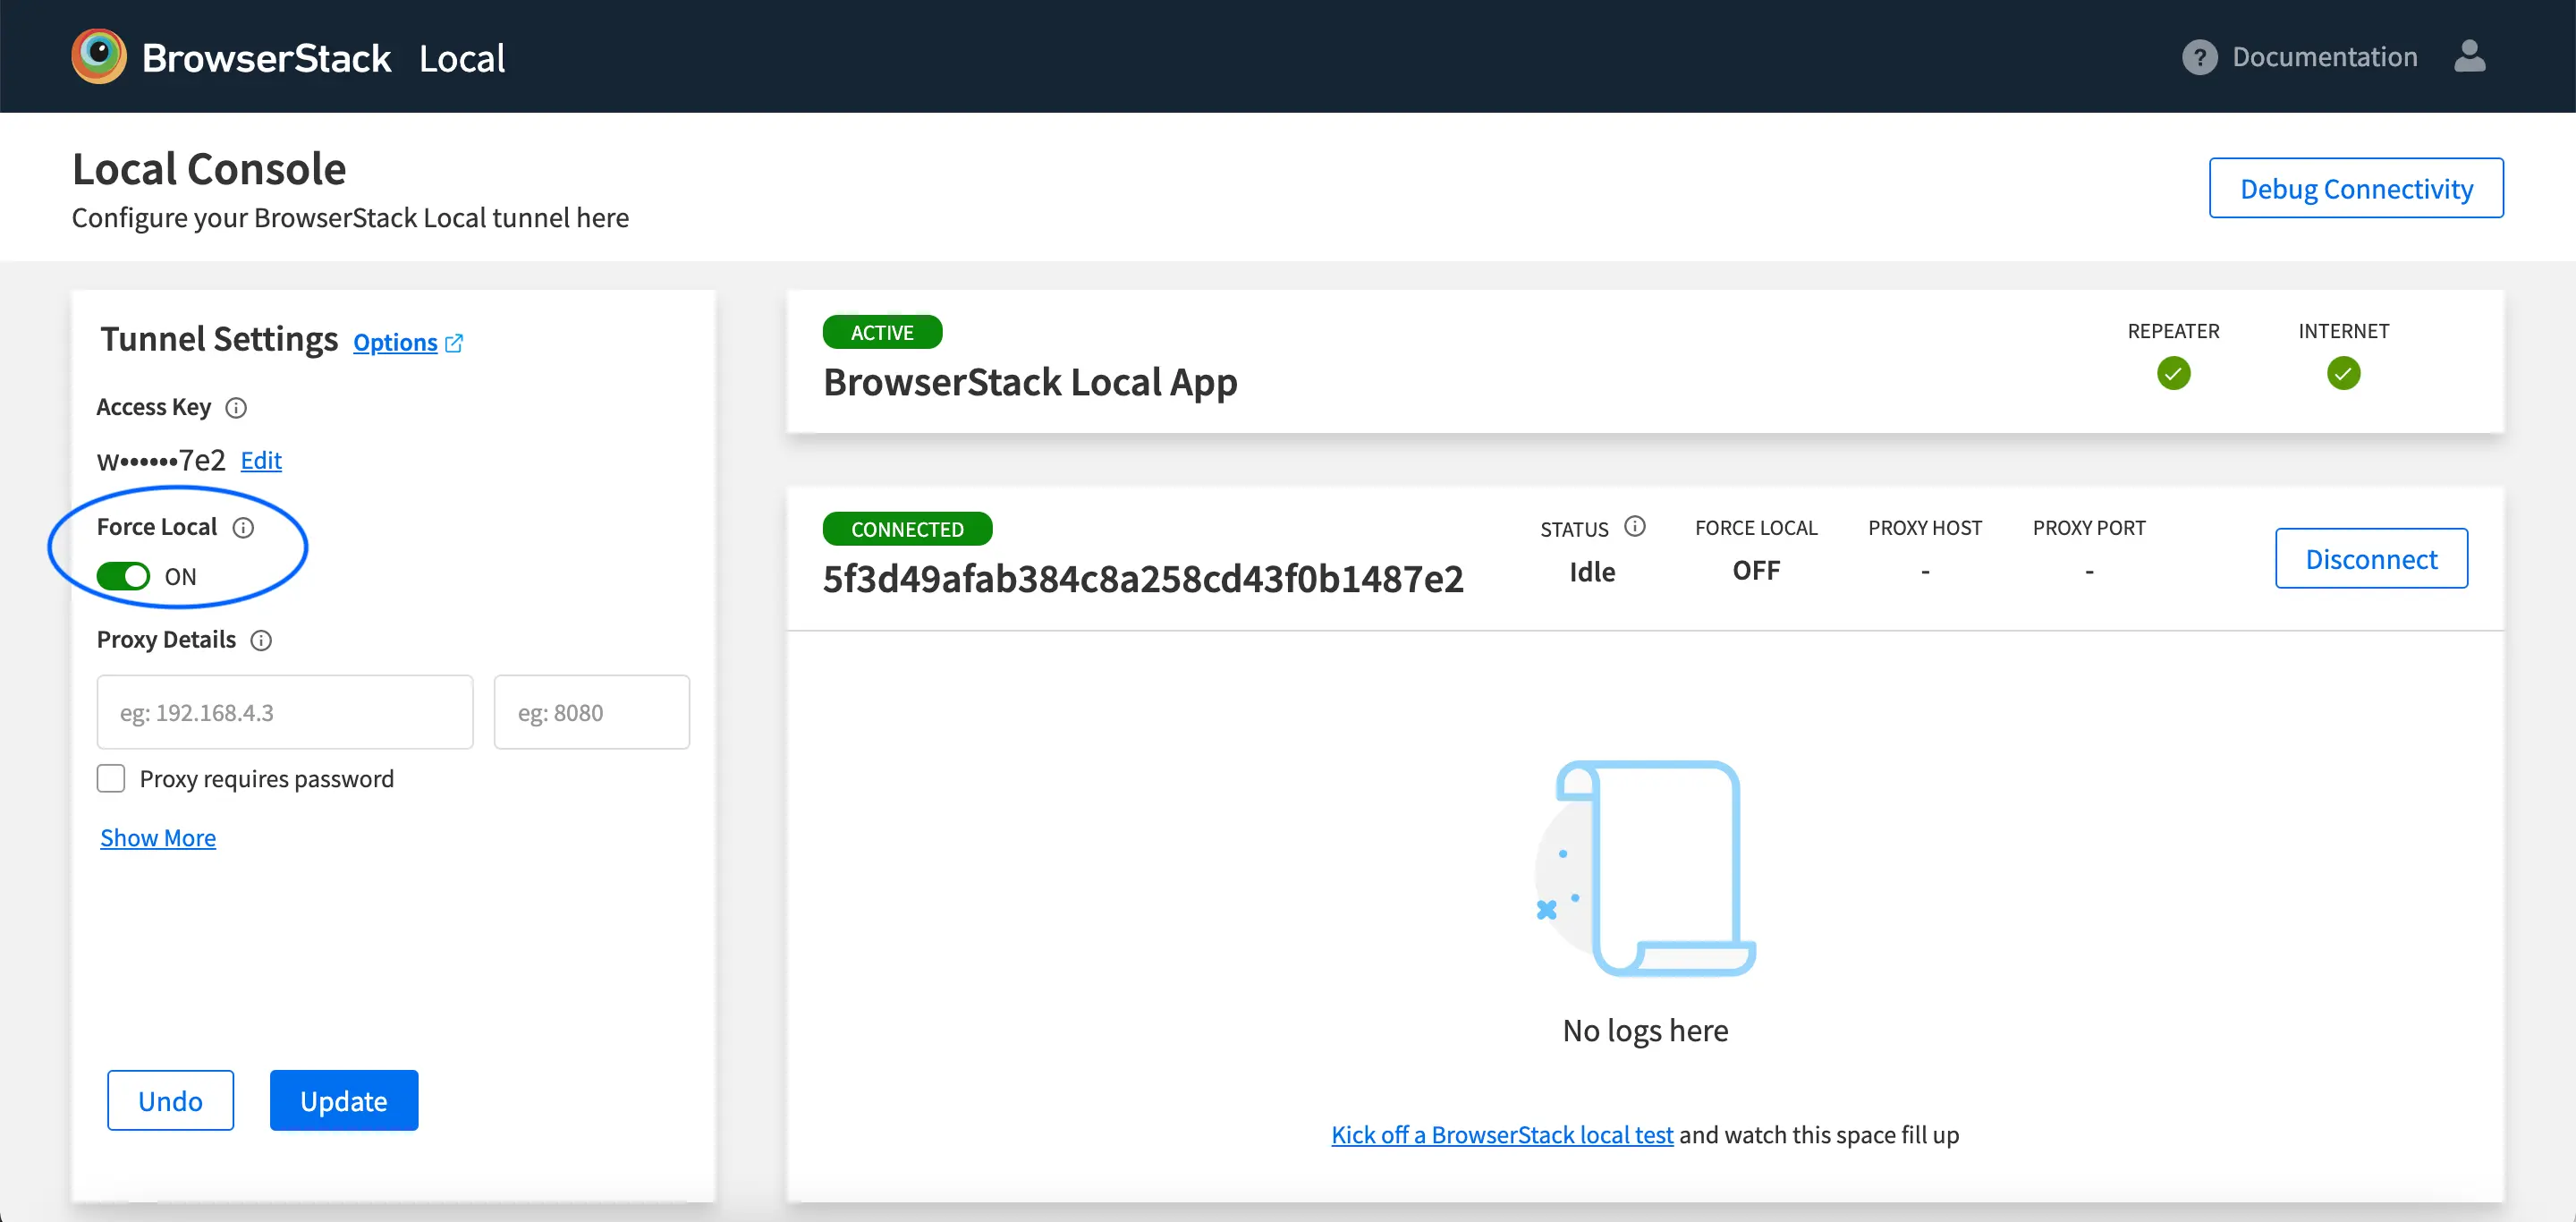
Once you have established a connection you will see the connection dashboard. This means that you are able to successfully at least establish a connection with the BrowserStack Local backend. The next step is to ensure that the right tunnel configuration is setup so that you can access your localhost/ dev/ staging websites on BrowserStack devices.
The tunnel configuration can be updated from the left panel as highlighted in the screenshot below
Network IP restrictions
If your website or network is designed to accept traffic only from your network IPs, then you would have to enable force-local so that all requests will be routed via your machine, thus making the websites accessible.
Proxy Host restrictions
If your website or network is designed to accept traffic only from your proxy IP addresses, then you would have to enabled force-proxy so that the Application will route all the traffic via the proxy servers. This will make the private websites accessible from the BrowserStack devices.
Step 1 - Click on Show More
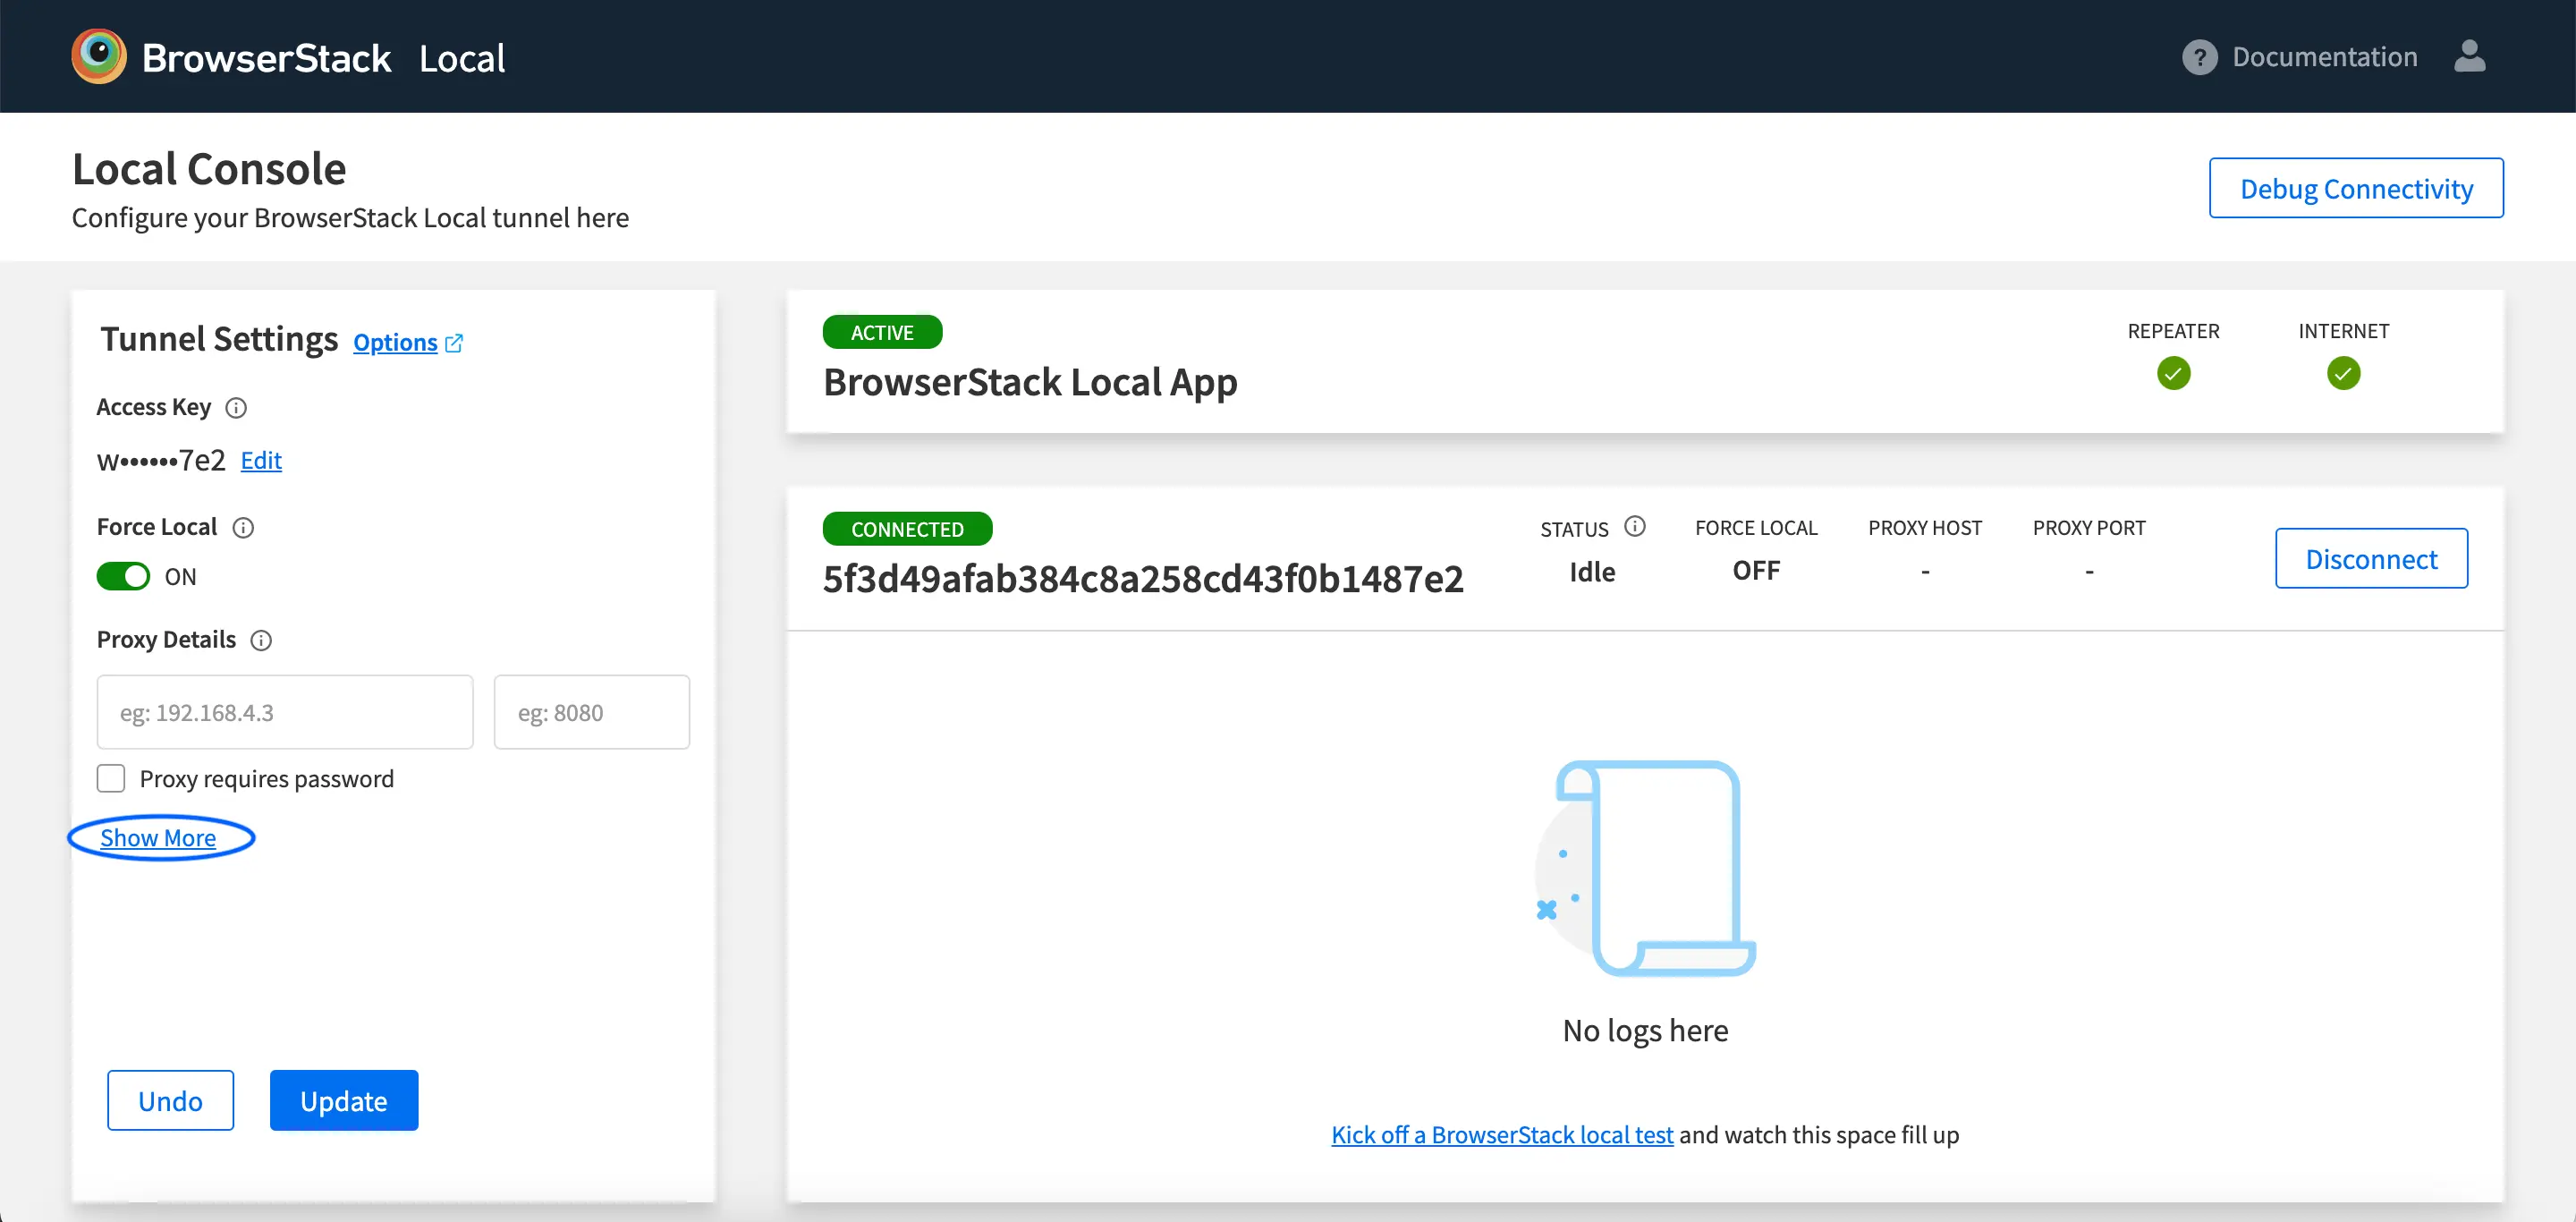
Step 2 - Enable Force Proxy

Once all the steps are completed, trying launching a Live session and check if your private website is opening. In case your private website is still not opening, please raise a support ticket for assistance.
Step 4: Stopping Local connection after testing is complete
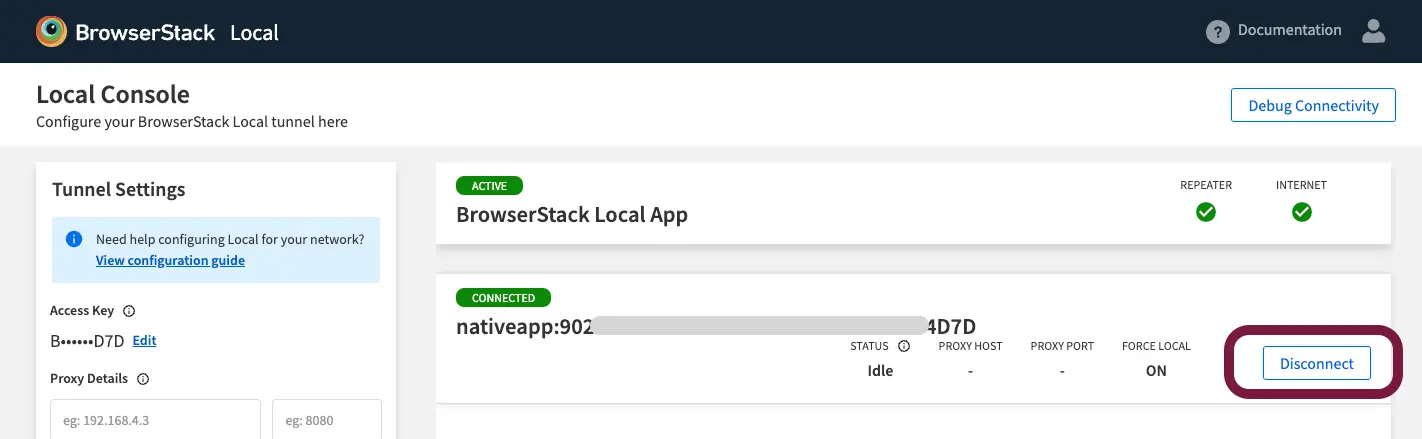
If you want to stop your existing Local connection from the app, you can disconnect the app by trying one of these two options.
Option 1 - Disconnect from Local Dashboard
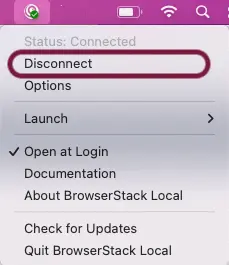
Option 2 - Disconnect from Local App Tray Icon
We're sorry to hear that. Please share your feedback so we can do better
Contact our Support team for immediate help while we work on improving our docs.
We're continuously improving our docs. We'd love to know what you liked
We're sorry to hear that. Please share your feedback so we can do better
Contact our Support team for immediate help while we work on improving our docs.
We're continuously improving our docs. We'd love to know what you liked
Thank you for your valuable feedback!