Get your setup working faster. Join our Discord for optimisation tips from elite testers.Join our Discord
Integrate your Cypress tests with Percy
A guide to integrating your Cypress automated tests with BrowserStack Percy. Catch visual differences in your web application on time.
Percy integrates with your tests through both Percy and Automate TurboScale using BrowserStack Cypress CLI. To set up the integration, select the appropriate section and follow the instructions provided.
This documentation applies to Percy Cypress SDK version 3.0.0 and above.
Integrate Percy with your test suite to run visual tests. To do that, follow these steps:
Create a Percy project Sign in to Percy. In Percy, create a project of the type, Web, and then name the project. After the project is created, Percy generates a token. Make a note of it. You have to use it set your environment variable in the next step.
If you’re using TypeScript, include "types": ["cypress", "@percy/cypress"] in your tsconfig.json file.
This gives you access to the Percy snapshot command in any of your Cypress tests, via cy.percySnapshot(). You can now incorporate visual tests in your existing suite:
```javascript
describe('Integration test with visual testing', function() {
it('Loads the homepage', function() {
// Load the page or perform any other interactions with the app.
cy.visit(<URL under test>);
// Take a snapshot for visual diffing
cy.percySnapshot();
});
});
```
Run Percy
Run your tests using the percy exec command as shown below:
If you are unable to use the percy:exec command or prefer to run your tests using IDE run options, you can use the percy exec:start and percy exec:stop commands. To learn more, visit Run Percy.
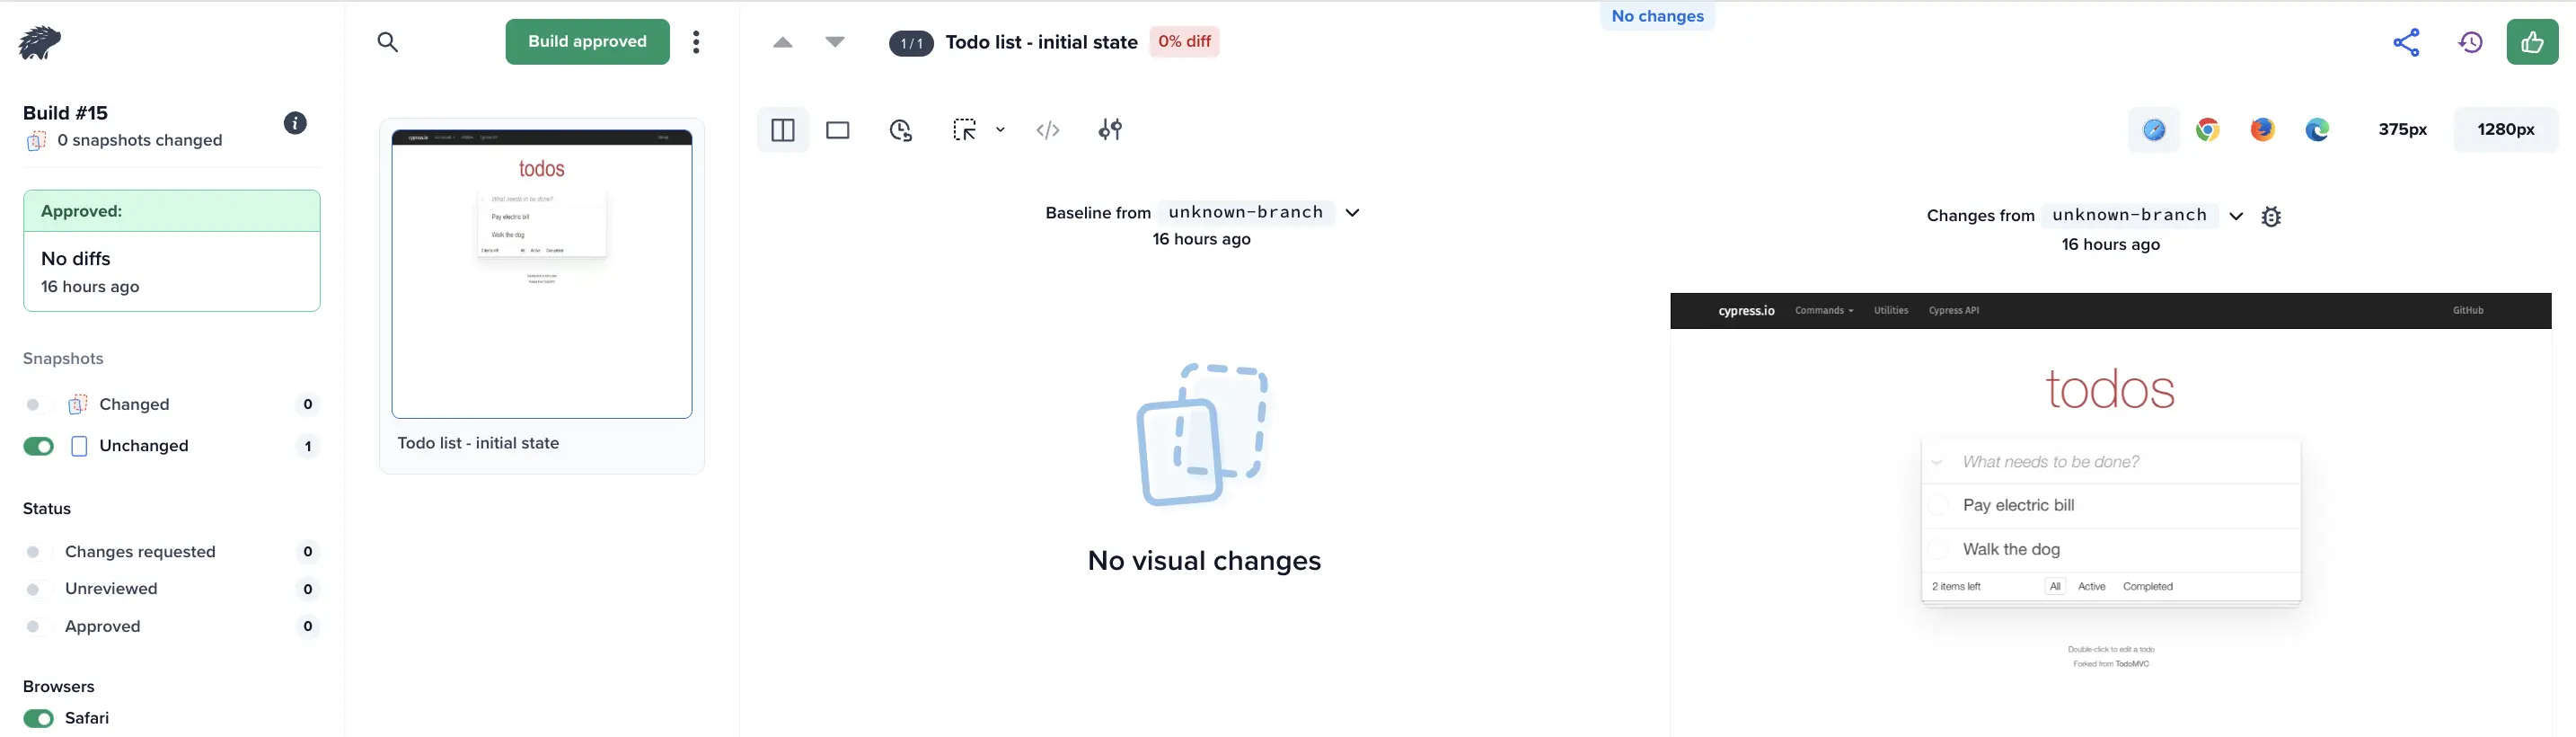
You have successfully created your first build on Percy. To see the build with snapshots of your application, visit your project in Percy.
When you run another build with visual changes to your application, Percy takes new snapshots. You can then see the comparisons between the two runs on the new build.
Advanced topics
Percy Snapshot command
In the preceding steps, we used the Percy Snapshot command for capturing snapshots. Percy provides various configurations to use with Percy snapshot command. To learn more visit, Percy snapshot command.
Base build selection
By default, Percy uses the previous build for comparison however, you always have the option to configure the base build for comparison as needed. To learn more, visit base build selection logic.
In this tutorial, we will use Cypress’ Kitchen Sink sample app to run our tests. It is an example app provided by Cypress to learn how Cypress works.
This integration works exclusively with BrowserStack TurboScale when used with Percy. When running tests on standard BrowserStack Automate, Percy does not work with the BrowserStack Cypress CLI.
Perform the following steps to run Cypress tests with Automate Turboscale using the sample Kitchen Sink project.
Create a Percy project
Sign in to Percy. In Percy, create a project of the type, Web, and then name the project. After the project is created, Percy generates a token. Make a note of it. You have to use it to set your environment variable in the next step.
Install Percy and BrowserStack Cypress CLI dependencies
Install the components required to establish the integration environment for your test suite.
To install the dependencies, run the following command:
Command Line
# Install the BrowserStack Cypress CLI
npm install-g browserstack-cypress-cli
# Install the Percy and Cypress CLI
npm install--save-dev @percy/cypress
Create the configuration file
Create and configure the browserstack.json file which contains configurations, such as BrowserStack credentials, capabilities, etc., that are required for running the tests. Use the following init command to initialize the app project folder and create a boilerplate browserstack.json file:
Command Line
browserstack-cypress init
After the browserstack.json file is created, modify or add the mandatory configurations that are required to run the Cypress test as shown in the following sample code. The mandatory configurations are BrowserStack credentials, Turboscale parameters, Cypress configuration file, browser-device combinations, and the number of parallels:
If you’re using TypeScript, include "types": ["cypress", "@percy/cypress"] in your tsconfig.json file.
This gives you access to the Percy snapshot command in any of your Cypress tests, via cy.percySnapshot(). You can now incorporate visual tests in your existing suite:
```javascript
describe('Integration test with visual testing', function() {
it('Loads the homepage', function() {
// Load the page or perform any other interactions with the app.
cy.visit(<URL under test>);
// Take a snapshot for visual diffing
cy.percySnapshot();
});
});
```
After you run your test, review visual changes in your Percy project builds.
Advanced scenario
If you run tests across multiple browsers or use parallels, set the PERCY_PARALLEL_TOTAL and PERCY_PARALLEL_NONCEenvironment variable so Percy knows how many parallel workers to expect, and which parallels to combine into a single build. For more information, see the Parallel test suites.
You must both export and set PERCY_PARALLEL_NONCE and PERCY_TOKEN in the config file.
Example
If you run tests with 2 parallels across 3 browsers, set:PERCY_PARALLEL_TOTAL=6 and PERCY_PARALLEL_NONCE=12345.
Did this page help you?
We're sorry to hear that. Please share your feedback so we can do better
Contact our Support team for immediate help while we work on improving our docs.
We're continuously improving our docs. We'd love to know what you liked
Thank you for your valuable feedback
Is this page helping you?
Yes
No
We're sorry to hear that. Please share your feedback so we can do better
Contact our Support team for immediate help while we work on improving our docs.
We're continuously improving our docs. We'd love to know what you liked

 Join our Discord