Create and update issues in GitLab from Test Reporting & Analytics
Test Reporting & Analytics allows you to easily create, track, and monitor issues on GitLab without navigating away from Test Reporting & Analytics.
Prerequisite
Ensure that you have a GitLab account.
Integrate GitLab with Test Reporting & Analytics
To integrate GitLab with Test Reporting & Analytics:
- Sign in to BrowserStack Test Reporting & Analytics.
- Hover over the profile icon in the top navigation bar of Test Reporting & Analytics and select Integrations.
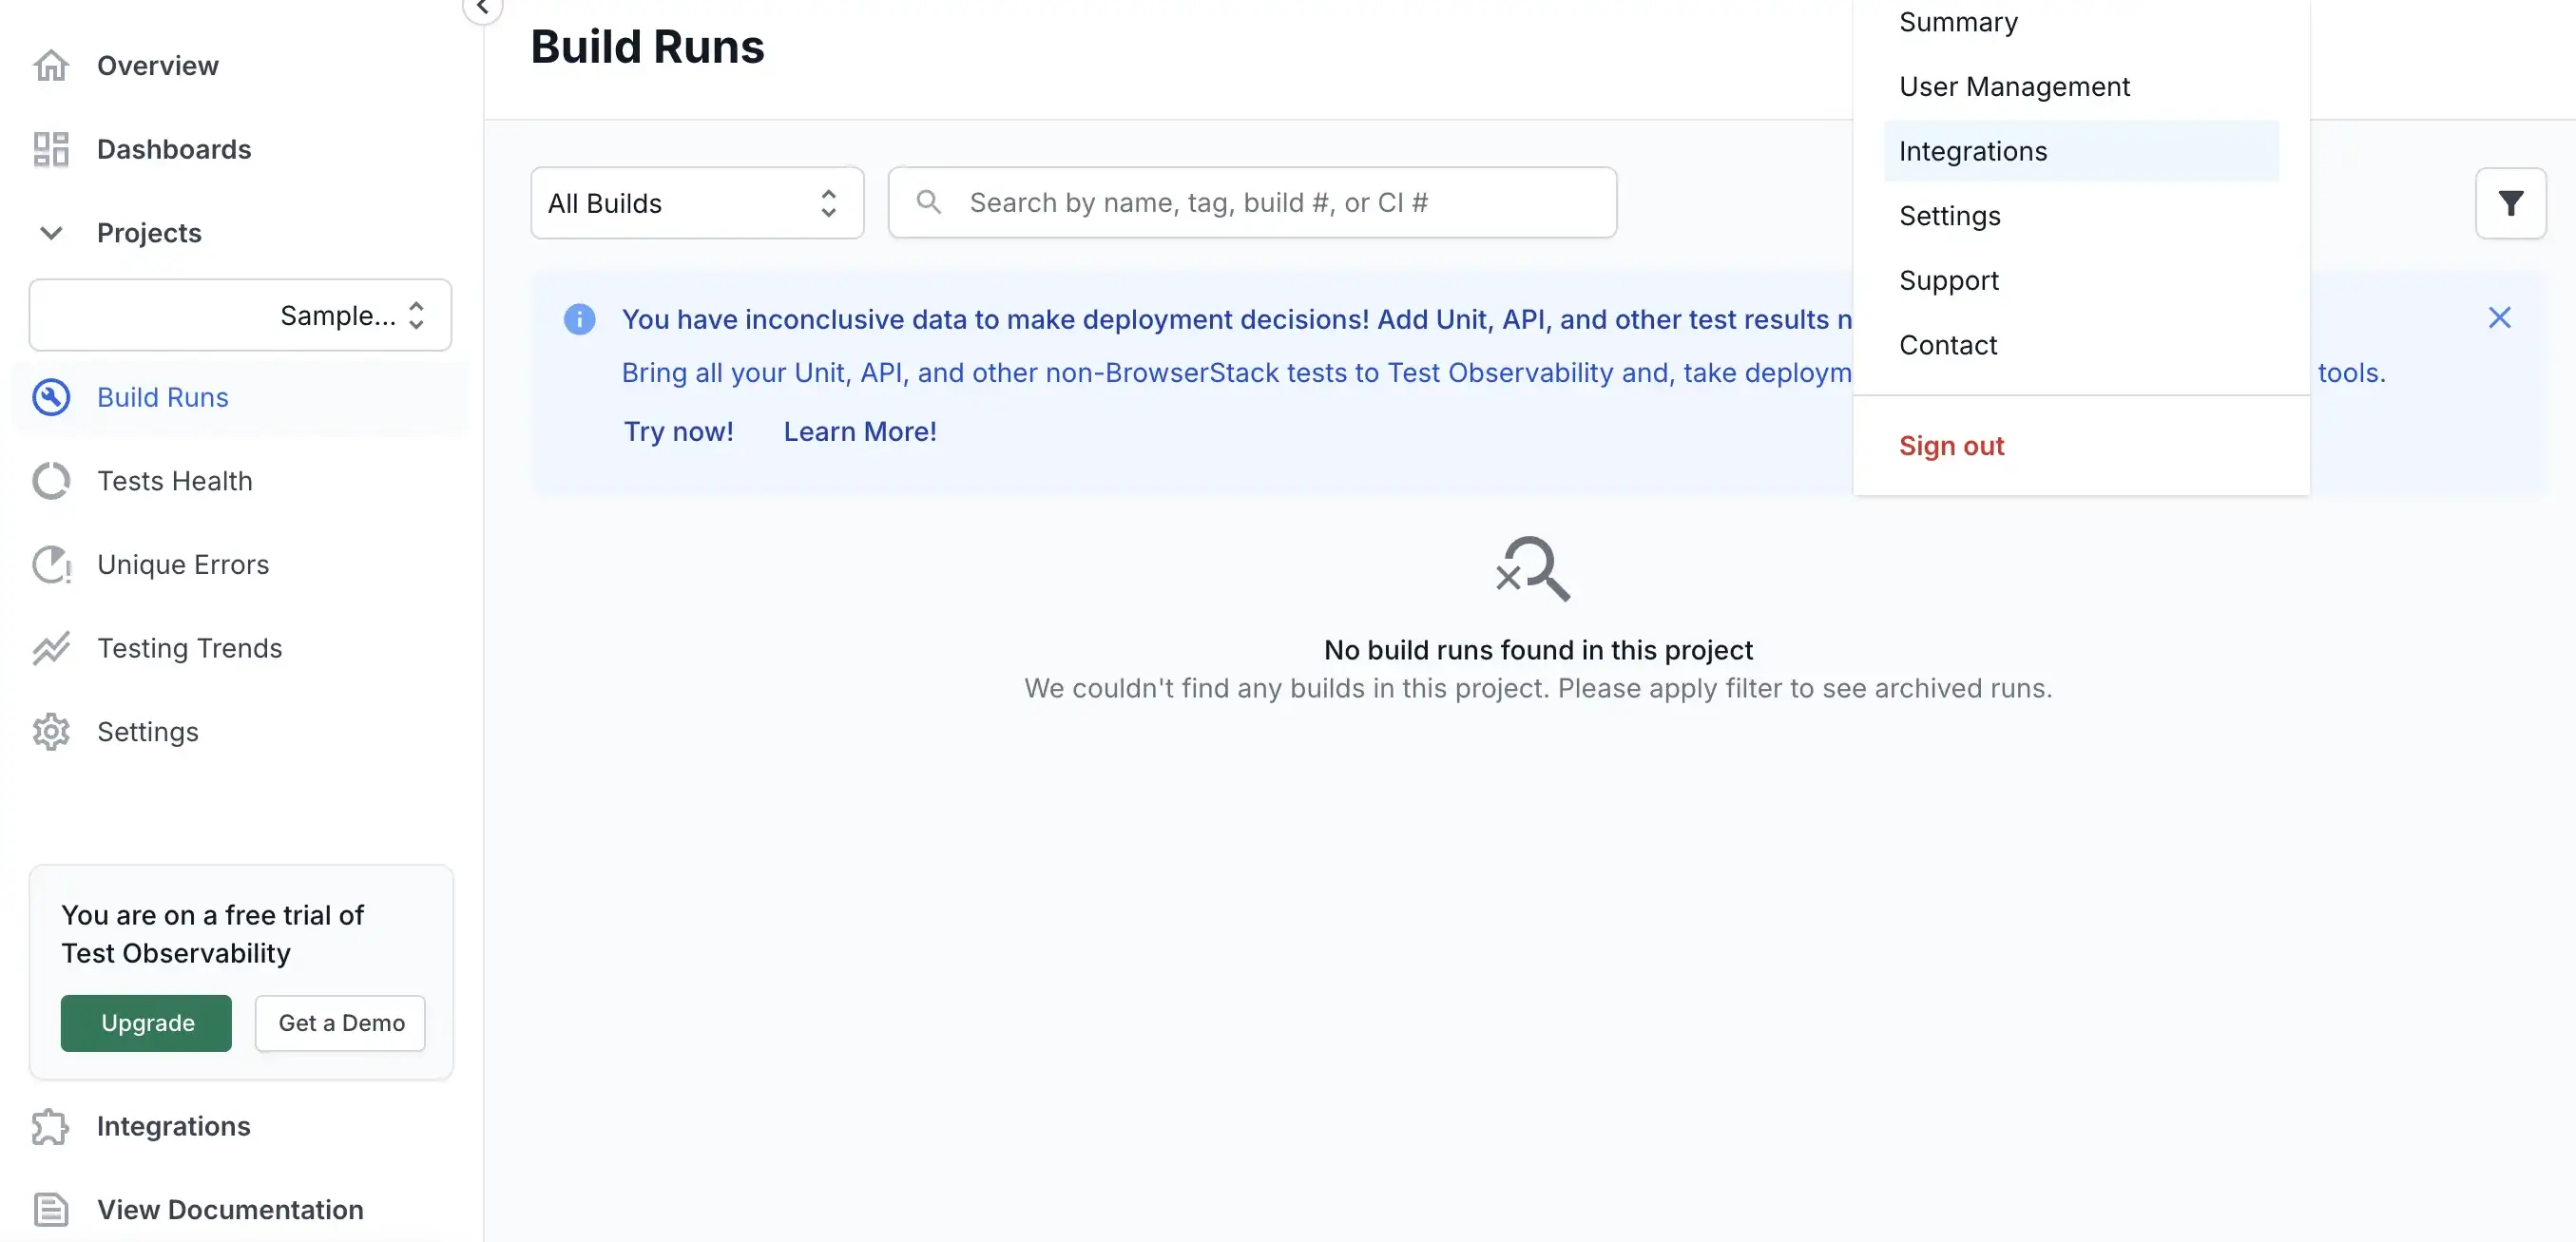
- On the Integrations page, click Connect next to the GitLab logo.

- On the Integrate with your GitLab account prompt, click Connect with OAuth.
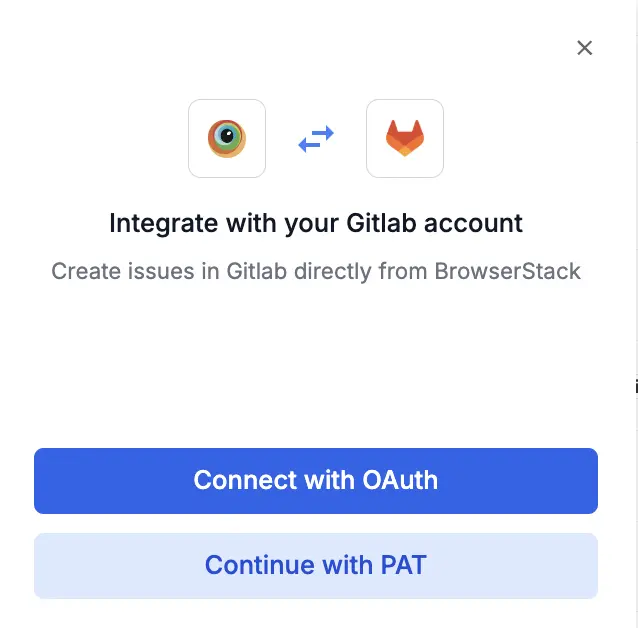
- Enter your login credentials and grant permissions, if prompted. You can view a success message to confirm GitLab integration.
Log an issue on GitLab
Ensure you have integrated GitLab with Test Reporting & Analytics.
- You can initiate an issue on GitLab in two ways:
- From the Tests tab of the Build Insights Dashboard, hover the cursor over the timeline graph of a failed test and click Report.
- From the Timeline Debugging view, click the icon.
- Click GitLab.
- Select an organization and project from the menu. Test Reporting & Analytics automatically picks up all the fields in your GitLab project.
- Click the Create tab and select the type.
- Enter the details about the issue. Click Show all fields to view all the fields. Note that the fields in your GitLab project are auto-populated here by Test Reporting & Analytics.
- Click Create.
You will receive a success message that the GitLab issue was created.
You can click View on the success message to view the issue on GitLab.
The GitLab issue gets associated with the test run. You can track the status of the issue from the test listing.
Metadata to add to GitLab
When you create a GitLab issue, Test Reporting & Analytics logs the following Metadata and other information to the issue and makes debugging easier:
- Session URL to view the issue on BrowserStack
- Build Name
- Build ID
- CI Environment
- CI Build URL
- Test Name
- Test URL
- Test Status
- Operating System
- Browser name and version
- Host Name
- Defect Type
- Duration
-
isAutoAnalyzedflag - Status of Build Runs
- Error message or exception
- Environment
As Test Reporting & Analytics automatically logs this information onto the GitLab issue, you can reduce manual work, debug faster, and improve the data quality of your GitLab issues.
Update an issue on GitLab
Ensure you have integrated GitLab with Test Reporting & Analytics.
- You can open the window to update a GitLab issue in two ways:
- From the Tests tab of Build Insights, hover the cursor over the timeline graph of a failed test and click Report.
- From the Timeline Debugging view, click the icon.
- Select a project and organization from the Project drop-down.
- Click the Update existing issue tab and select the issue you want to update.
- Click Show all fields to view additional fields. Update the details.
- Click Update.
You can confirm that the issue was updated after receiving a success message.
We're sorry to hear that. Please share your feedback so we can do better
Contact our Support team for immediate help while we work on improving our docs.
We're continuously improving our docs. We'd love to know what you liked
We're sorry to hear that. Please share your feedback so we can do better
Contact our Support team for immediate help while we work on improving our docs.
We're continuously improving our docs. We'd love to know what you liked
Thank you for your valuable feedback!