BrowserStack Test Management
Learn how to link BrowserStack Test Management to Low Code Automation.
This document explains how to connect your Low Code Automation tests with BrowserStack Test Management test cases.
Integration with Test Management tools is available only in the Low Code Automation Pro plan. For more details, contact us.
Link BrowserStack Test Management to Low Code Automation
To link BrowserStack Test Management with Low-Code Automation:
- Open Low Code Automation and record a test.
- Click the Map test case IDs link while saving the test.
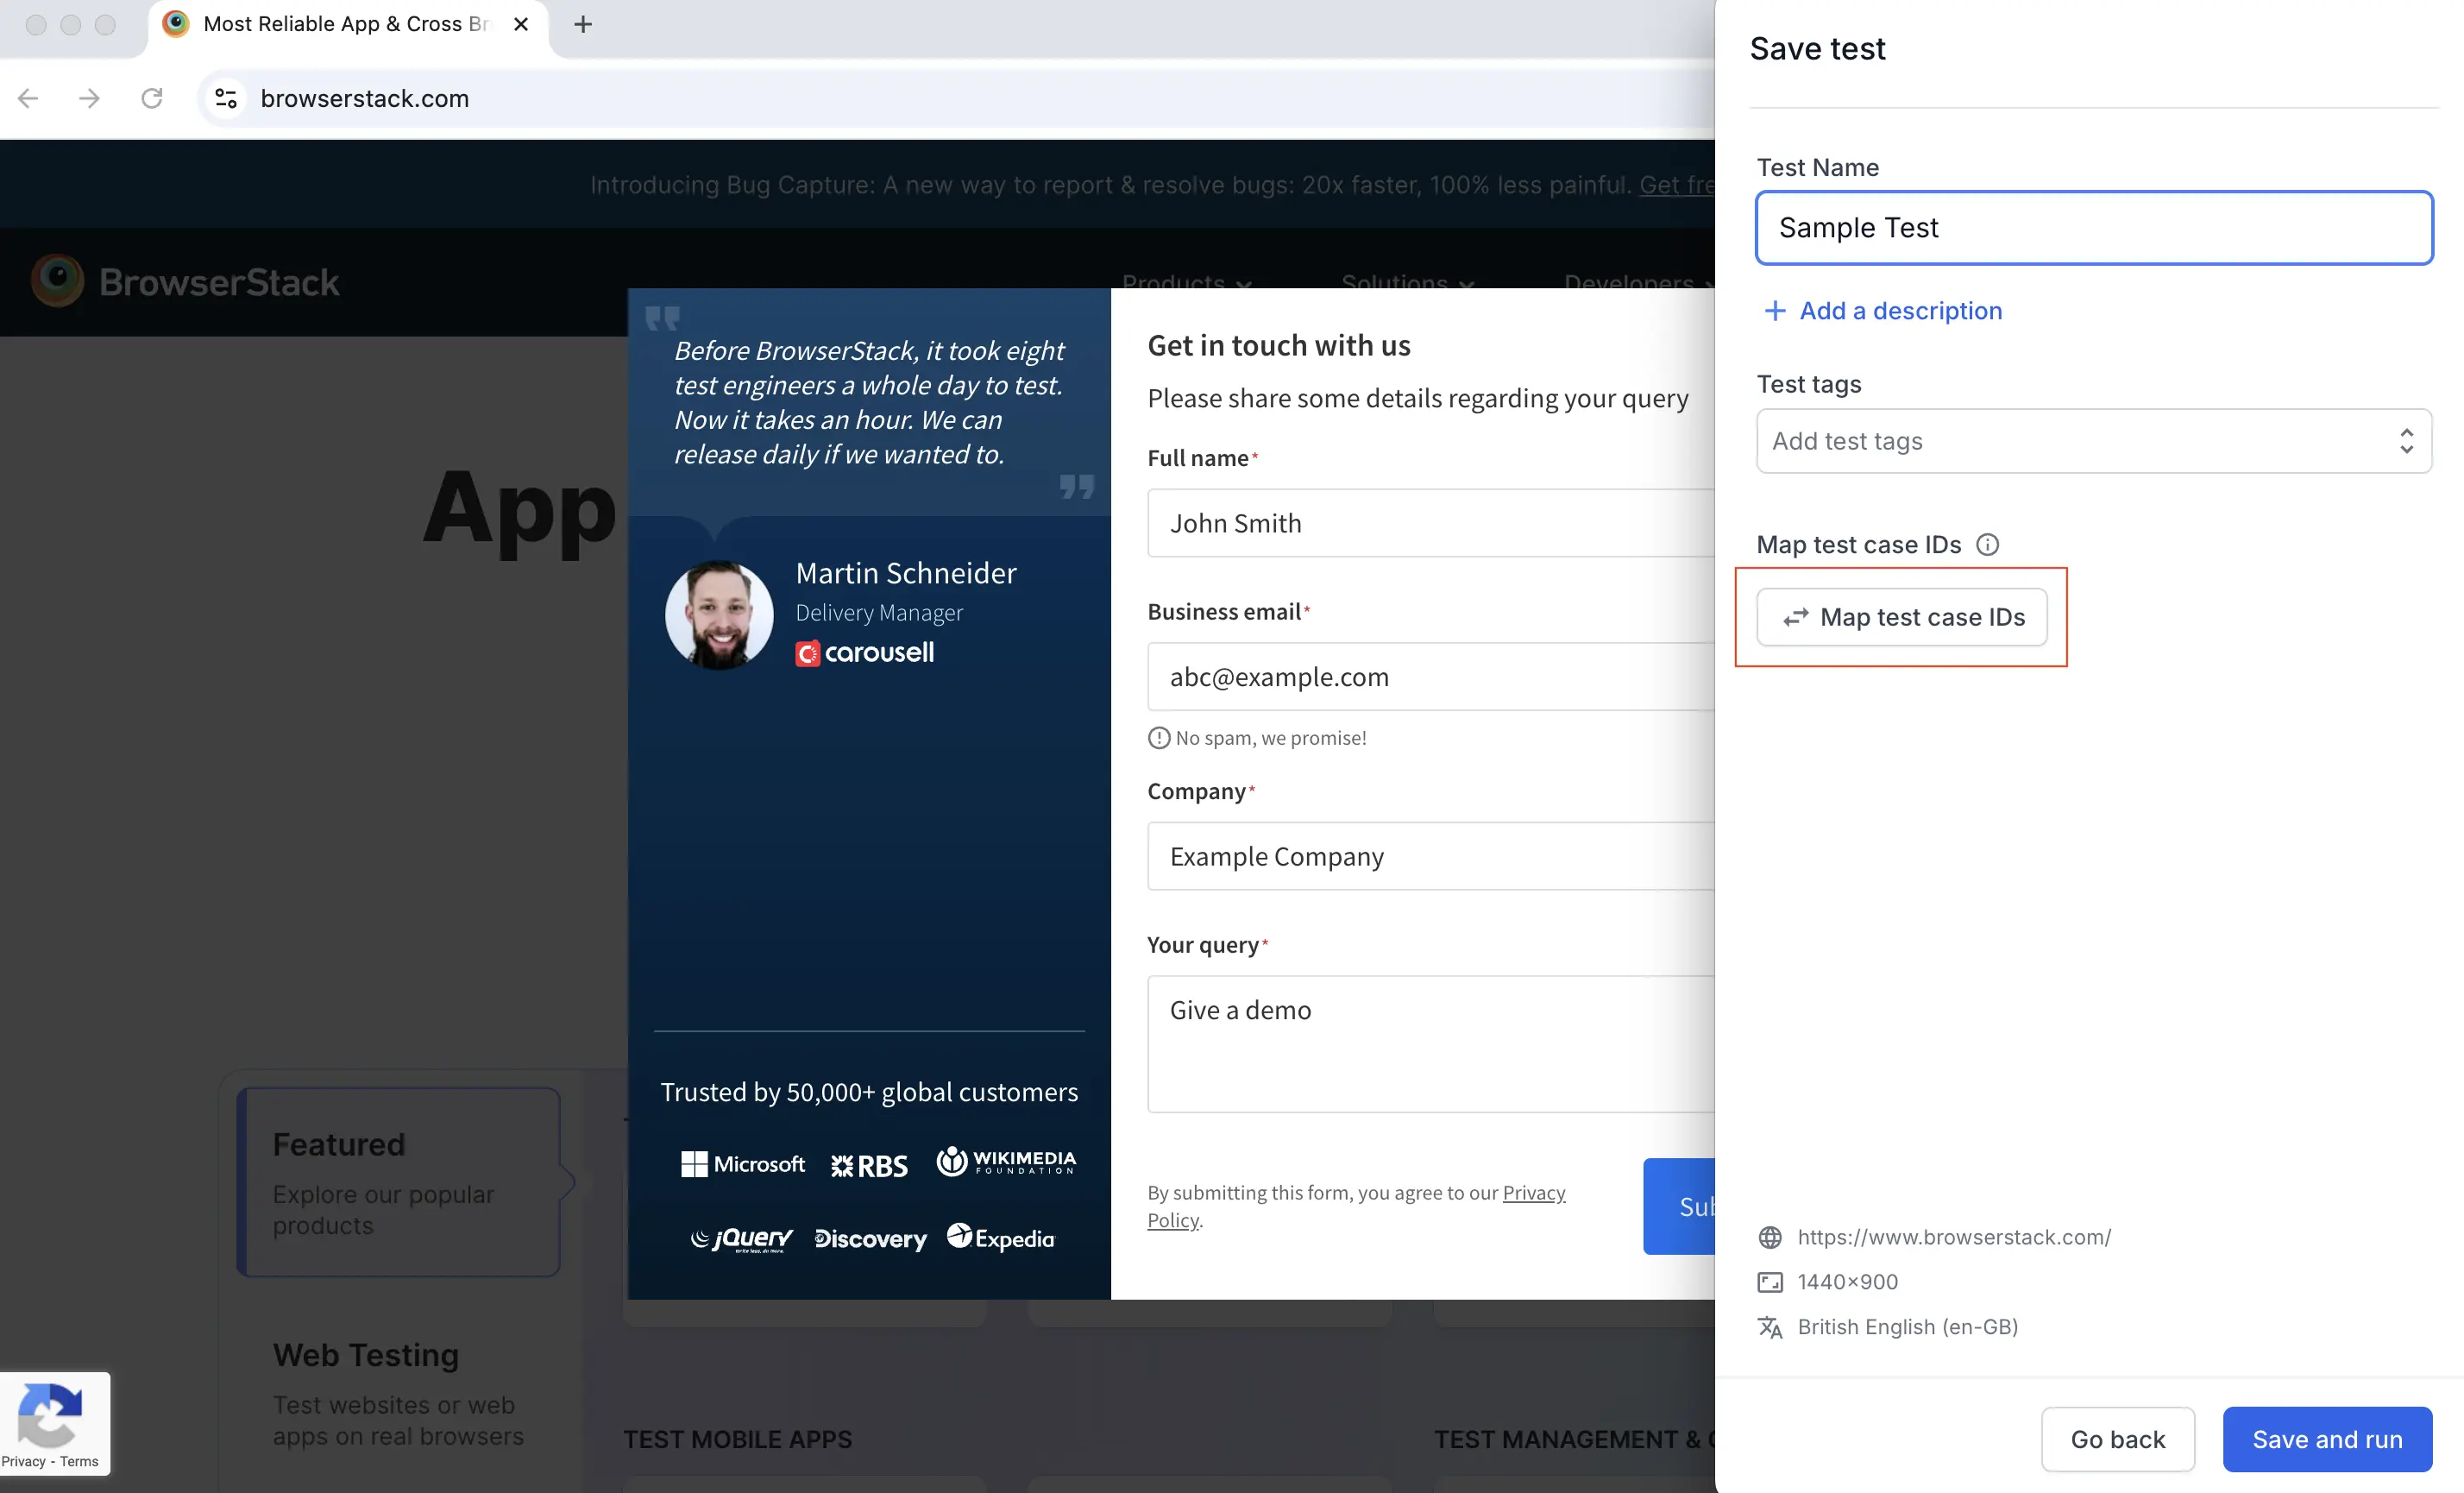
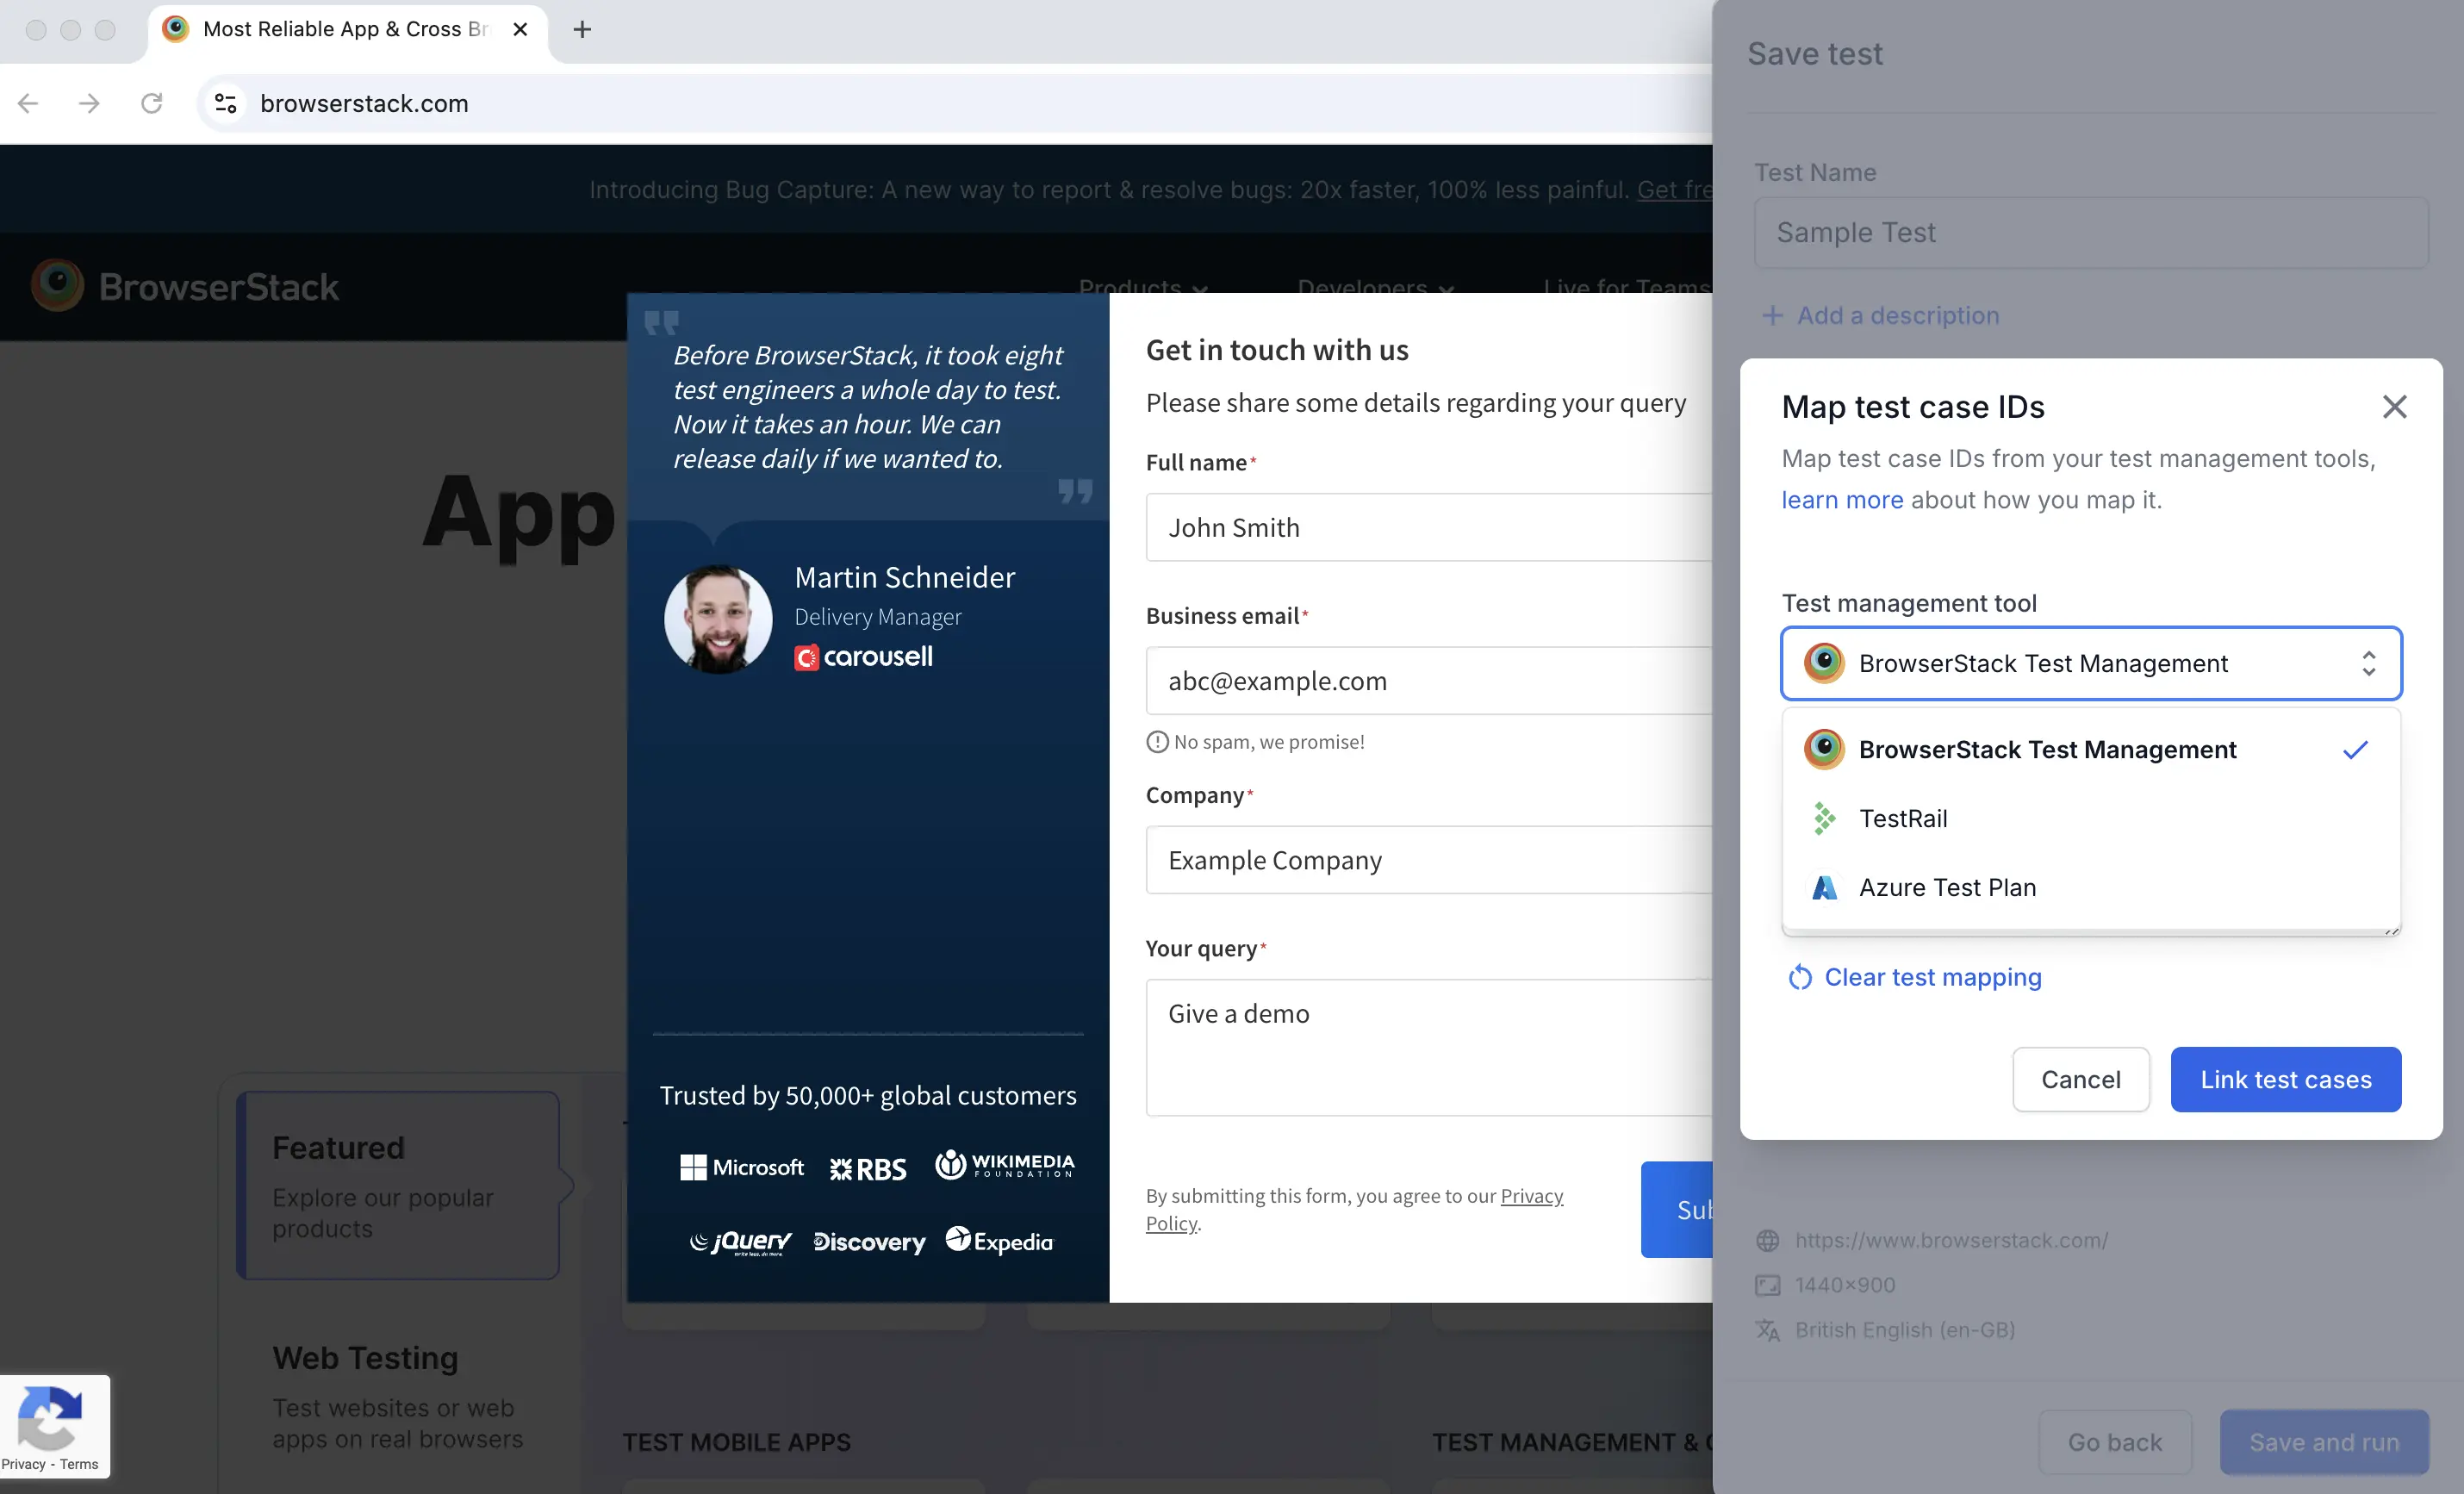
- In the Map test case IDs dialog, select BrowserStack Test Management from the Test management tool menu.
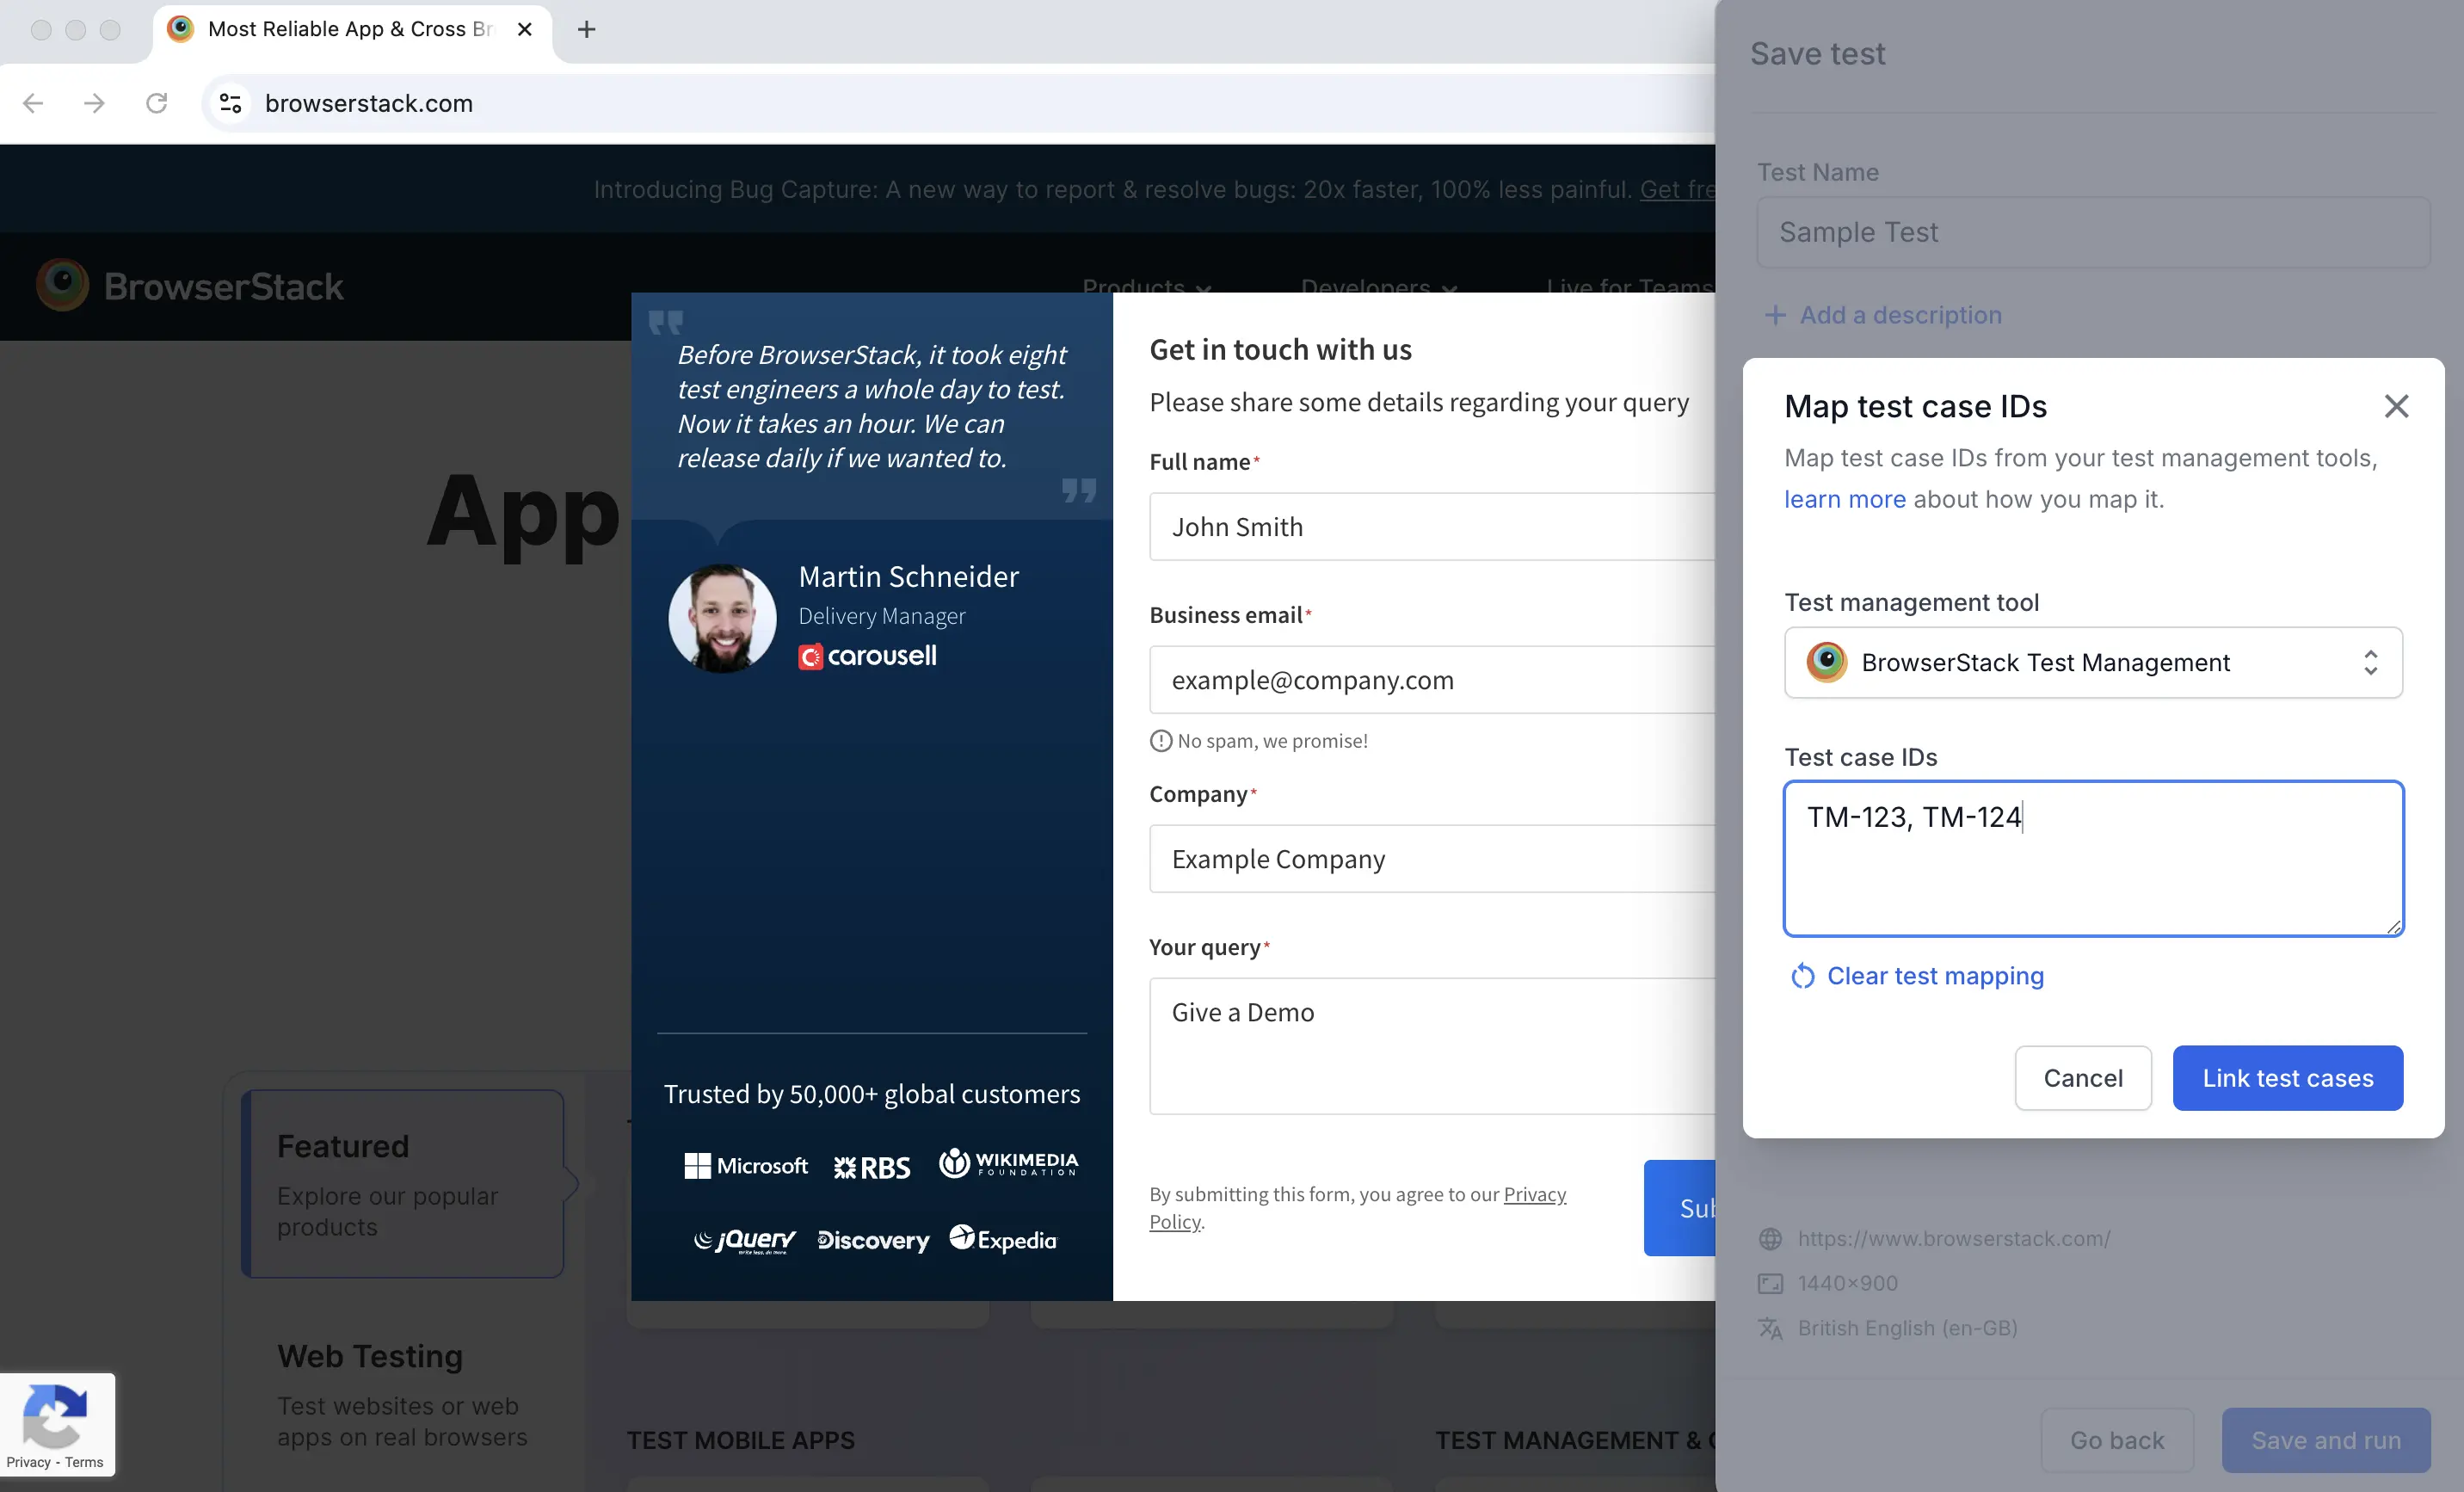
- In the Test case IDs field, enter the test case IDs, separated by commas. Click Link test cases.
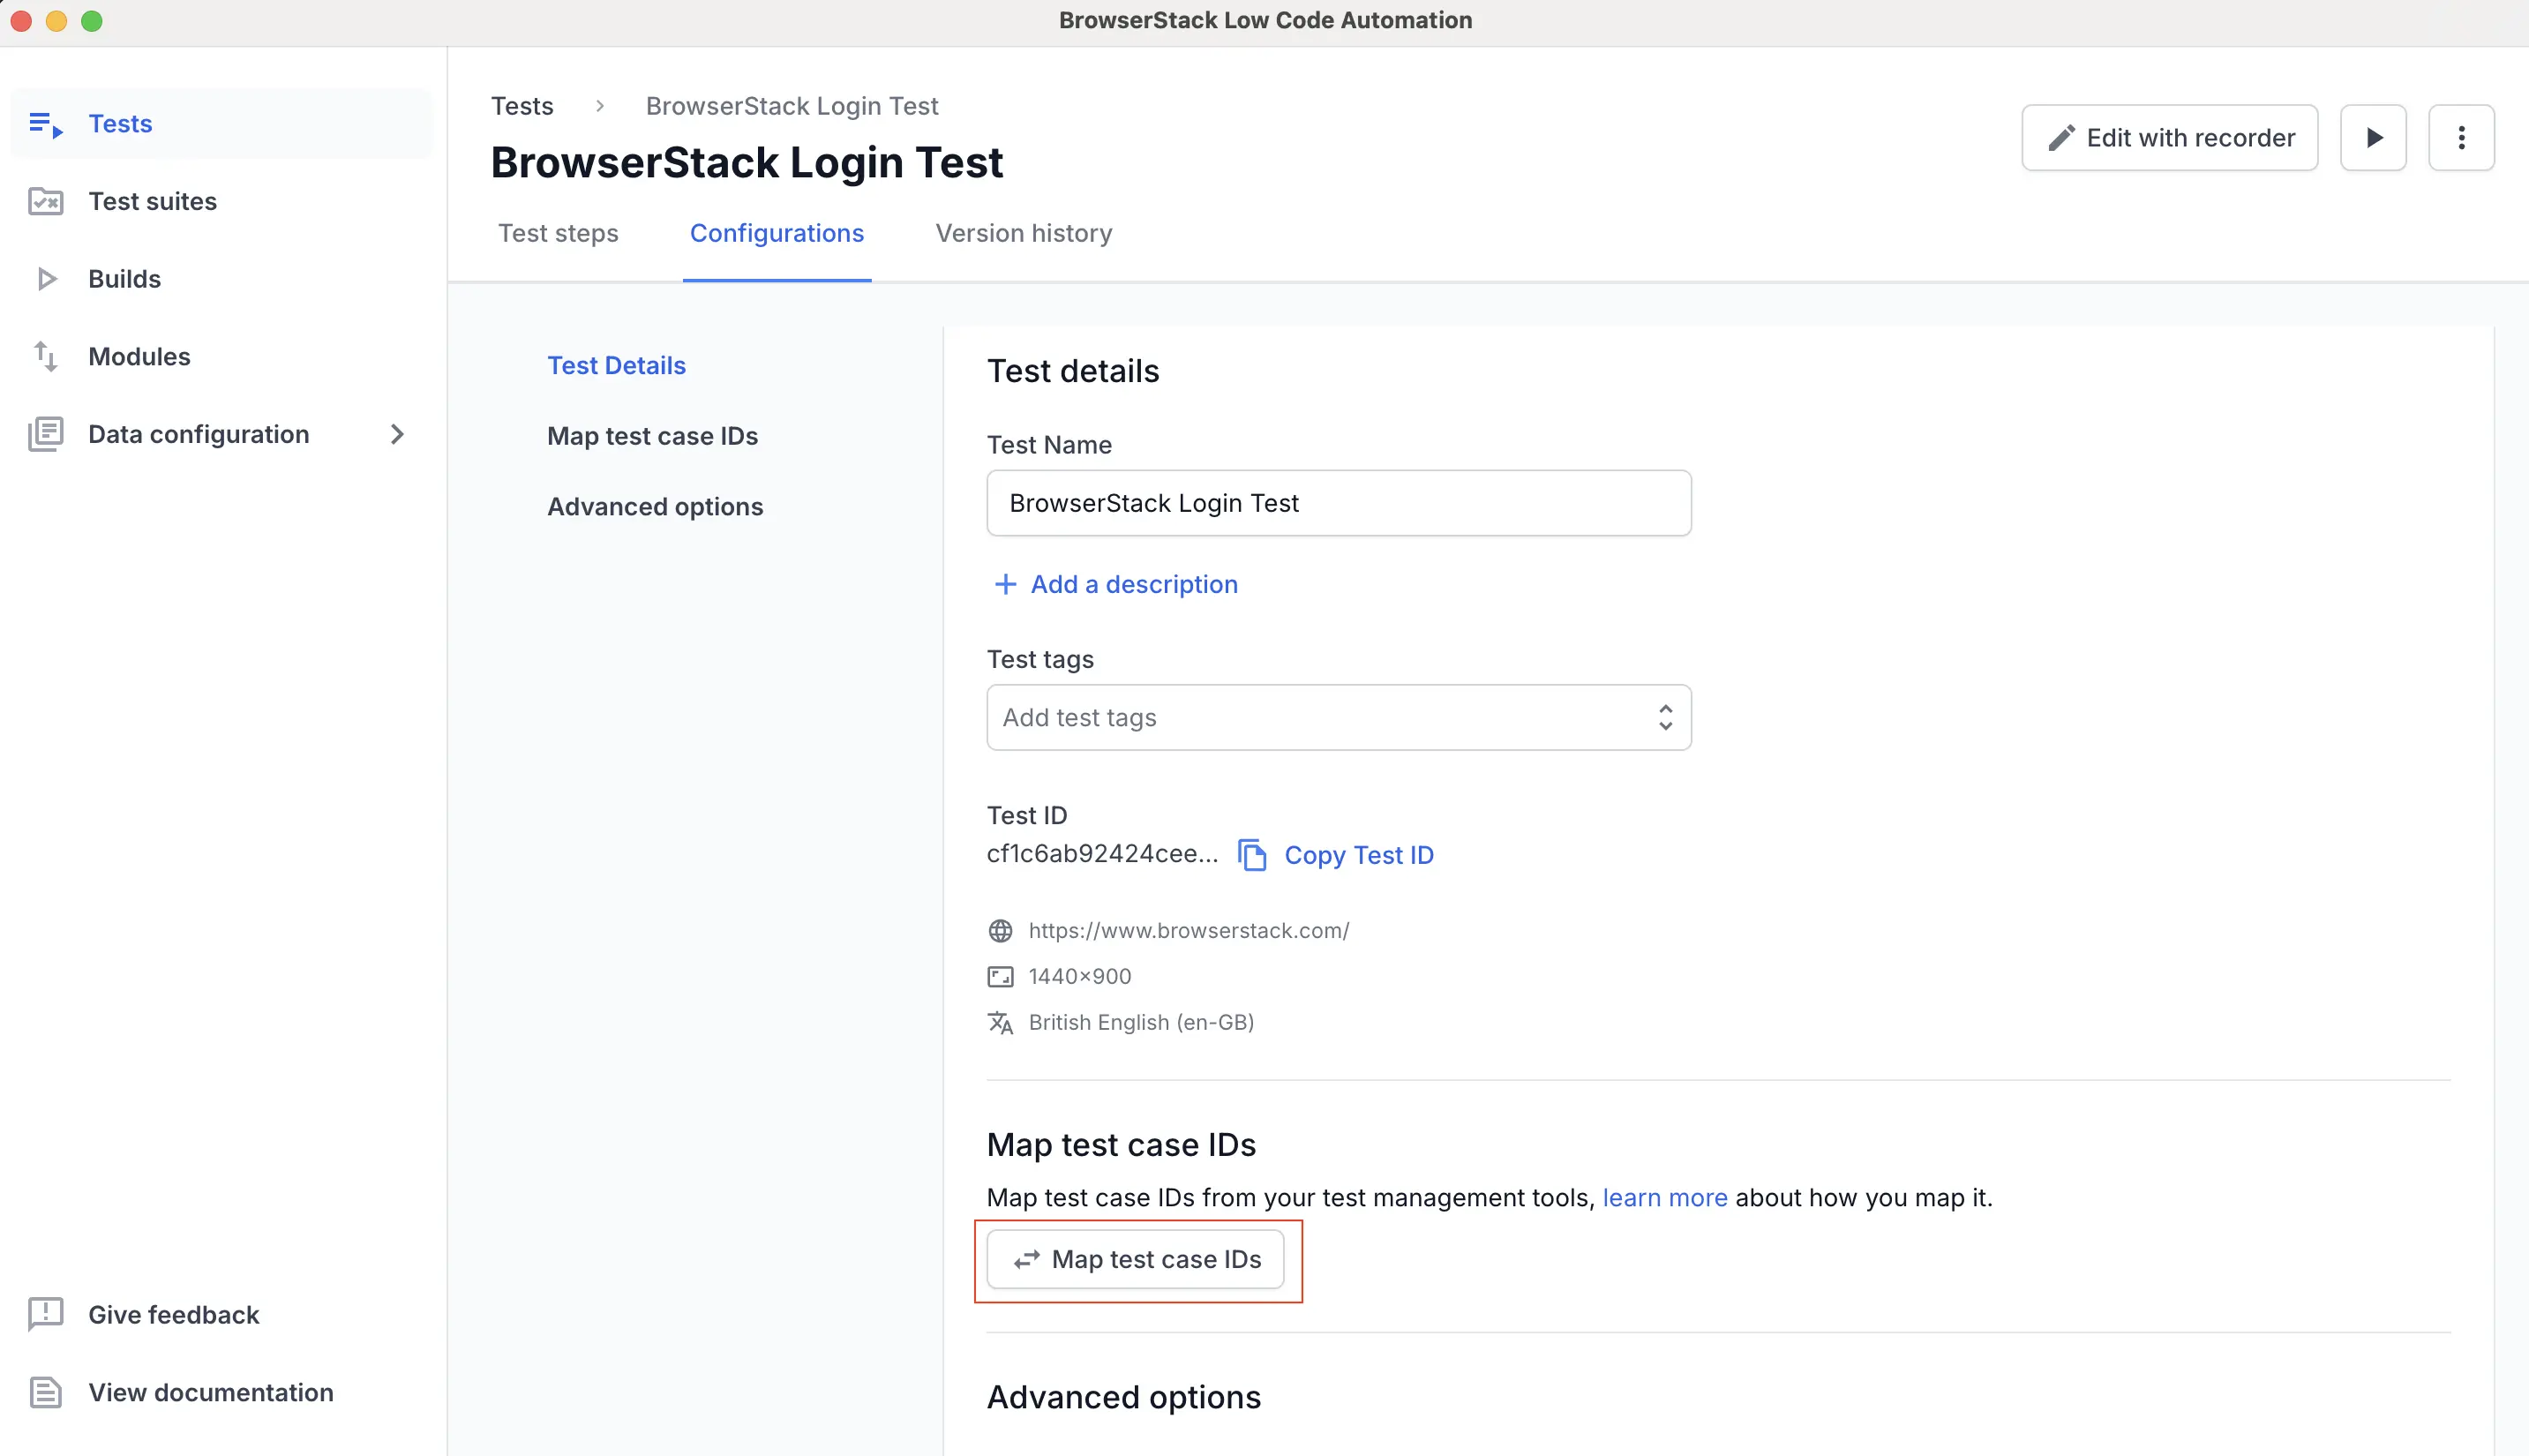
- Alternatively, link the test cases while editing the test. Click the Configurations tab. Under the Map Test Case IDs section, click the Map Test Case IDs button, then repeat Steps 3 and 4.
- Select the test cases you want to map to the steps.
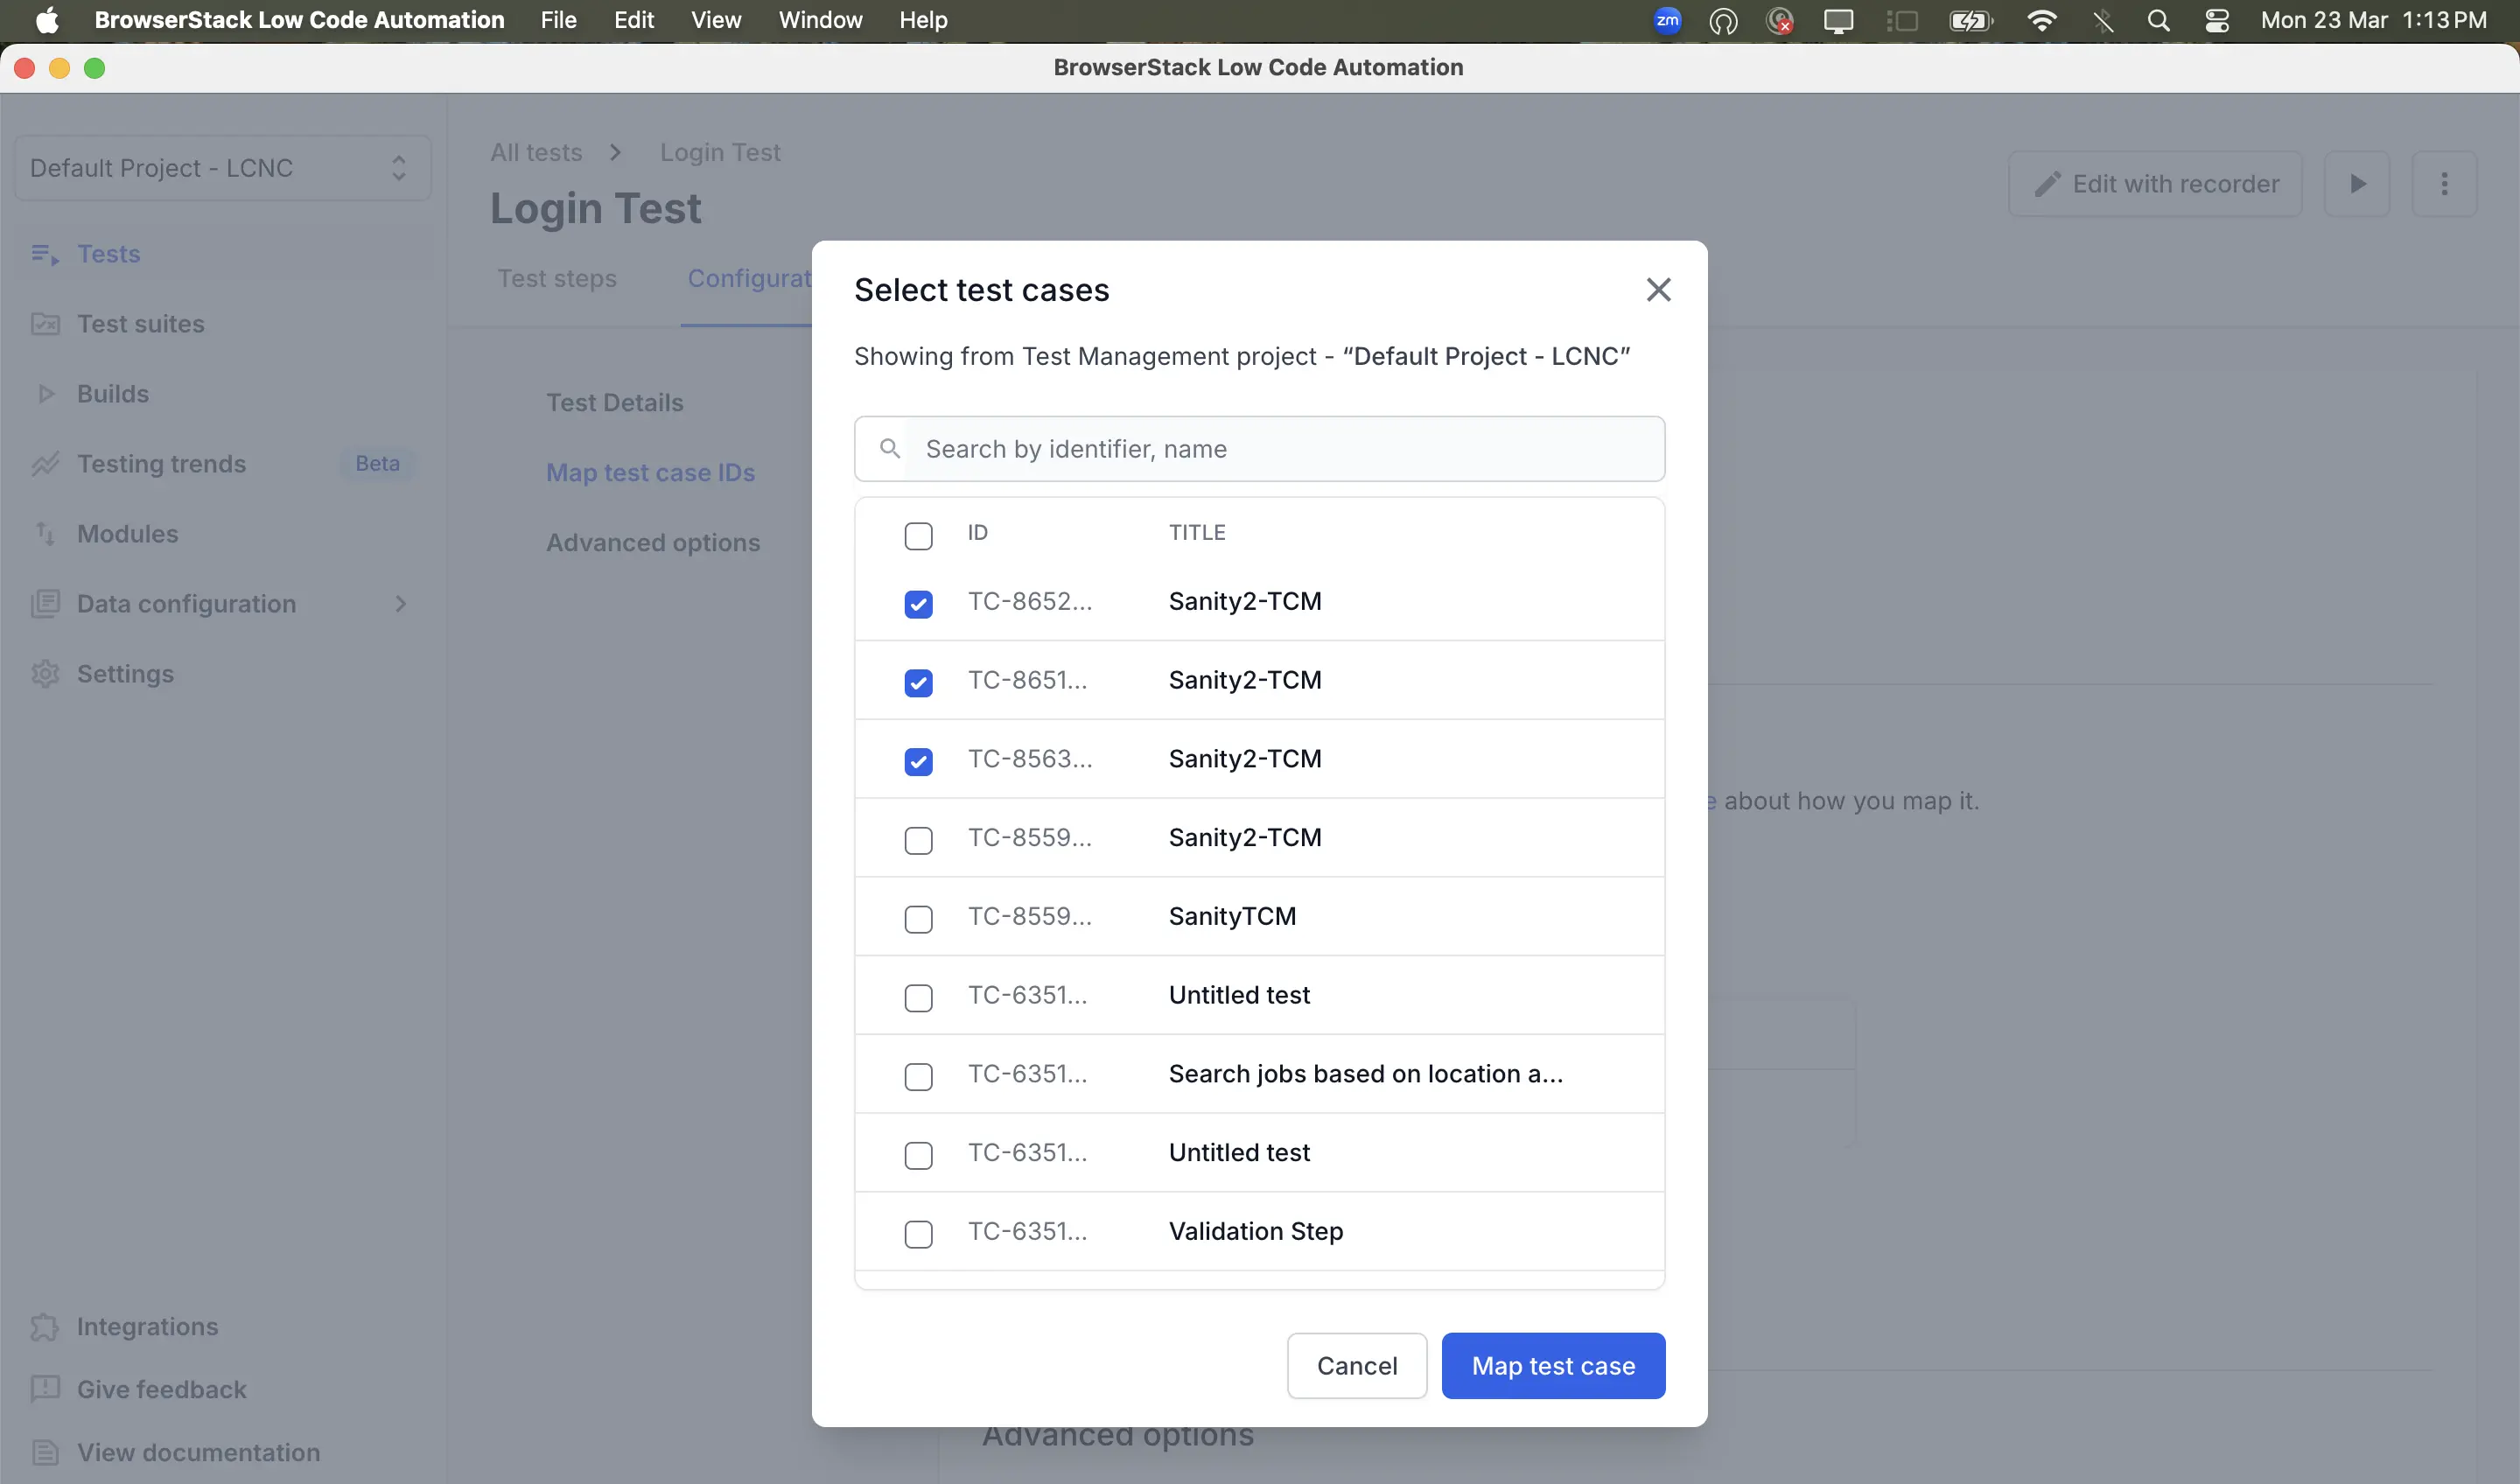
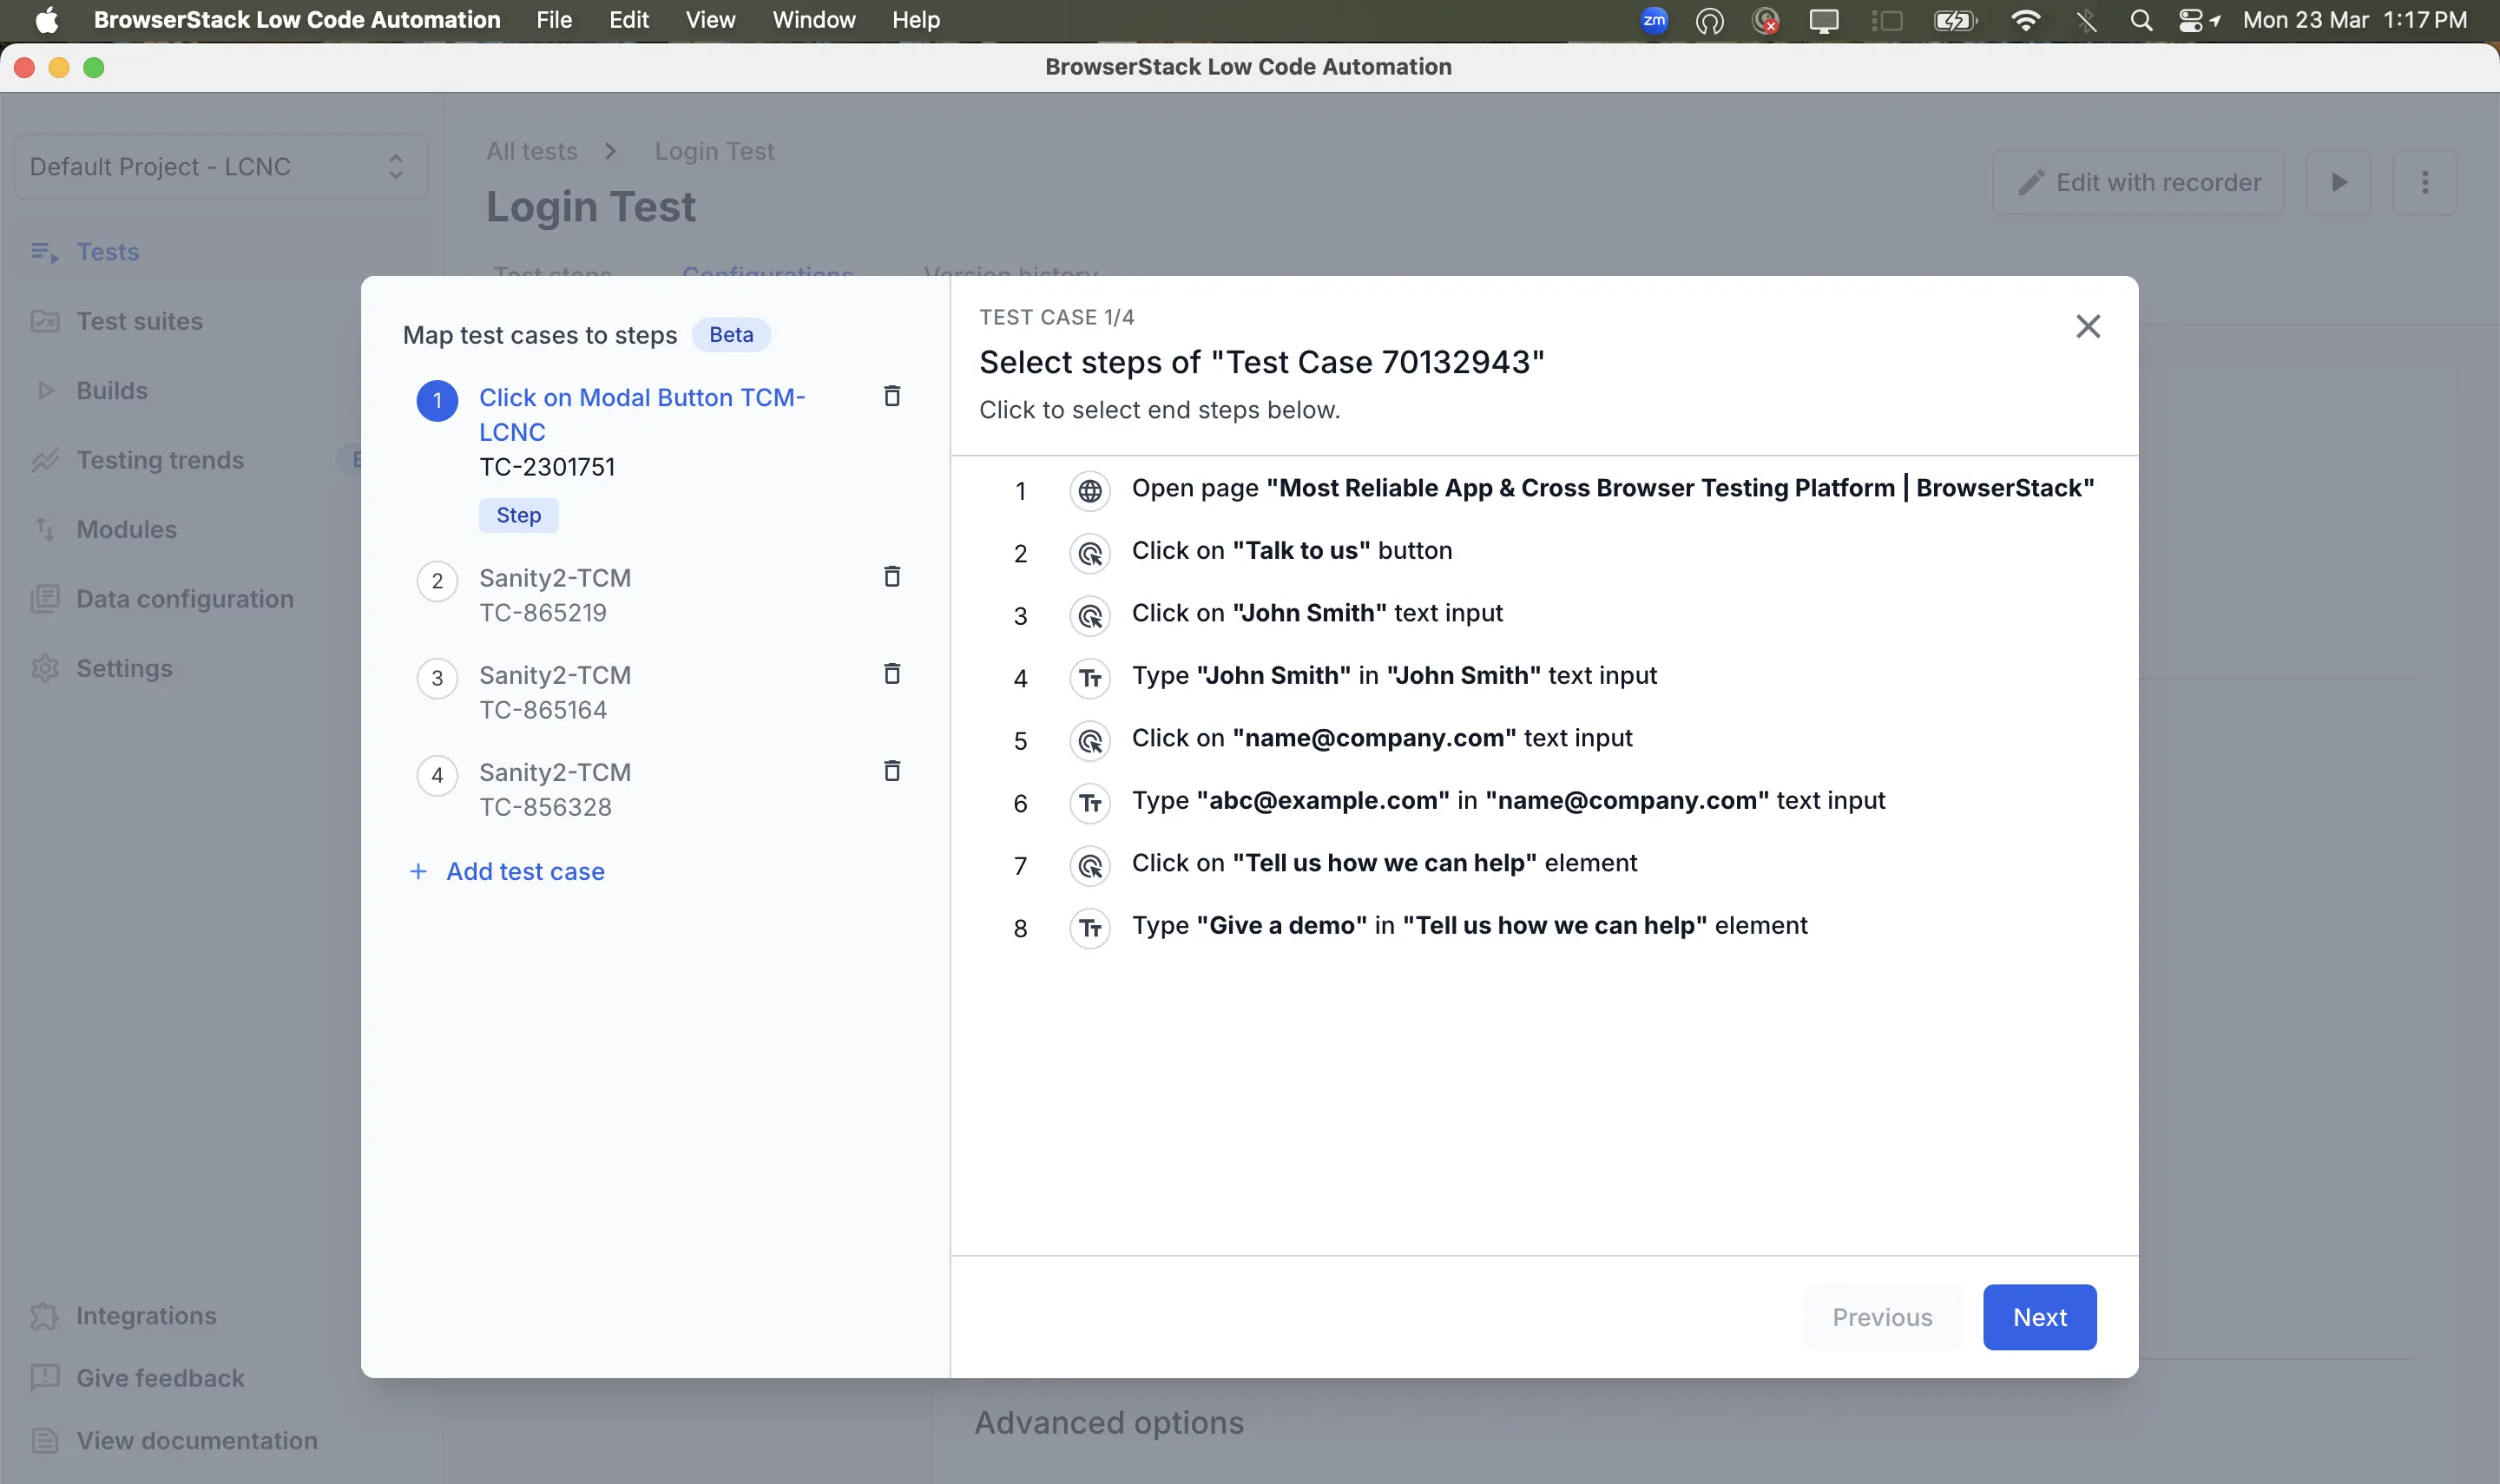
- Map the test cases with the steps, click Next and click Map test case. For more information, refer to the Step-level mapping
- Enter the name and click Save changes.
Step-level mapping
Step-level mapping allows you to link specific test steps (or groups of steps) in your Low Code Automation test to individual test cases in Test Management, making it easier to track test case execution results and maintain traceability between automated test steps and manual test cases.
- You can map individual steps or groups of steps in a Low Code Automation test directly to a single test case in Test Management.
- Mapping each step to a test case is optional. If steps are not mapped, a prompt appears asking you to remove them.
- Define mapping boundaries by identifying the last step associated with each test case (for example, TC-1 ends at Step 7, TC-2 ends at Step 11).
- Mapping is based on the steps themselves, not fixed step numbers. If a new step is added (for example, at position 3), the mappings automatically adjust (for example, TC-1 now ends at Step 8 instead of Step 7).
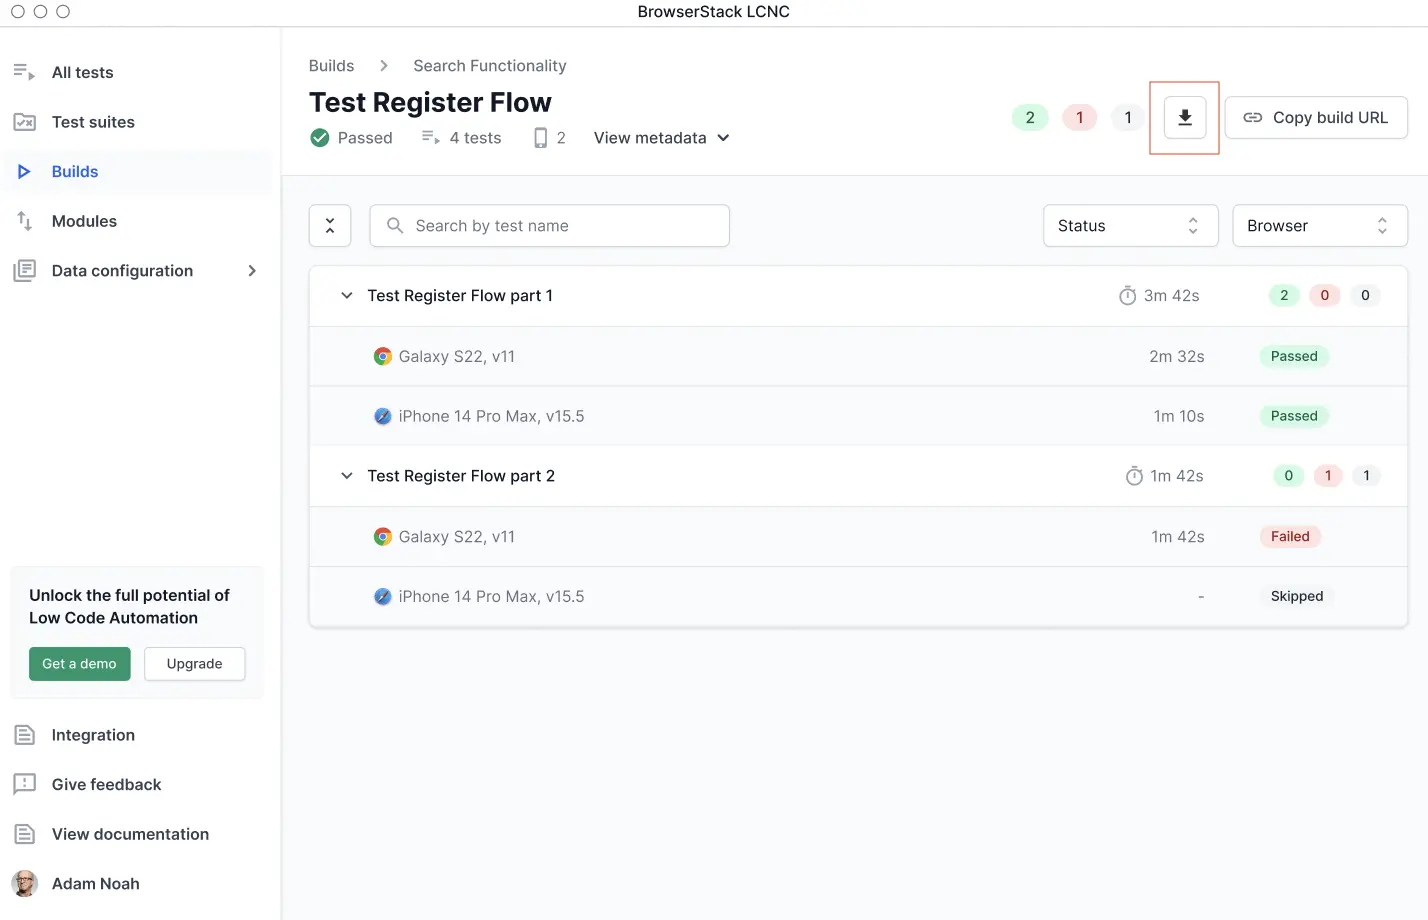
Export the test data in XML format
After test execution, go to the Builds section, select the desired build, and click the Download icon in the top right.
You can also use the Reports API to download the XML, in addition to using the Download icon.
The XML file will be saved to your system in the following format:
Import test data XML into Test Case Management
After the test execution is complete and the XML file has been exported, you can import it into your TCM tool.
For more information on how to import test results into BrowserStack TCM, refer to the Upload Junit XML Test Report page.
We're sorry to hear that. Please share your feedback so we can do better
Contact our Support team for immediate help while we work on improving our docs.
We're continuously improving our docs. We'd love to know what you liked
We're sorry to hear that. Please share your feedback so we can do better
Contact our Support team for immediate help while we work on improving our docs.
We're continuously improving our docs. We'd love to know what you liked
Thank you for your valuable feedback!