Data driven testing
Learn how to run a single test against multiple scenarios using different test data combinations in Salesforce Test Automation.
Overview
Data driven testing allows you to run a single test against multiple scenarios by using different test data combinations. This approach helps you validate your Salesforce application’s behavior across various inputs without creating separate tests for each scenario.
By creating and utilizing test datasets, you can:
- Test multiple scenarios efficiently: Execute a single test with different data combinations
- Improve test coverage: Validate edge cases and various input combinations
- Reduce test maintenance: Update data in one place instead of modifying multiple tests
- Automate repetitive testing: Run the same test flow with different user credentials, product data, or other variables
Example use cases
Data driven testing is useful for scenarios such as:
- Lead creation: Validate lead creation flows using different combinations of user and company data.
- Custom object validation: Validate custom object creation and updates with multiple data sets.
Create test dataset
You can create test datasets in Salesforce Test Automation by uploading CSV files. Test datasets allow you to define multiple rows of data that your tests can iterate through during execution.
Upload a CSV file
To create a test dataset from a CSV file:
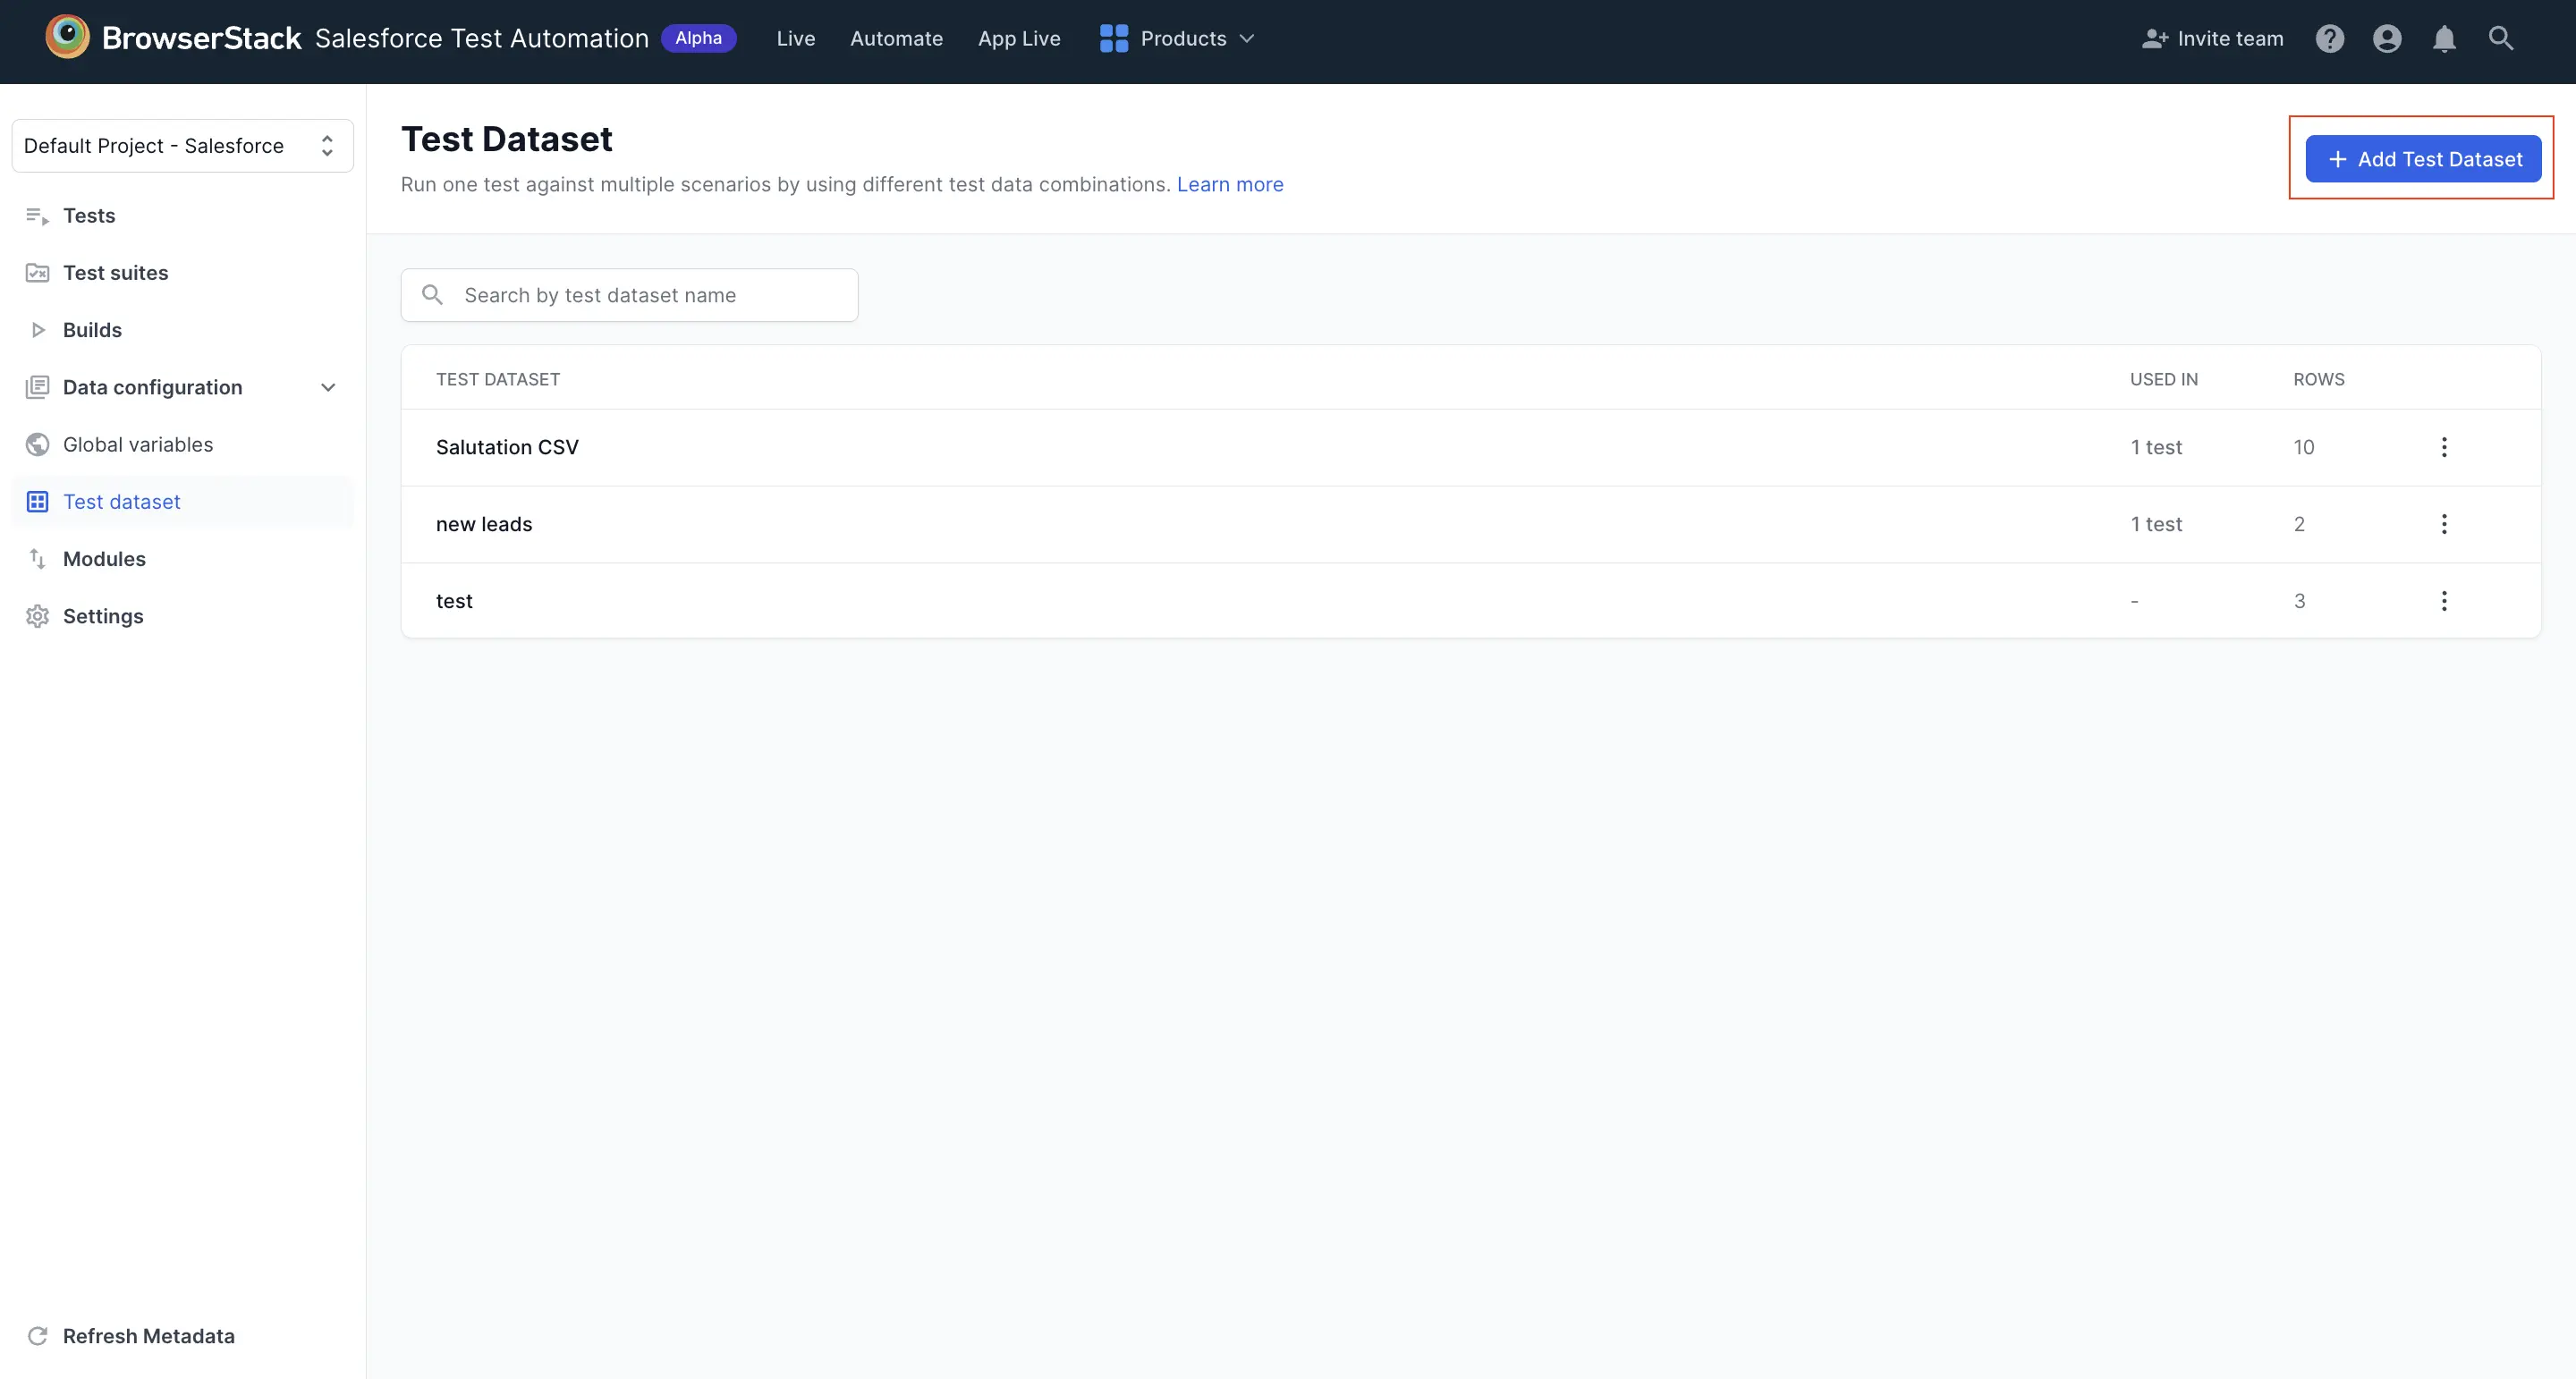
- In Salesforce Test Automation, expand Data configuration in the left navigation pane.
- Click Test dataset.
-
Click + Add Test Dataset to open the upload dialog.
-
Upload a CSV file by clicking Upload a CSV file or drag and drop your file into the upload area. The file must be in CSV format.
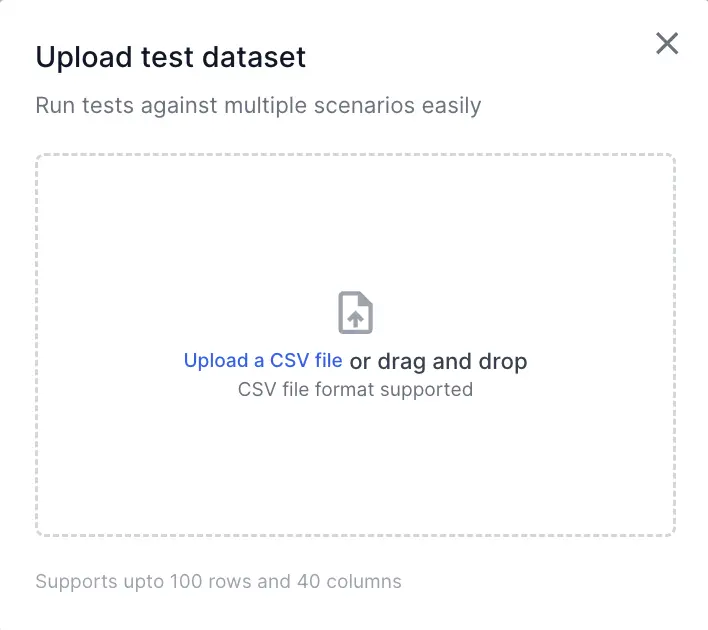
- Ensure your CSV file meets the following requirements:
- CSV file format
- Maximum of 100 rows and 40 columns
- At least one row of data in addition to the header row
- Consistent number of columns in each row
- Review the uploaded data in the preview table.
- Optionally, map a scenario name column to identify each row uniquely in test reports.
- Click Save or Save changes to create the test dataset.
The first row of your CSV file is treated as the header row containing column names. These column names are used as variable names when importing data into your tests.
Map a scenario name column
After creating a test dataset, you can map any column as the scenario name column. This helps identify specific test runs in build reports and execution logs.
To map a scenario name column:
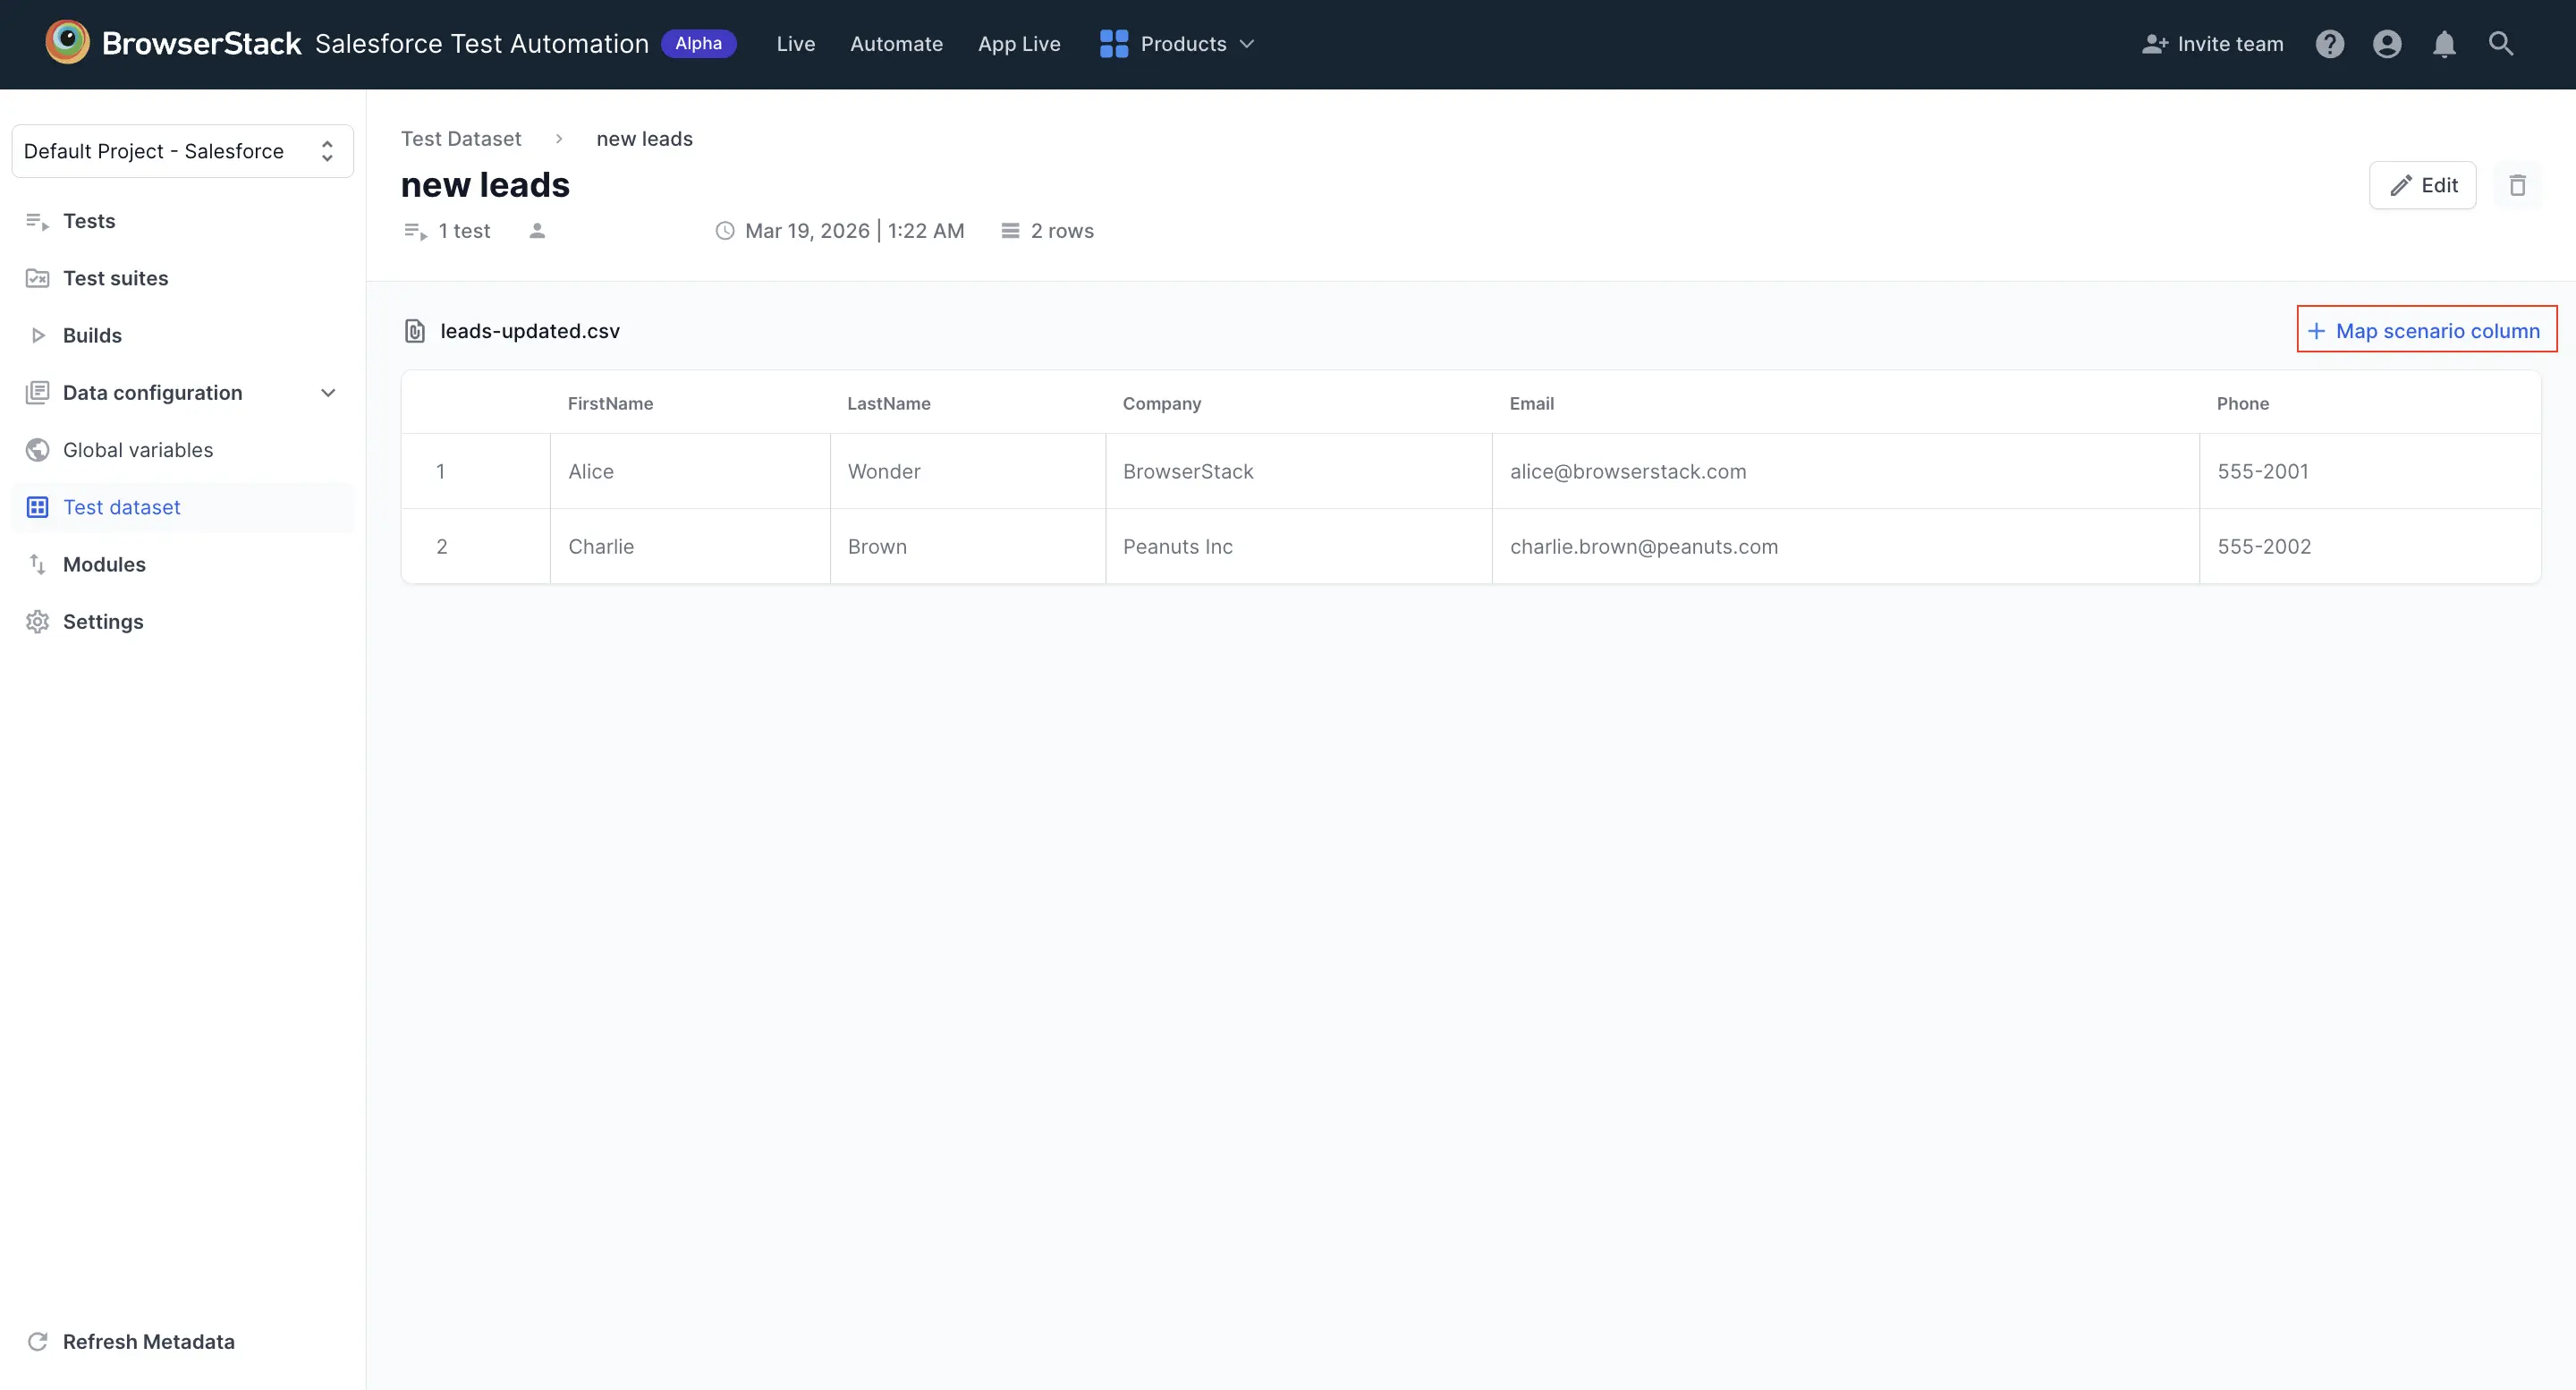
- Open your test dataset from the Test dataset section.
-
Click the Map a column as scenario button at the top of the data table.
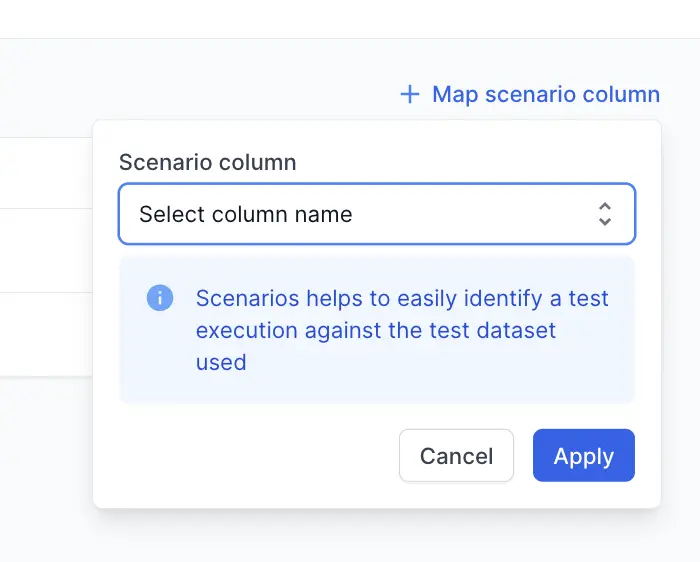
-
Select the column you want to use as the scenario identifier.
Use datasets in tests
Once you’ve created a test dataset, you can import columns from the dataset into your test steps, similar to using variables.
To use test dataset values in your test:
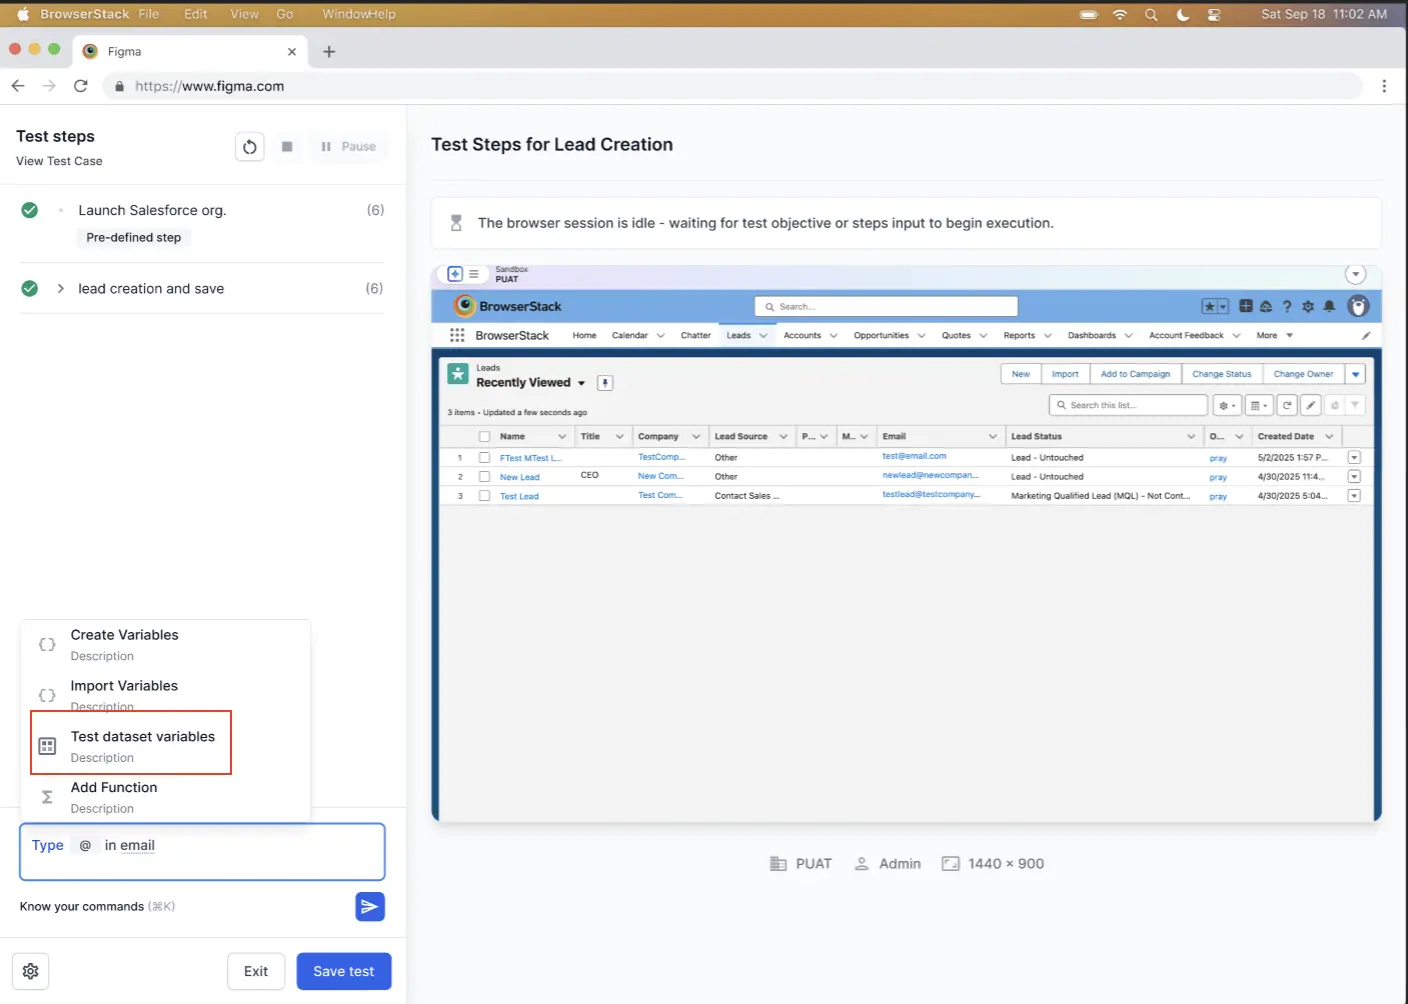
-
In the test editor, select Test dataset variables from the options menu.
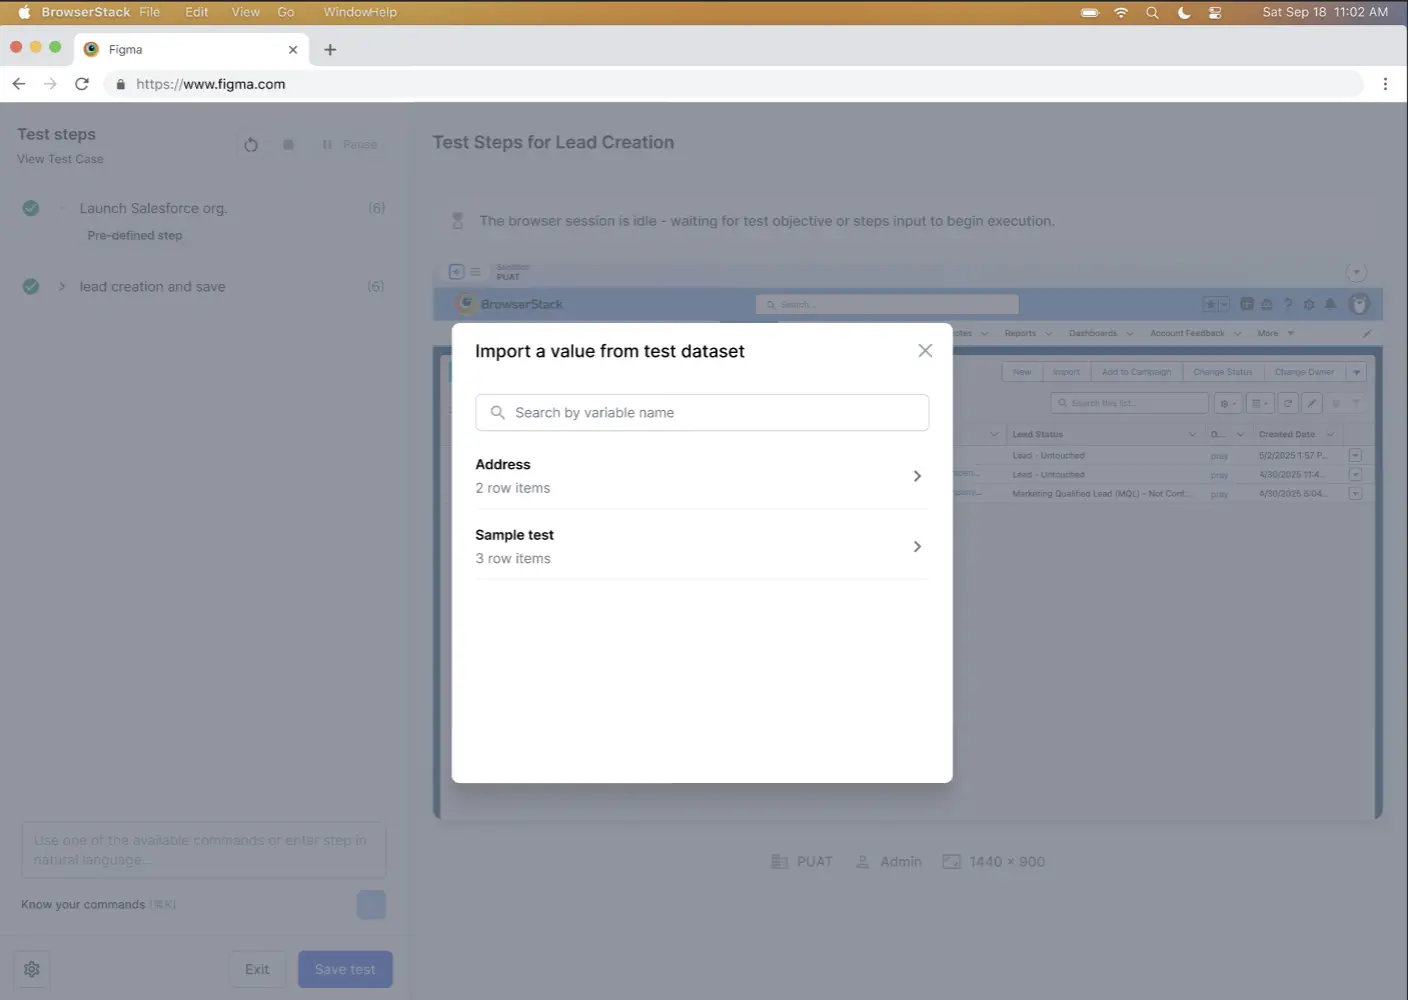
-
In the Import a value from test dataset dialog, select a test dataset from the list. The dialog shows the dataset name and the number of row items it contains.
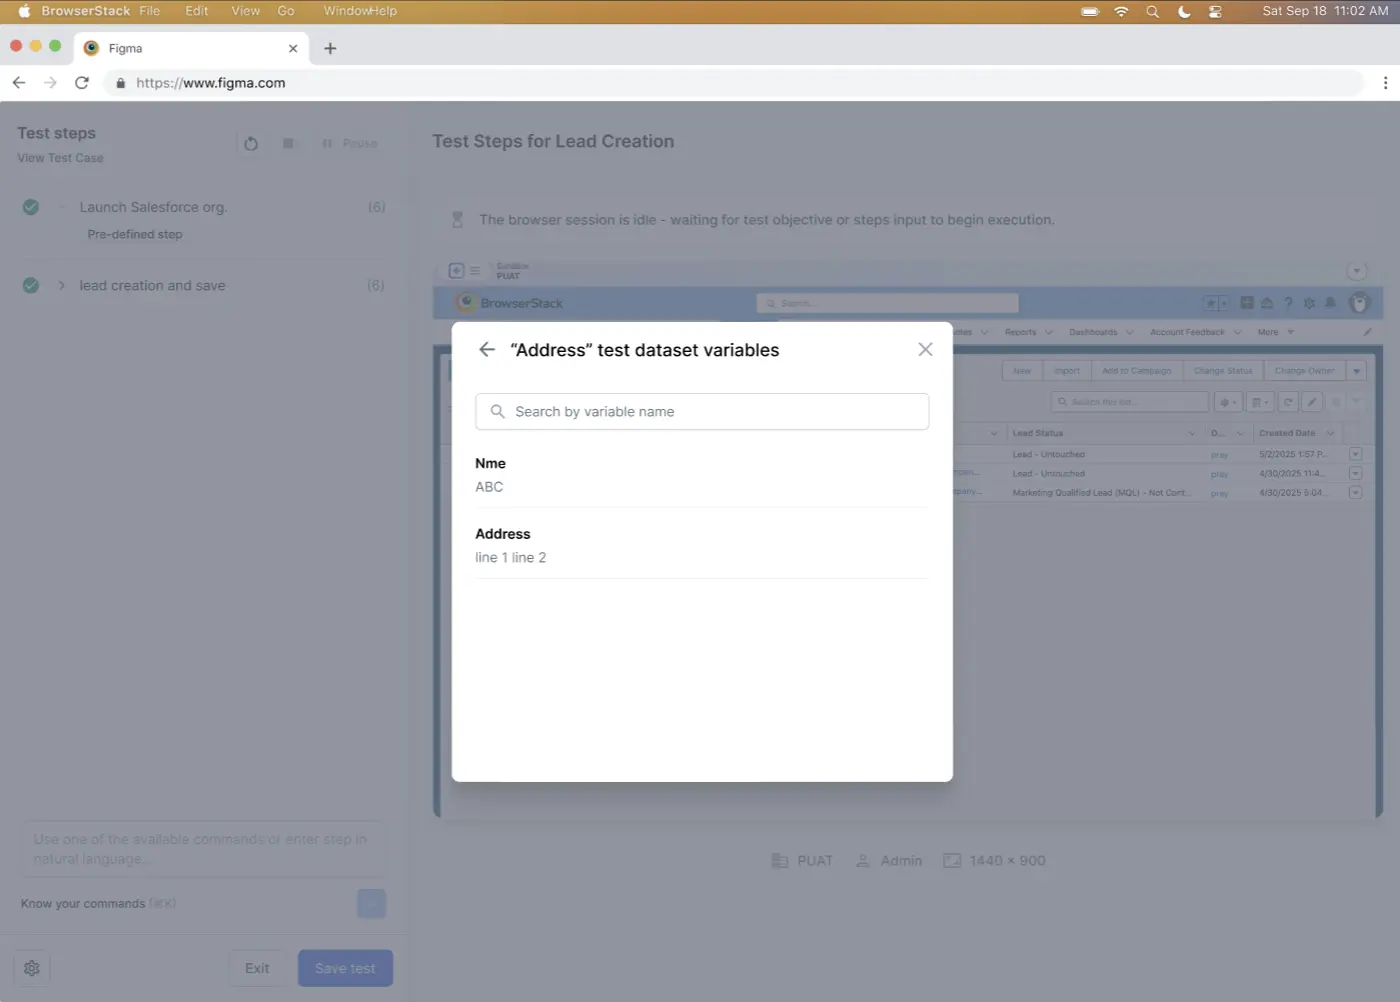
-
After selecting a dataset, choose the column you want to import. The dialog displays all available columns from the selected dataset.
-
The imported dataset value appears in the test step field, displaying as ``.

Edit or delete a test dataset
You can edit or delete your test datasets as needed. Changes to a dataset automatically apply to all tests using that dataset.
To edit the name or description of a test dataset:
- Navigate to the Test dataset section.
- Click the three-dot menu (⋮) next to the dataset you want to edit.
-
To edit, click Edit dataset.

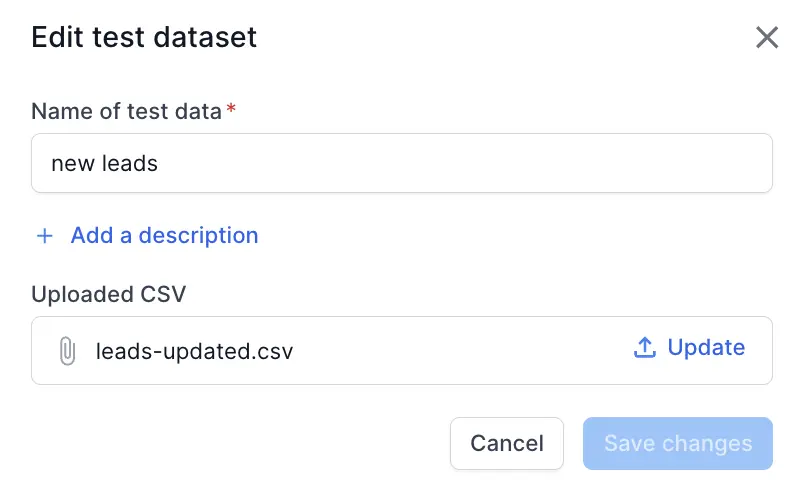
- In the Edit test dataset dialog:
- Update the Name of test data
- Add or modify the description
- Update the uploaded CSV file if needed by clicking Update
- Click Save changes
- To delete, Delete dataset.
- Confirm the deletion when prompted.
Before deleting a dataset, check the USED IN column to see how many tests are using it. Deleting a dataset will affect all tests that import data from it.
View execution results
After executing a data-driven test in the cloud:
- Navigate to the Builds section to view your test results.
- Multiple executions of the same test are grouped together in the build report.
- The scenario column data appears highlighted in the report, helping you identify which data row each execution represents.
- You can view detailed results for each individual execution by expanding the grouped results.
We're sorry to hear that. Please share your feedback so we can do better
Contact our Support team for immediate help while we work on improving our docs.
We're continuously improving our docs. We'd love to know what you liked
We're sorry to hear that. Please share your feedback so we can do better
Contact our Support team for immediate help while we work on improving our docs.
We're continuously improving our docs. We'd love to know what you liked
Thank you for your valuable feedback!