Integrate Figma with Test Management
Learn how to integrate Figma with Test Management to streamline testing workflows, improve tracking, and enhance project management.
Figma is a collaborative UI/UX design platform for creating and managing design files, pages, and frames. When you connect Figma to Test Management, you can supply design artifacts (files, pages, frames) as requirements for AI test case generation. The AI uses layer names, text content, component properties, and defined interactions to derive actionable test cases that reflect the intended user flows. Use Figma links to provide precise context so your generated tests align with the current design.
Prerequisites
- An active Figma account.
- An active Test Management account.
You can start the connection process from:
From the AI test case generation workflow
- Navigate to the test cases repository.
-
Click the Generate with AI button.
-
In the AI generative view, click Add Link.
-
Select Figma from the Available Integrations window.
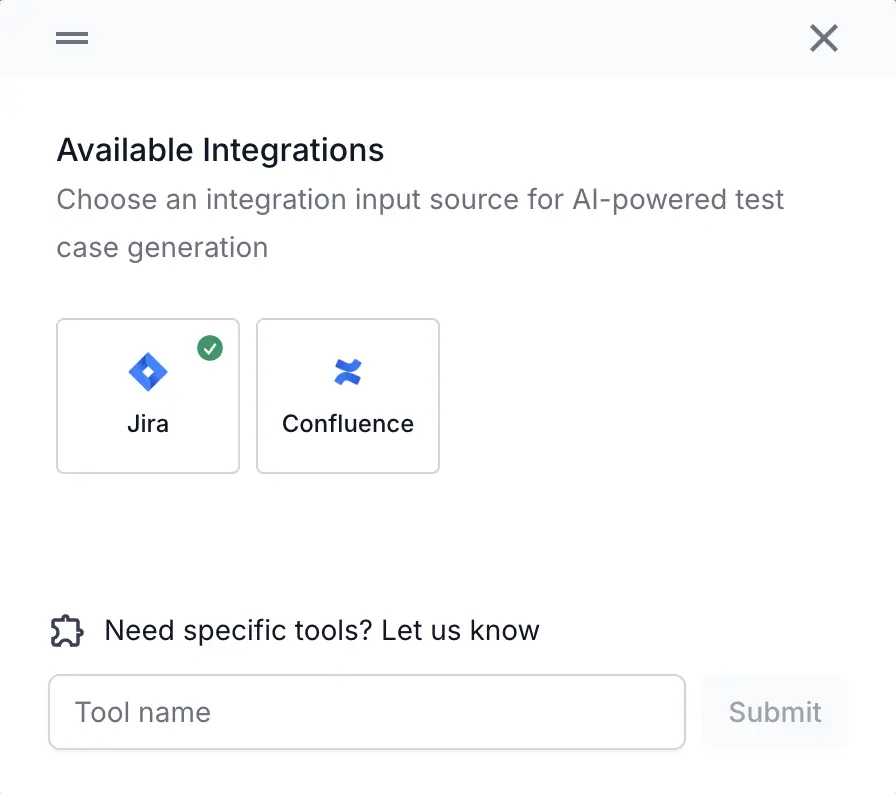
- Choose your authentication method:
- Click Connect with OAuth to log in using OAuth (Recommended).
- Click Continue with PAT to use a Personal Access Token (PAT).
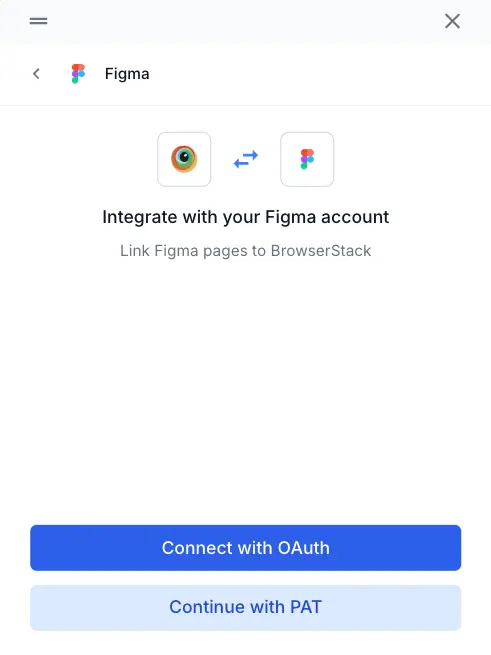
In the new window that opens, follow the prompts to sign in and grant access to your Figma account.
From the main Integrations page
You can start the connection from a test case or a test run while adding a requirement or defect.
-
Navigate to the integrations page from the left navigation sidebar.
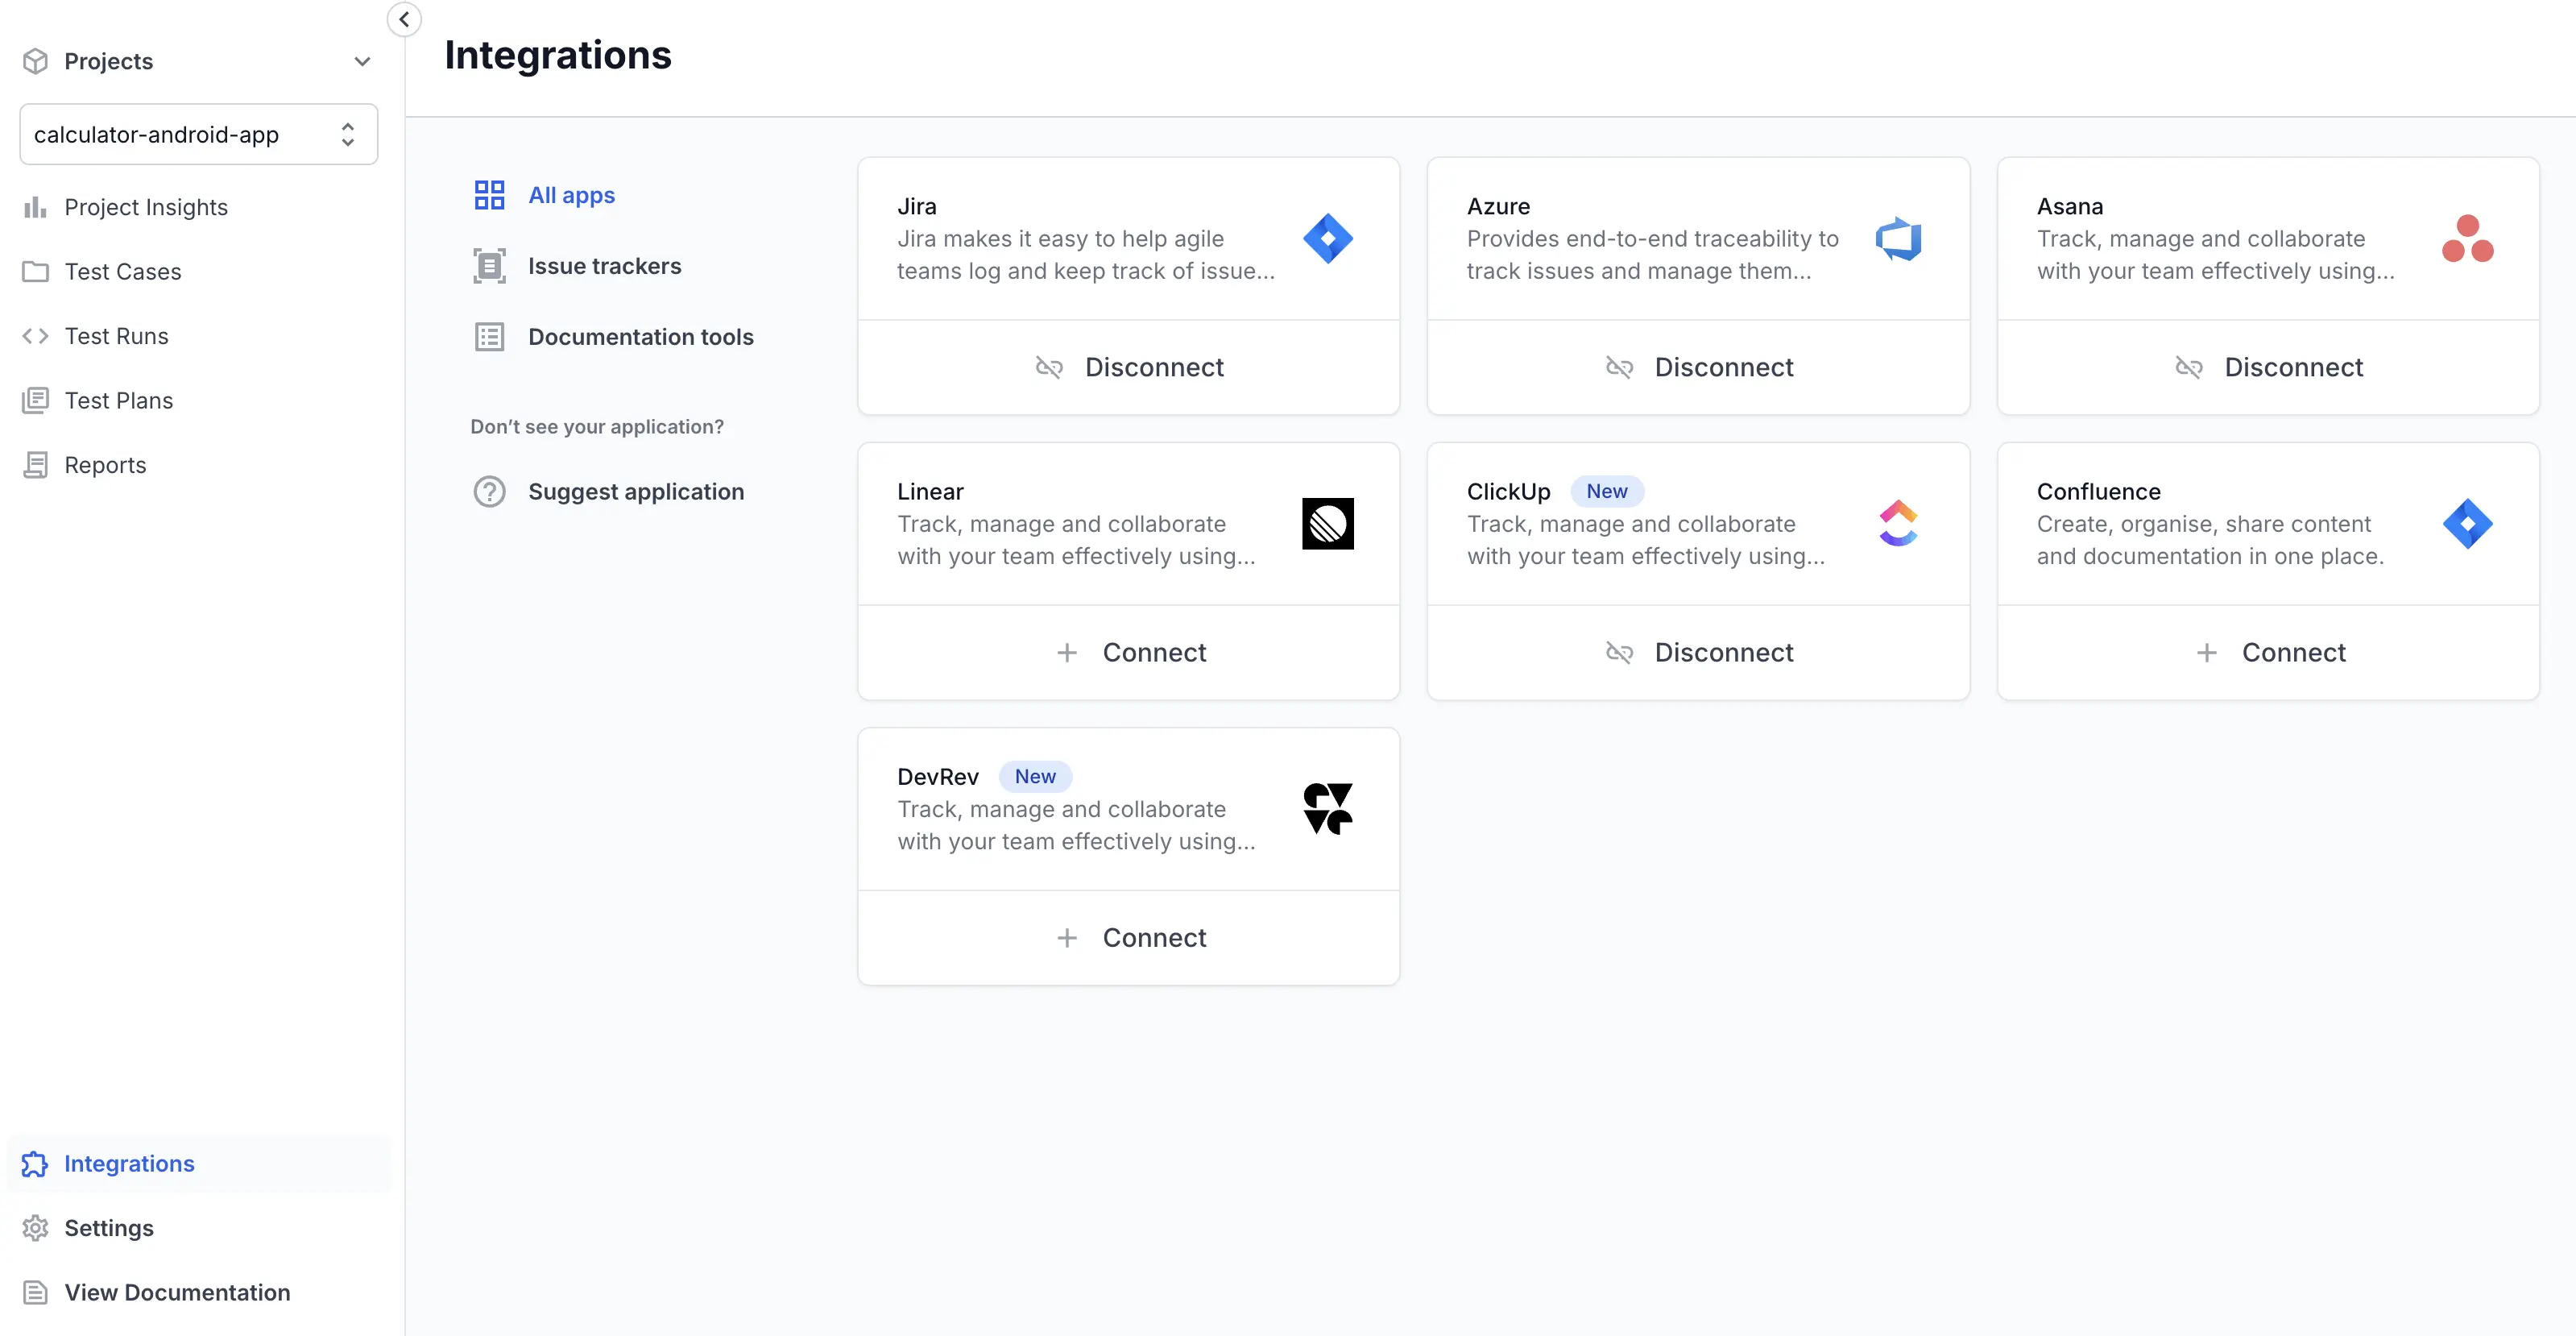
- On the Figma tile, click + Connect.
- In Integrate with your Figma account, choose your authentication method:
- Click Connect with OAuth to log in using OAuth (Recommended).
- Click Continue with PAT to use a Personal Access Token (PAT).
- Follow the on-screen instructions to complete the authentication.
After successful authorization, your Figma account will be connected. You can now use your Figma frames to provide context for AI test case generation.
We're sorry to hear that. Please share your feedback so we can do better
Contact our Support team for immediate help while we work on improving our docs.
We're continuously improving our docs. We'd love to know what you liked
We're sorry to hear that. Please share your feedback so we can do better
Contact our Support team for immediate help while we work on improving our docs.
We're continuously improving our docs. We'd love to know what you liked
Thank you for your valuable feedback!