Localization Testing
With BrowserStack App Accessibility, you can easily change the OS language and comprehensively evaluate your app’s readiness for global audiences. Test the accuracy of localized content and functionality across multiple languages. Test localized resources such as app strings, visuals, data formats, text inputs, and more.
Test your app in different languages
-
Go to the App Accessibility dashboard.
-
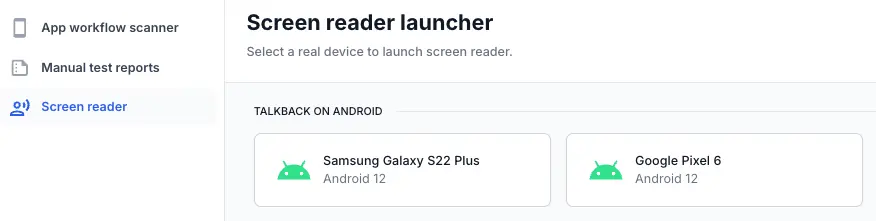
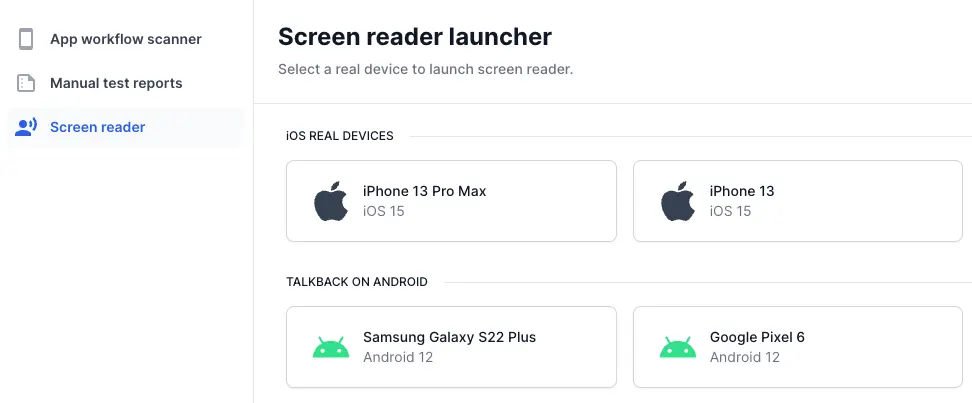
In the left menu, click Screen Reader.
-
Select your preferred device and OS combination to start a session.
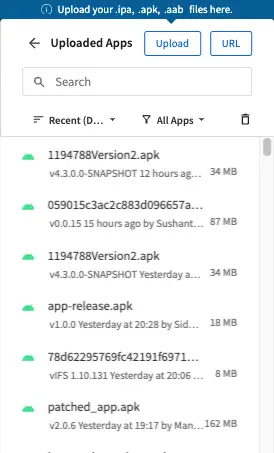
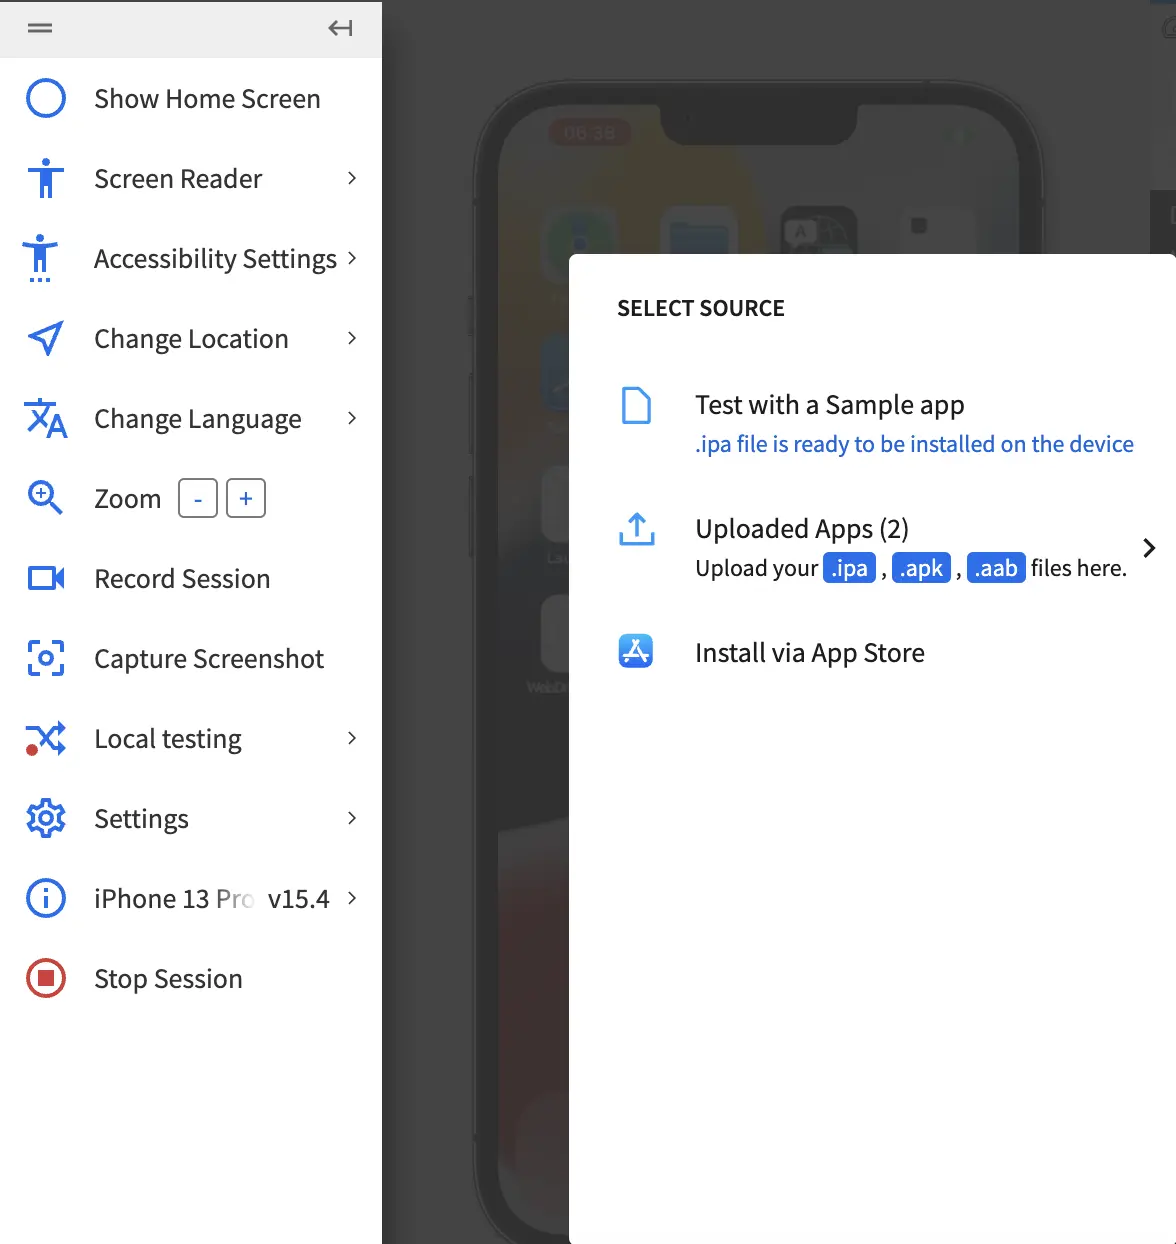
A new device window opens. - In the Select Source prompt, install an app from the Android Play Store or click Uploaded Apps and choose one of the following options:
- Select a previously uploaded app.
- Click Upload to upload your app.
- Click URL to provide a link to your app.
-
On the App Accessibility vertical toolbar, click Screen Reader and turn on the Screen Reader toggle to enable screen reader.

-
On the App Accessibility vertical toolbar, click Change Language.
-
In the Change Locale prompt, select your preferred language.
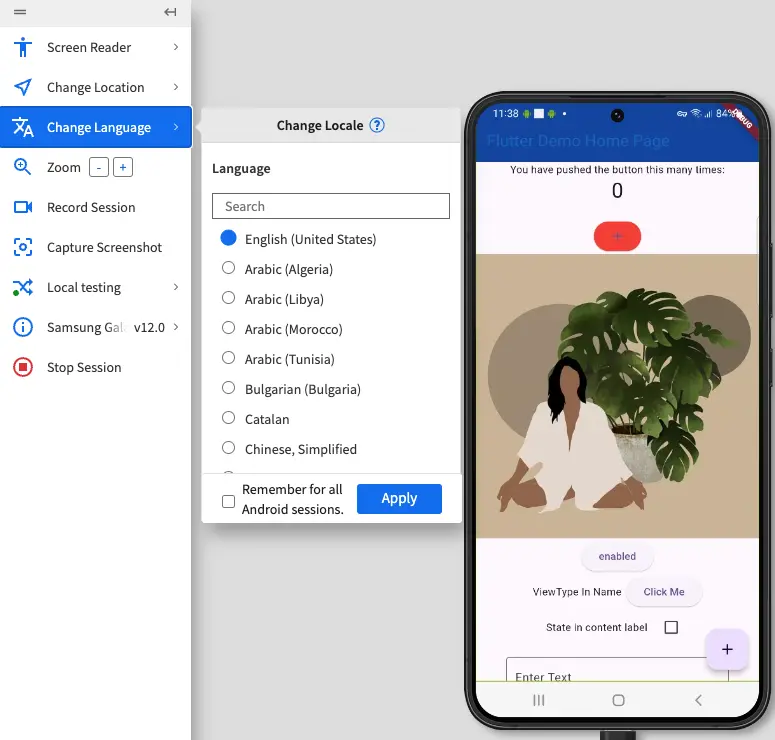
- Click Apply to initiate the language change.
- Optionally, select the Remember for all Android sessions checkbox if you want to use the same language for subsequent App Accessibility test sessions.
A dashboard message appears confirming your app’s restart in the chosen language.
On BrowserStack real Android devices, selecting a language updates the device settings. The keyboard language may change, depending on the device’s native behavior.
-
Go to the App Accessibility dashboard.
-
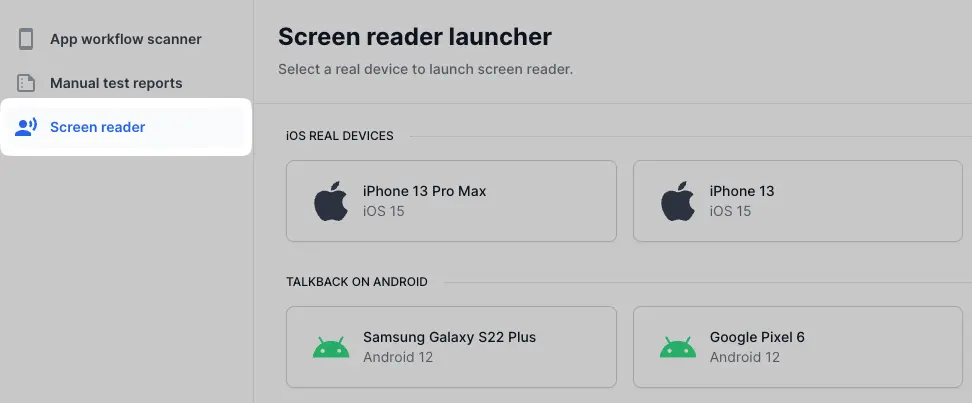
On the left menu of the App Accessibility dashboard, click Screen Reader.
-
Select your preferred device and OS combination to start a session.
A new screen reader device window appears. - In the Select Source prompt, install an app from the App Store or from TestFlight, or click Uploaded Apps and choose one of the following options:
- Select a previously uploaded app.
- Click Upload to upload your app.
- Click URL to provide a link to your app.
-
On the App Accessibility vertical toolbar, click Screen Reader.
-
In the Screen Reader prompt, turn on the toggle to enable screen reader.
-
On the App Accessibility vertical toolbar, click Change Language.
-
In the Change Locale prompt, select your preferred language.

- Click Apply to initiate the change.
- Optionally, select the Remember for all iOS sessions checkbox if you want to use the same language for subsequent App Accessibility test sessions.
A dashboard message appears confirming your app’s restart in the chosen language.
On BrowserStack real iOS devices, selecting a language and region restarts your app in the selected language/region.
We're sorry to hear that. Please share your feedback so we can do better
Contact our Support team for immediate help while we work on improving our docs.
We're continuously improving our docs. We'd love to know what you liked
We're sorry to hear that. Please share your feedback so we can do better
Contact our Support team for immediate help while we work on improving our docs.
We're continuously improving our docs. We'd love to know what you liked
Thank you for your valuable feedback!