Set up the local BrowserStack MCP server
Install and configure the local BrowserStack MCP Server for your AI-enabled client.
The BrowserStack Model Context Protocol (MCP) Server is a secure local gateway that connects your AI-enabled clients, like VS Code with GitHub Copilot/Cline, Cursor, etc. directly to the BrowserStack real device cloud. It acts as a command-line bridge, allowing you to use natural language prompts to run tests on websites and mobile apps, including those hosted on your local machine or behind a corporate firewall.
This local-first approach ensures that you can test your development and staging environments seamlessly on thousands of real devices and browsers. By running the MCP server locally, your BrowserStack credentials and sensitive project details remain securely on your machine.
The BrowserStack local MCP server uses your BrowserStack username and access key for API key–based authentication. Credentials can be provided as environment variables (recommended) or stored in plain text in the MCP config file.
Installation of MCP server locally
Once you have the prerequisites, you can install the server in the following 2 ways:
- Globally, making it available across all your projects, or
- Project specific, specifically for a single project
Global installation
A global installation enables the MCP server for your user account in a specific client. This is the simplest way to get started. You can install the server in your preferred client using either a one-click installation or a manual setup.
One-click installation
We support a one-click installation for VS Code and Cursor. Before you begin, ensure your IDE is already installed.
Select an IDE below to visit its plugin page and follow the steps to complete the setup:
The following steps use GitHub Copilot as the AI assistant:
- Click the Install in VS Code link.
- You will be taken to the plugin’s page in VS Code. Click Install.
- In the input field that appears at the top of the IDE, enter your credentials as follows:
- First, enter your BrowserStack username and press Enter.
- Next, enter your Access Key and press Enter.
- To start the server, right-click the Gear icon on the plugin page and select Start Server.
Start the server Click the gear icon in the MCP Server plugin page and select Start Server.
Video: Installing & running the MCP server in VS Code with GitHub Copilot
The following steps use Cursor as the IDE:
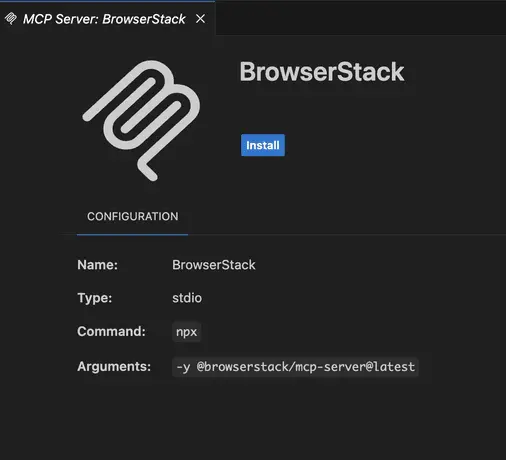
- Click the Install in Cursor link. You will be redirected to the MCP server plugin page within the Cursor IDE.
- In the input field that appears on the IDE, enter your credentials as follows: enter your BrowserStack username and Access Key.
- Click Install.
Start the server
Once you save your BrowserStack credentials, the BrowserStack MCP server automatically gets started.
 Video: Installing & running the MCP server in Cursor
Manual install
To install manually, you need to create a configuration file in a user-level directory. Since the exact path is different for each client, please choose your IDE below to see the specific instructions.
VS Code supports AI assistants like GitHub Copilot and Cline. Follow these steps to set up the MCP server configuration file in your VS Code project.
Follow the steps below to set up the MCP server configuration file in your VS Code project using GitHub Copilot as the AI assistant:
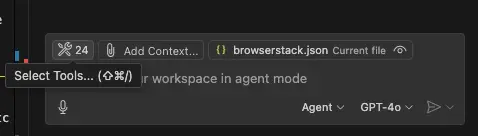
Click the tools icon in the GitHub Co-Pilot Activity Bar to open the Tools menu.
To access tools related to Copilot within Visual Studio Code, you can use either of the following methods:
-
From the Activity Bar on Github Copilot chat: Click the Tools icon on the GitHub Copilot chat, to view the available options.
-
From the Command Palette: Alternatively, open the Command Palette by navigating to View > Command Palette from the top menu, or by using the keyboard shortcut Ctrl+Shift+P (Windows/Linux) or Cmd+Shift+P (macOS).

Select Install from an NPM package.
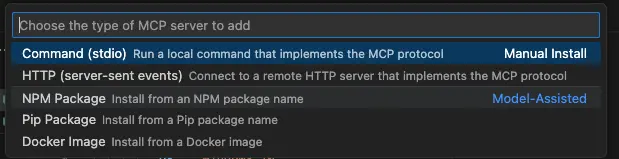
For the package name, enter @browserstack/mcp-server.

Enter your BrowserStack Username and Access Key when prompted, and press Enter.
Start the server
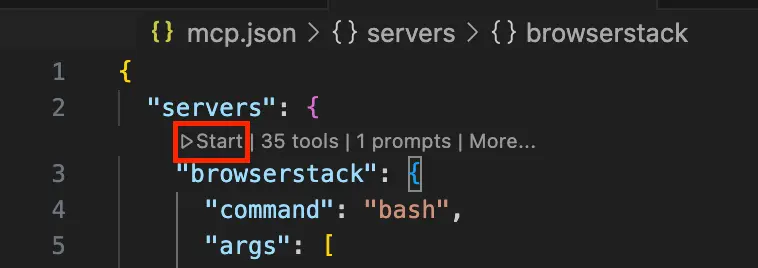
To start the BrowserStack MCP server within VS Code, first open its configuration file, mcp.json. On macOS, this file is typically found at ~/Library/Application Support/Code/User/mcp.json.
With the file open, click the Start button provided in the VS Code editor’s interface to initialize the server.
Video: Installing the MCP server in VS Code
Follow the steps below to set up the MCP server configuration file in your VS Code project using Cline as the AI assistant:
-
Click the Manage MCP Servers icon in the bottom navigation bar on Cline chat window.
-
Click the gear icon on the resulting MCP Servers window
-
Click the Configure MCP Servers button to open the
cline_mcp_settings.jsonconfiguration file. -
Paste the following JSON into the file and update it with your BrowserStack credentials:
Start the server
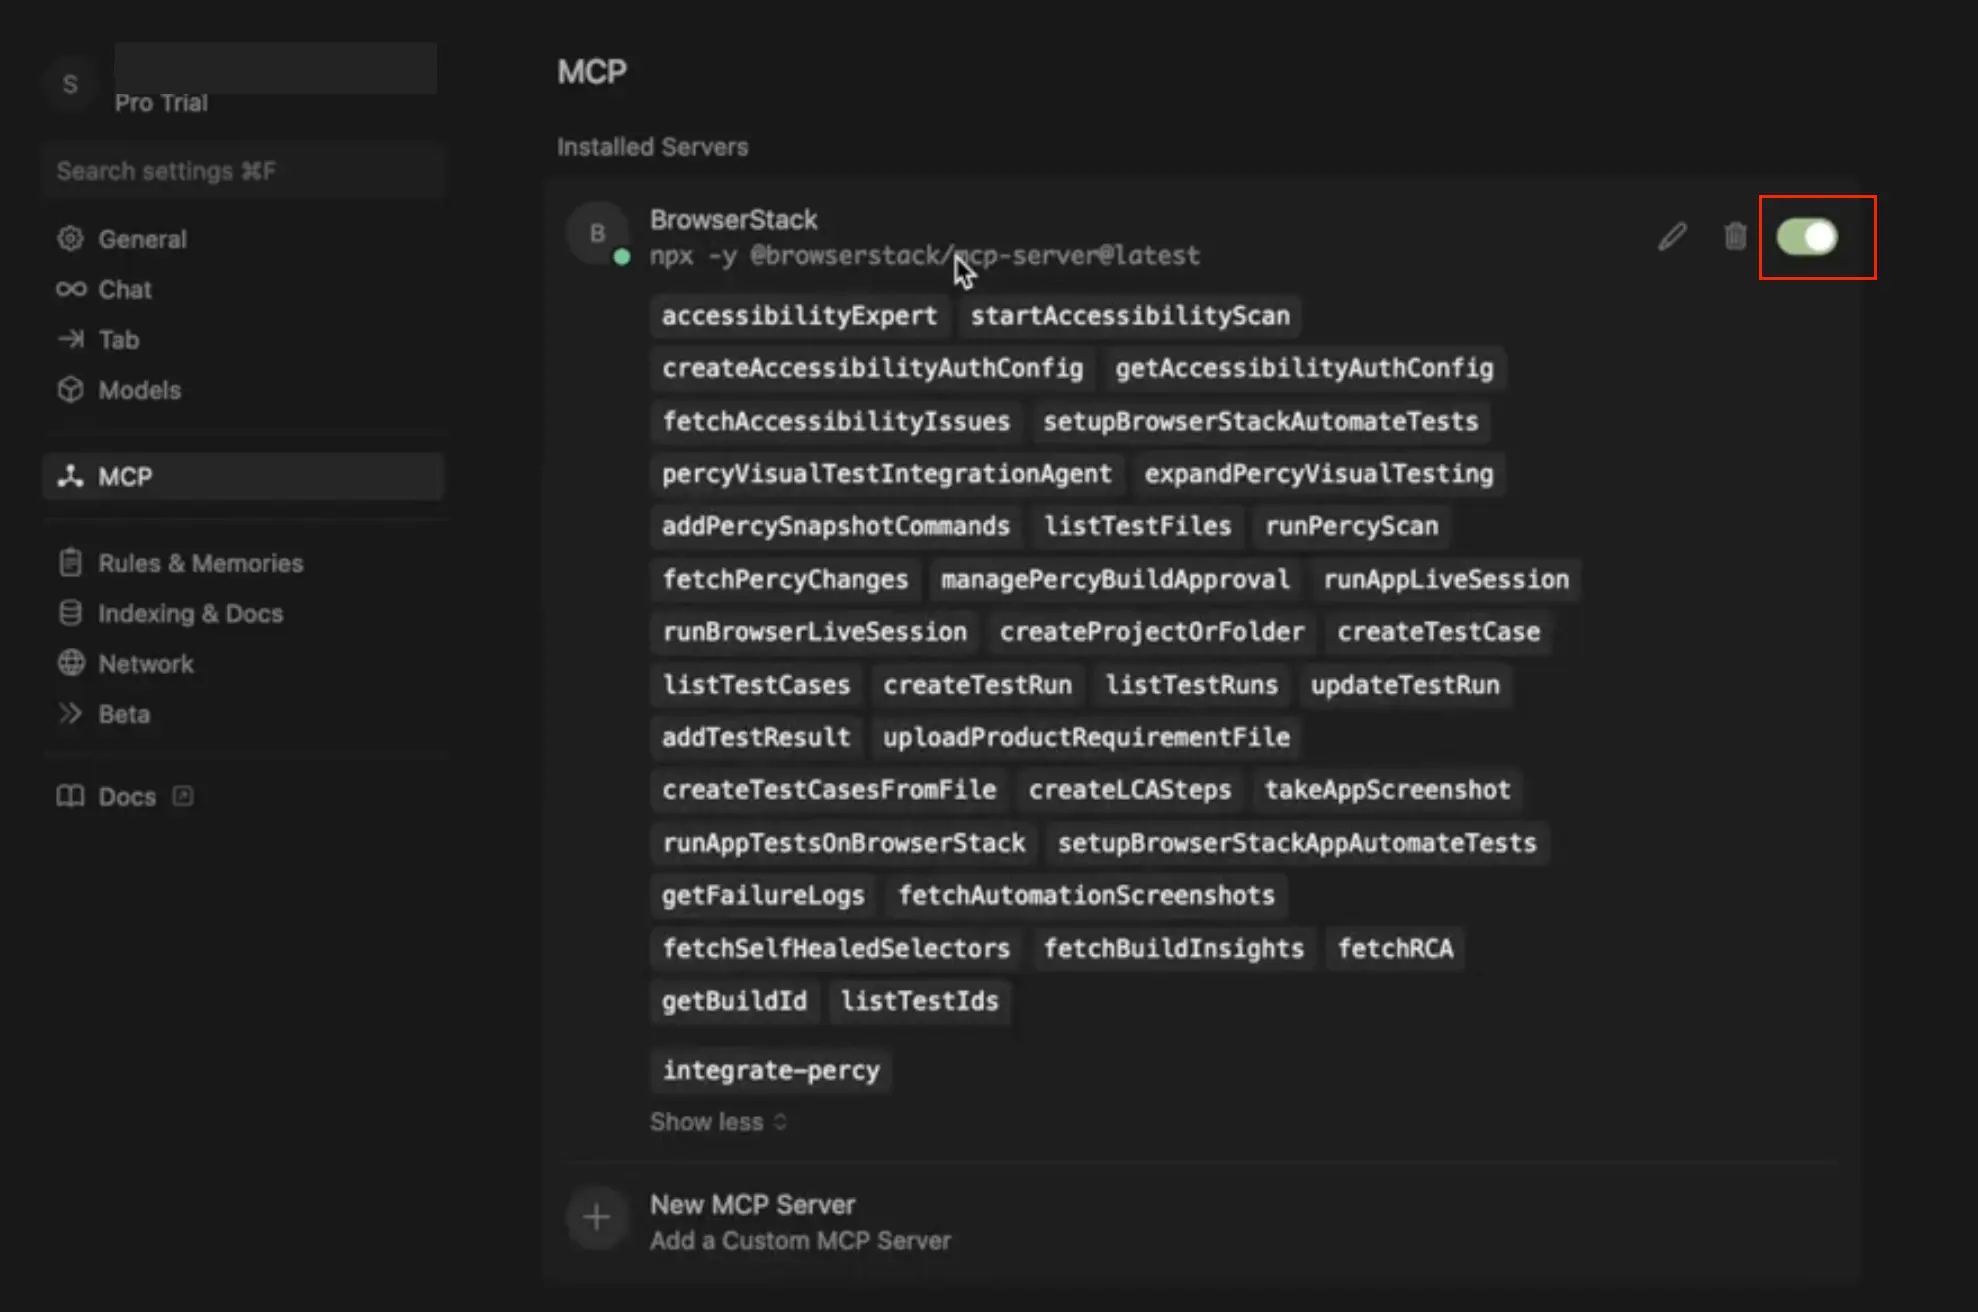
The MCP server starts automatically after you save the cline_mcp_settings.json file with your BrowserStack credentials. To confirm that the server is running, click the navigation bar in the Cline chat window and check that the toggle is on.
Video: Installing & running the MCP server using Cline
Follow these steps to set up the MCP server configuration file in your project for the Cursor IDE:
-
Create the file: In your user root directory, create a file at the following path:
.cursor/mcp.json. (The.cursorfolder will be created automatically if it doesn’t already exist). An example of a user root directory is/Users/username/.cursor/mcp.json. -
Add the configuration: Paste the following content into the new
mcp.jsonfile:
Start the server
Once you save your BrowserStack credentials, the BrowserStack MCP server automatically gets started.
Video: Installing the MCP server in Cursor
The following steps use Claude as the IDE:
-
Create the file: In your user level directory, create a file named
claude_desktop_config.json. -
Add the configuration: Paste the following JSON into the file update it with your credentials:
Video: Installing the MCP server in Claude Desktop
Project specific installation
A project-specific installation enables the server only for a particular project. This method offers more granular control, and the configuration is stored within the project’s directory. Choose an IDE from the options below to see the setup instructions:
The following steps use VS Code as the IDE and Github Copilot as the AI assistant:
-
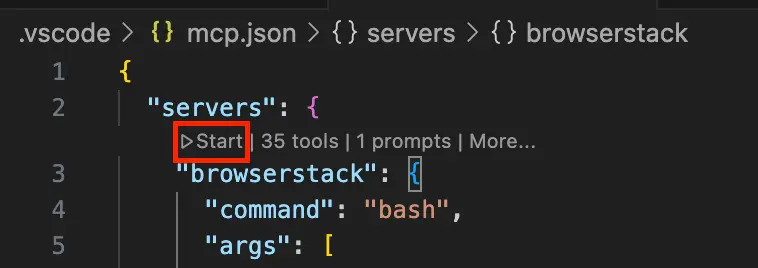
Create the file: In your project’s root, create a file at
.vscodenamedmcp.json. -
Add the configuration: Paste the following configuration into the file and add your credentials:
If you are using NVM to manage multiple Node.js versions, refer to our NVM configuration guide to ensure the MCP server runs with the correct Node.js environment.
Start the server - VS Code (Github Co-pilot agent)
In your mcp.json file, click the Start button to run the server.
The following steps use Cursor as the IDE:
-
Create the file: In your project’s root directory, create a file at
.cursor/mcp.json. -
Add the configuration: Paste the following content into the file and update it with your BrowserStack credentials.
Start the server
The BrowserStack MCP server starts automatically after you save your BrowserStack credentials in the .cursor/mcp.json file. To confirm that the server is running, check the Cursor MCP window and see that the toggle is on.
We're sorry to hear that. Please share your feedback so we can do better
Contact our Support team for immediate help while we work on improving our docs.
We're continuously improving our docs. We'd love to know what you liked
We're sorry to hear that. Please share your feedback so we can do better
Contact our Support team for immediate help while we work on improving our docs.
We're continuously improving our docs. We'd love to know what you liked
Thank you for your valuable feedback!