Test using custom headers in BrowserStack Live
Inject custom headers during a test session
With BrowserStack Live, you can define, manage, and inject custom headers into network requests during a Live test session, without requiring backend changes. Using custom headers in BrowserStack Live gives you more control when manually testing scenarios, workflows, or different versions of your website, such as feature branches or staging environments.
The network throttling feature is disabled when using custom headers.
Use cases for custom headers
Custom headers in BrowserStack Live are useful in testing scenarios such as:
- Testing the same website with different headers, such as experimental or feature flags.
Example:Header: X-Experiment-GroupwithValue: A. - Testing different versions of your website, such as feature branches or staging environments.
Example:Header: X-EnvironmentwithValue: staging. - Testing authentication workflows that require specific headers.
Example:Header: AuthorizationwithValue: Bearer <token>. - Simulating different user roles or authentication states.
Example:Header: X-User-RolewithValue: admin. - Simulating or bypassing geolocation constraints.
Example:Header: X-CountrywithValue: US.
Supported operating systems for custom headers
Custom headers on BrowserStack Live are supported on the following operating systems:
| Platform | Supported Versions/Devices |
|---|---|
| Android | All devices except Vivo, Oppo, Huawei, and Sony |
| iOS | Version 9 and above |
| macOS | macOS Sequoia, Tahoe, Golden Gate |
| Windows | Windows 11 |
Create custom header profiles in BrowserStack Live
To use custom headers in a BrowserStack Live test session, you must first create a custom header profile:
You can create up to five custom header profiles. Each profile can contain up to ten headers. Created profiles persist across test sessions.
To create a custom header profile:
- Log in to the Live dashboard.
- On the Live dashboard, select a device, OS version, and browser to start your test session. For supported OS and browser combinations, refer to the supported operating systems section.
- In the Live vertical toolbar, click Settings.
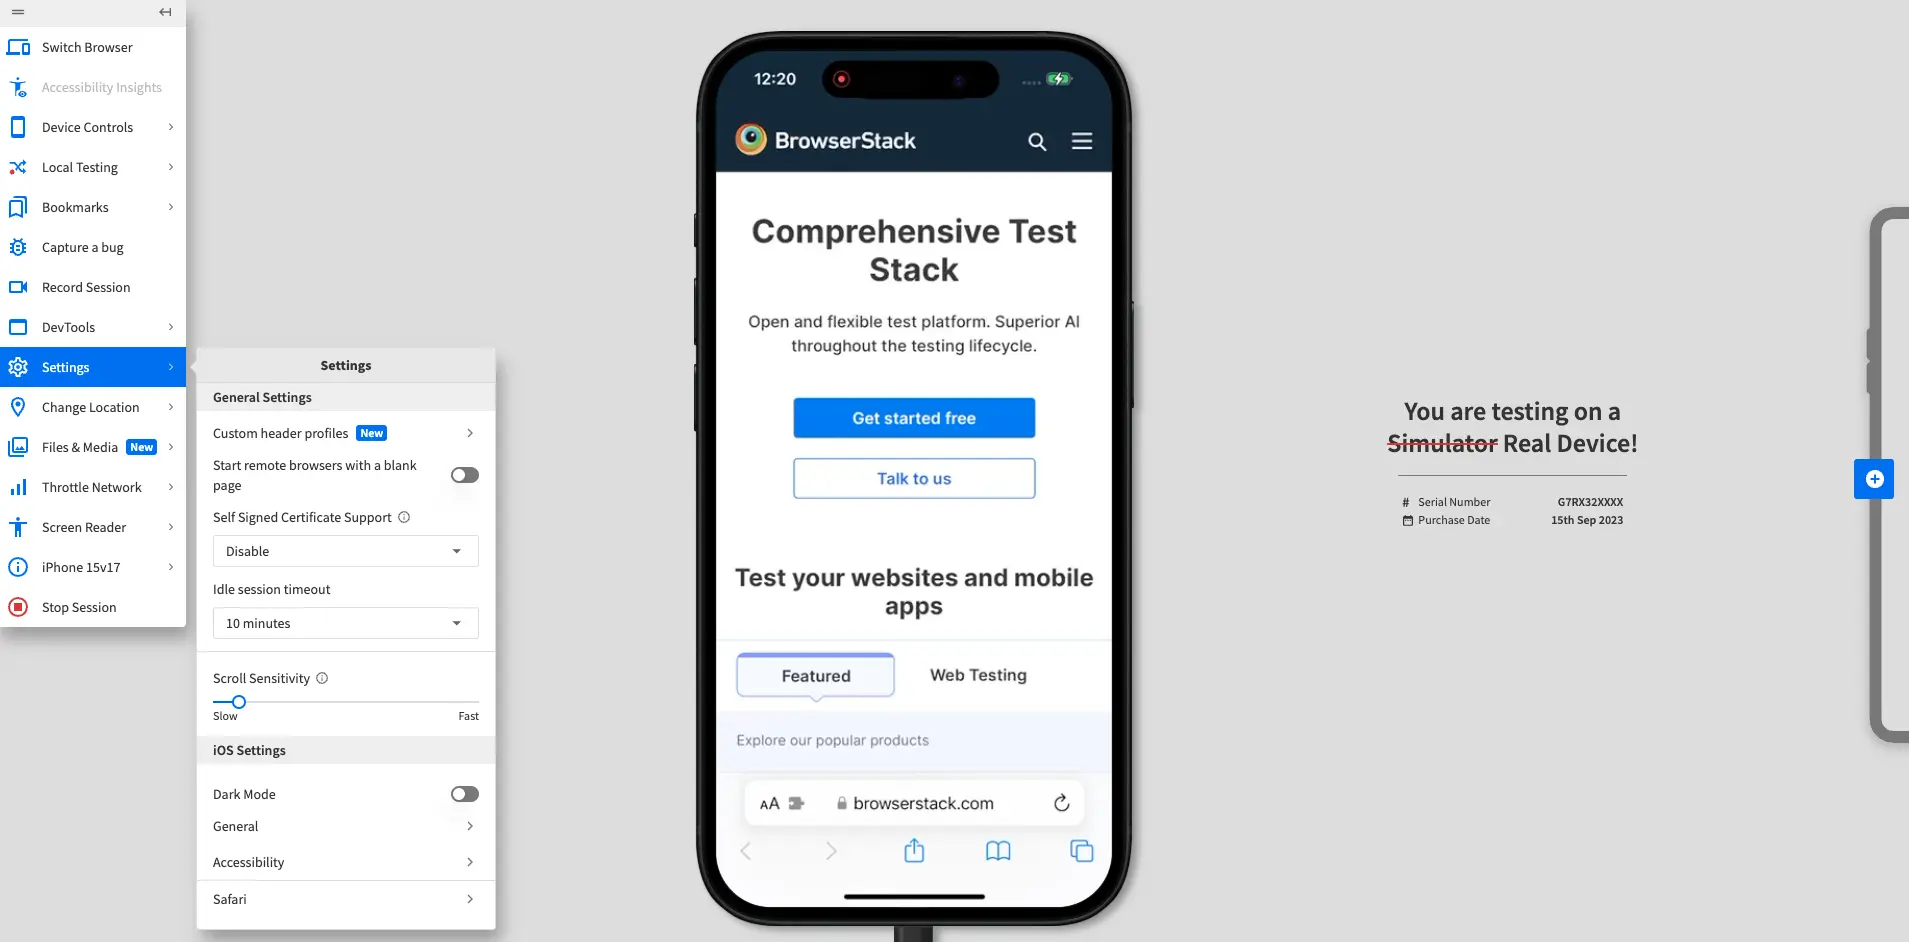
- In the Settings prompt, click Custom header profiles.
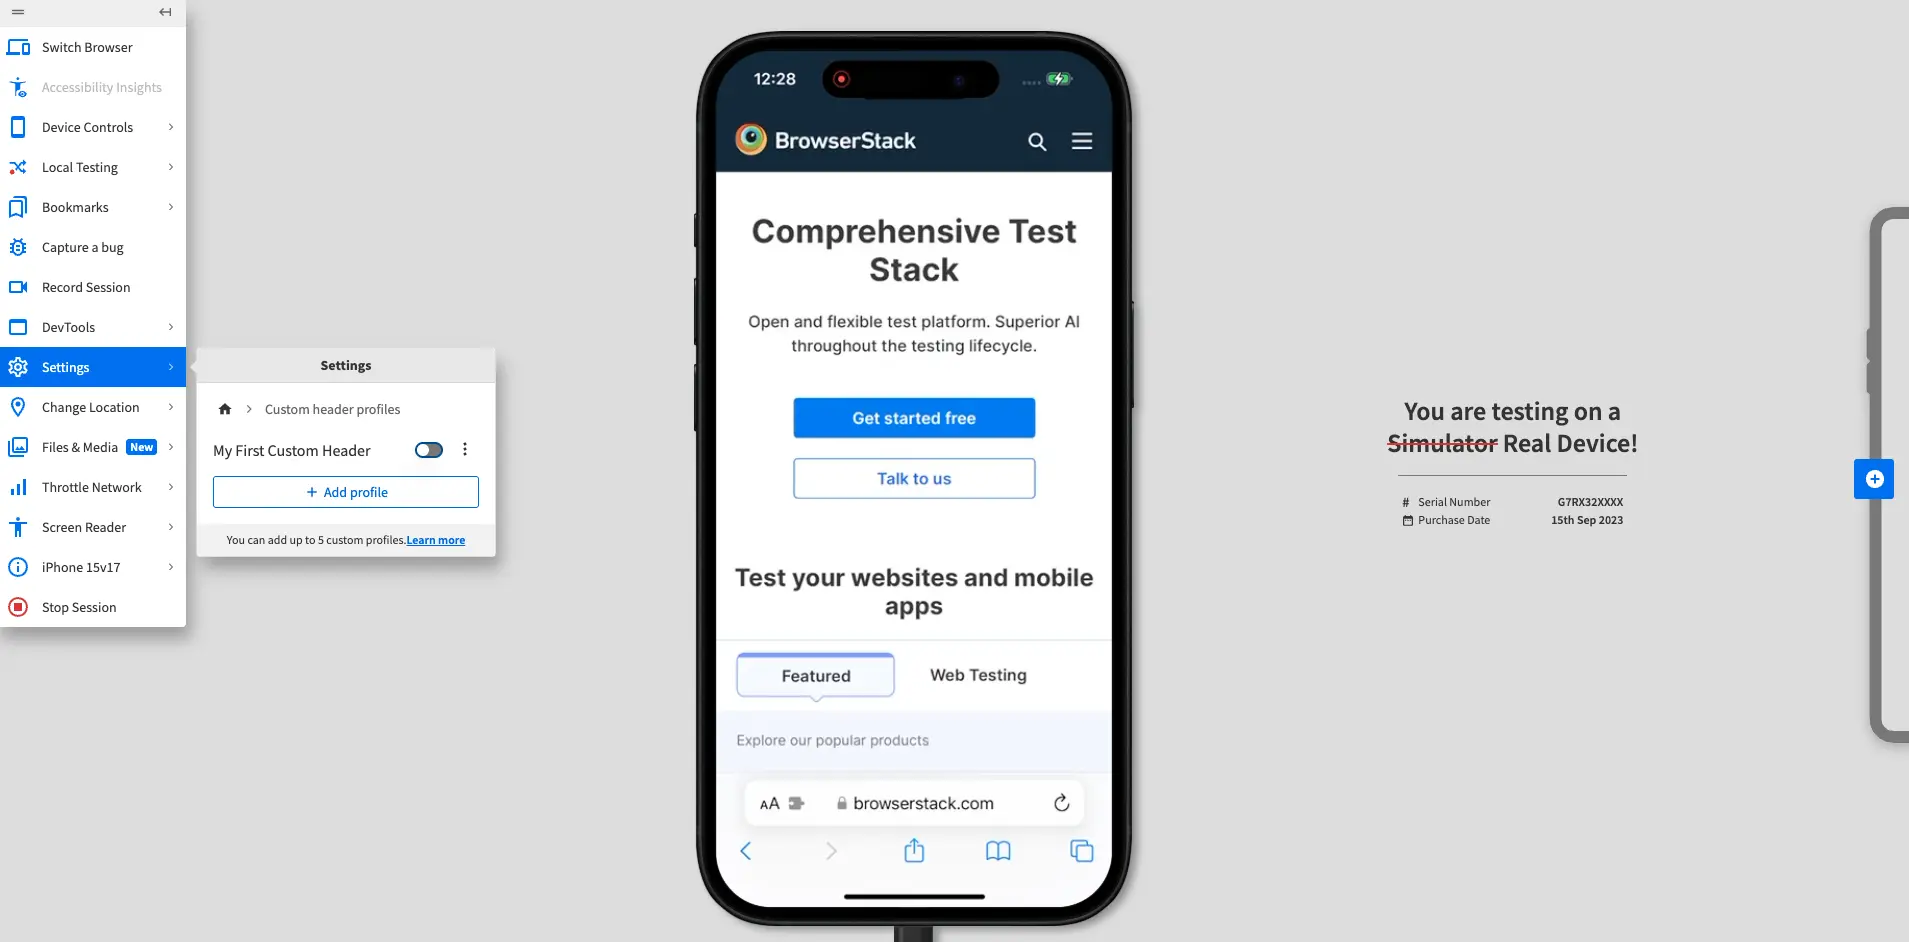
- Click the Add profile button. The Add Custom Header Profile prompt appears.
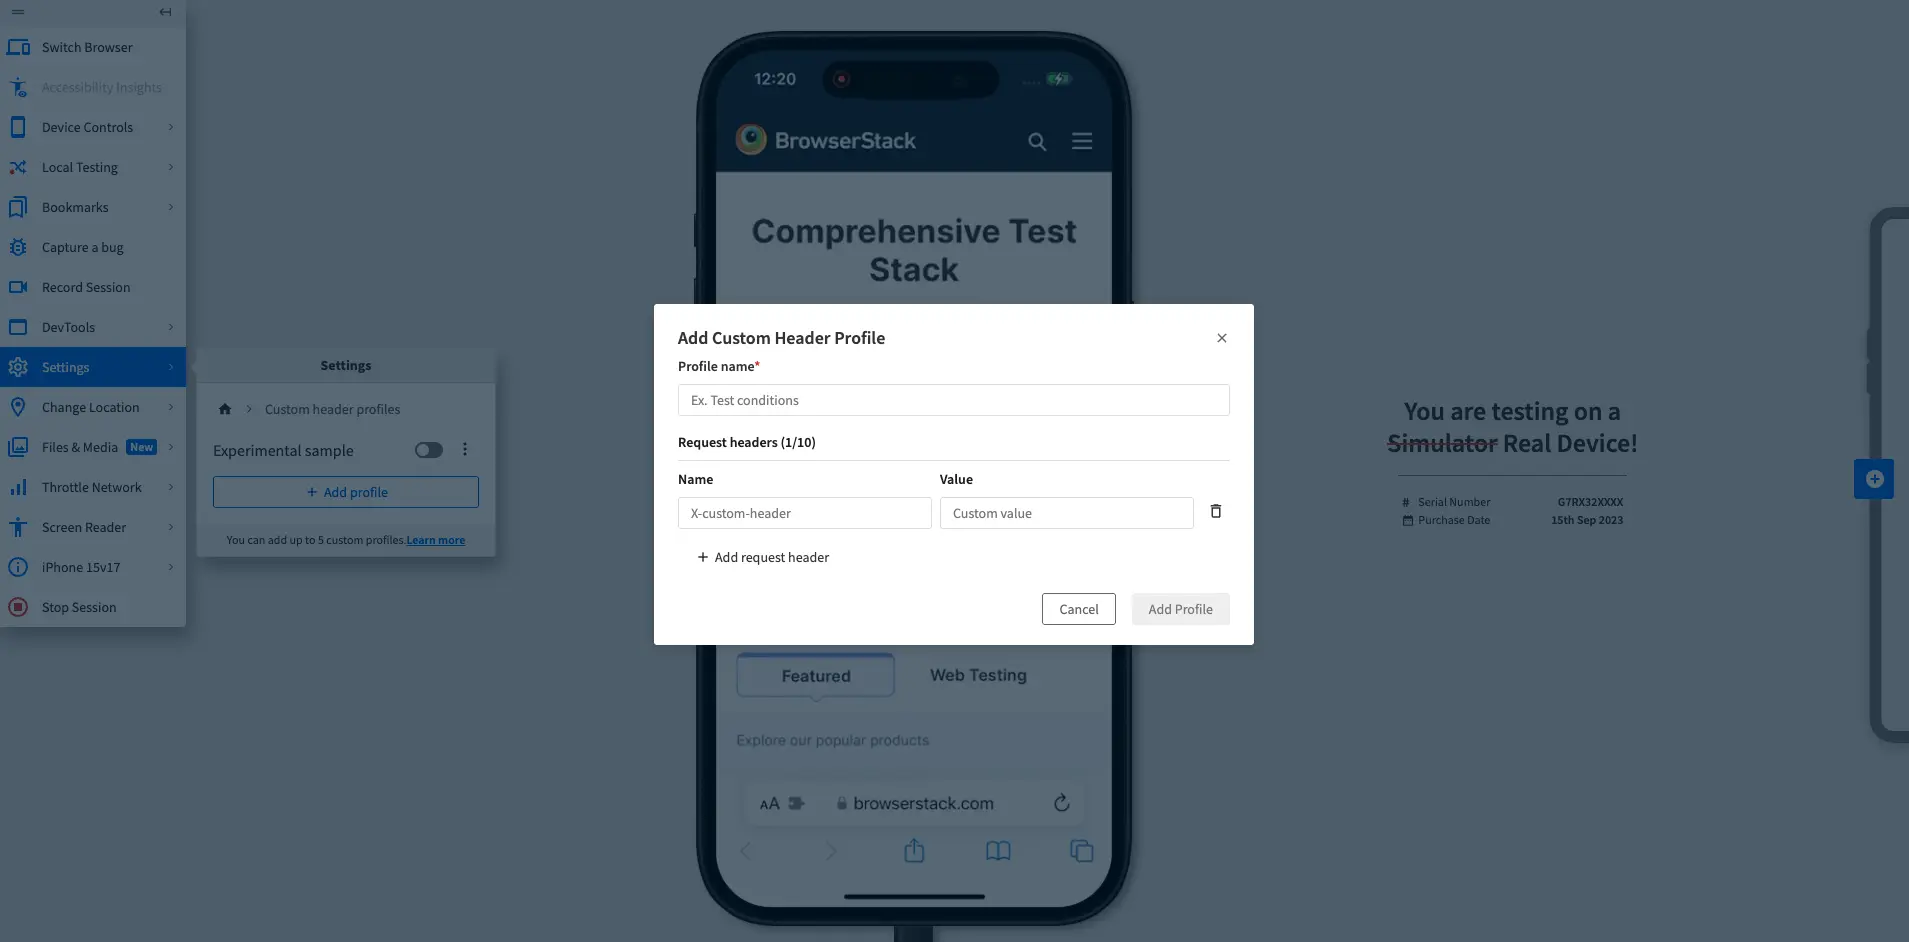
- Add a name for the profile in the Profile name field.
- In the Request headers section, add the headers you want to include in the profile.
You can add up to 10 headers. To add multiple headers, click Add request header.
For each header, add the following information:- Name: The name of the header.
-
Value: The value of the header.
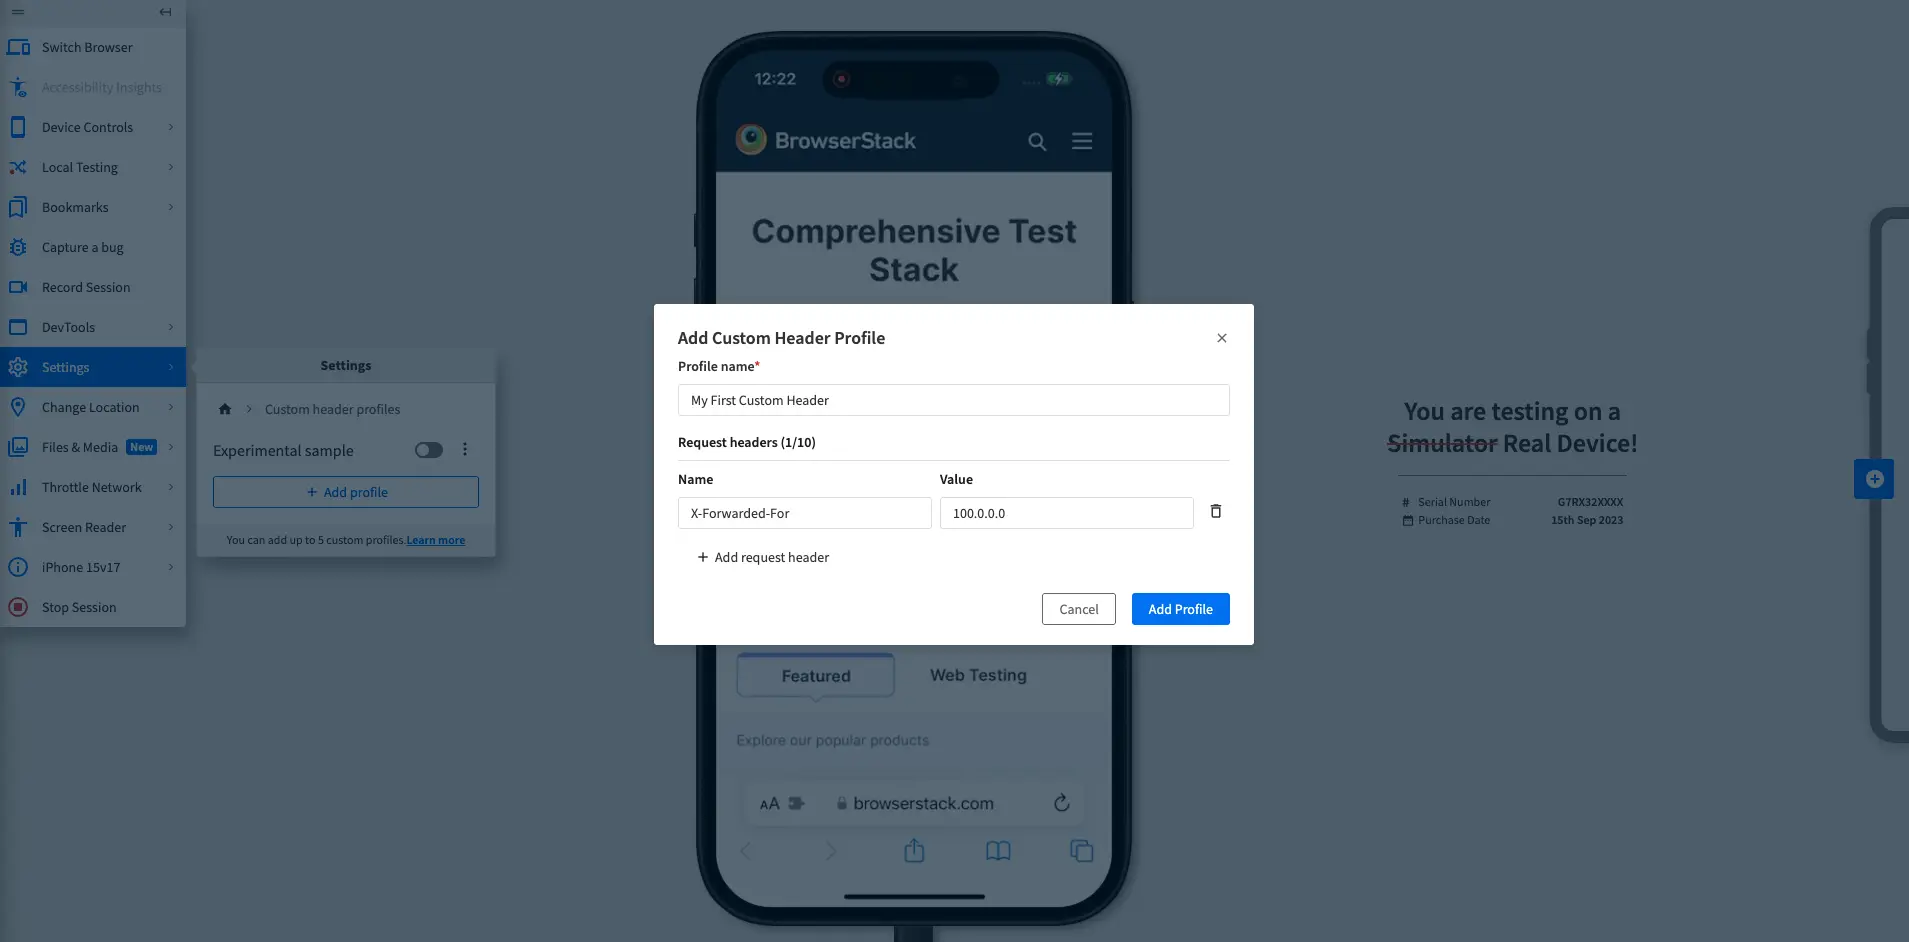
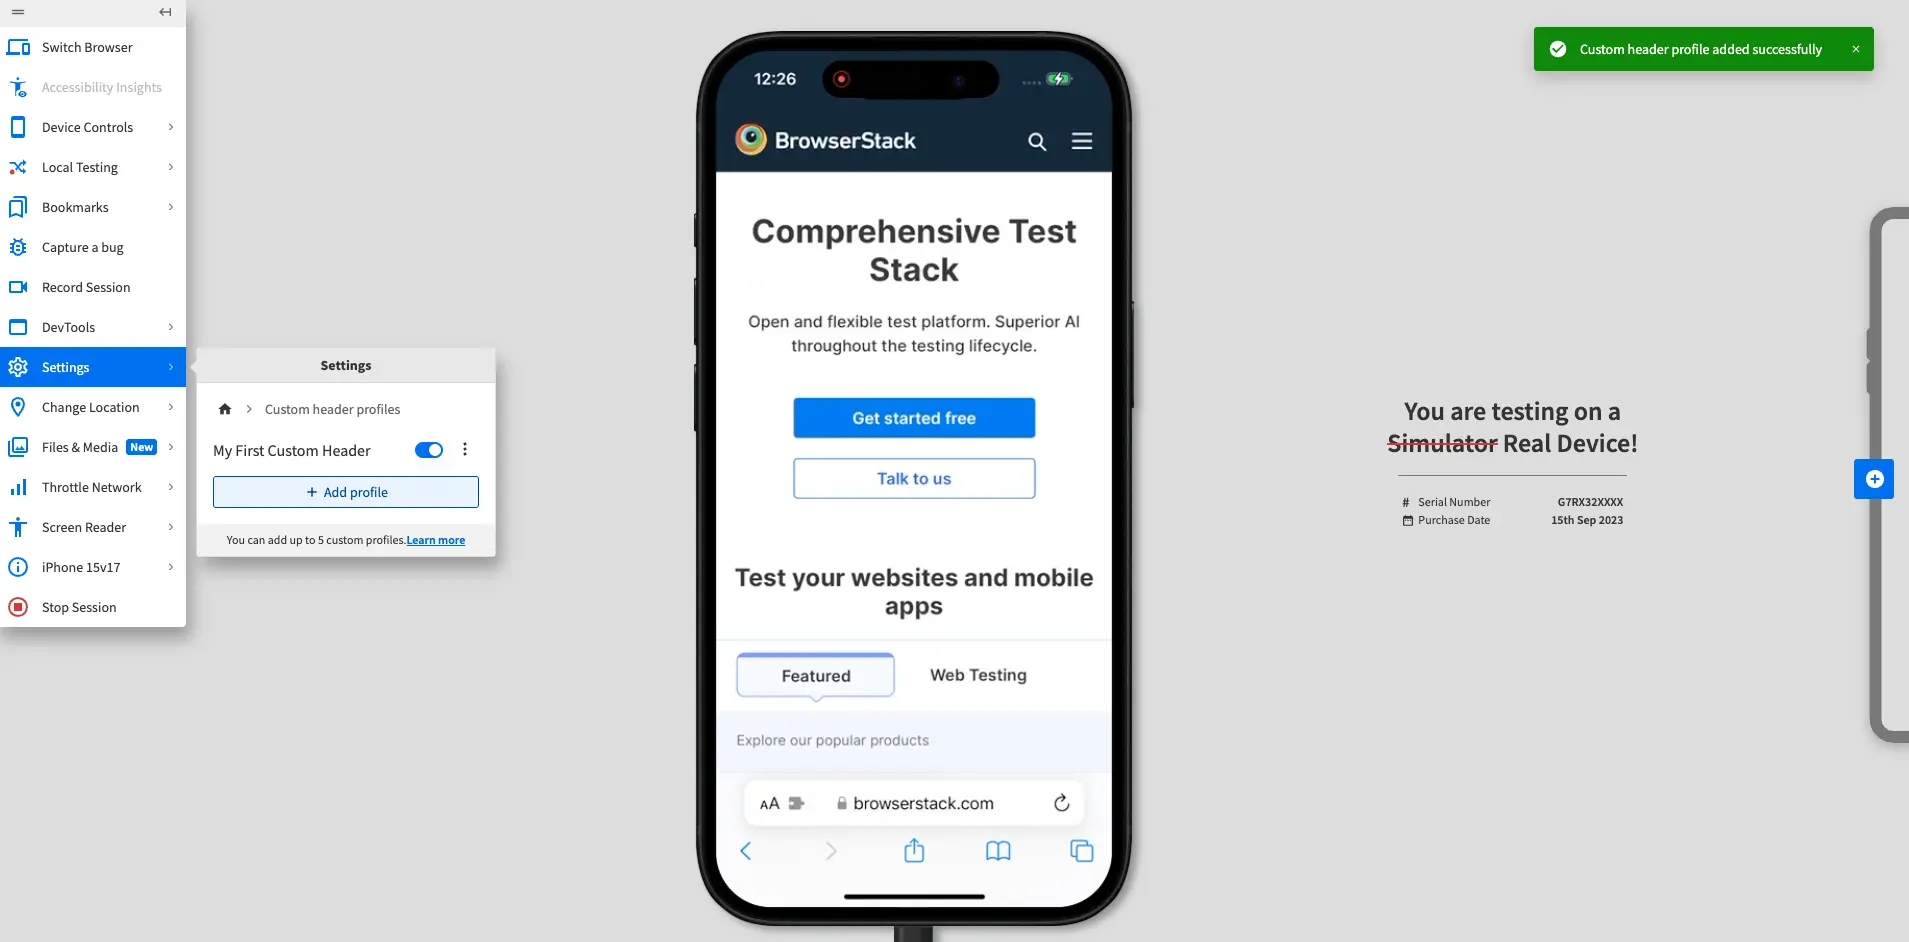
- Click Add profile.
The device restarts and the new profile appears in the Custom header profiles prompt. A confirmation banner appears at the top of the screen.
Enable custom header profiles in BrowserStack Live
After you create a custom header profile, you can enable it during a test session. To learn how to create a custom header profile, see Create custom header profiles in BrowserStack Live.
You can enable only one profile at a time during a session.
Each profile can contain up to ten headers. When you enable a profile, all headers in that profile are injected into the network request.
To enable a custom header profile in BrowserStack Live:
- Log in to the Live dashboard.
- On the Live dashboard, select a device, OS version, and browser to start your test session. For supported OS and browser combinations, refer to the supported operating systems section.
- In the Live vertical toolbar, click Settings.
- In the Settings prompt, click Custom header profiles.
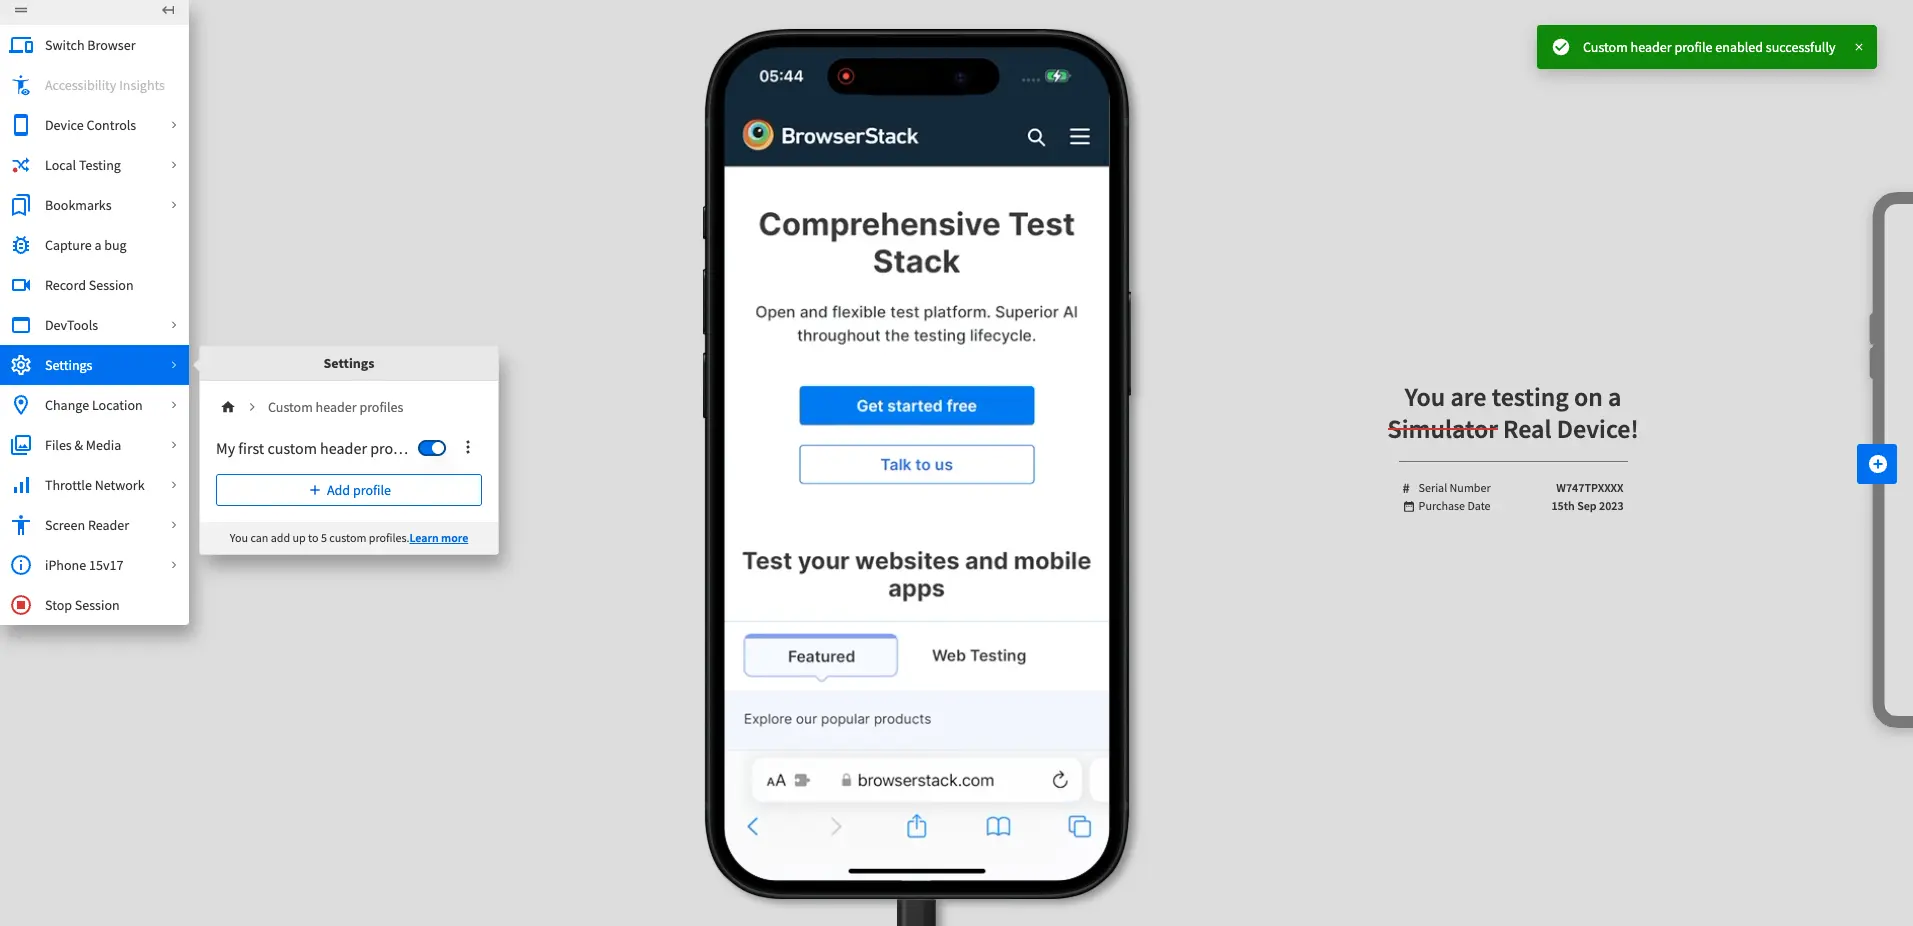
- In the Custom header profiles prompt, turn on the switch next to the profile you want to use.
The device restarts, the profile is enabled, and a confirmation banner appears at the top of the screen.
Switch or disable custom header profiles in BrowserStack Live
To switch or disable a custom header profile in BrowserStack Live:
- Log in to the Live dashboard.
- On the Live dashboard, select a device, OS version, and browser to start your test session. For supported OS and browser combinations, refer to the supported operating systems section.
- In the Live vertical toolbar, click Settings.
- In the Settings prompt, click Custom header profiles.
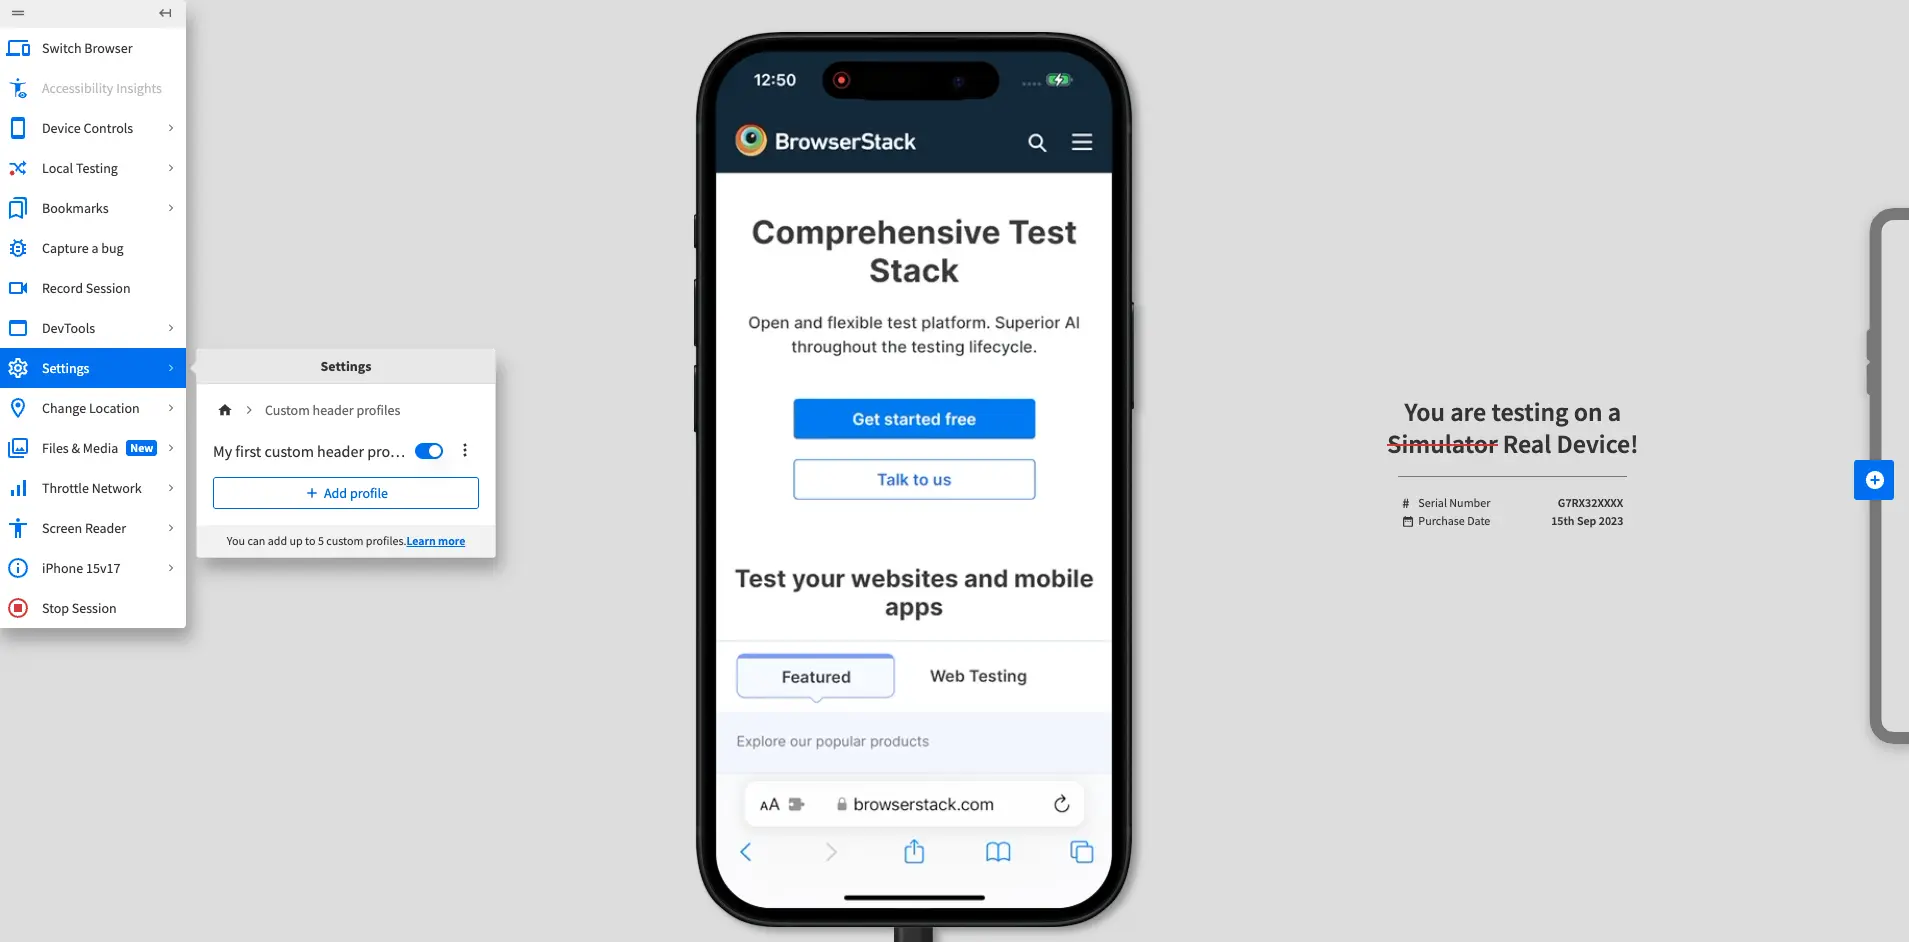
- In the Custom header profiles prompt, turn off the switch next to the profile you do not want to use.
The device restarts, the profile is disabled, and a confirmation banner appears at the top of the screen.

- To switch to another profile, click Enable next to that profile.
Edit custom header profiles in BrowserStack Live
After you create a custom header profile, you can edit it in a test session. To learn how to create a custom header profile, see Create custom header profiles in BrowserStack Live.
To edit a custom header profile in BrowserStack Live:
- Log in to the Live dashboard.
- On the Live dashboard, select a device, OS version, and browser to start your test session. For supported OS and browser combinations, refer to the supported operating systems section.
- In the Live vertical toolbar, click Settings.
- In the Settings prompt, click Custom header profiles.
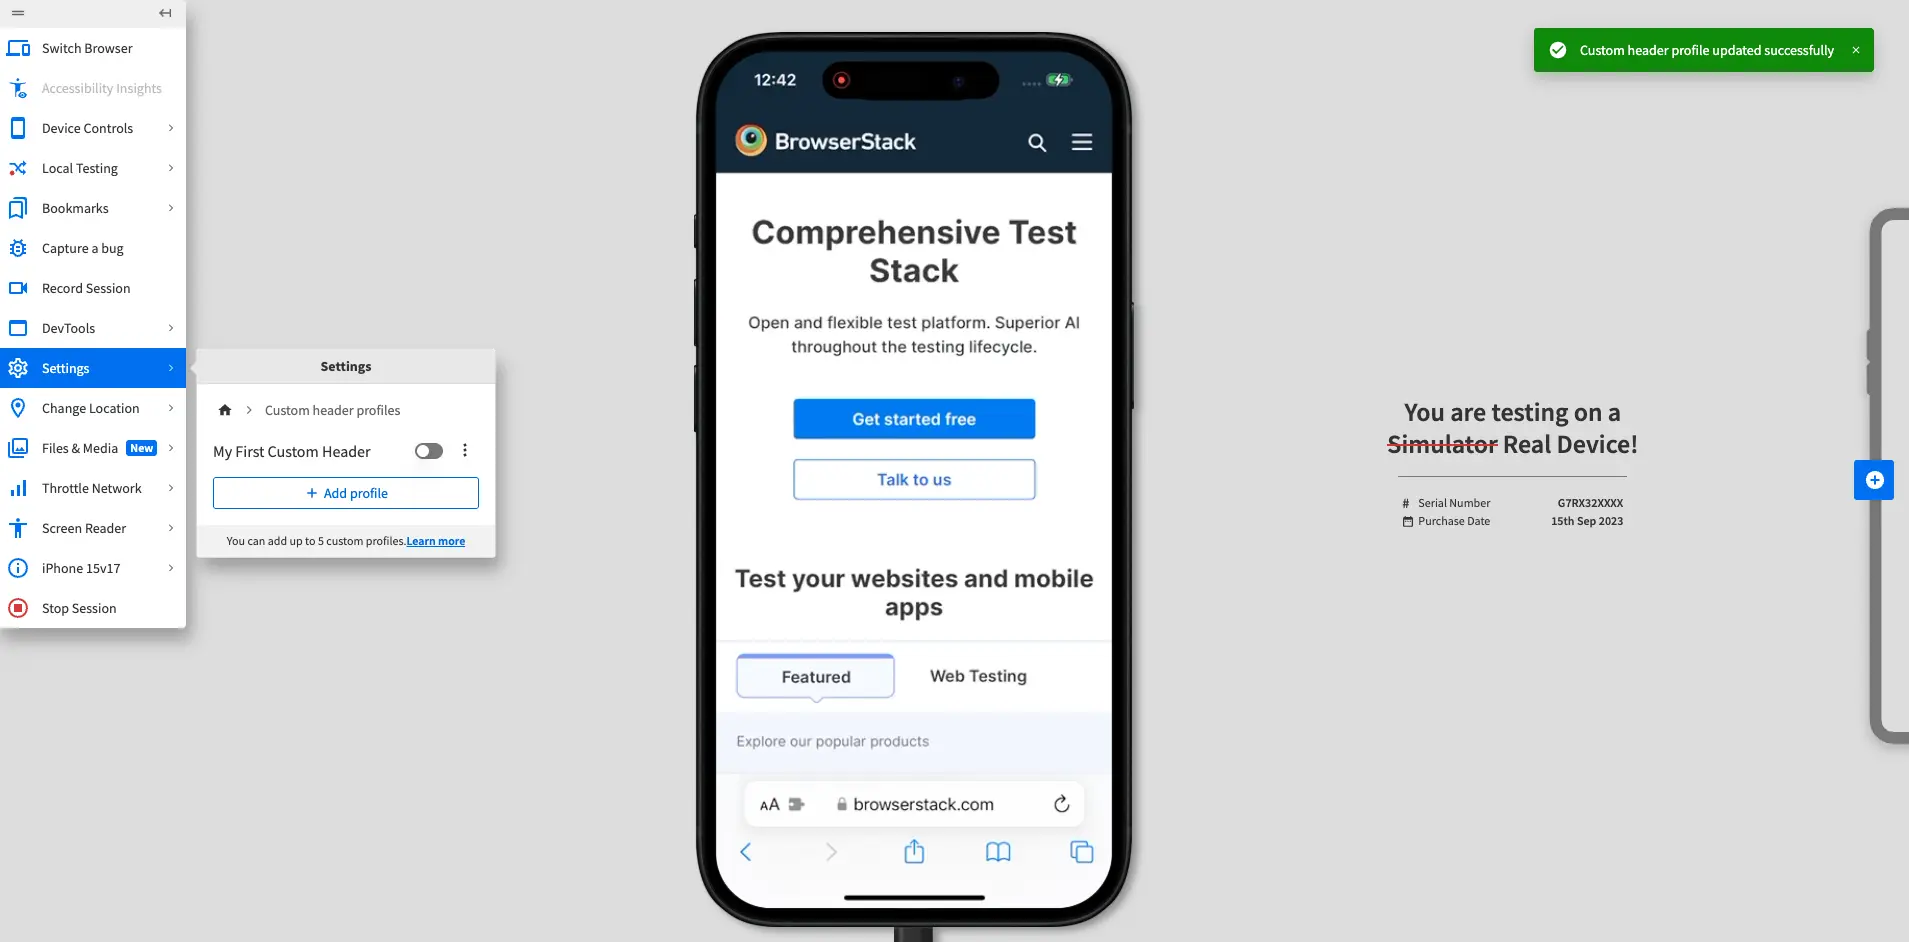
- In the Custom header profiles prompt, click the more options icon (⋮) next to the profile you want to edit.
The menu expands to show the Edit header profile and Delete header profile options.
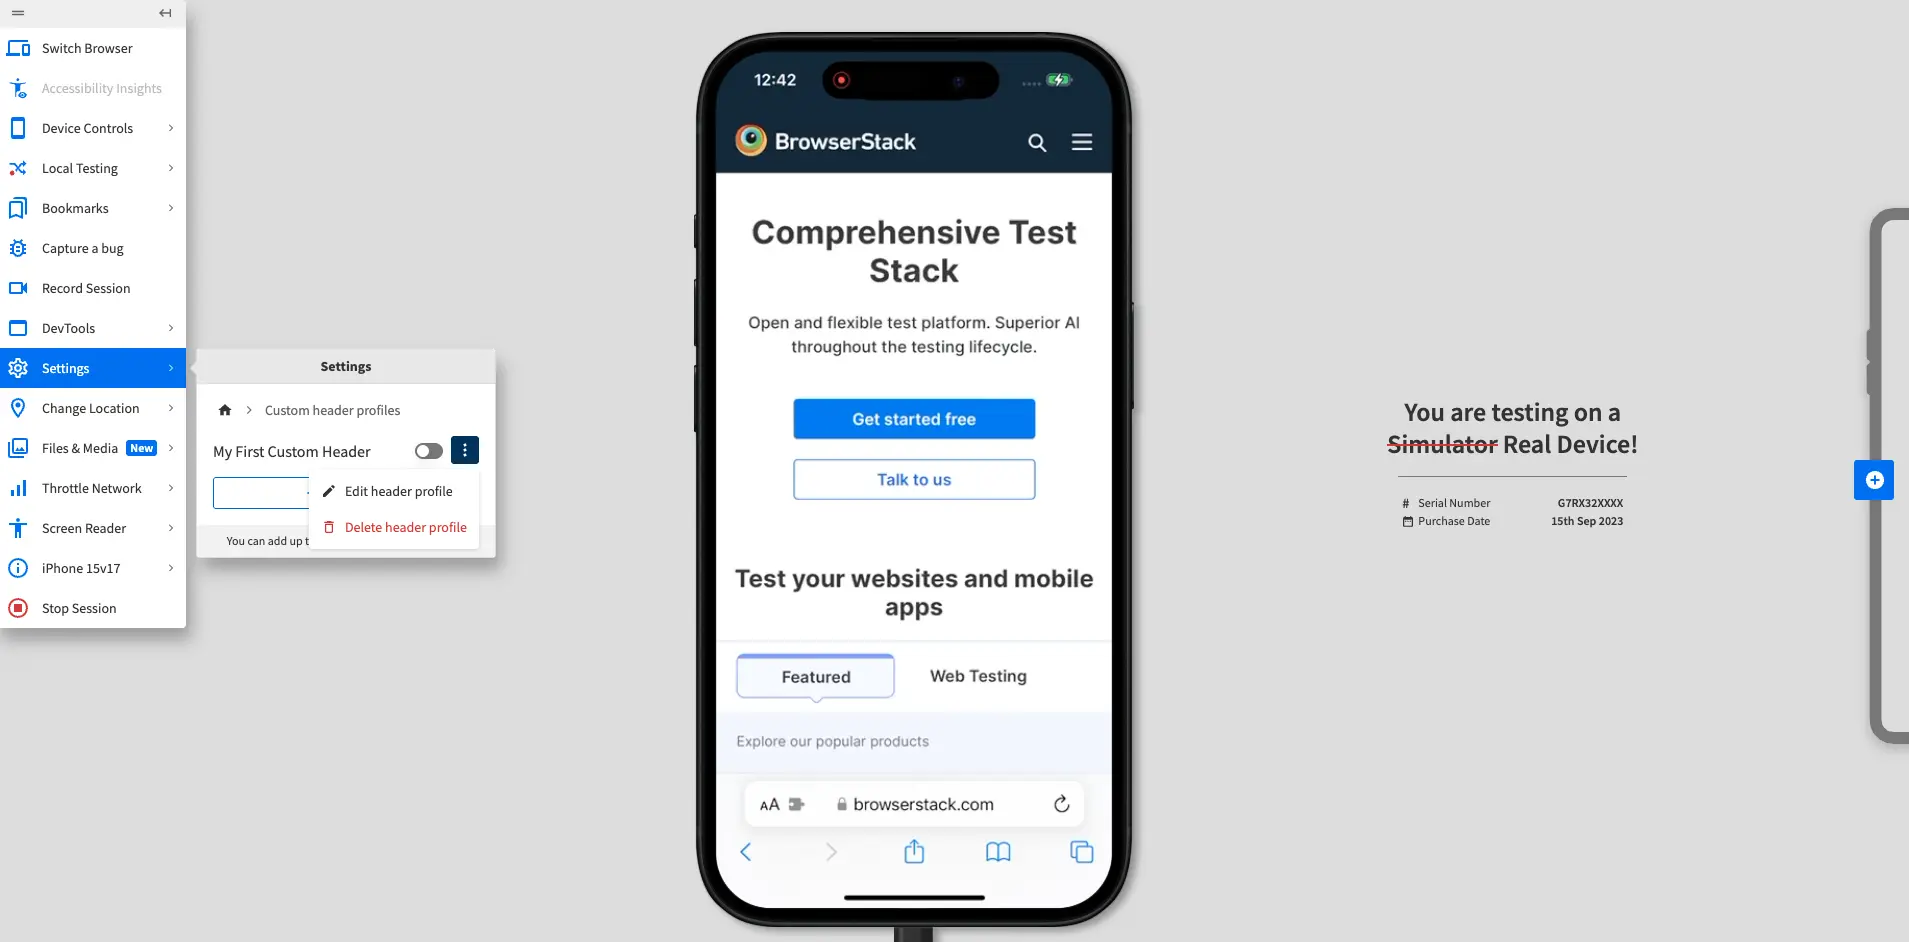
- Click Edit header profile. The Edit Custom Header Profile prompt appears.
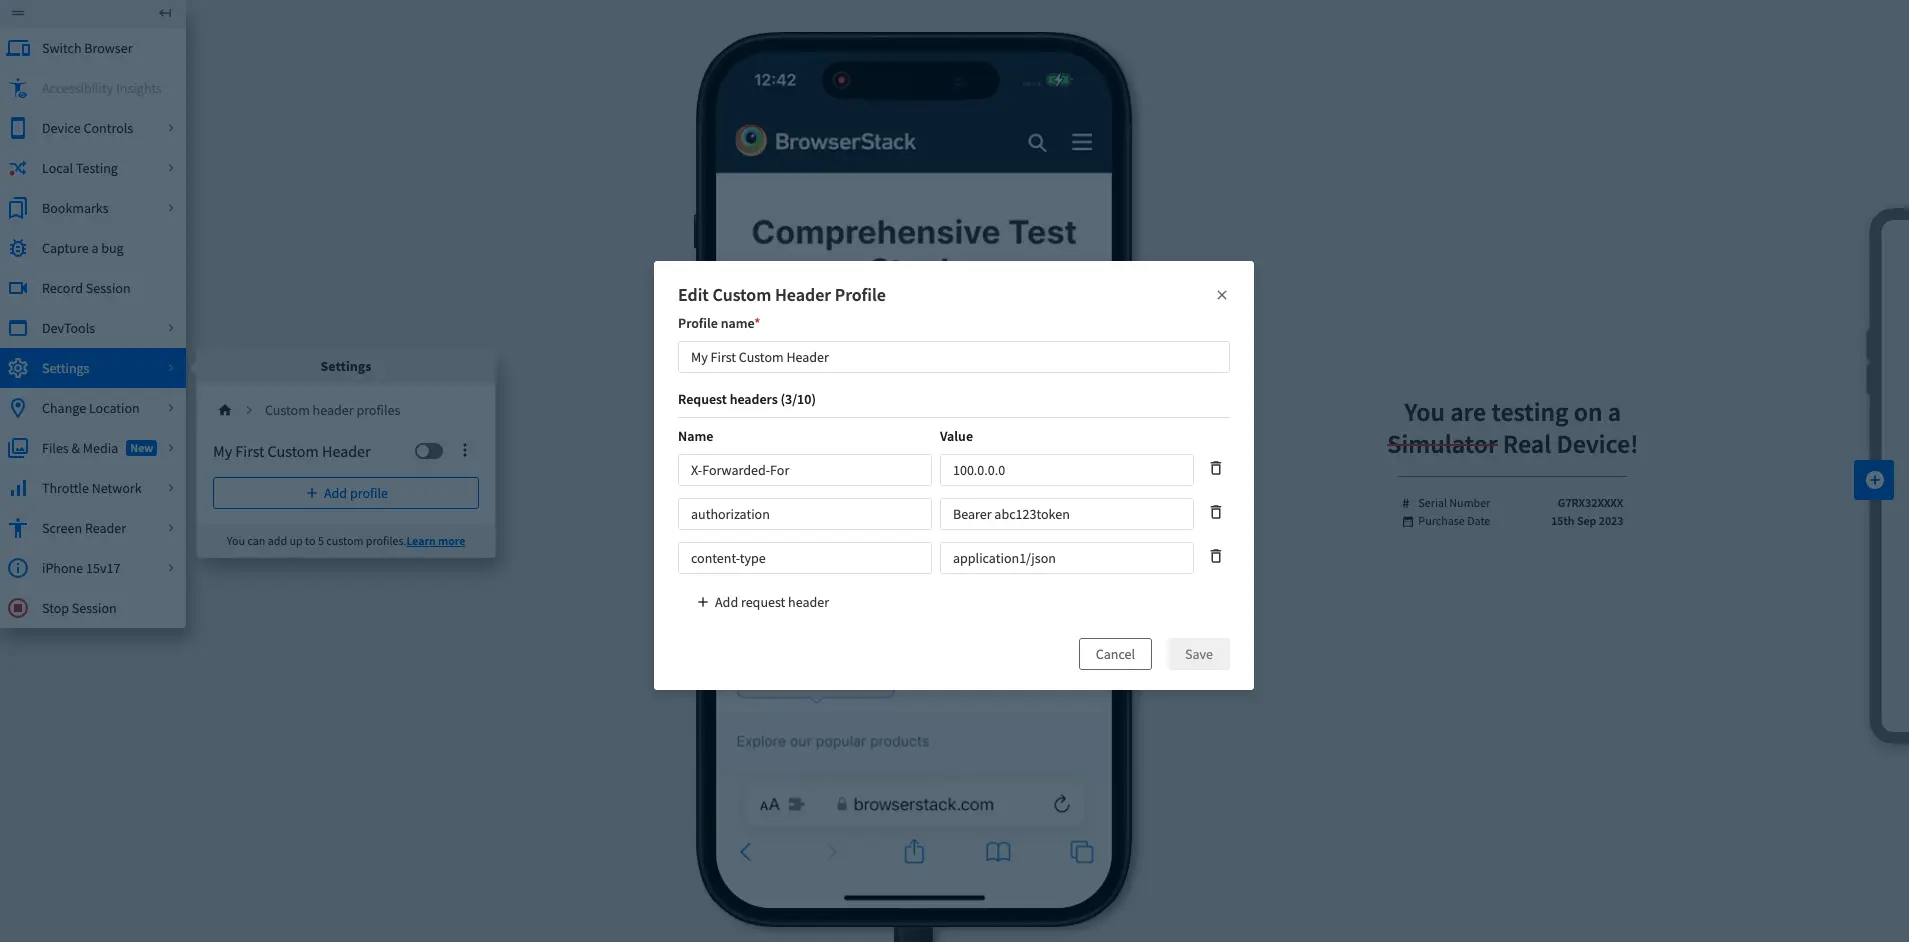
- Make the necessary changes to the profile name and request headers. You can also add or remove request headers.
You can add up to 10 headers in a single profile. - Click Save.
The device restarts, the profile is updated, and a confirmation banner appears at the top of the screen.
Delete custom header profiles in BrowserStack Live
You can delete only disabled custom header profiles.
To delete a custom header profile in BrowserStack Live:
- Log in to the Live dashboard.
- On the Live dashboard, select a device, OS version, and browser to start your test session. For supported OS and browser combinations, refer to the supported operating systems section.
- In the Live vertical toolbar, click Settings.
- In the Settings prompt, click Custom header profiles.
- In the Custom header profiles prompt, click the more options icon (⋮) next to the profile you want to delete.
The menu expands to show the Edit header profile and Delete header profile options.
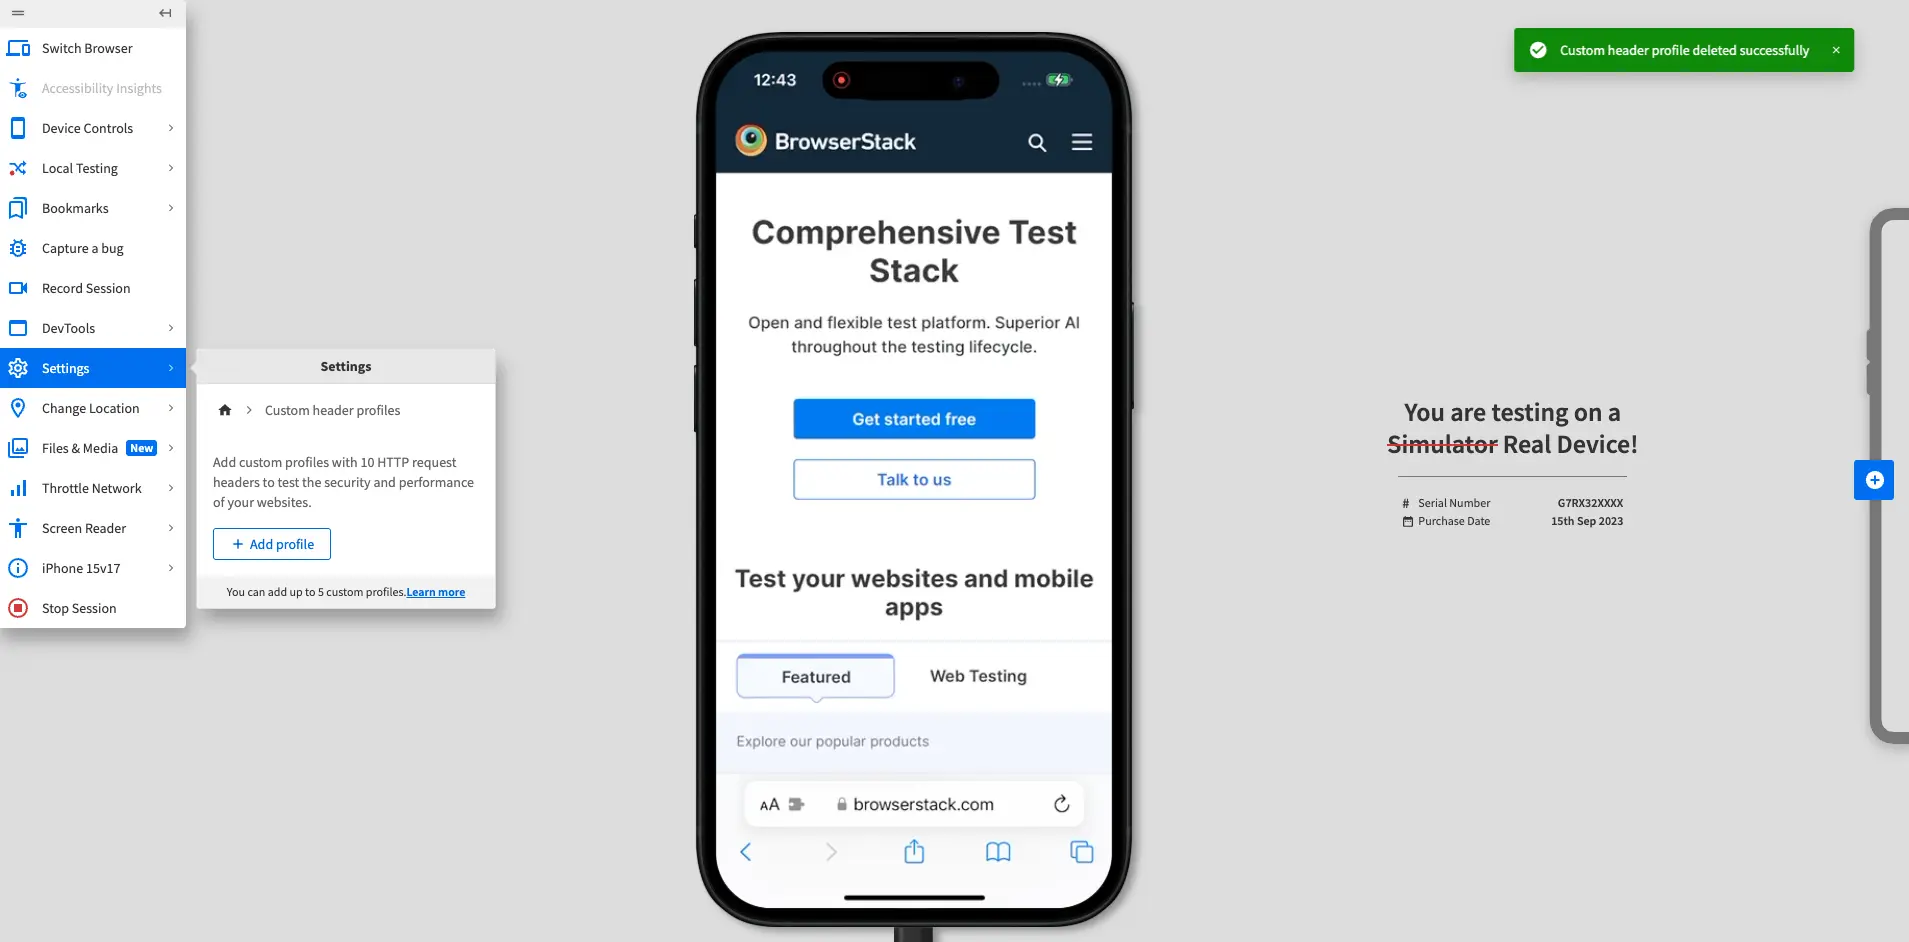
- Click Delete header profile.
The device restarts, the profile is deleted, and a confirmation banner appears at the top of the screen.
Next steps
- Try out custom headers in a BrowserStack Live test session.
We're sorry to hear that. Please share your feedback so we can do better
Contact our Support team for immediate help while we work on improving our docs.
We're continuously improving our docs. We'd love to know what you liked
We're sorry to hear that. Please share your feedback so we can do better
Contact our Support team for immediate help while we work on improving our docs.
We're continuously improving our docs. We'd love to know what you liked
Thank you for your valuable feedback!