Per-VU external inputs with test data
Configure test data inputs for repeatable load runs.
Test data lets you inject external values so each Virtual User (VU) iteration runs with different inputs. This helps you simulate real-world traffic without hard-coding values into your scripts. You can attach a file to a single load test, or store reusable files in the project-level Test Data Library and link them across multiple tests. You can also build and edit table data directly in BrowserStack, without uploading a file.
Test data is available for Browser and API Load Tests. Hybrid Load Tests are not supported yet.
VU mapping strategies
vuMappingStrategy controls how rows are picked from a file for each VU iteration. You set it per file, so different files in the same load test can use different strategies.
The following strategies are available:
| Strategy | Behavior | When to use |
|---|---|---|
sequential |
Rows are consumed in order from the top of the file. When the file is exhausted, the runner loops back to the first row, so no rows repeat within one pass. | Even, deterministic distribution where every row is used before any row repeats. |
random |
Each iteration picks a random row from the file, so the same row can repeat within a run. | High-volume scenarios where varied input matters more than full coverage. |
If you omit vuMappingStrategy on a file, the file uses the load test’s default data selection mode, which is random. The .json files do not accept vuMappingStrategy and always use the default mode.
Add test data to a load test
Select your preferred interface to configure test data:
Select Browser Load Tests or API Load Tests, based on your preference:
Configure test data
Use test data to inject external values so each virtual user (VU) runs with different inputs. To configure test data for a Browser Load Test, do the following:
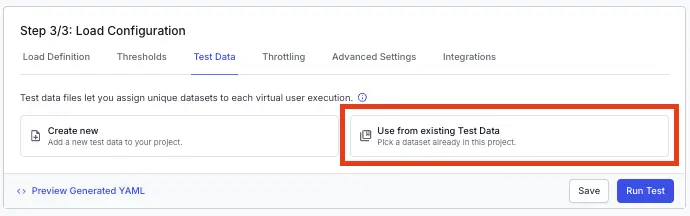
- While creating or editing a load test, open the Test Data tab in Step 3/3: Load Configuration. To add a new dataset, select Create new. To reuse a dataset already in the project, select Use from existing Test Data. You can attach up to five entries per load test, counting test-scoped files and Test Data Library references combined.
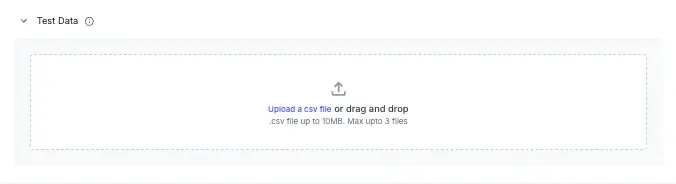
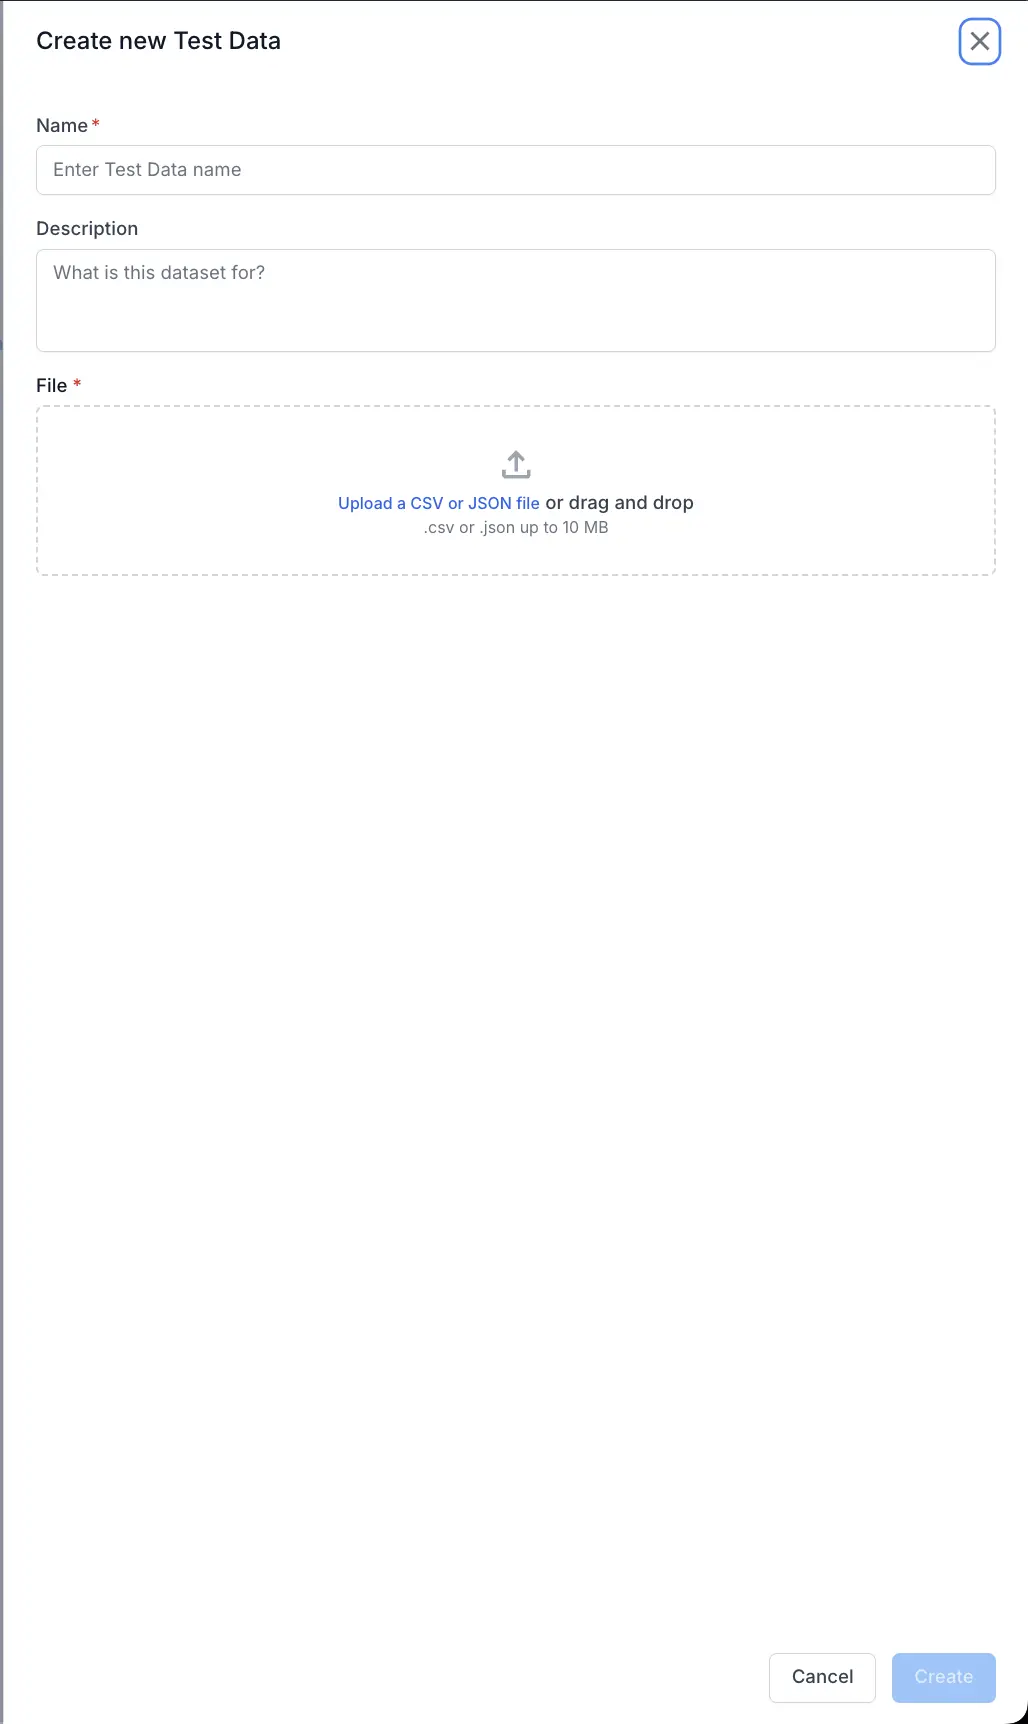
- In the Create new Test Data dialog, enter a Name and an optional Description, then upload a
.csvor.jsonfile by drag-and-drop or the file picker. Each file must not exceed 10 MB and 100 columns.
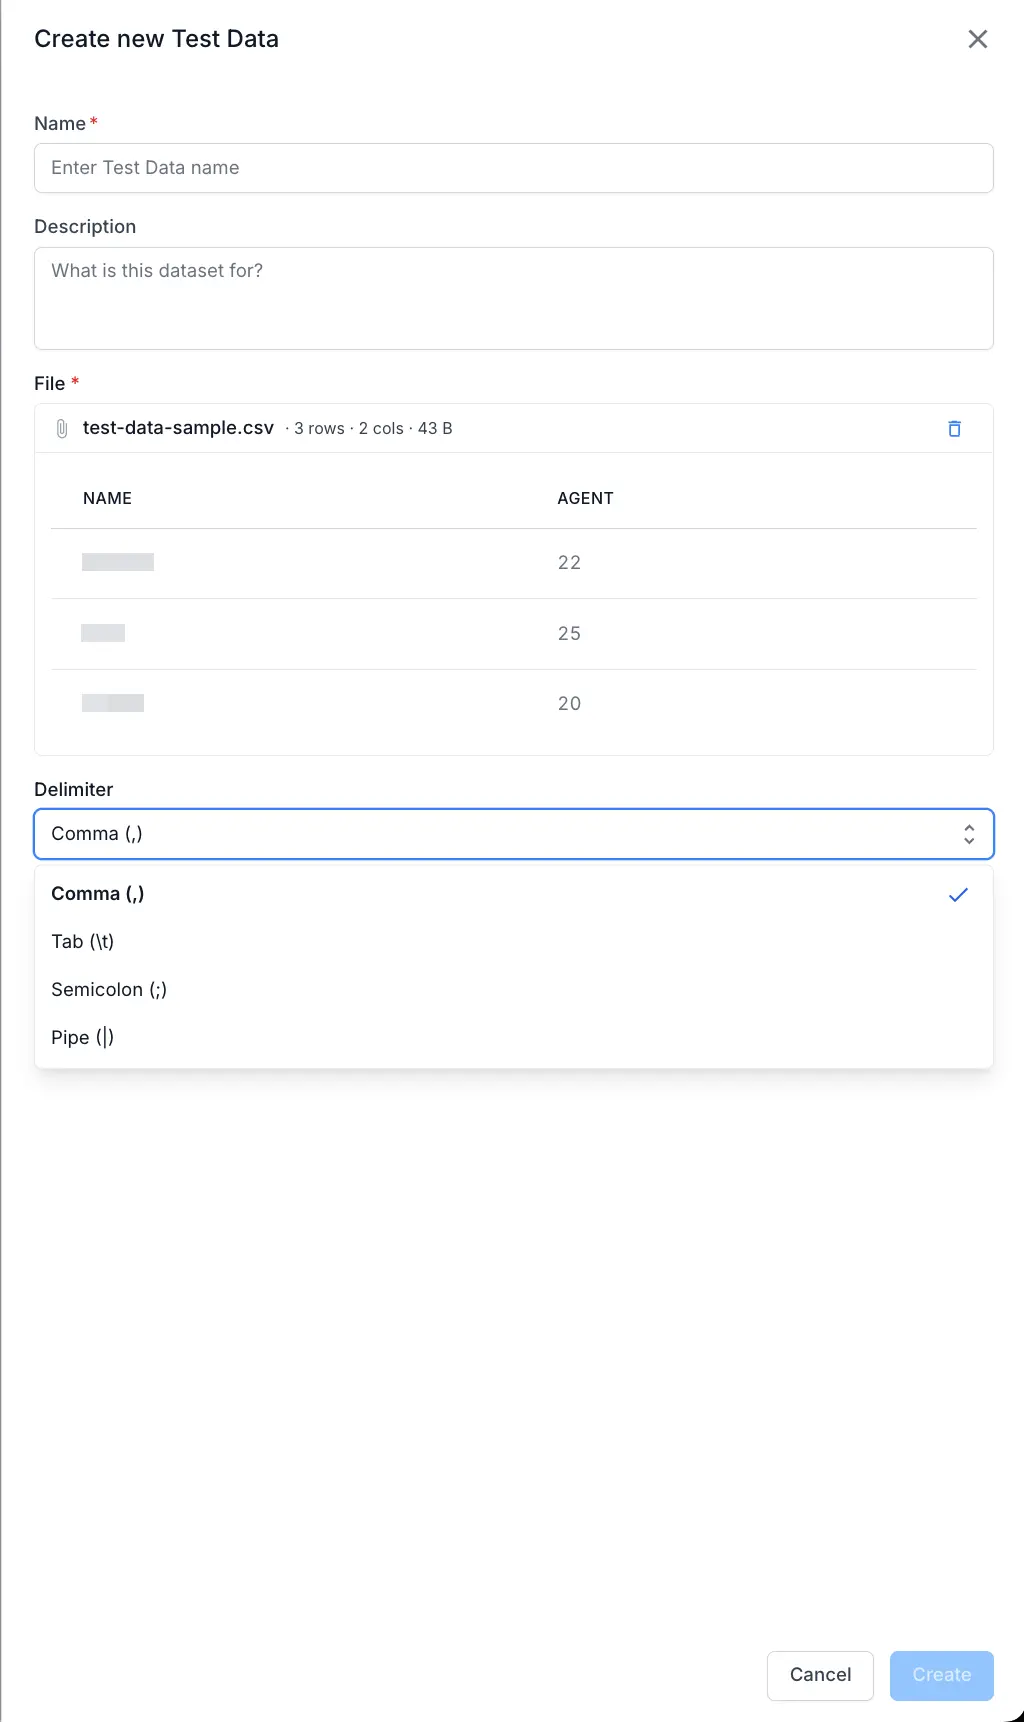
- After the file uploads, review the column preview. Ensure
.csvfiles have a header row, or.jsonfiles have keys that map to variable names in your script. Set the Delimiter toComma,Tab,Semicolon, orPipe, then select Create.
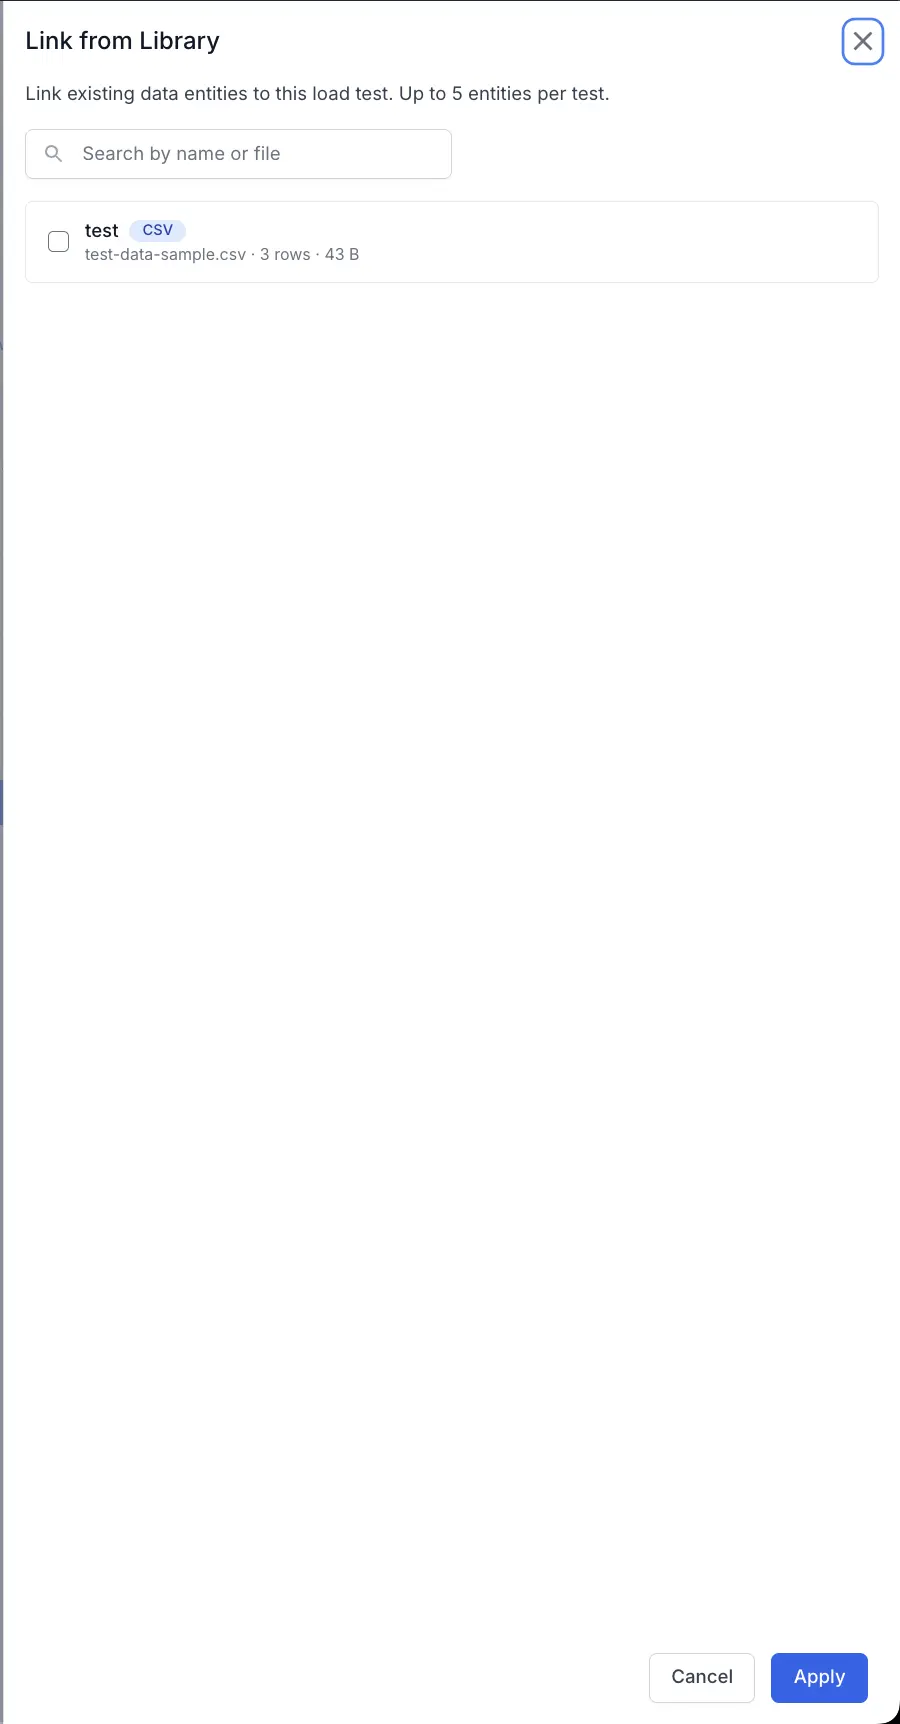
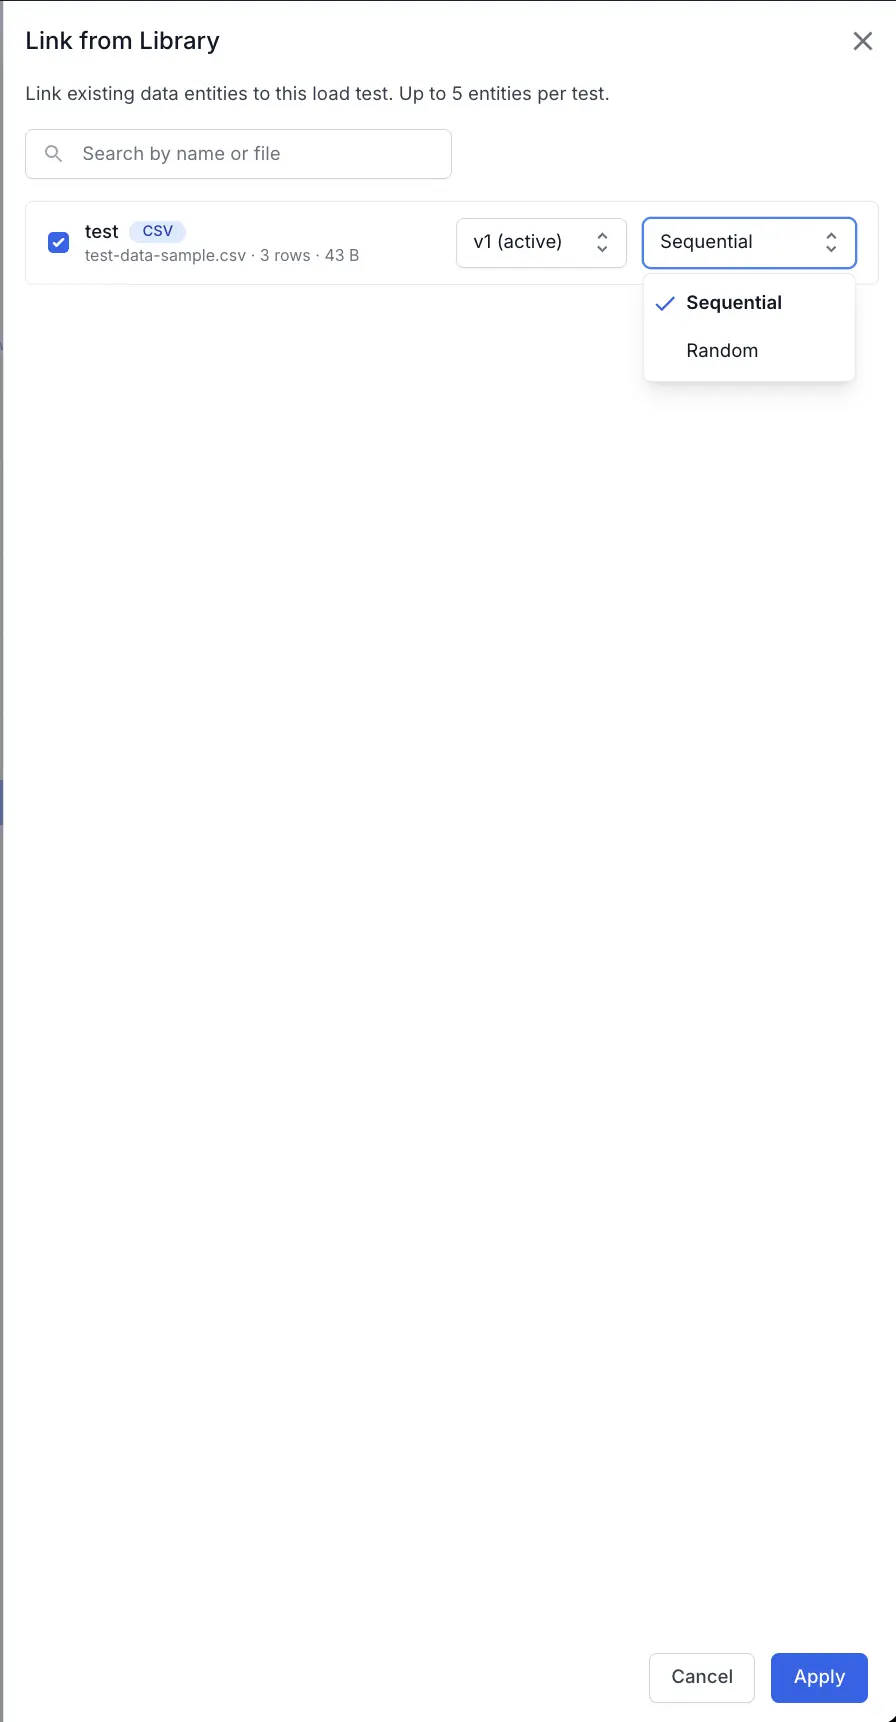
- To reuse a file across multiple tests, select Use from existing Test Data, then in the Link from Library dialog, search for and select Test Data files from the project’s Test Data Library.
- For each selected file, choose the version to use and set the VU mapping to
SequentialorRandom, then select Apply.
- Save the test.
Configure test data
The flow is identical to Browser Load Tests. The same per-file Sequential or Random mapping applies, and the runner injects the row values into your k6, JMeter, Locust, or Gatling script for each iteration. To configure test data for an API Load Test, do the following:
- While creating or editing a load test, open the Test Data tab in Step 3/3: Load Configuration. To add a new dataset, select Create new. To reuse a dataset already in the project, select Use from existing Test Data. You can attach up to five entries per load test, counting test-scoped files and Test Data Library references combined.
- In the Create new Test Data dialog, enter a Name and an optional Description, then upload a
.csvor.jsonfile by drag-and-drop or the file picker. Each file must not exceed 10 MB and 100 columns.
- After the file uploads, review the column preview. Ensure
.csvfiles have a header row, or.jsonfiles have keys that map to variable names in your script. Set the Delimiter toComma,Tab,Semicolon, orPipe, then select Create.
- To reuse a file across multiple tests, select Use from existing Test Data, then in the Link from Library dialog, search for and select Test Data files from the project’s Test Data Library.
- For each selected file, choose the version to use and set the VU mapping to
SequentialorRandom, then select Apply.
- Save the test.
Reference test data in browserstack-load.yml
CLI test data is library-only. Every entry in the testData: block references a Test Data file by name from your project’s Test Data Library. Upload the file from the dashboard first (see Create Test Data), then reference it here. To use a file without adding it to the library, use the UI Builder instead.
testData is a flat array directly under the top-level key. Each entry takes a name, an optional description, and, for CSV files only, vuMappingStrategy and delimiter. The same configuration applies to Browser and API Load Tests.
The following rules apply to the testData block:
-
nameis the canonical reference, resolved within the load test’s project. Double-quote names that contain whitespace, punctuation, or special characters. - You can add up to five entries per
testDatablock. - For CSV files,
delimiteris required andvuMappingStrategyis honored per entry. OmitvuMappingStrategyto use the default mode. - For JSON files, omit
vuMappingStrategyanddelimiterentirely because they do not apply. The third entry in the example above is a JSON file. -
descriptionis optional and surfaces in the dashboard’s Linked Tests view.
When the test run starts, BrowserStack does the following:
- Resolves each
nameto the current version of the Test Data file in the project. - Uses the version that the load test is currently pinned to. See How updates to Test Data affect existing load tests.
- Fails the run with a clear error if a referenced file is not found in the project. The error lists the available Test Data files to help you correct the reference.
Bind test data to a scenario
When your Browser Load Test uses multiple scenarios, you can assign each test data file to specific scenarios. This lets each user journey run with its own dataset, so your checkout scenario reads card details while your login scenario reads credentials, all in one test.
Per-scenario test data is available for Browser Load Tests that use multiple scenarios.
You link a test data file to the load test once, then choose which scenarios use it. A file assigned to specific scenarios runs only for those scenarios. A file assigned to all scenarios runs for every scenario. The five-entry limit applies across the whole test, counting every file regardless of how many scenarios use it.
Select your preferred interface to assign test data to scenarios:
Assign test data to scenarios
Configure your scenarios first, then link a test data file and choose which scenarios use it:
Steps to assign test data to scenarios
Configure your scenarios
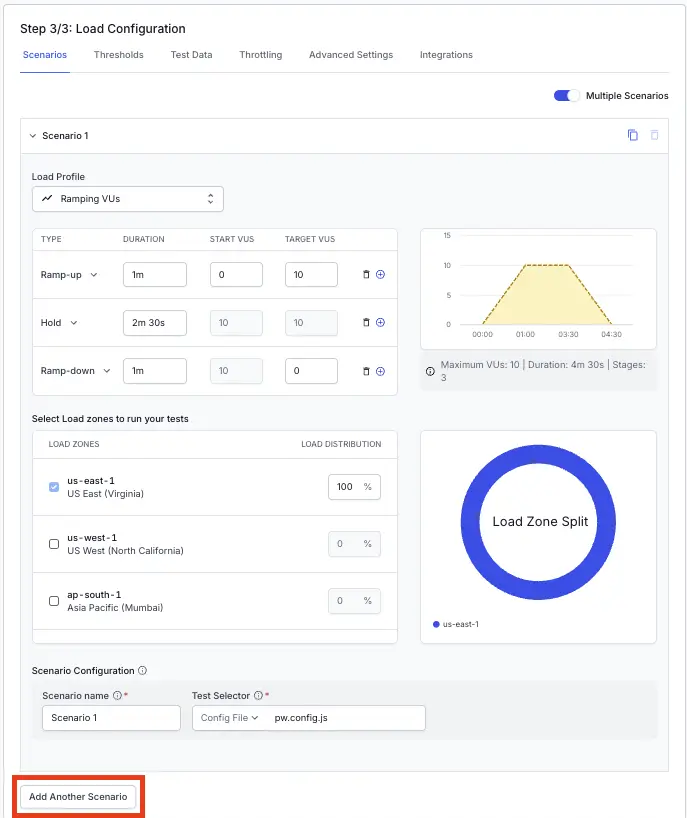
In Step 3/3: Load Configuration, open the Scenarios tab, turn on Multiple Scenarios, and add your scenarios. For details, see Configure multiple scenarios.
Add a test data file
Open the Test Data tab. Select Use from existing Test Data to link a file from the Test Data Library, or select Create new to upload one.
Link the file
In Link from Library, select the file, choose its version and VU mapping, then select Apply.
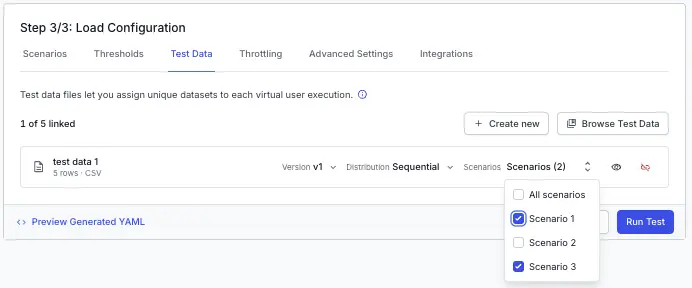
Assign the file to scenarios
On the linked file, open the Scenarios selector and choose the scenarios that use it. Leave it set to All scenarios to apply the file to every scenario.
Assign test data to scenarios in browserstack-load.yml
Add a scenarios list to a testData entry to assign that file to specific scenarios. The names in the list must match your scenario names. Omit scenarios to apply the file to every scenario.
In this example, Cart Fixtures runs only for the Checkout and Login scenarios. Shared Catalog has no scenarios list, so it runs for every scenario. The same rules apply to each entry, and the five-entry limit counts every file across the test.
Access the injected values in your script
The runner exposes each row’s columns to your test script as parameters or environment variables keyed by the CSV header or JSON key. You do not need to parse the CSV yourself. Access the values per framework as follows:
- For browser tests with Playwright or Selenium, values are available as environment variables on the worker pod. Read them with your language’s standard environment-variable API, such as
process.env.<HEADER>orSystem.getenv("<HEADER>"). - For k6, read values from
__ENV.<HEADER>. - For JMeter, values are exposed as JMeter properties or variables that you can consume in your
.jmxfile. - For Locust or Gatling, values are exposed through the framework’s parameter mechanism. An environment-variable fallback is always available.
Reuse test data with the Test Data Library
The Test Data Library is a project-level store of reusable CSV and JSON Test Data. Link one Test Data file to multiple load tests, update it in one place, and every linked test picks up the latest version on the next run.
Use the Test Data Library to:
- Share credentials, product catalogs, API tokens, and other parameter data across multiple load tests in the same project.
- Track which tests use a given Test Data file from a single detail view.
- Maintain version history per Test Data file and control which version each load test uses.
Limits
The following limits apply to the Test Data Library:
| Limit | Value |
|---|---|
| Maximum Test Data files per project | 50 |
| Maximum Test Data references per load test (test-scoped files and library references combined) | 5 |
| Maximum file size per Test Data file | 10 MB |
| Maximum columns per Test Data file | 100 |
| Project-level storage quota | 500 MB |
| Group-level storage quota | 2 GB |
Open the Test Data Library
Open your project from the BrowserStack Load Testing dashboard.
From the project side navigation, select Test Data. The Test Data Library lists every Test Data file in the project with its name, file name, row count, column count, size, last-updated timestamp, and number of linked tests.
Create test data
You can add a test data file to the library in two ways:
- Upload a file from your machine
- Build a table inline in BrowserStack Use the inline editor when you do not have a file ready, or when you want to enter values without switching to another tool.
To upload a file:
Select Create Test Data, then select Upload File.
Upload a .csv or .json file from your machine.
Enter a name and an optional description. Names must be unique within the project.
Save the file. The library lists the new Test Data file, and it is immediately available to link from any load test in the project.
To build a table inline:
Select Create Test Data, then select Create New Data Table.
Enter a header in each cell of the first row. Each header becomes a variable name that your script reads, such as username or product_id.
Enter your values in the rows below. Add more rows and columns with the Add Row and Add Column buttons, or by typing in the last empty row or column.
Enter a name and an optional description, then save. BrowserStack stores the table as a .csv file and lists it in the library, ready to link from any load test in the project.
Edit test data inline
You can edit any .csv test data file directly in BrowserStack, without downloading and re-uploading it. This helps you make quick changes during test development, such as fixing a value or adding a few rows.
To edit a Test Data file:
In the Test Data Library, open the .csv test data file you want to change, then select Edit.
Update the table. Select any cell to change its value. Use the Add Row and Add Column buttons to grow the table, and the right-click menu to delete rows or columns. You can also copy and paste cells from a spreadsheet, and undo or redo recent changes.
Save your changes. BrowserStack stores the edit as a new version. Load tests linked to an earlier version keep using it until you re-link them to the latest version.
The inline editor supports the following actions:
- Edit a cell by selecting it and typing a new value.
- Add rows and columns with the Add Row and Add Column buttons, and delete them from the right-click menu.
- Copy and paste cells from a spreadsheet such as Google Sheets or Excel.
- Undo and redo your recent changes until you save or discard them.
Column headers must be unique and cannot be empty. The editor flags duplicate or blank headers so you can correct them before you save. The editor loads up to 10,000 rows. For larger files, upload a replacement instead.
Inline editing is available for .csv files. To edit an Excel file, select Convert to CSV to open it in the editor. BrowserStack keeps the original Excel file as a previous version.
While you edit a test data file, BrowserStack locks it so that no one else can edit it at the same time. Other users in the project can still view the file. The lock releases when you save or discard your changes.
Link test data to a load test
After you create a Test Data file, link it to one or more load tests so each linked test reads from the same source:
While creating or editing a load test, open the Test Data tab in Step 3/3: Load Configuration.
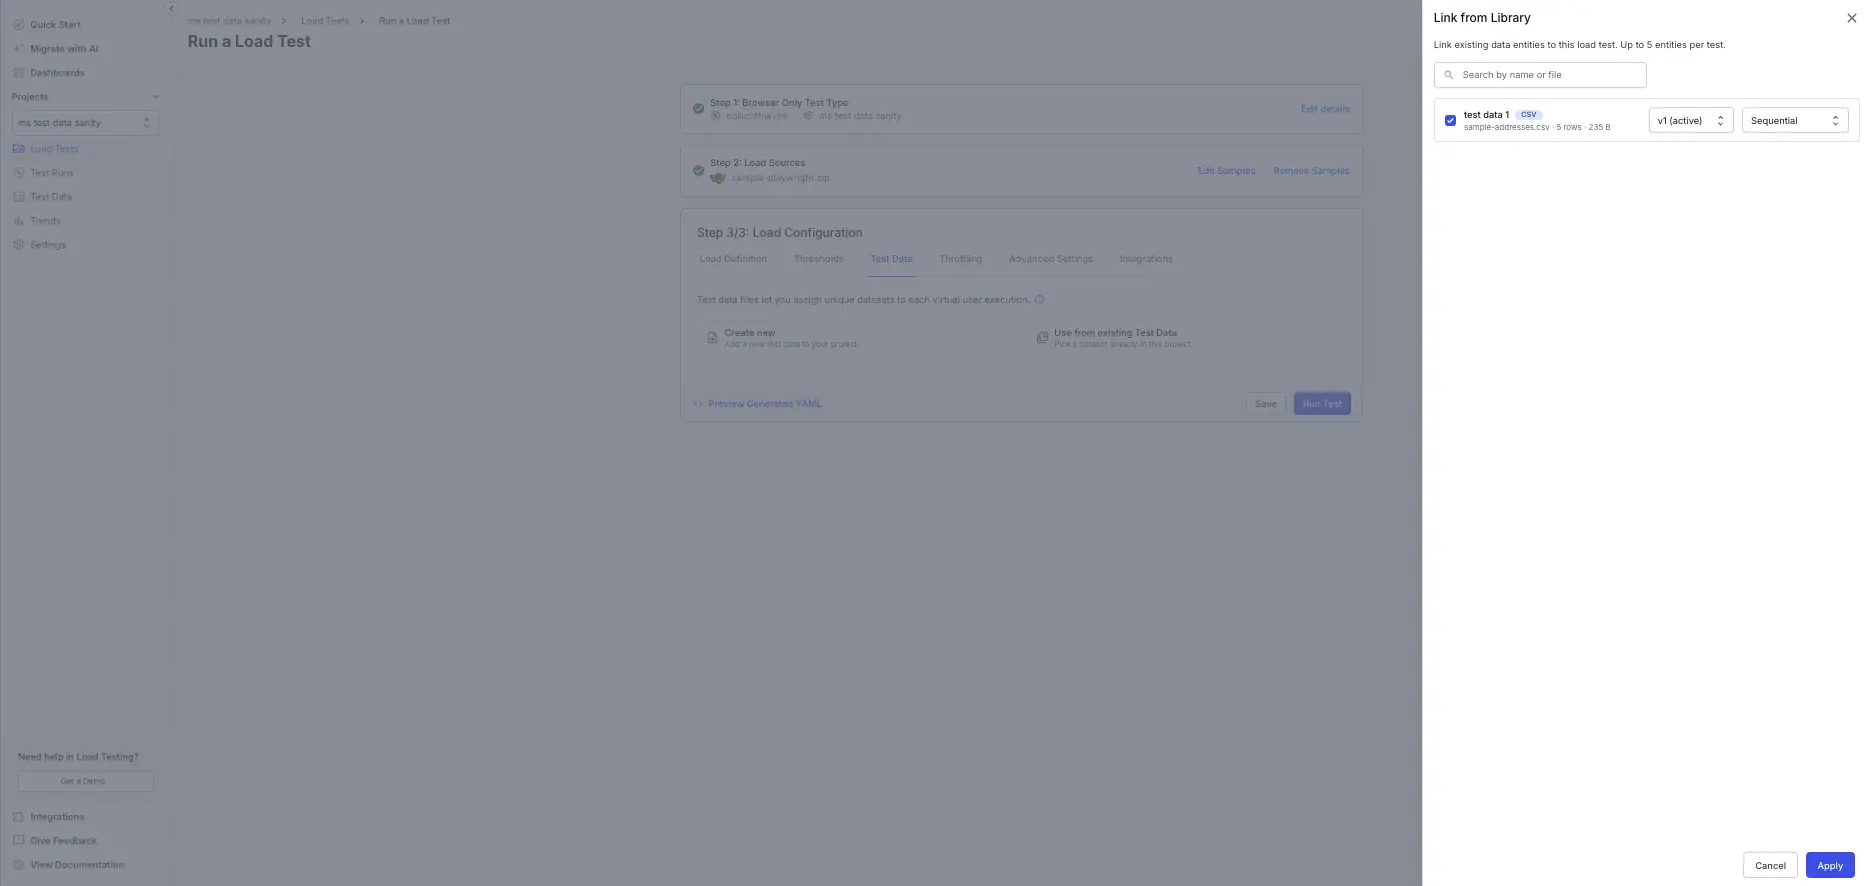
Select Use from existing Test Data to open the Link from Library dialog, which lists every Test Data file in the project.
Select one or more files. You can link up to five Test Data references per load test, counting test-scoped files and library references combined.
For each selected file, choose the version to use and set the VU mapping to Sequential or Random, then select Apply. The strategy is stored on the link, so the same Test Data file can be sequential in one test and random in another.
Save the load test.
View linked tests and version history
Open any Test Data file from the library to inspect its usage and history:
- Linked Tests: The list of load tests that reference this Test Data file, including who linked it, when, the VU mapping strategy chosen on the link, and the timestamp of the last run that used it. Use this view before you update a Test Data file to see which tests are affected.
- Version History: Every saved version, with the author, timestamp, change summary, and file size. Select Activate this version to make a previous version the default. Future load tests that link this Test Data file use that version, while load tests already linked to a different version continue to use it. See How updates to Test Data affect existing load tests.
Update, rename, download, or delete Test Data
You can manage each test data file from the library listing or its detail view:
-
Update: Open the test data file and upload a replacement
.csvor.jsonfile, or edit a.csvfile inline. Either action creates a new version. Existing load tests continue to run against the version they were linked to. See How updates to Test Data affect existing load tests. - Rename: Inline-rename the file from the library listing or the detail view. The name must remain unique within the project.
- Download: Download the current version of the Test Data file.
- Delete: Delete the Test Data file. If any tests link to it, BrowserStack lists those tests and asks you to confirm. After deletion, affected tests no longer have a data reference and fail on the next run unless you provide replacement data.
How updates to Test Data affect existing load tests
Each load test pins a specific version of every linked Test Data file. Updating a Test Data file does not change which version your existing load tests use. They continue to run against the version they were linked to. To make a load test pick up a newer version, open the load test and re-link the file to the latest version.
We're sorry to hear that. Please share your feedback so we can do better
Contact our Support team for immediate help while we work on improving our docs.
We're continuously improving our docs. We'd love to know what you liked
We're sorry to hear that. Please share your feedback so we can do better
Contact our Support team for immediate help while we work on improving our docs.
We're continuously improving our docs. We'd love to know what you liked
Thank you for your valuable feedback!