Handle similar elements in Low Code Automation
Learn how to reliably execute tests when there are similar elements in the webpage.
Some test flows require clicking one button among several that look the same. Let us look at a few examples:
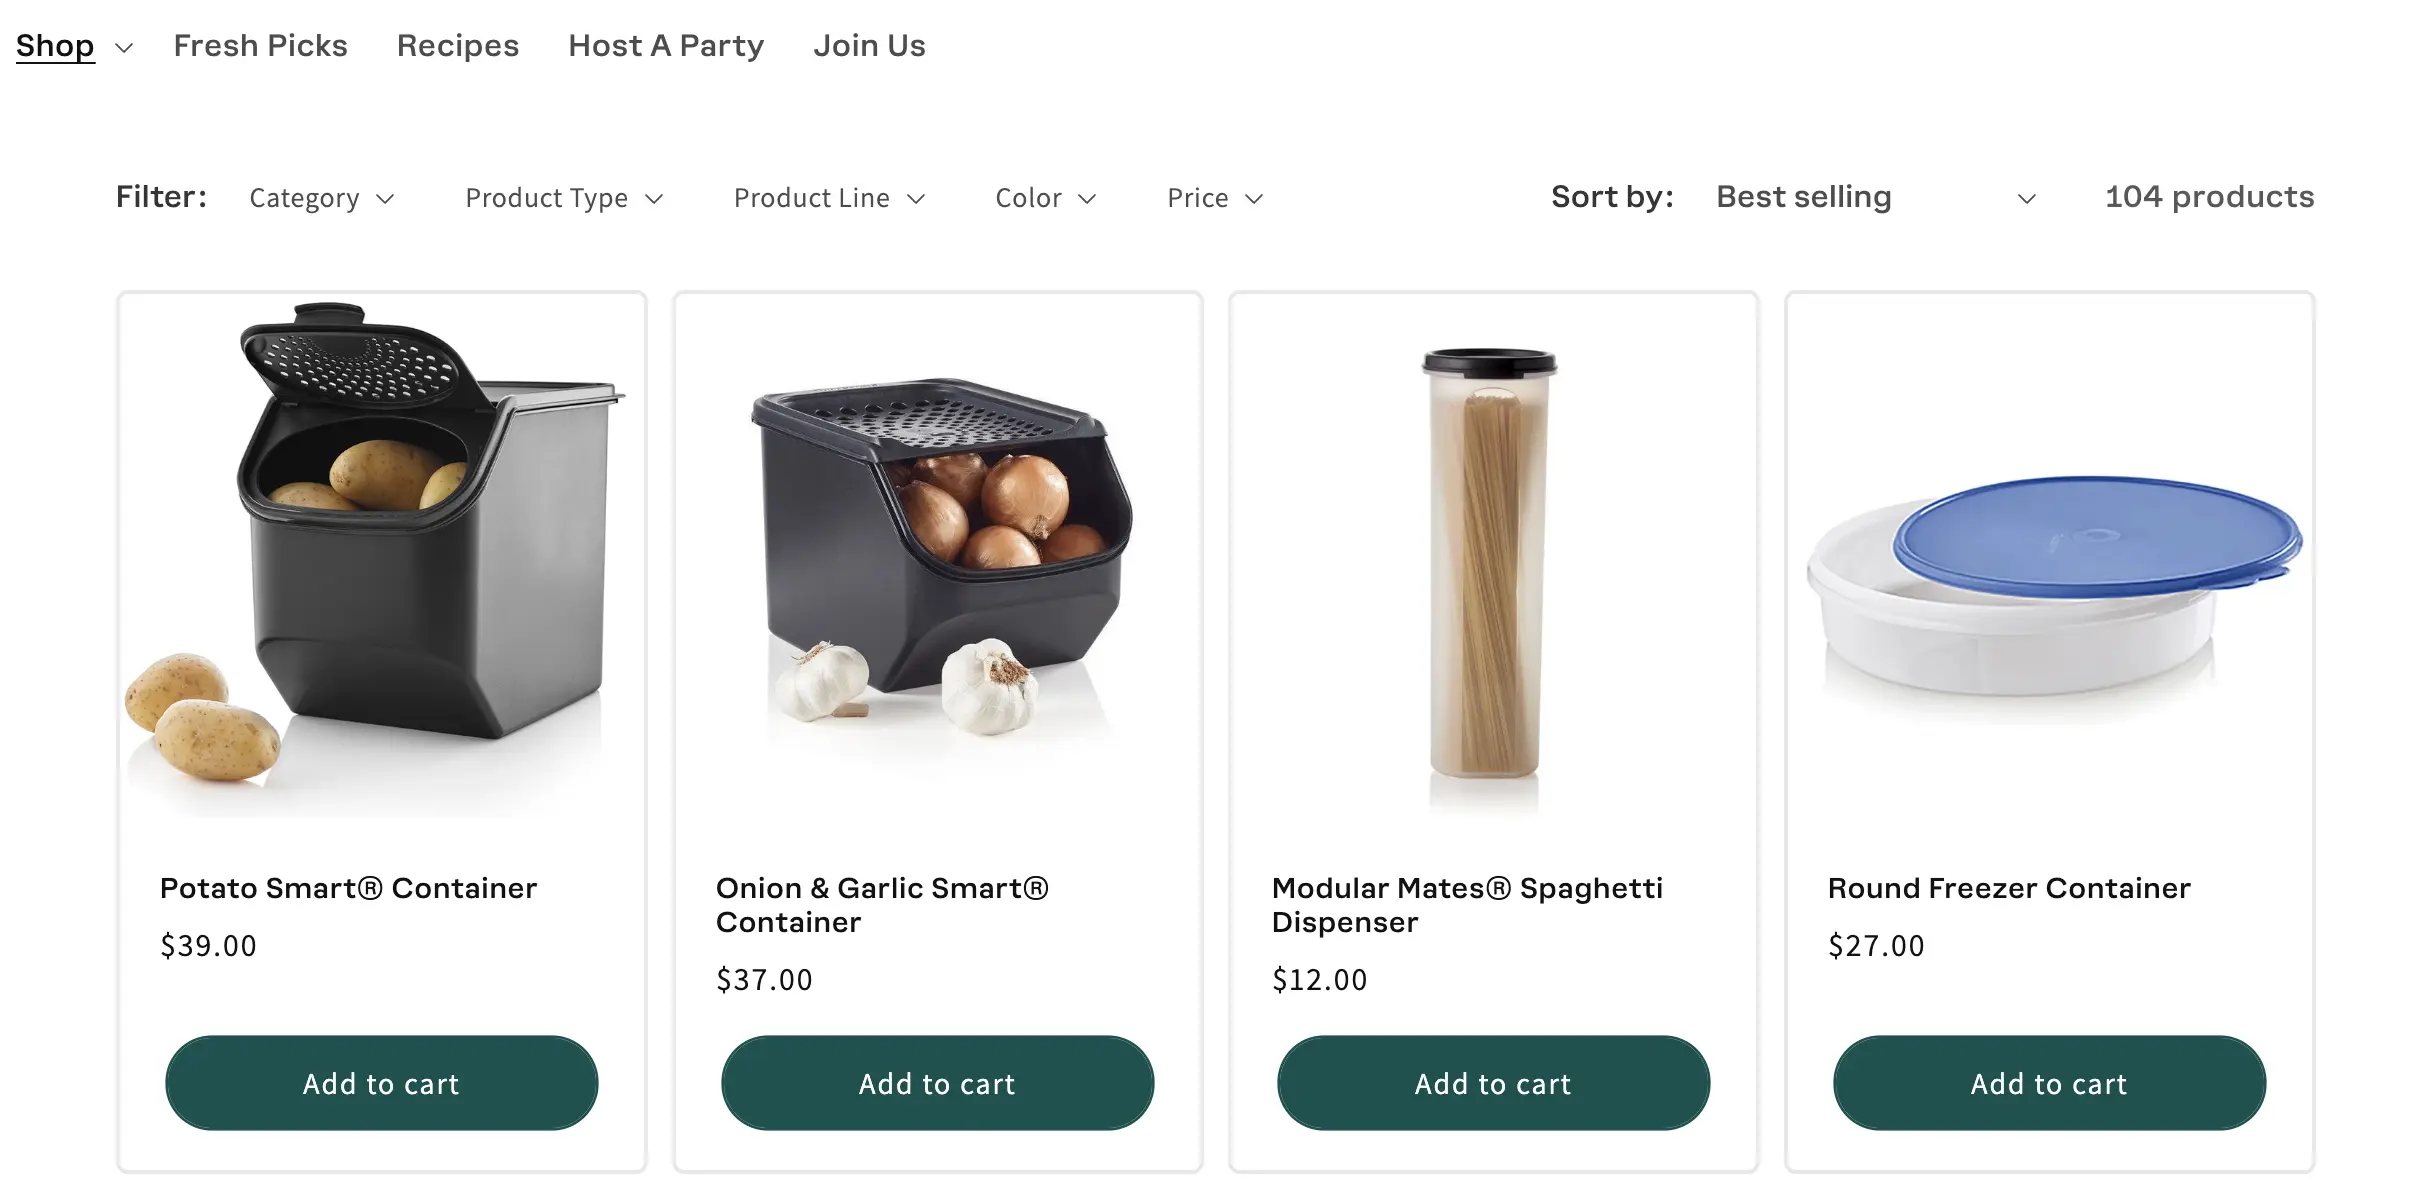
Example 1: Consider the following e-commerce website with multiple Add to cart buttons that appear identical. You might click a specific Add to cart button based on the product name or because it’s the first item on the page.
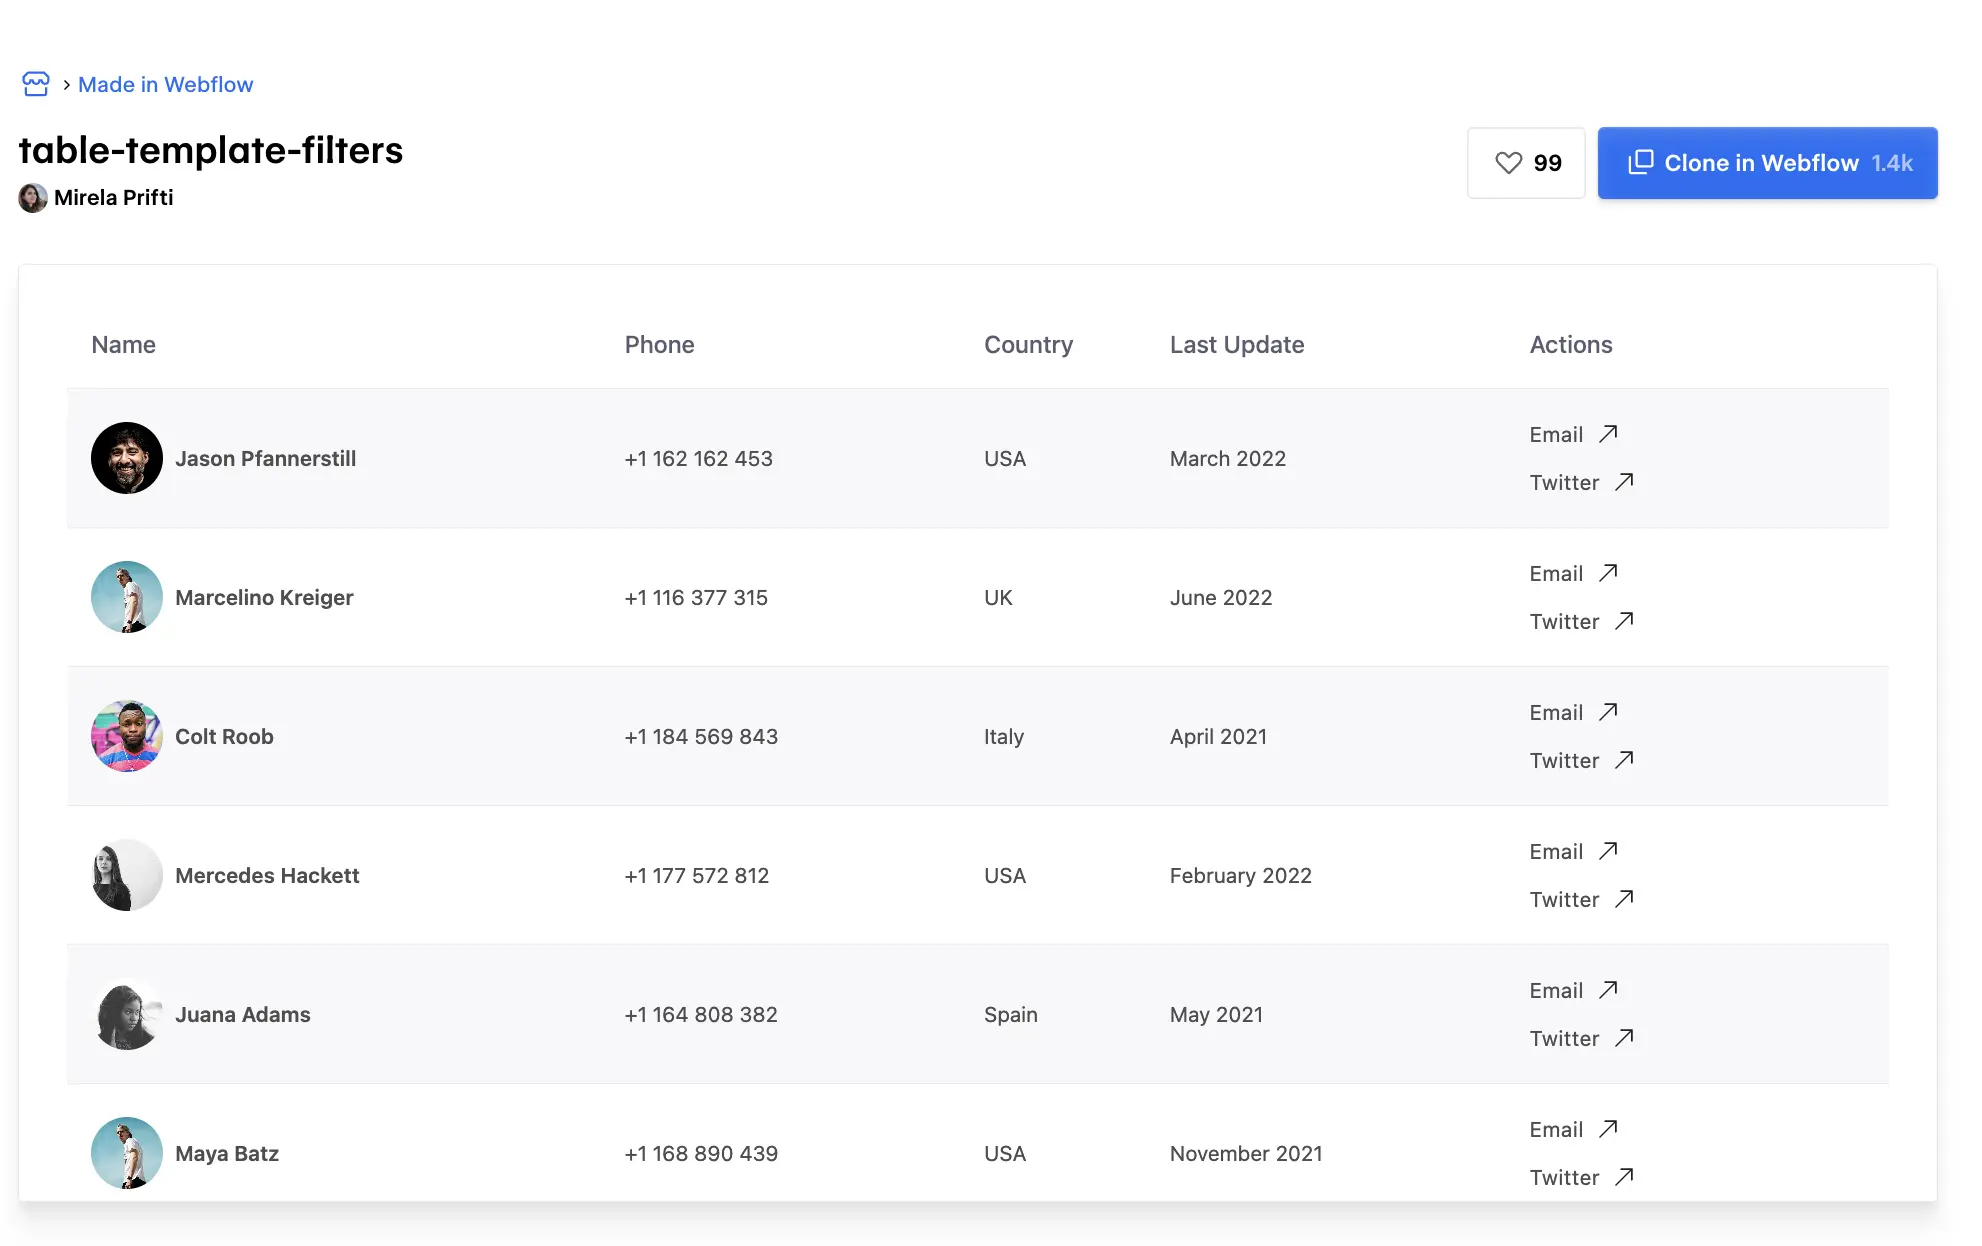
Example 2: Consider the following page, where there are multiple Email buttons that look similar. You might click Email either because it’s in the first position or because it’s associated with a specific username.
The reason to select a particular element can vary from user to user. In automated tests, this similarity can cause the test to select the wrong button. This leads to inconsistent and unreliable results. To avoid this, you often need to define a specific element locator.
Low Code Automation solves this by smartly identifying the possible reasons why a user might have selected a specific button or element during test recording. It suggests factors such as the element’s position, visible text, parent container attributes, ID, and more. You can also add custom attributes to improve accuracy. Based on your intent, you can choose one or more reasons and add attributes to handle selection of similar-looking elements during test execution. This helps ensure tests are stable, reliable, and free from manual locator maintenance.
Improve element selection accuracy
Let us look at an example where you click a specific Try on button among several that appear identical. In this example, you want to click the Try on button for the second product on the page.
-
While recording, click the button you want to select. If similar elements exist on the page, Low Code Automation detects them and displays the Improve accuracy button below the relevant step.
-
Click the Improve accuracy button for that step.
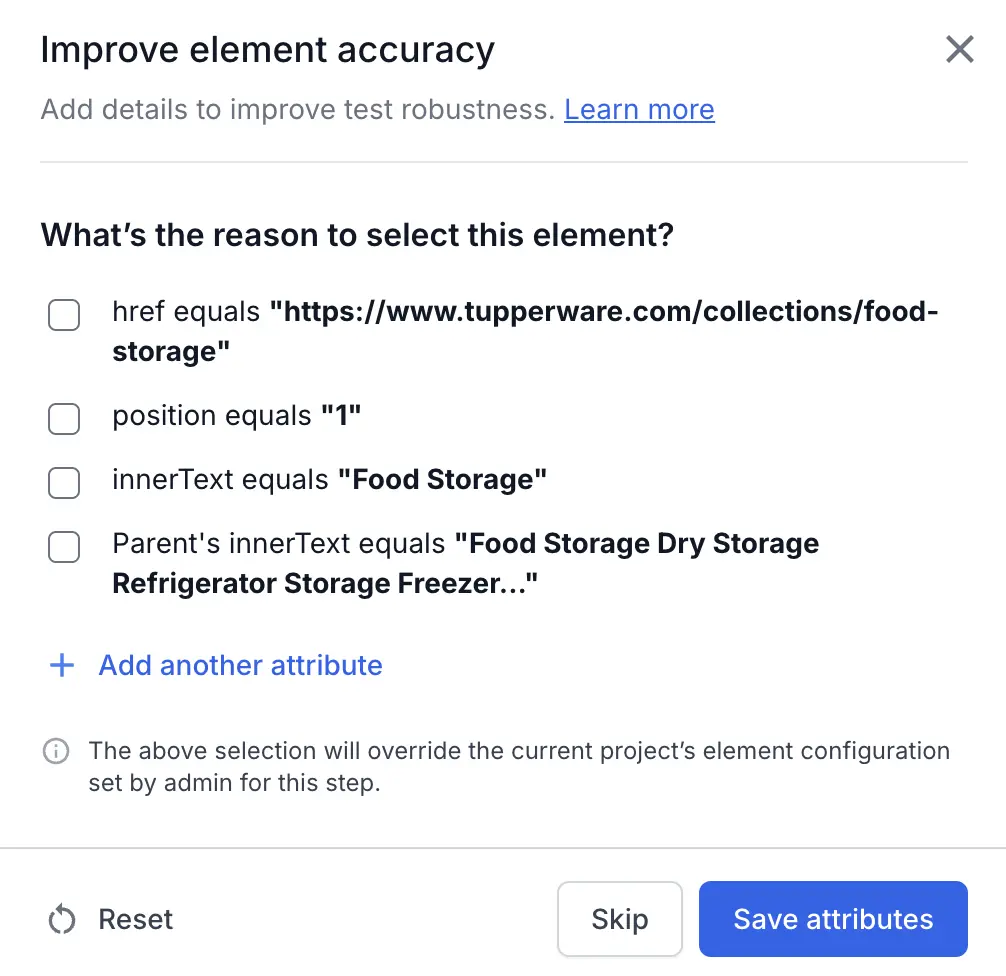
The Improve element accuracy window opens to help you refine your selection. -
In the Improve element accuracy window, the Confidence level indicator shows how reliably your criteria identify the element. With no reason selected, it is Low, and each matching element is highlighted on the page with a numbered yellow box.
-
Since you want the second product’s Try on button, select position equals “2”. Only the selected element stays highlighted, and the Confidence level changes to High, Unique element found. Keep refining reasons and attributes until the confidence level is High.
- Select one or more reasons that best identify the element. Low Code Automation intelligently considers factors like:
- The element’s visible text (innerText)
- The element’s position on the page
- The element’s parent text
- The element’s and parent’s attributes
-
In addition to the suggested reasons, you can add other attributes captured during recording. To add a custom attribute, click + Add another attribute. This improves the accuracy of the selection.
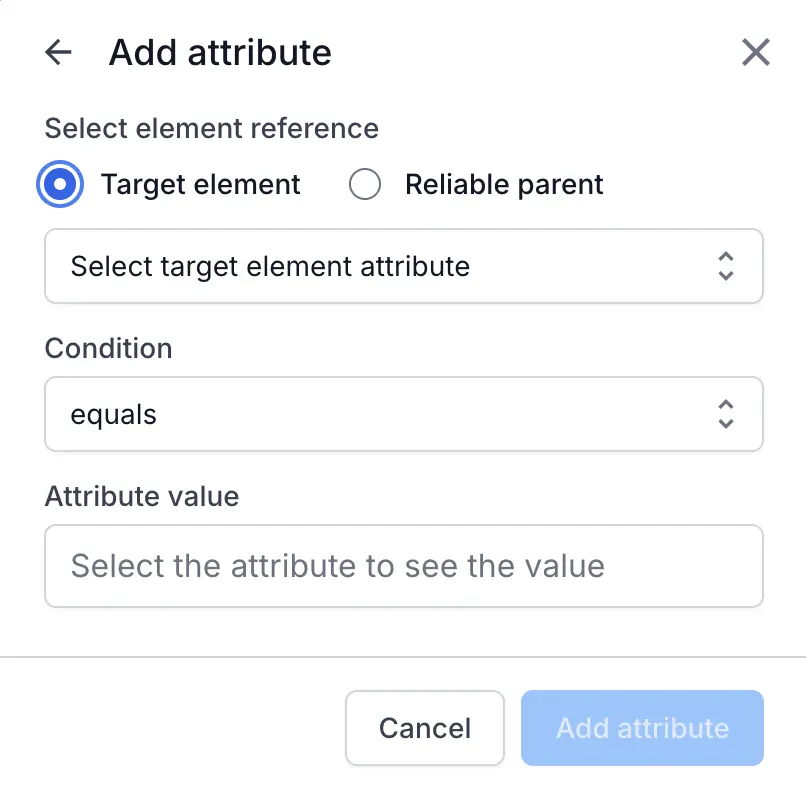
- In the Add attribute window, specify:
- Select element reference:
- Choose either Target element (the element you clicked) or Reliable parent (a stable parent element in the DOM that contains your target). Use Reliable parent if the target element does not have unique attributes, but its parent does.
-
Select attribute: The name of the HTML attribute used to identify the element, such as
id,class,data-id, oraria-label. Choose an attribute that clearly distinguishes the element from others on the page. -
Condition: The rule that determines how the attribute value is matched. Common options include
equals,contains,starts with, and more. - Attribute value: The specific value that the attribute should have based on the selected condition. This value is used to locate and accurately identify the element.
-
Click Add attribute to save the custom attribute.
- Click Save attributes to apply your selection criteria. The above selection will override the current project’s element configuration set by admin for this step.
In the following video, Low Code Automation accurately selects and clicks the button for the intended product.
All selected reasons and specified attributes are given equal priority when identifying an element. If Low Code Automation finds a match based on the specified reasons and attributes, it accurately selects the correct element during the test run. However, if no element matches the specified criteria, no element is selected, and an error appears during the test execution.
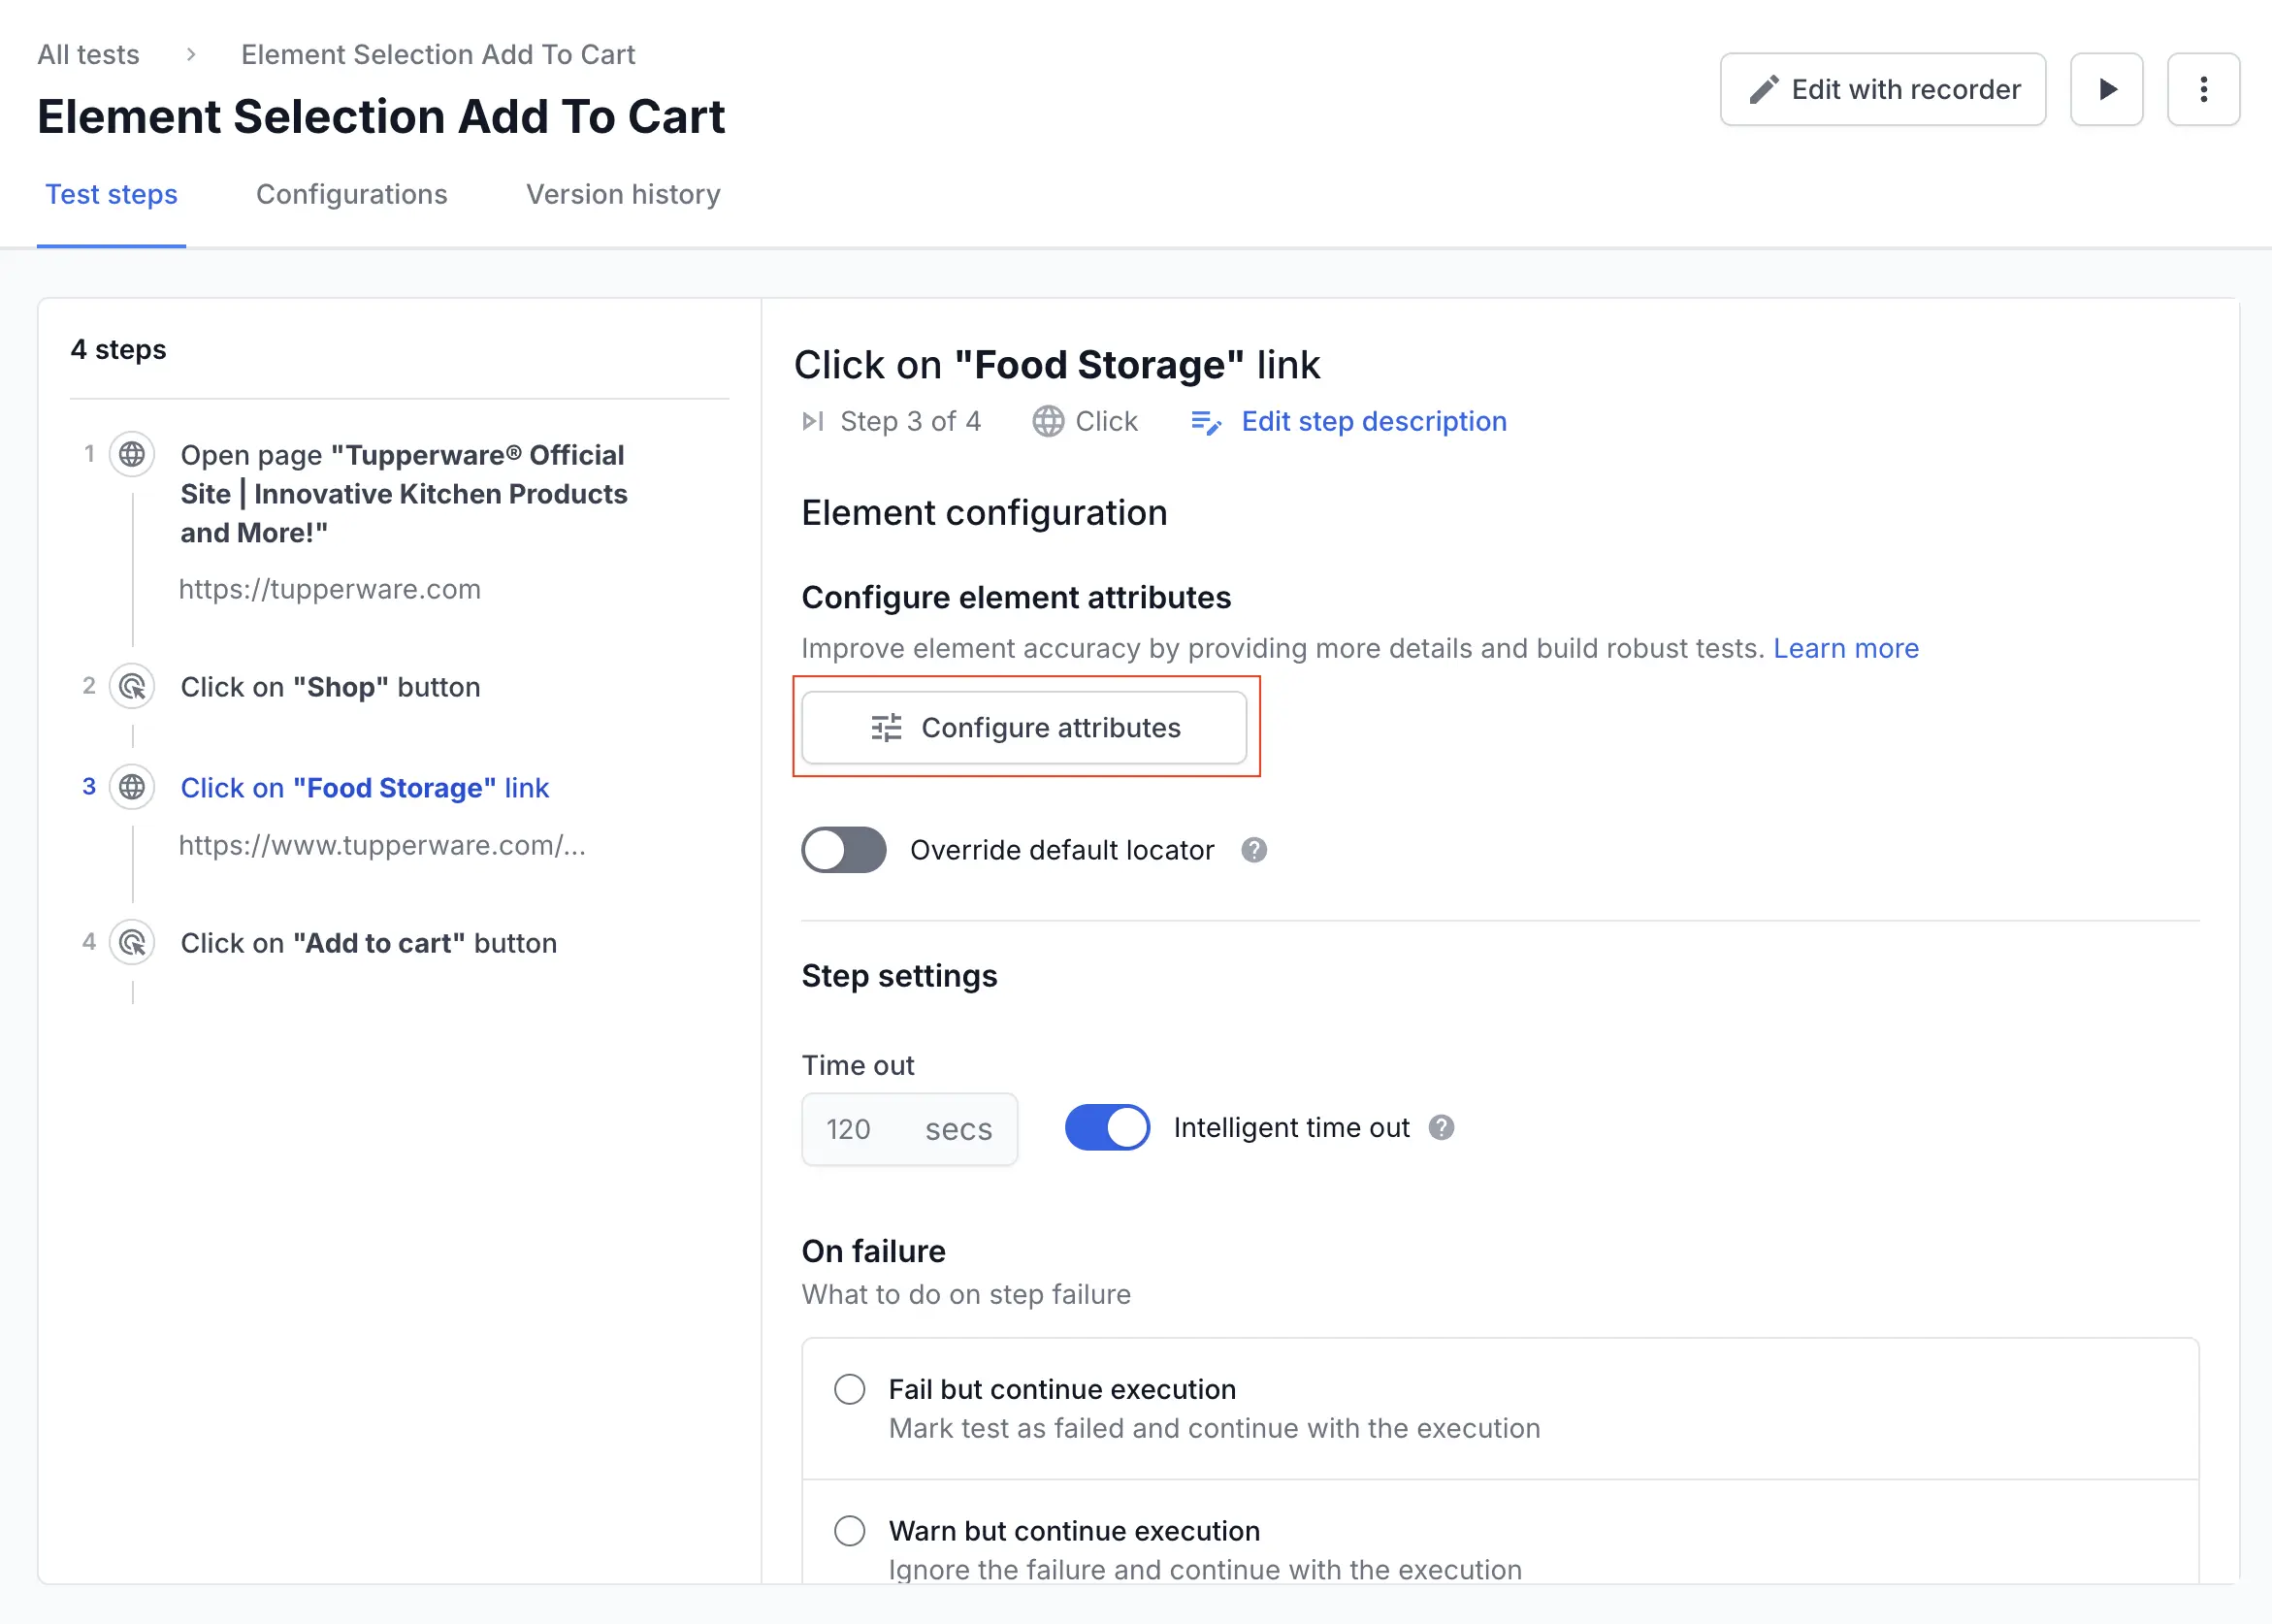
Configure element attributes for a step
You can configure attributes for any step of the test. Open the test, select the required step and click Configure attributes.
In the Improve element accuracy window, make the required changes and click Save attributes.
Configure reliable element attributes for your project
You can now run your tests more reliably by centrally managing which element attributes are considered reliable or unreliable for your application. For example, a class attribute across the application holds values like btn-primary _x9k23_gh7 active , where _x9k23_gh7 is a dynamically generated token that changes on each page load. This attribute can be marked as unreliable across the application so it is given lower priority during element identification.
To configure reliable element attributes at the project level:
- Go to Settings > Element attributes.
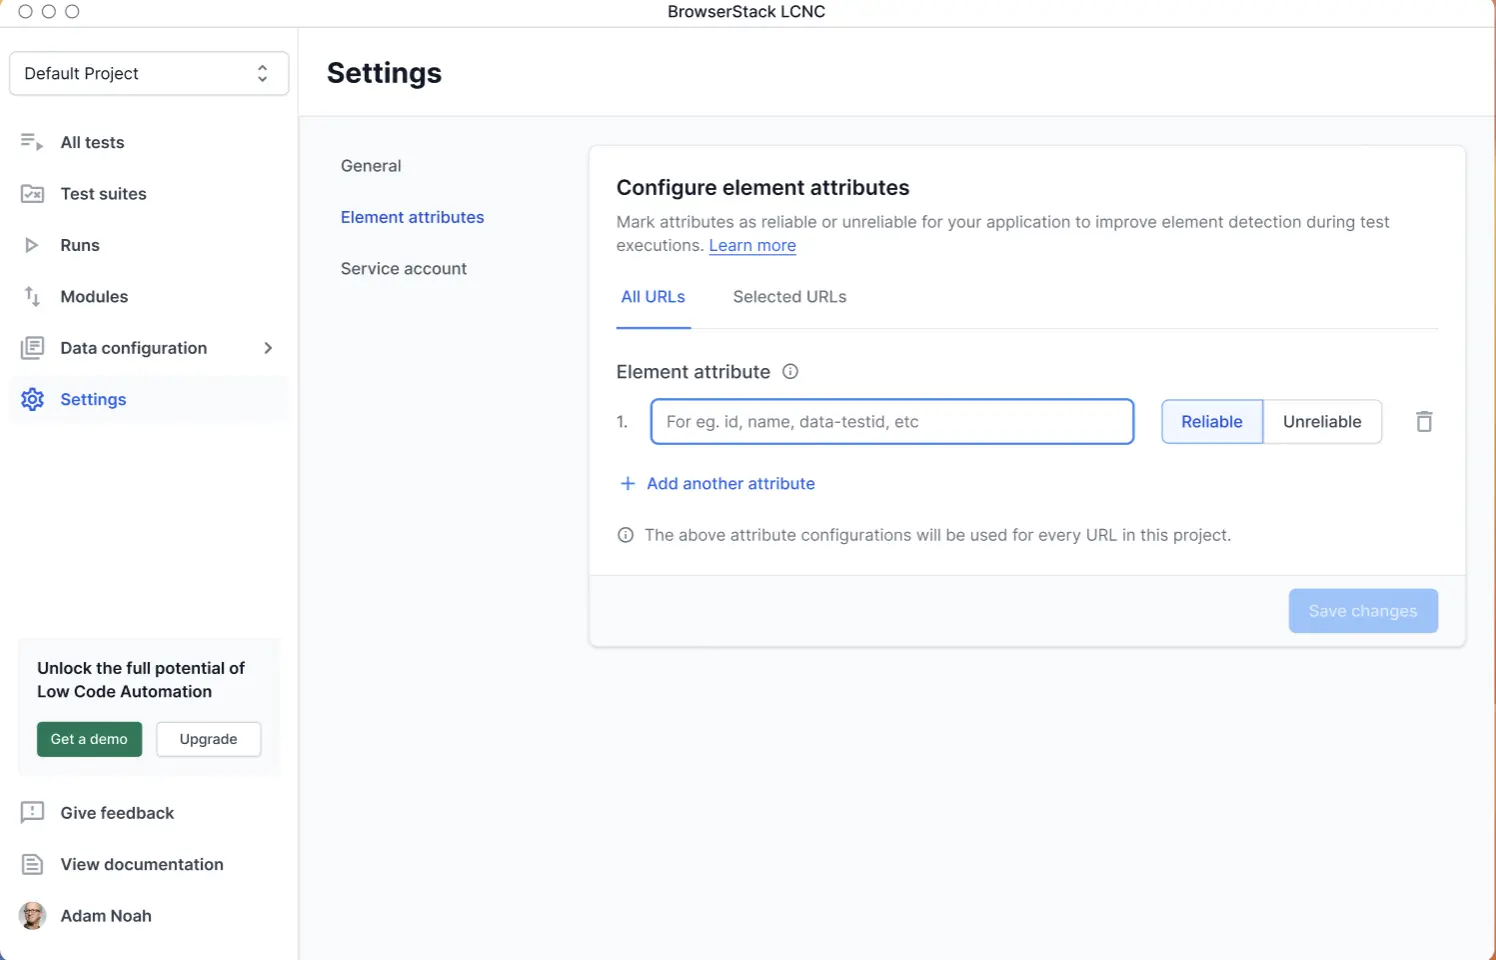
- Select one of the following tabs:
- All URLs: The configuration applies to all URLs where the test runs within the project by default.
- Selected URLs: The configuration applies only to the specified URLs.
- Enter the reliable/unreliable attributes for configuration:
-
Reliable: Attributes that are unique and meaningful, and which should be prioritized when identifying elements during test execution.
Example:
data-testidused consistently across the application to represent specific elements. -
Unreliable: Attributes that are dynamic or frequently change, making them less dependable for identifying elements.
Example:classvalues that are auto-generated or that change between sessions.
-
Reliable: Attributes that are unique and meaningful, and which should be prioritized when identifying elements during test execution.
Example:
- If you have selected the Selected URLs tab, enter the URLs these rules apply to, and then repeat Step 3.
-
Specific URLs: Exact domain addresses where the configuration should be applied. For example,
https://www.browserstack.comorhttps://staging.example.com. -
Wildcard URLs: Use wildcard URL patterns to apply the configuration to multiple subdomains or similar URL structures. For example,
https://*.example.com.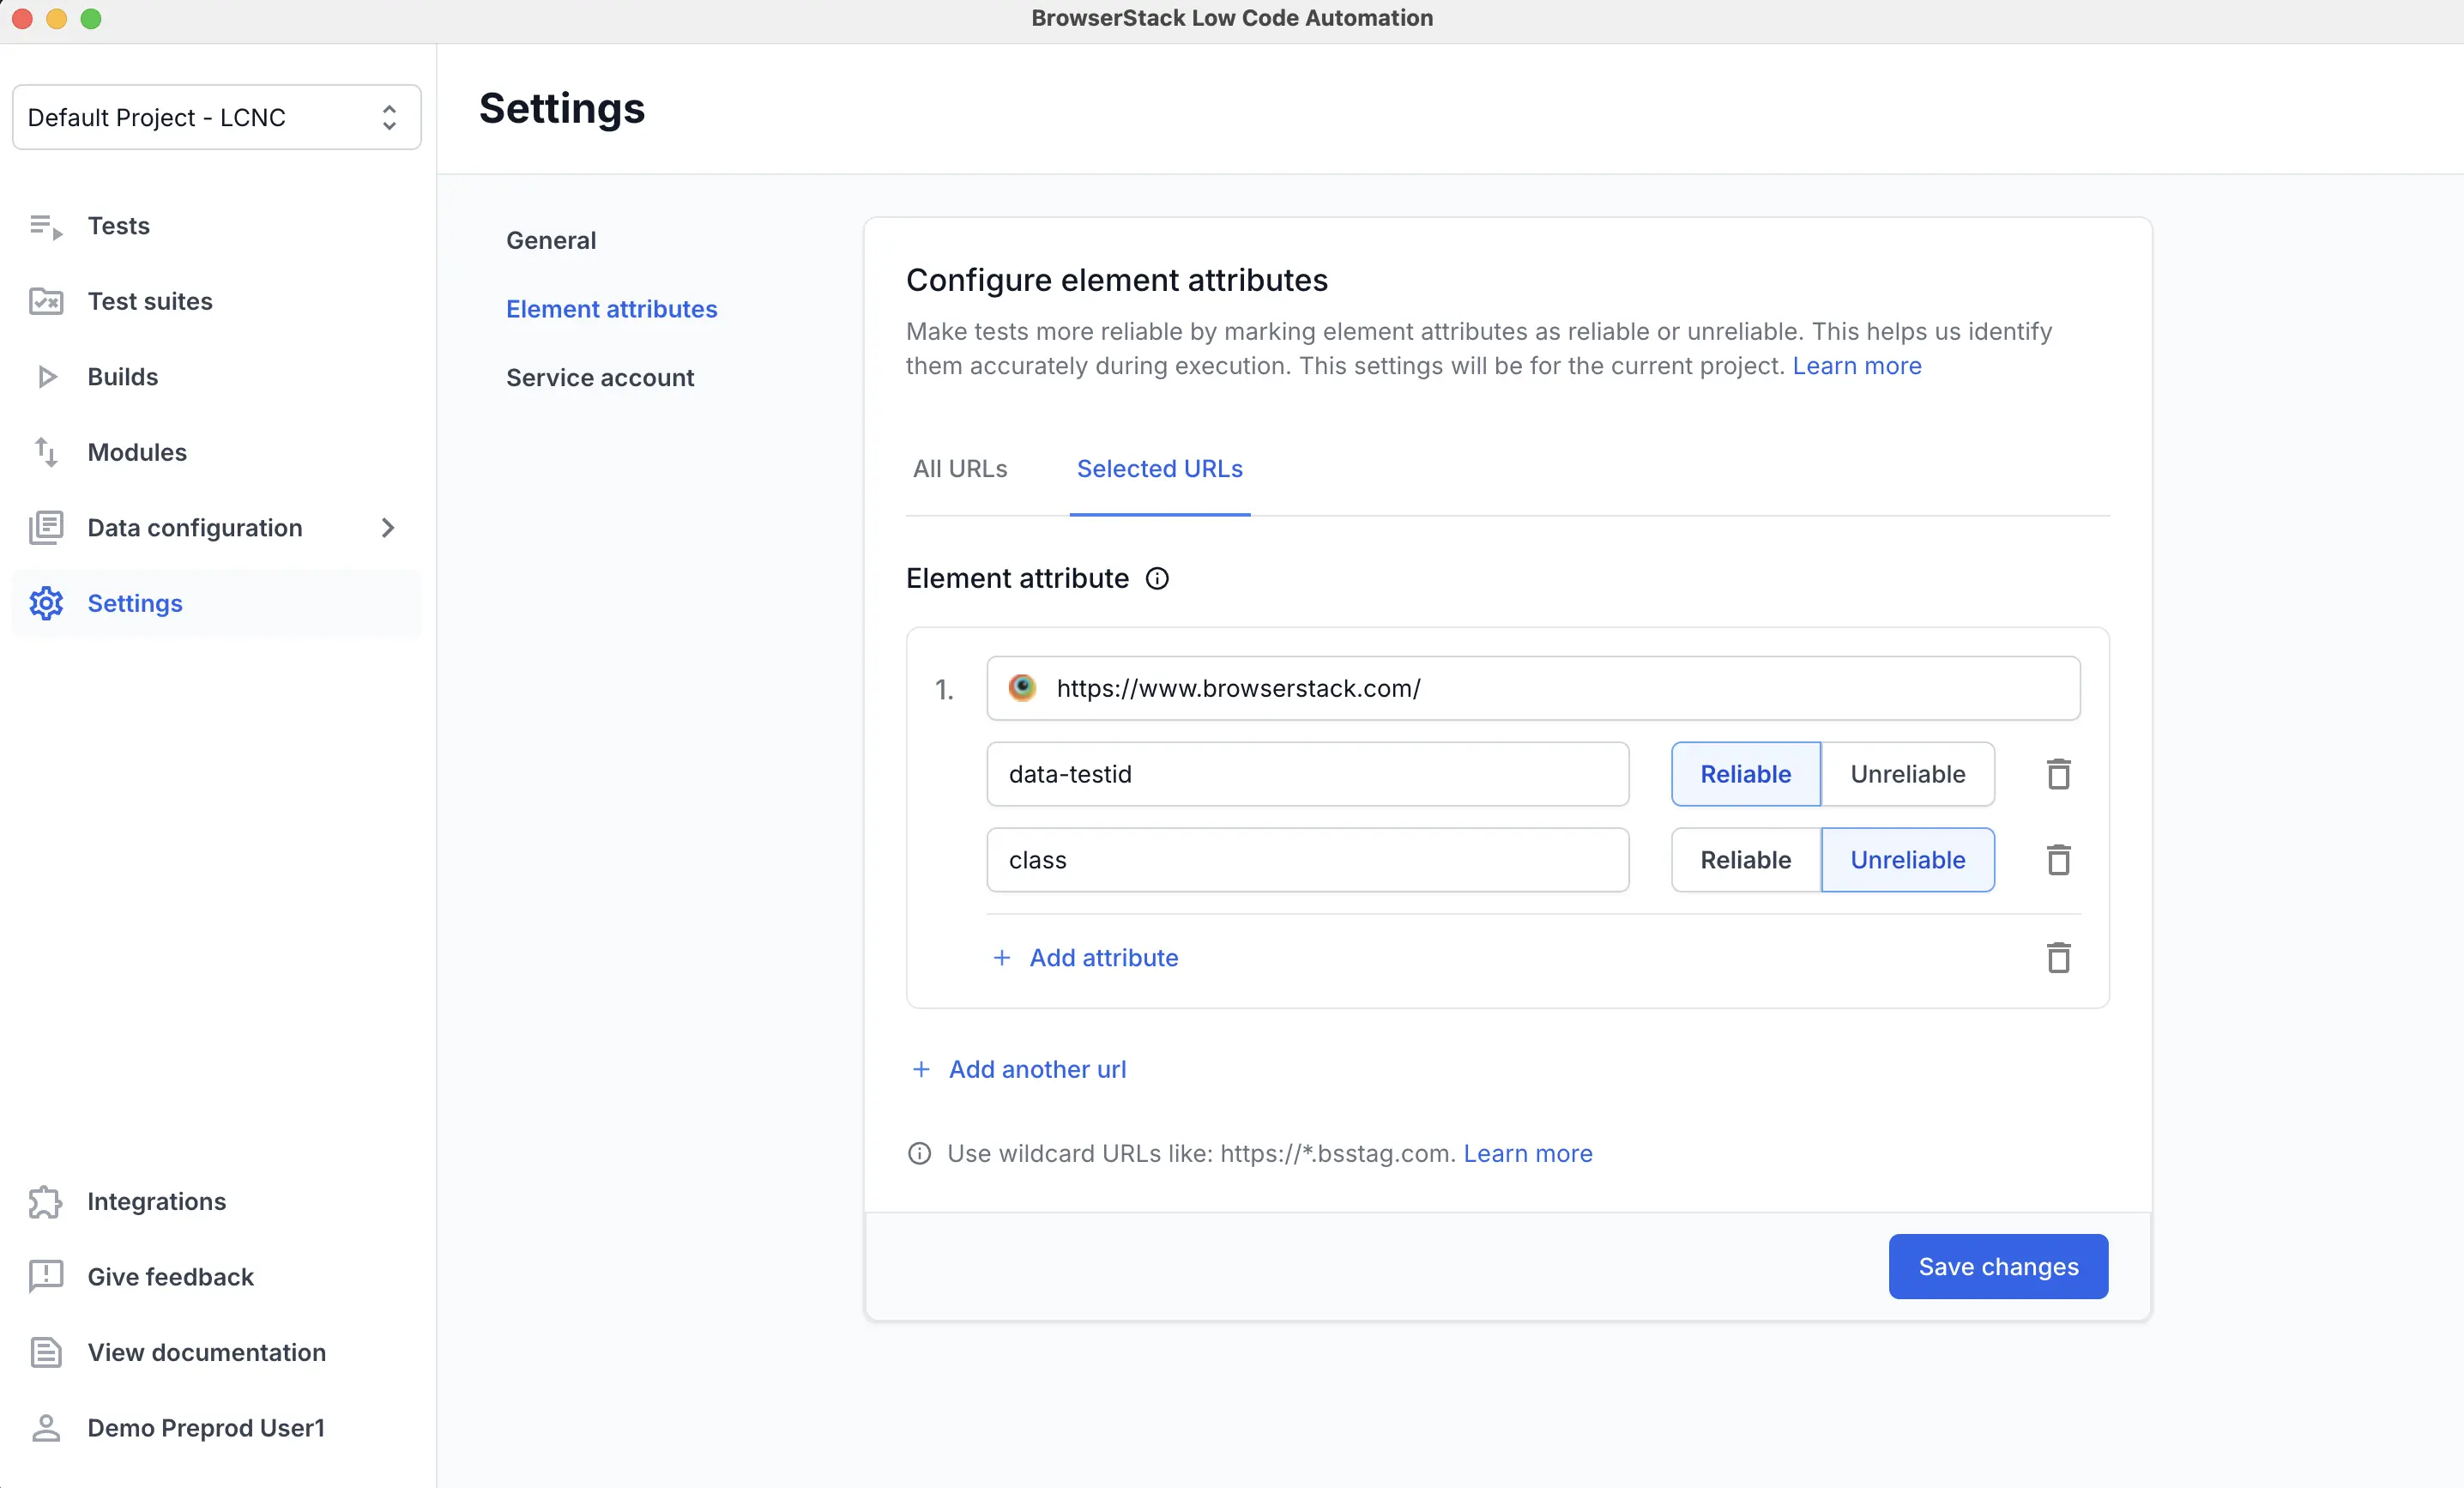
-
Specific URLs: Exact domain addresses where the configuration should be applied. For example,
- Click Save changes.
- Only Admins and Owners can configure element attributes at a project level.
- If a test step has user-configured attributes, those settings take precedence and override the project-level configurations for that step’s execution.
We're sorry to hear that. Please share your feedback so we can do better
Contact our Support team for immediate help while we work on improving our docs.
We're continuously improving our docs. We'd love to know what you liked
We're sorry to hear that. Please share your feedback so we can do better
Contact our Support team for immediate help while we work on improving our docs.
We're continuously improving our docs. We'd love to know what you liked
Thank you for your valuable feedback!