Install and configure the BrowserStack Test Management for Jira
Use this guide to quickly install and configure the BrowserStack Test Management for Jira.
This guide walks you through installing the BrowserStack Test Management for Jira and enabling it for your team’ s Jira projects. The entire process, from installation to configuration, is managed within your Jira instance.
Prerequisite
- Jira Administrator permissions: Only Jira Admins can install Atlassian Marketplace apps and configure them for projects.
Install the app from the Atlassian Marketplace
Follow these steps to add the BrowserStack Test Management for Jira app:
- Navigate to the BrowserStack Test Management for Jira app listing in the Atlassian Marketplace.
- Click Get it now to begin the installation.
- Follow the on-screen prompts to select your Jira site and confirm the installation.
Automatic user configuration
After the installation is complete:
- In the background, the app uses your Jira account email to create a user and group in BrowserStack Test Management or links to your existing one. This process is seamless and requires no manual action.
- After a successful setup, you will see a confirmation message.
In the rare event that the app cannot configure your account (e.g., due to permission issues), an error banner will appear with instructions to contact our support team. Key features will be disabled until the issue is resolved.
Enable the app for Jira projects
After the initial setup, you must enable the app for the specific Jira projects where your teams will manage their testing activities.
- From your Jira sidebar, navigate to Apps > Manage your apps.
- Locate BrowserStack Test Management for Jira in the list and click the Configure Projects tab.
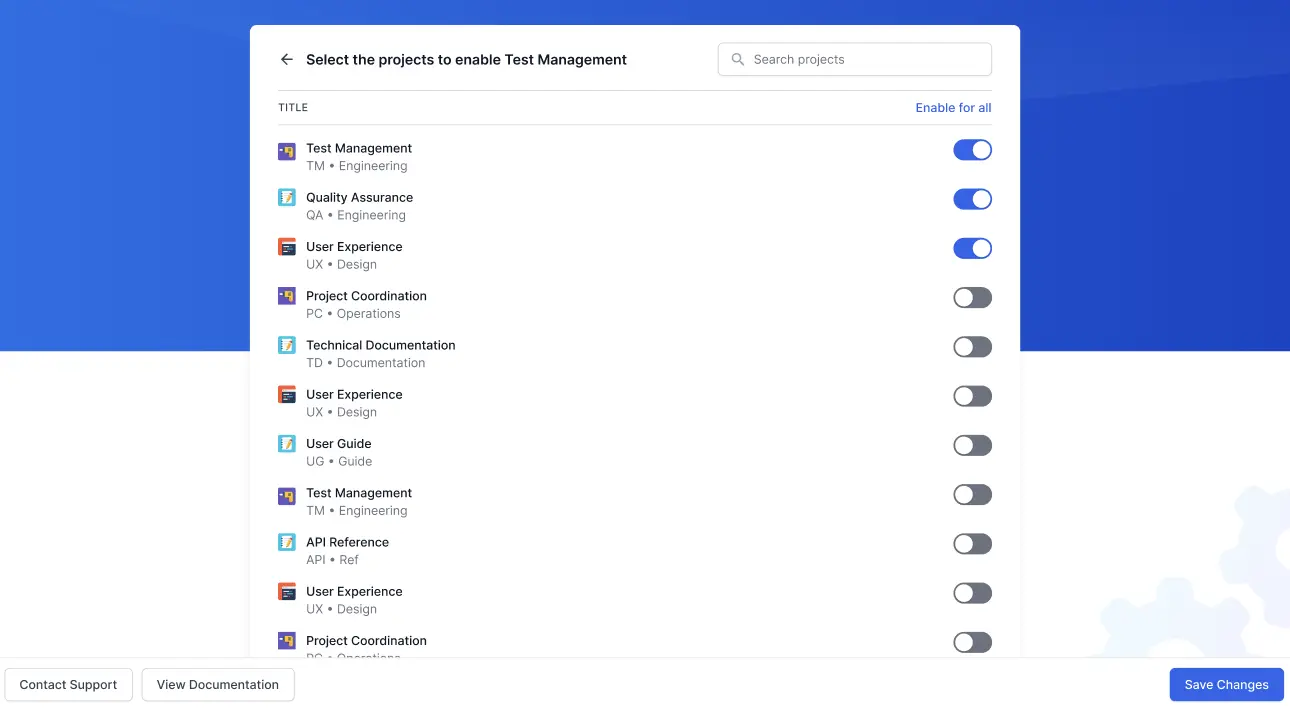
- In the Select the projects to enable Test Management window, switch on the toggle for the Jira project you want to enable.
- Select Save Changes.
Only Jira Administrators can enable the app for projects.
By enabling the app for a project, you make the following available to all users with access to that project:
- BrowserStack Project Panel: A new BrowserStack tab will appear. This is the central hub for all test management activities, including the test case repository, test plans, and reports.
- Issue View Panel: Users will be able to view, link, and create test cases directly from the Jira issue view.
Your teams can now begin managing their entire testing lifecycle without leaving Jira.
We're sorry to hear that. Please share your feedback so we can do better
Contact our Support team for immediate help while we work on improving our docs.
We're continuously improving our docs. We'd love to know what you liked
We're sorry to hear that. Please share your feedback so we can do better
Contact our Support team for immediate help while we work on improving our docs.
We're continuously improving our docs. We'd love to know what you liked
Thank you for your valuable feedback!