BrowserStack Integration app for Jira
Discover how the BrowserStack Integration for Jira app seamlessly integrates Test Management within your Jira workflow.
BrowserStack Integration for Jira app integrates directly with Jira. It extends Jira’s capabilities to Test management. This allows you to create, manage, and track test cases and test runs and add test results within the Jira environment.
This integration helps streamline your testing process and ensures better issue tracking and test case management from within your Jira environment as you would from Test Management. The setup steps differ slightly depending on whether you use Jira Cloud or a self-hosted Jira Data Center instance.
Integrate BrowserStack Integration for Jira app with Test Management
Depending on your Jira instance type choose the appropriate procedure for either:
- Jira on cloud: For Jira instances hosted on the cloud.
- Jira self-hosted: For Jira instances hosted on your own servers.
Integrate the Jira app for cloud
Follow these steps to install and configure the Jira app:
-
From the top navigation bar in your application, choose Add-ons or Manage apps.
-
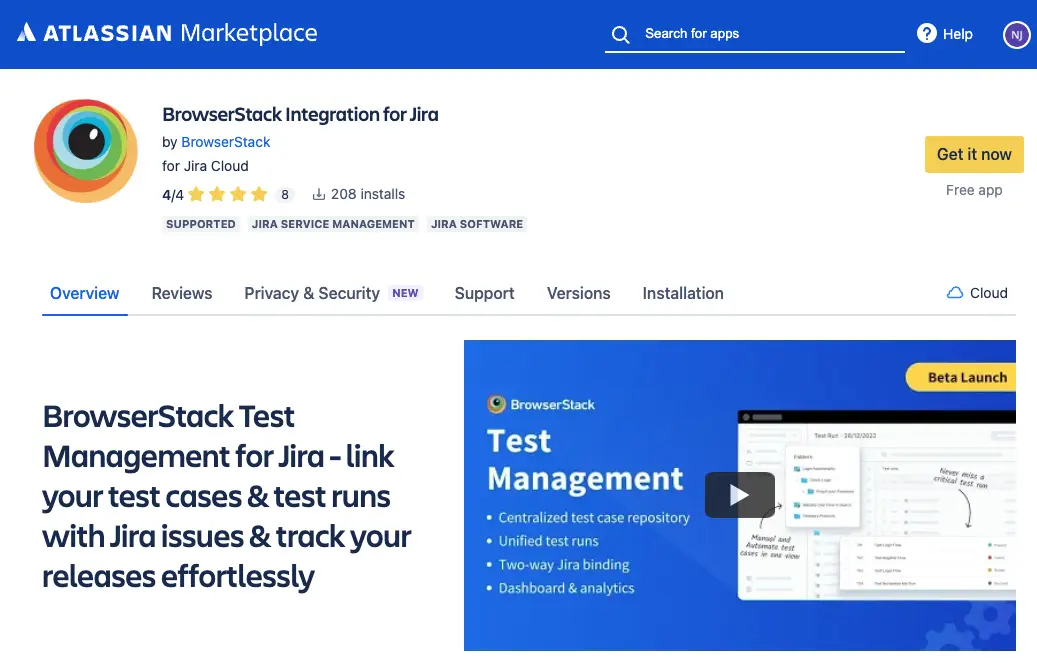
On the BrowserStack Integration for Jira app page, click Get it now.
- After installation, navigate to Manage apps under Apps in your Jira project.
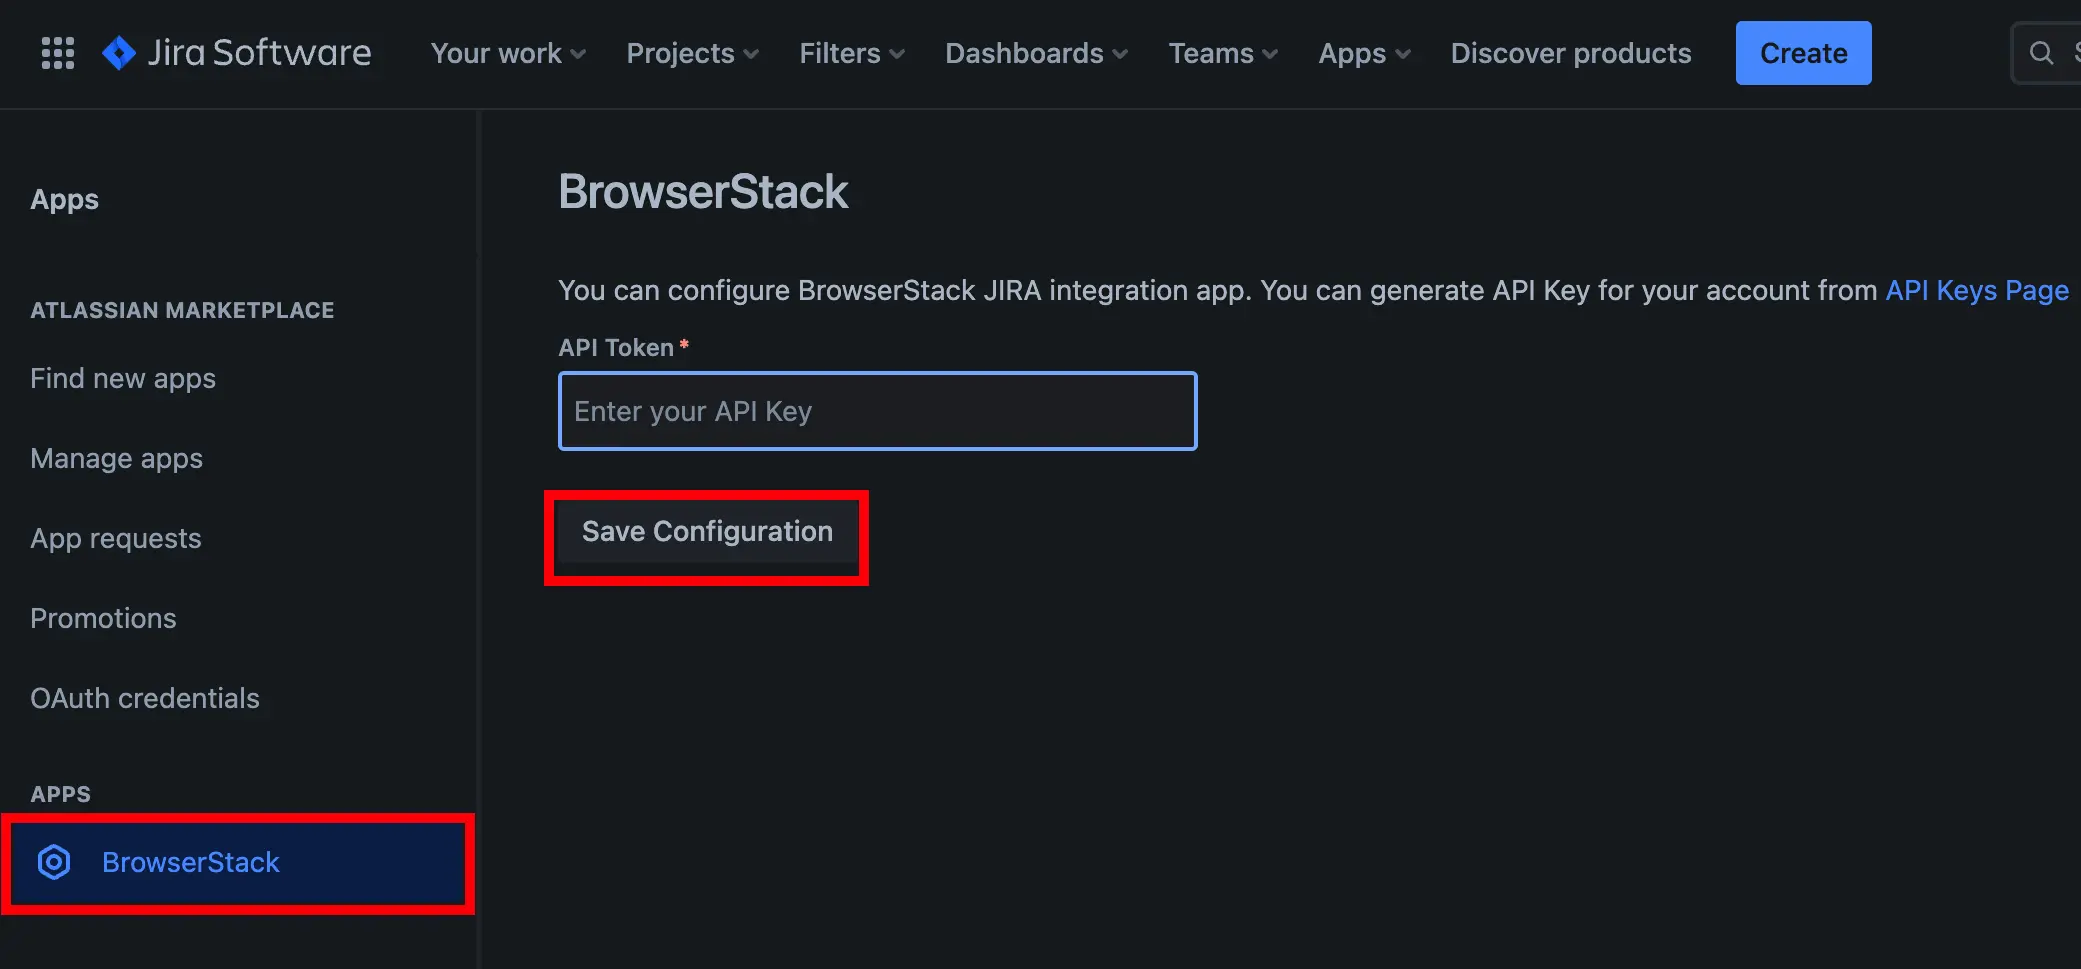
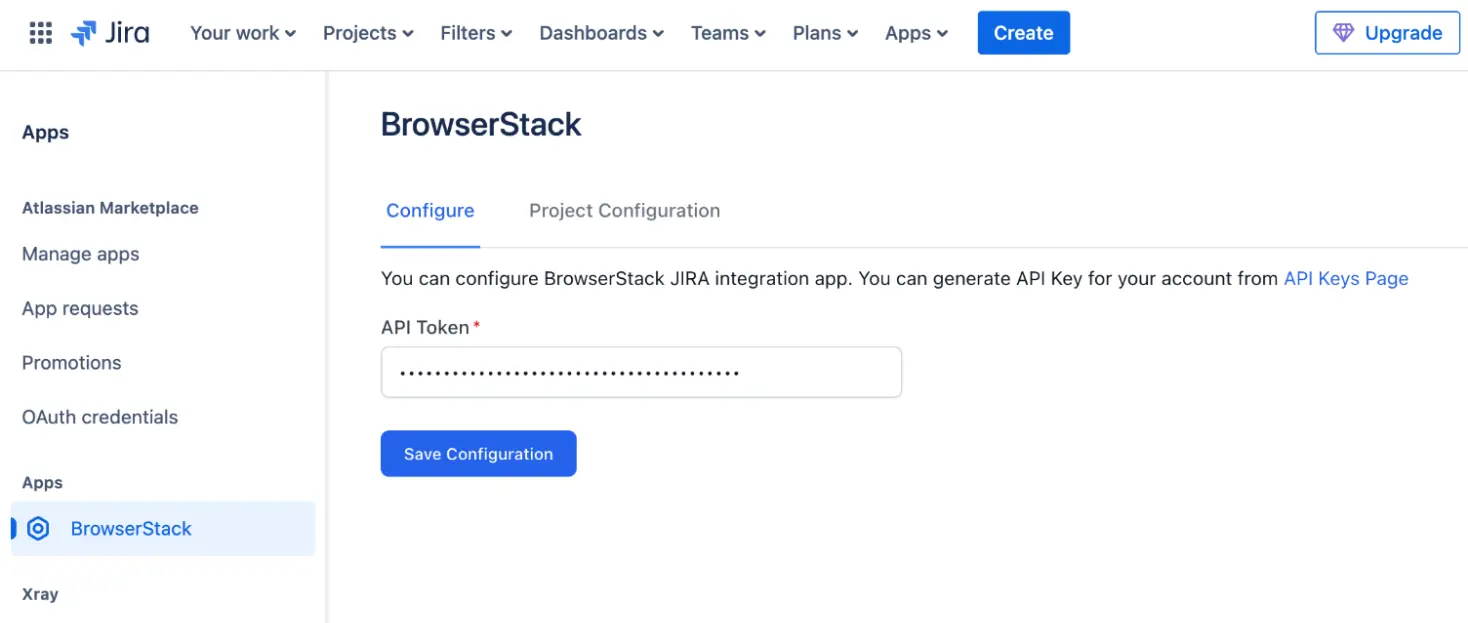
- Click BrowserStack in the left panel under Apps.
-
Enter the BrowserStack API key (from the Settings page in Test Management) in the API Token field and click Save Configuration.
- From the top navigation bar, choose your project from the drop-down menu.
-
In the project, open a Jira Issue and click BrowserStack app in the issue.
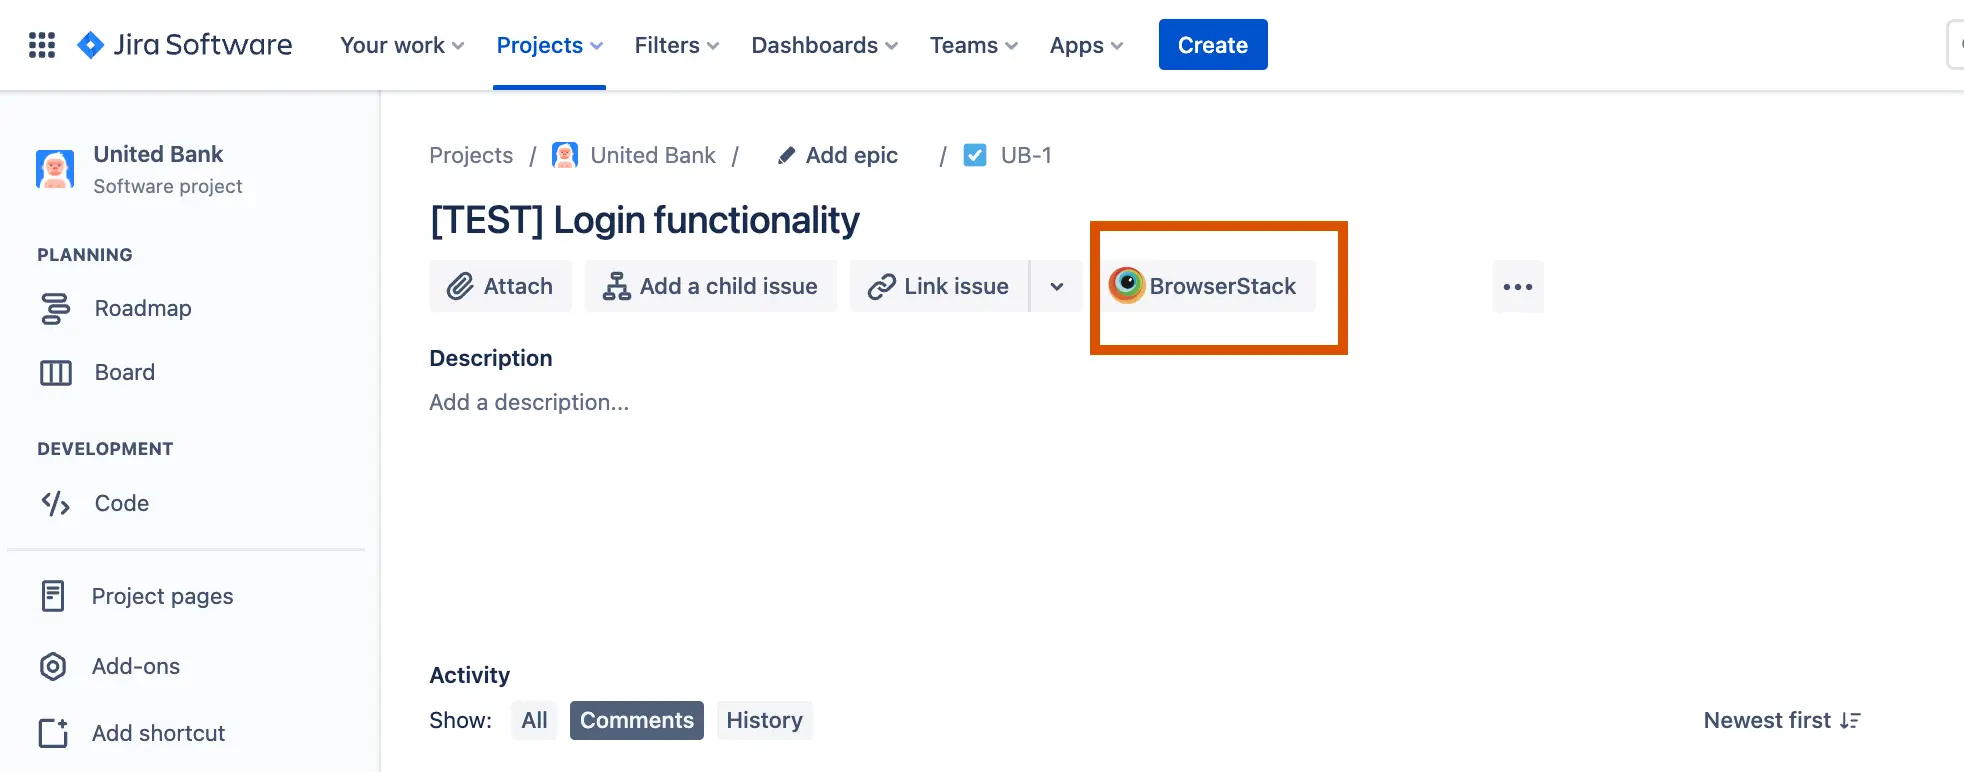
- If any issues are linked to Test Cases or Test Runs in Test Management, you will see a list of them.
You have successfully installed the BrowserStack Integration app for Jira. Now, you can link and manage test cases directly in your Jira issues, streamlining your workflow.
- After you uninstall the app, the data is stored in JIRA for 30 days per the Atlassian policy.
- Developers or admin of the environment does not have access to alter this value.
Integrate the Jira app for self-hosted instance
This integration requires uploading a Test Management plugin (.jar file) to your Jira self-hosted instance.
Prerequisites
You need the following before you start the integration process:
- Jira Administrator Access.
- Test Management Plugin (
.jarfile). Download our.jarfile from Atlassian Marketplace. - Test Management API Key.
Follow these steps to install and configure the Jira app:
Upload the plugin
- Log in to Jira Data Center as an Administrator.
-
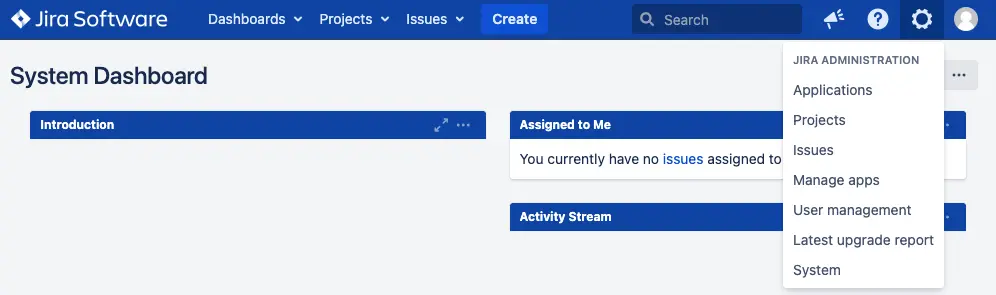
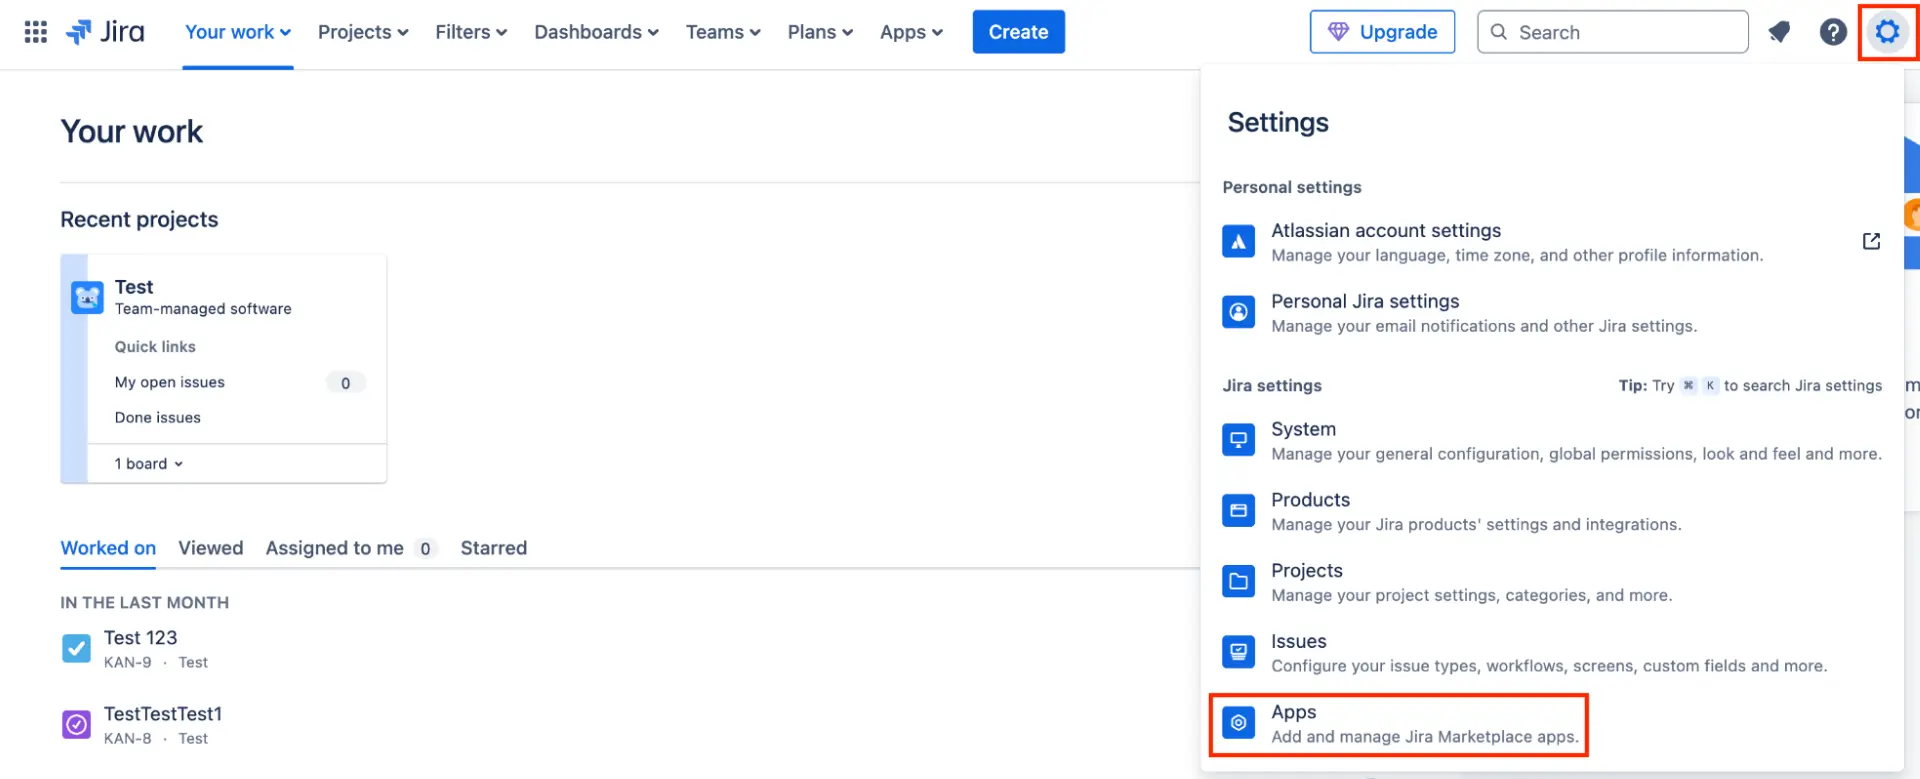
In the top-right corner of the Jira page, click the settings icon and select Manage Apps.
-
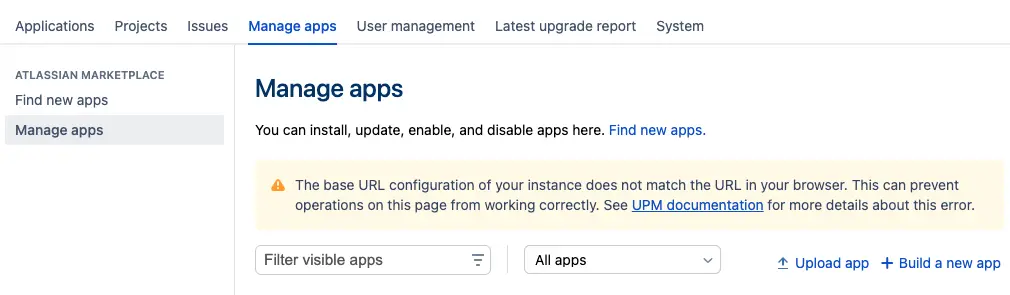
In the top navigation bar of the Manage Apps page, click Upload app.
-
Click Choose File and select the
.jarfile you have downloaded.
- Click Upload to install the plugin.
Enable and configure the plugin
- Once the upload is complete, locate BrowserStack Test Management under the User-installed apps section.
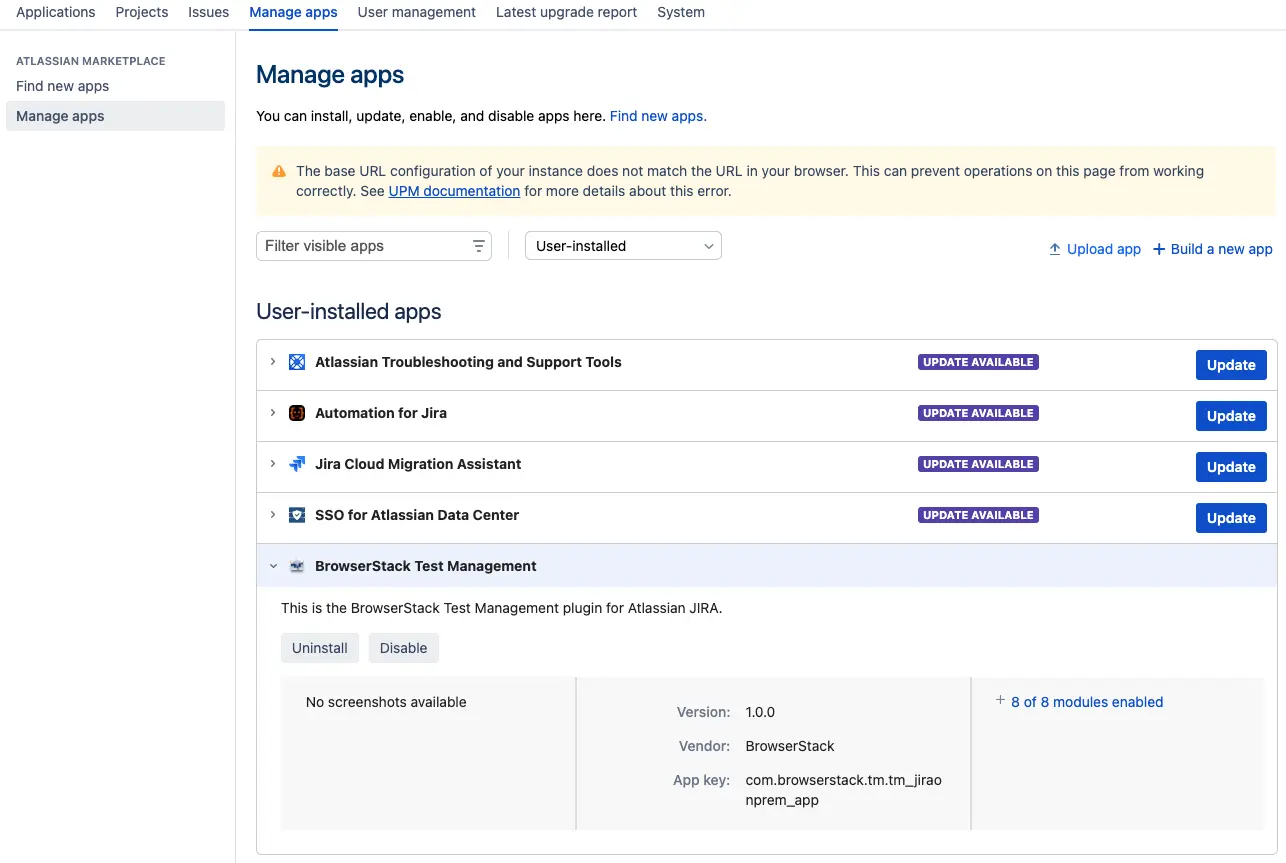
- If it is listed as disabled, click Enable under the BrowserStack Test Management app. Refresh the page after enabling the plugin.
- Locate BrowserStack Test Management in the left sidebar, then click Configure.
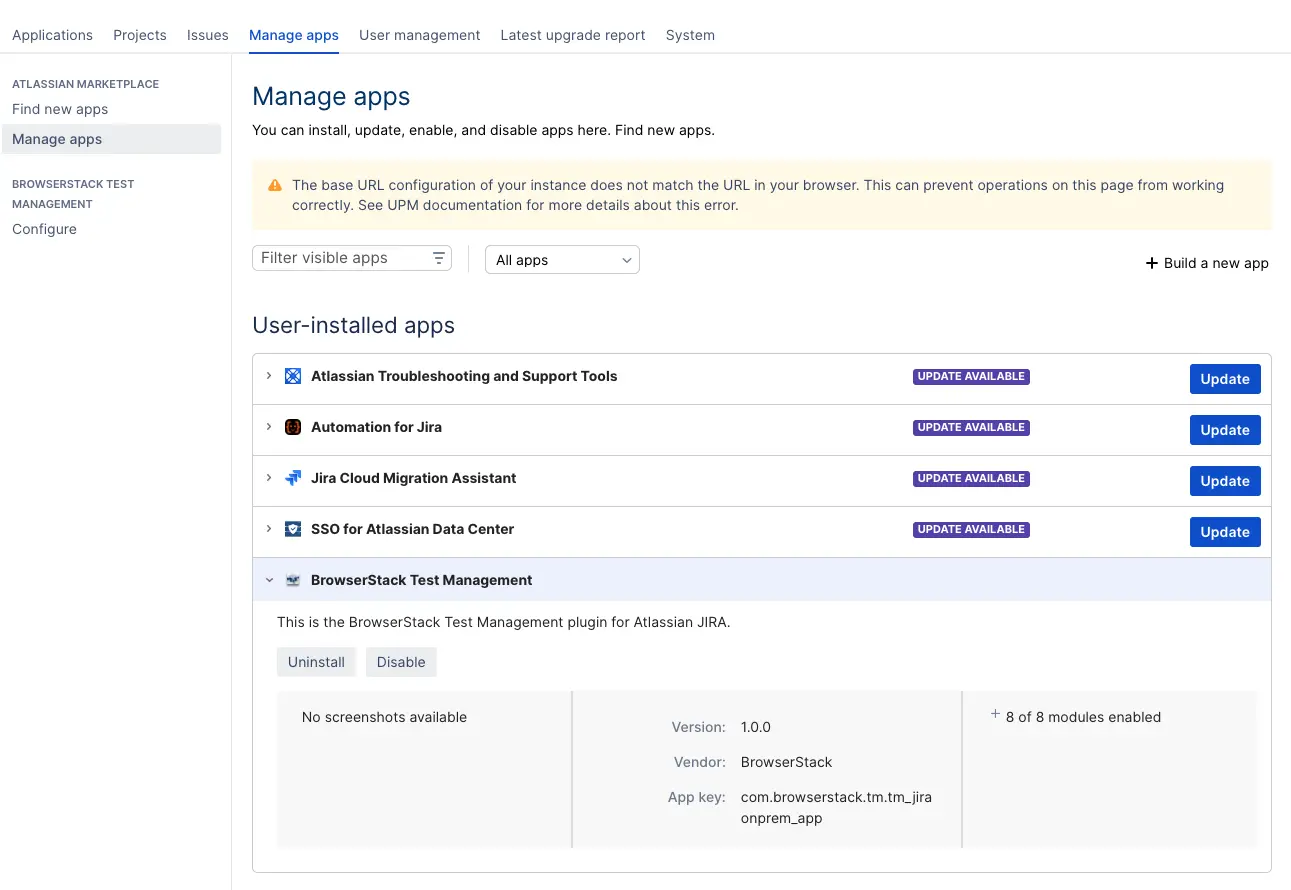 If you do not see it, refresh the page.
 -
On the configuration page, enter the API Key obtained from your Test Management API Settings.

- Click Save Configuration to confirm changes.
A message “API Token Successfully Saved” appears confirming your configuration is complete.
Verify installation
- In a project, open any existing issue within your Jira project.
- Confirm that the Test Management panel or related functionality appears within the issue view.
Your Jira self-hosted instance should now be successfully integrated with Test Management.
Track test cases, test runs and test from Jira
Track test cases and test runs from the associated Jira issues. You can also change the status and check the progress of test runs and test cases from your Jira issue.
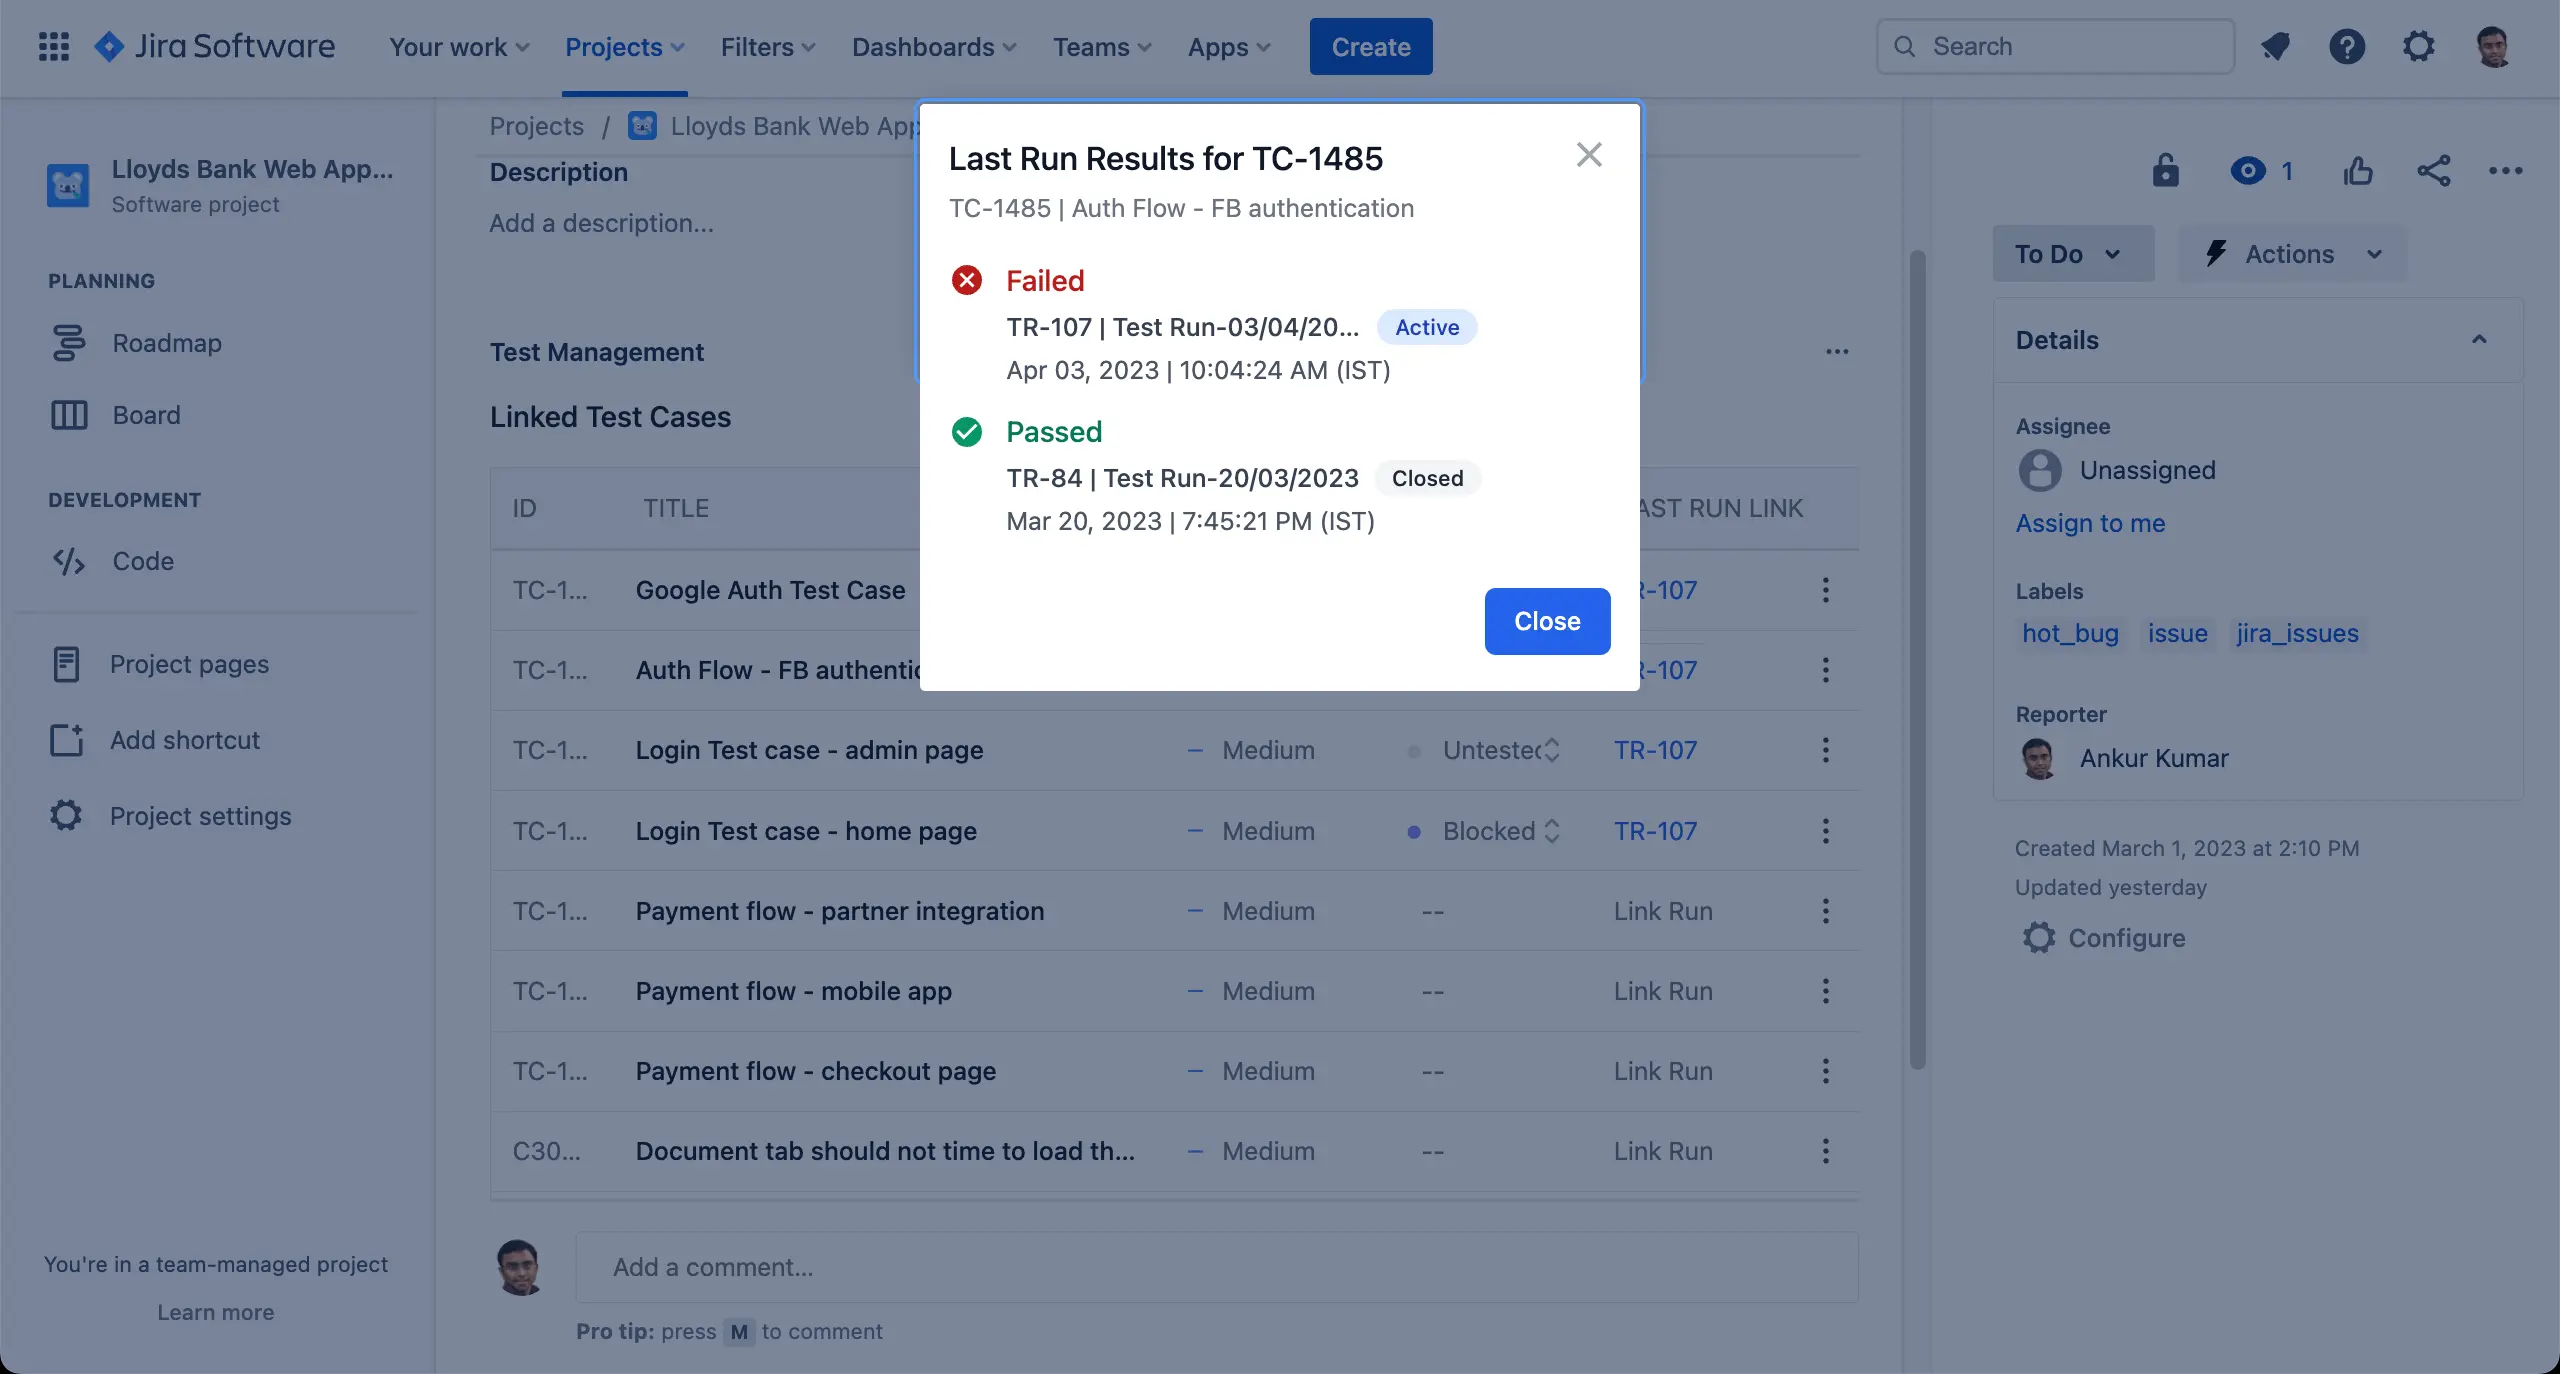
Track test cases from Jira
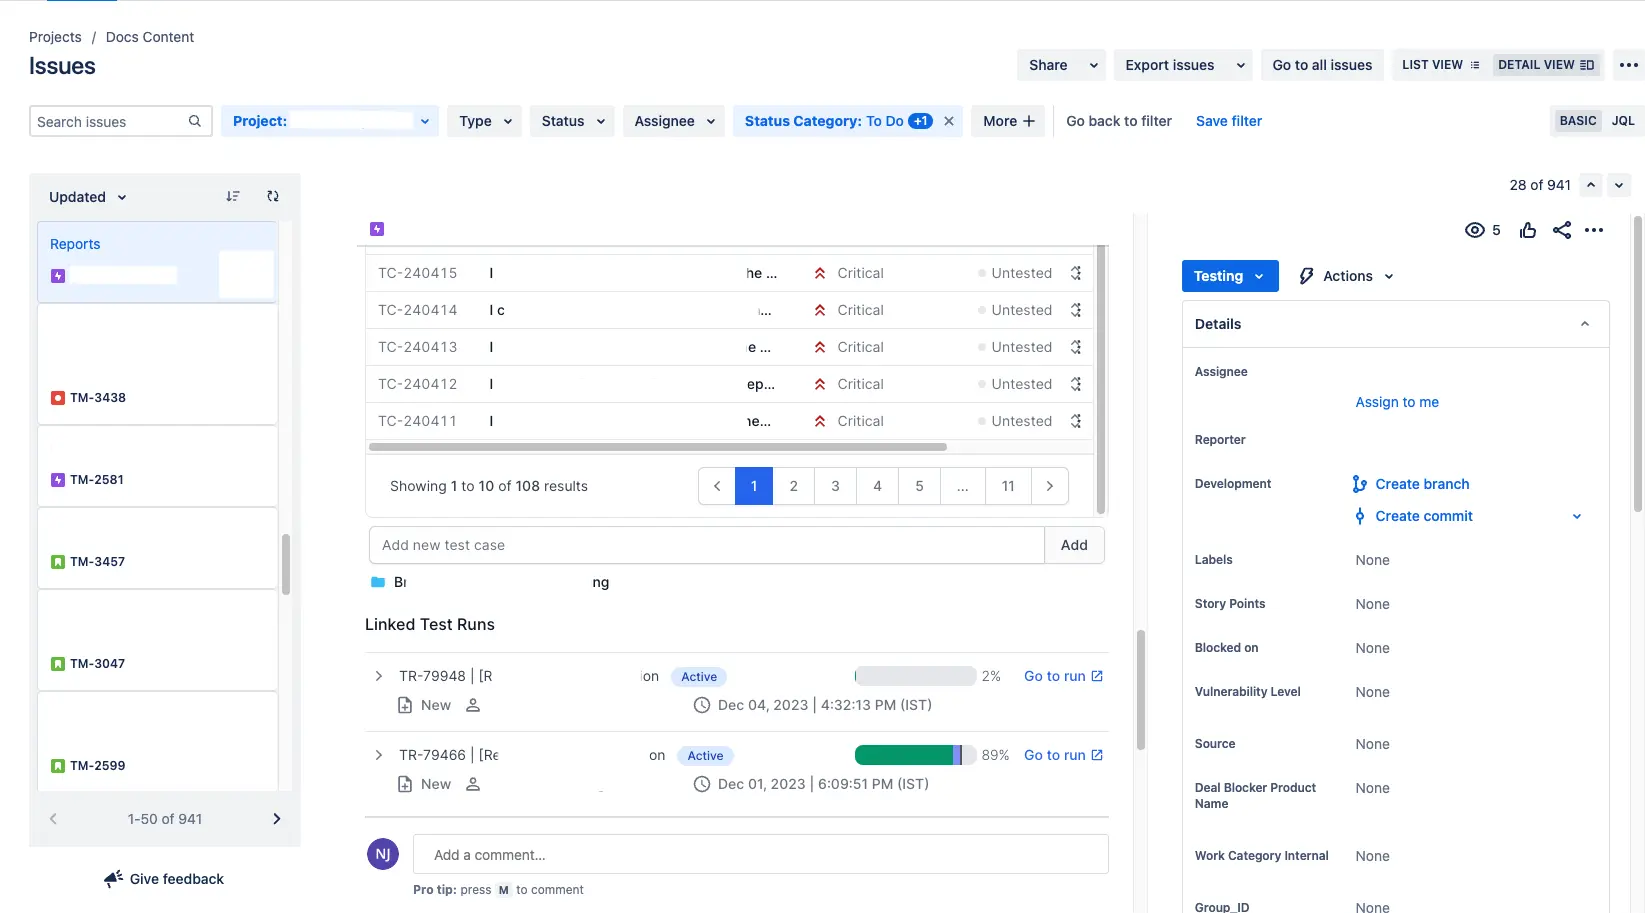
In a Jira issue you can view the list of all linked test cases with that Jira issue.

You can also access the following information:
- Test case ID and Test case title: Click to open the test case details page in Test Management.
- Priority: View the priority assigned to the test case.
- Last run result: View the latest test case result.
- Last run link: If the test case is part of at least one test run, this links to the latest executed test run.
If the test case is not part of any test run, click Link Run to create a test run in Test Management.
Track test runs from Jira
You can view the list of all Jira issues that are linked with test runs.
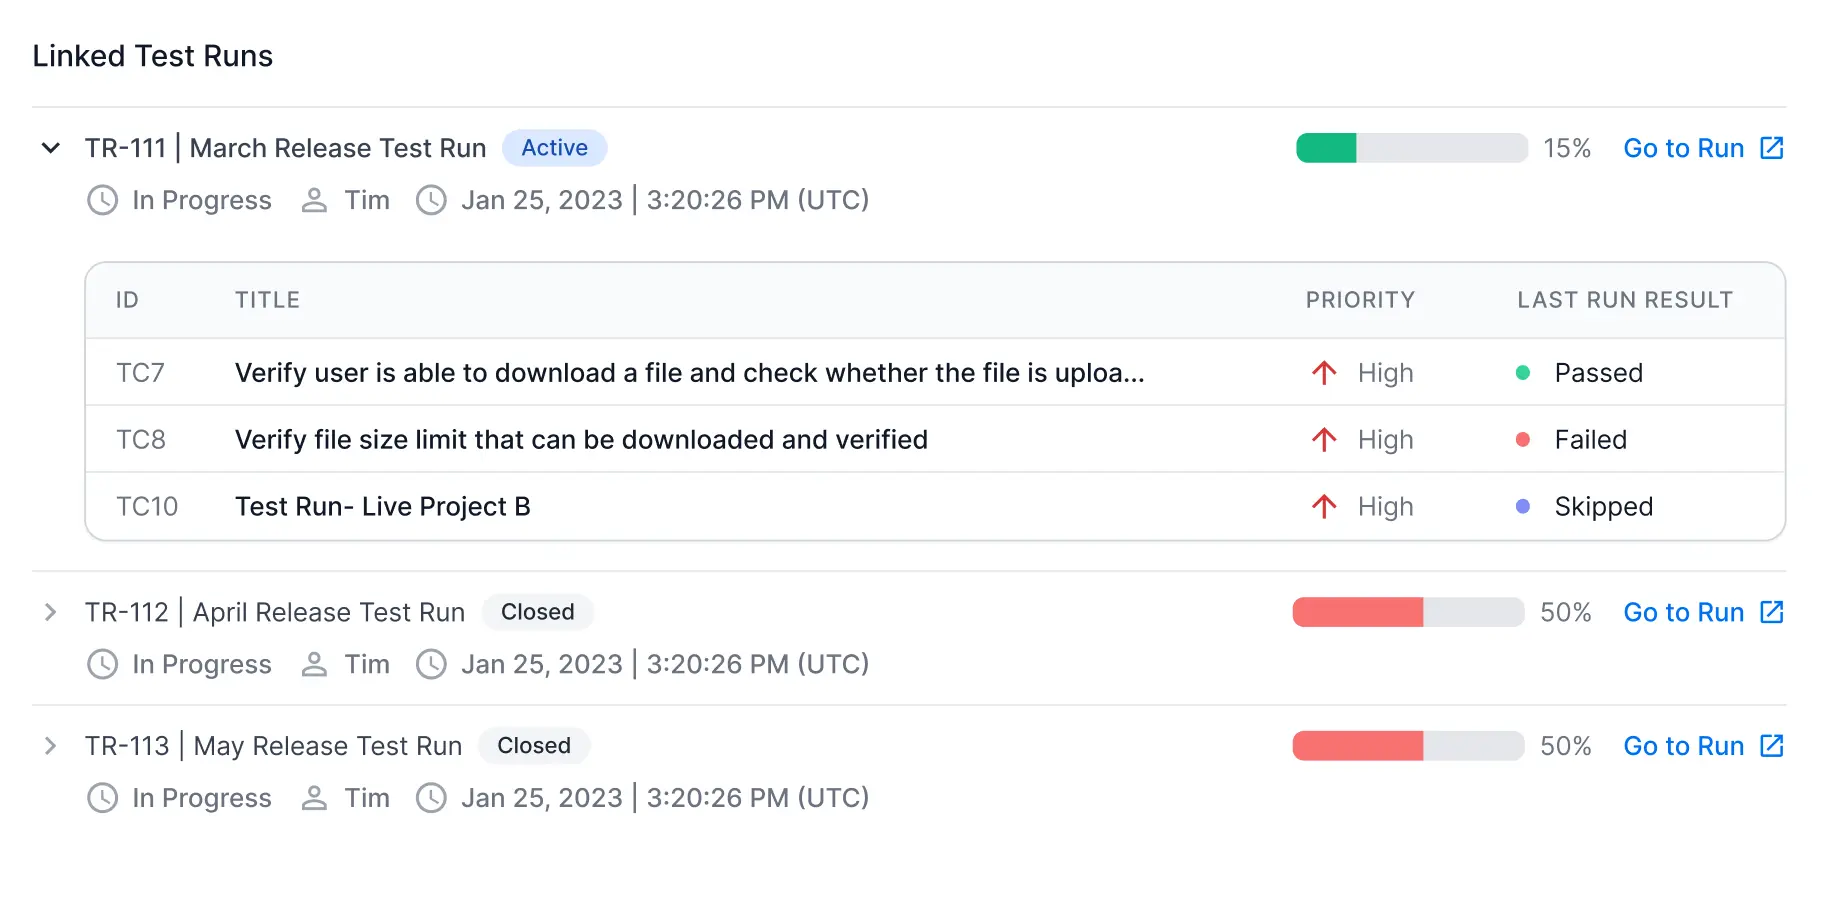
You can expand and check each test run linked with a Jira issue. Each linked test run shows the overall progress of the test run in different colors, status, the time stamp of the test run, and the user or the owner of the test run. You can also see the attached test case details such as ID, TITLE, PRIORITY, and LAST RUN RESULT.
Click Go to Run to check that particular test run in the Test Management.
Track test results from Jira
You can view the list of all Jira issues that are linked with test results.
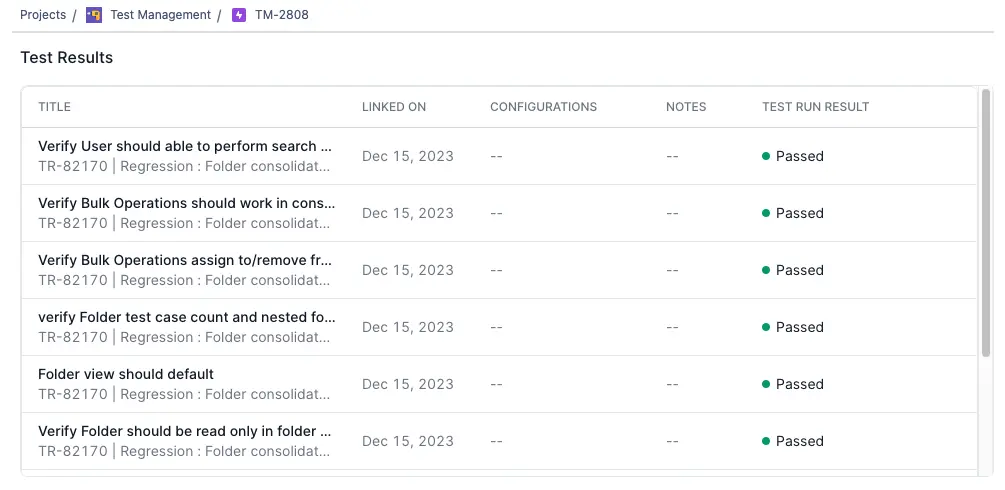
You can expand and check each test result linked with a Jira issue. Each linked test result shows the overall progress of the test result along with the time stamp of the test result. You can also see the details such as Configurations, TITLE, and Notes.
Project-level configuration for Jira app
Configure project-level access for the BrowserStack Jira app to manage data security and enhance user productivity effectively. By default, the BrowserStack app is enabled across all Jira projects. However, Jira project administrators have the flexibility to disable the app selectively for projects that do not involve test collaboration or where there are specific data access security concerns. Administrators can adjust settings only for the projects they manage, ensuring targeted control without impacting global settings or other unrelated projects.
Prerequisites
Before setting up project-level configurations:
- Ensure the BrowserStack app is installed at the global level and is functioning correctly.
- You must be a Jira Administrator with sufficient permissions to configure project settings.
- You must have access to the specific Jira project where you want to set up custom Jira configurations.
- By default, BrowserStack Integration app for Jira is enabled for all projects.
- Projects listed under the Project Configuration tab are paginated. Selecting checkboxes on one page does not affect selections made on other pages.
For example, if you select checkboxes on one page, move to another page, select all, and then deselect all, selections made previously on other pages remain unchanged.
Disable BrowserStack app for for a specific project
Follow the steps below to diable the BrowserStack app for a specific project:
- Log in to Jira Data Center as an Administrator.
-
In the top-right corner of the Jira page, click the settings icon and select Apps.
-
In the left navigation bar, select BrowserStack under Apps.
-
Under Project Configuration tab, click Add Project.
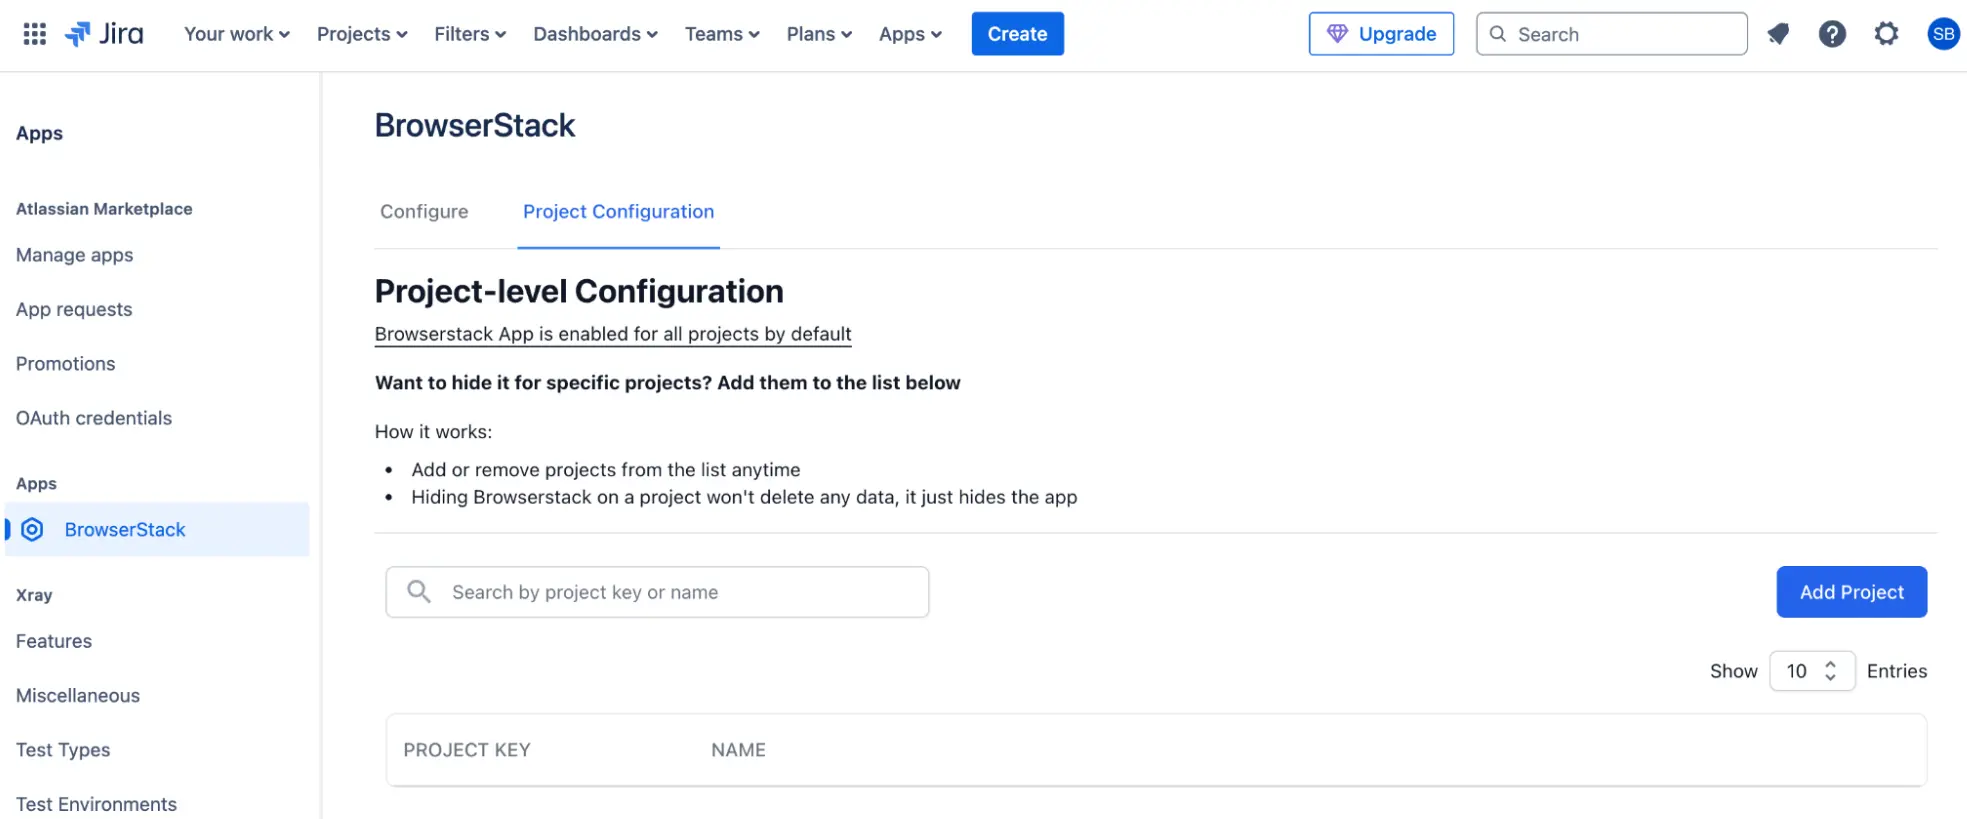 A Disable Browserstack App dialog appears.
 -
Enter the project title in which you want to disable the BrowserStack app.
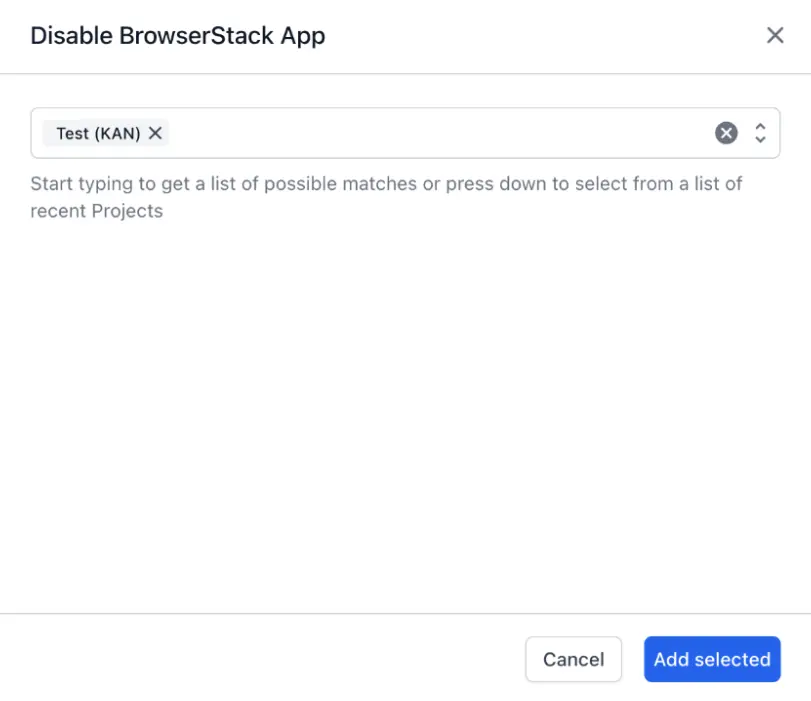
- Click Add selected.
The new settings will be effective immediately for this project and you will no longer see BrowserStack app.
- Jira issues from projects where the BrowserStack app is disabled will not be accessible within the Test Management.
- You will not be able to access or create any issues in Jira projects where the BrowserStack app has been disabled.
Enable BrowserStack app for for a specific project
Follow the steps below to enable the BrowserStack app for a specific project:
- Log in to Jira Data Center as an Administrator.
-
In the top-right corner of the Jira page, click the settings icon and select Apps.
-
In the left navigation bar, select BrowserStack under Apps.
-
Under Project Configuration tab, select the checkbox for the projects where you want to enable the app.
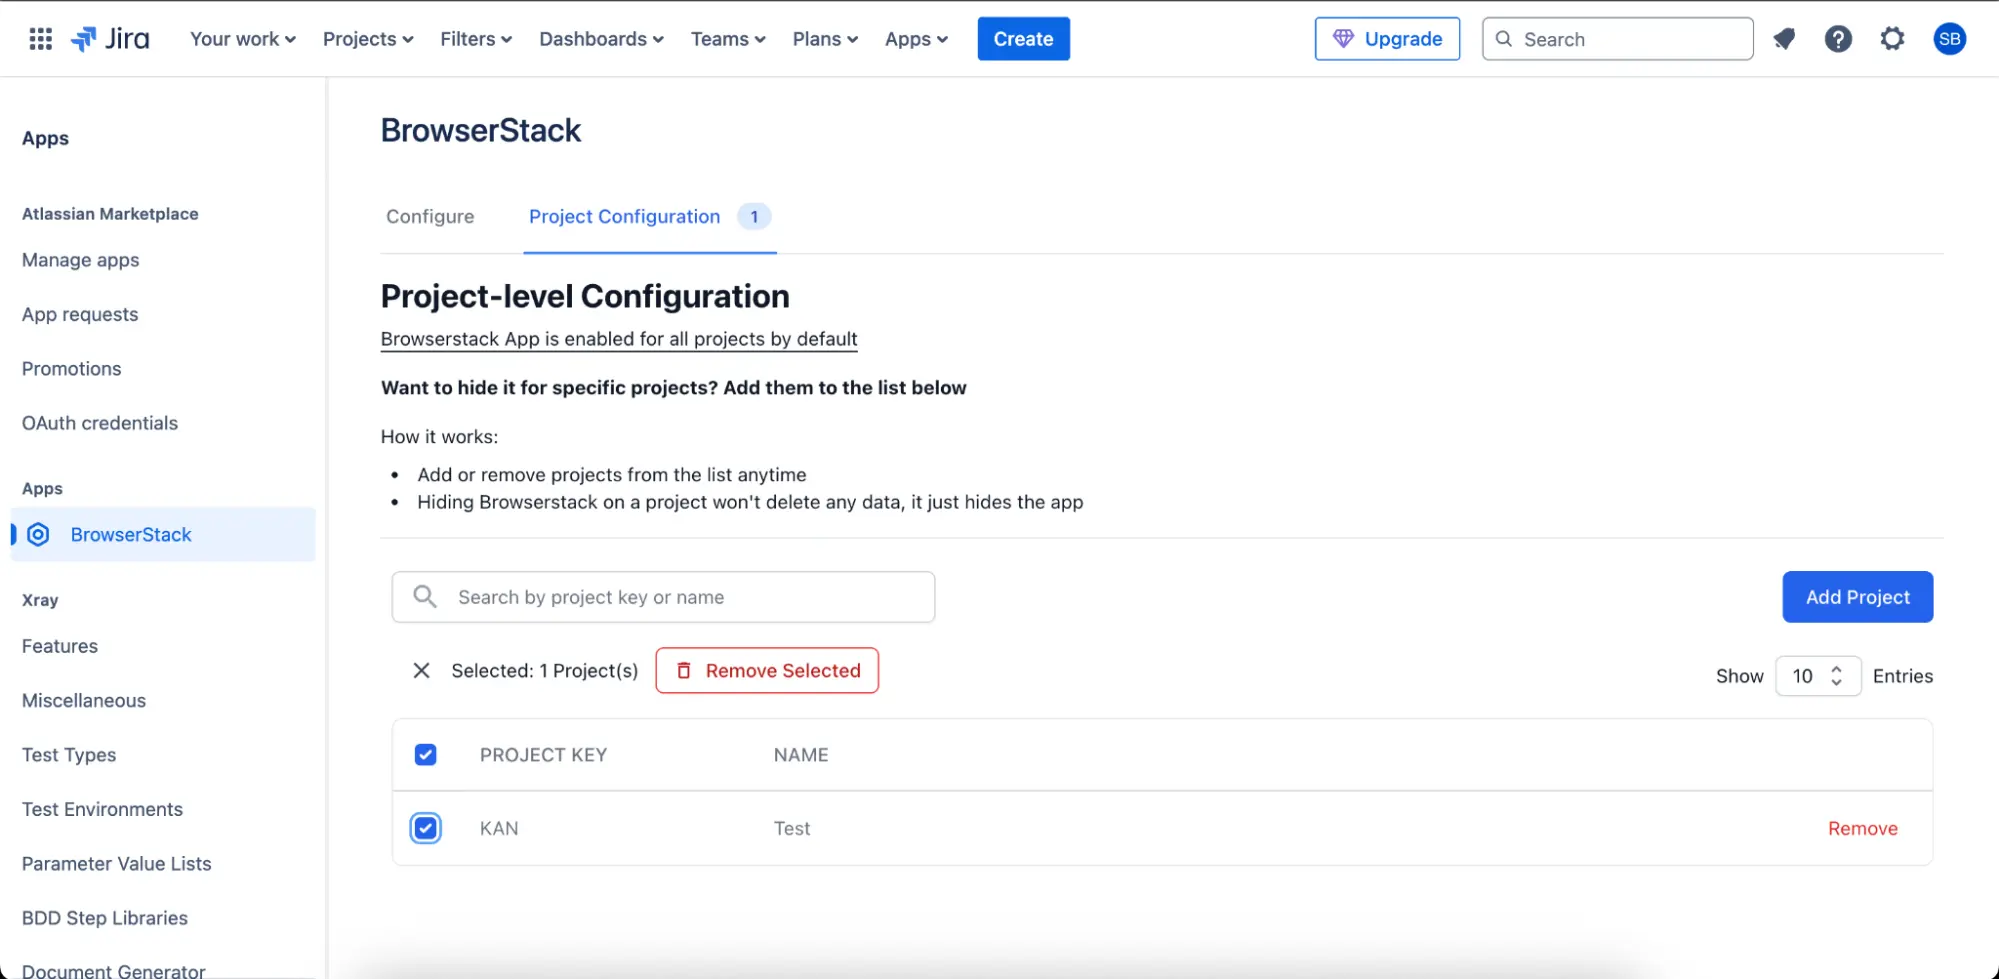
- Click Remove selected.
-
In the confirmation dialog, click Remove.
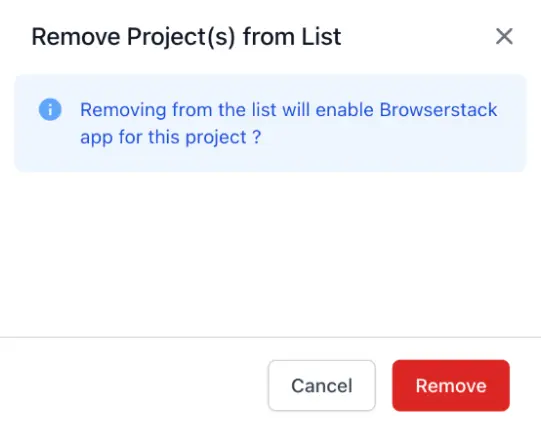
The new settings are applied immediately, and the BrowserStack app is now enabled for the selected projects.
We're sorry to hear that. Please share your feedback so we can do better
Contact our Support team for immediate help while we work on improving our docs.
We're continuously improving our docs. We'd love to know what you liked
We're sorry to hear that. Please share your feedback so we can do better
Contact our Support team for immediate help while we work on improving our docs.
We're continuously improving our docs. We'd love to know what you liked
Thank you for your valuable feedback!