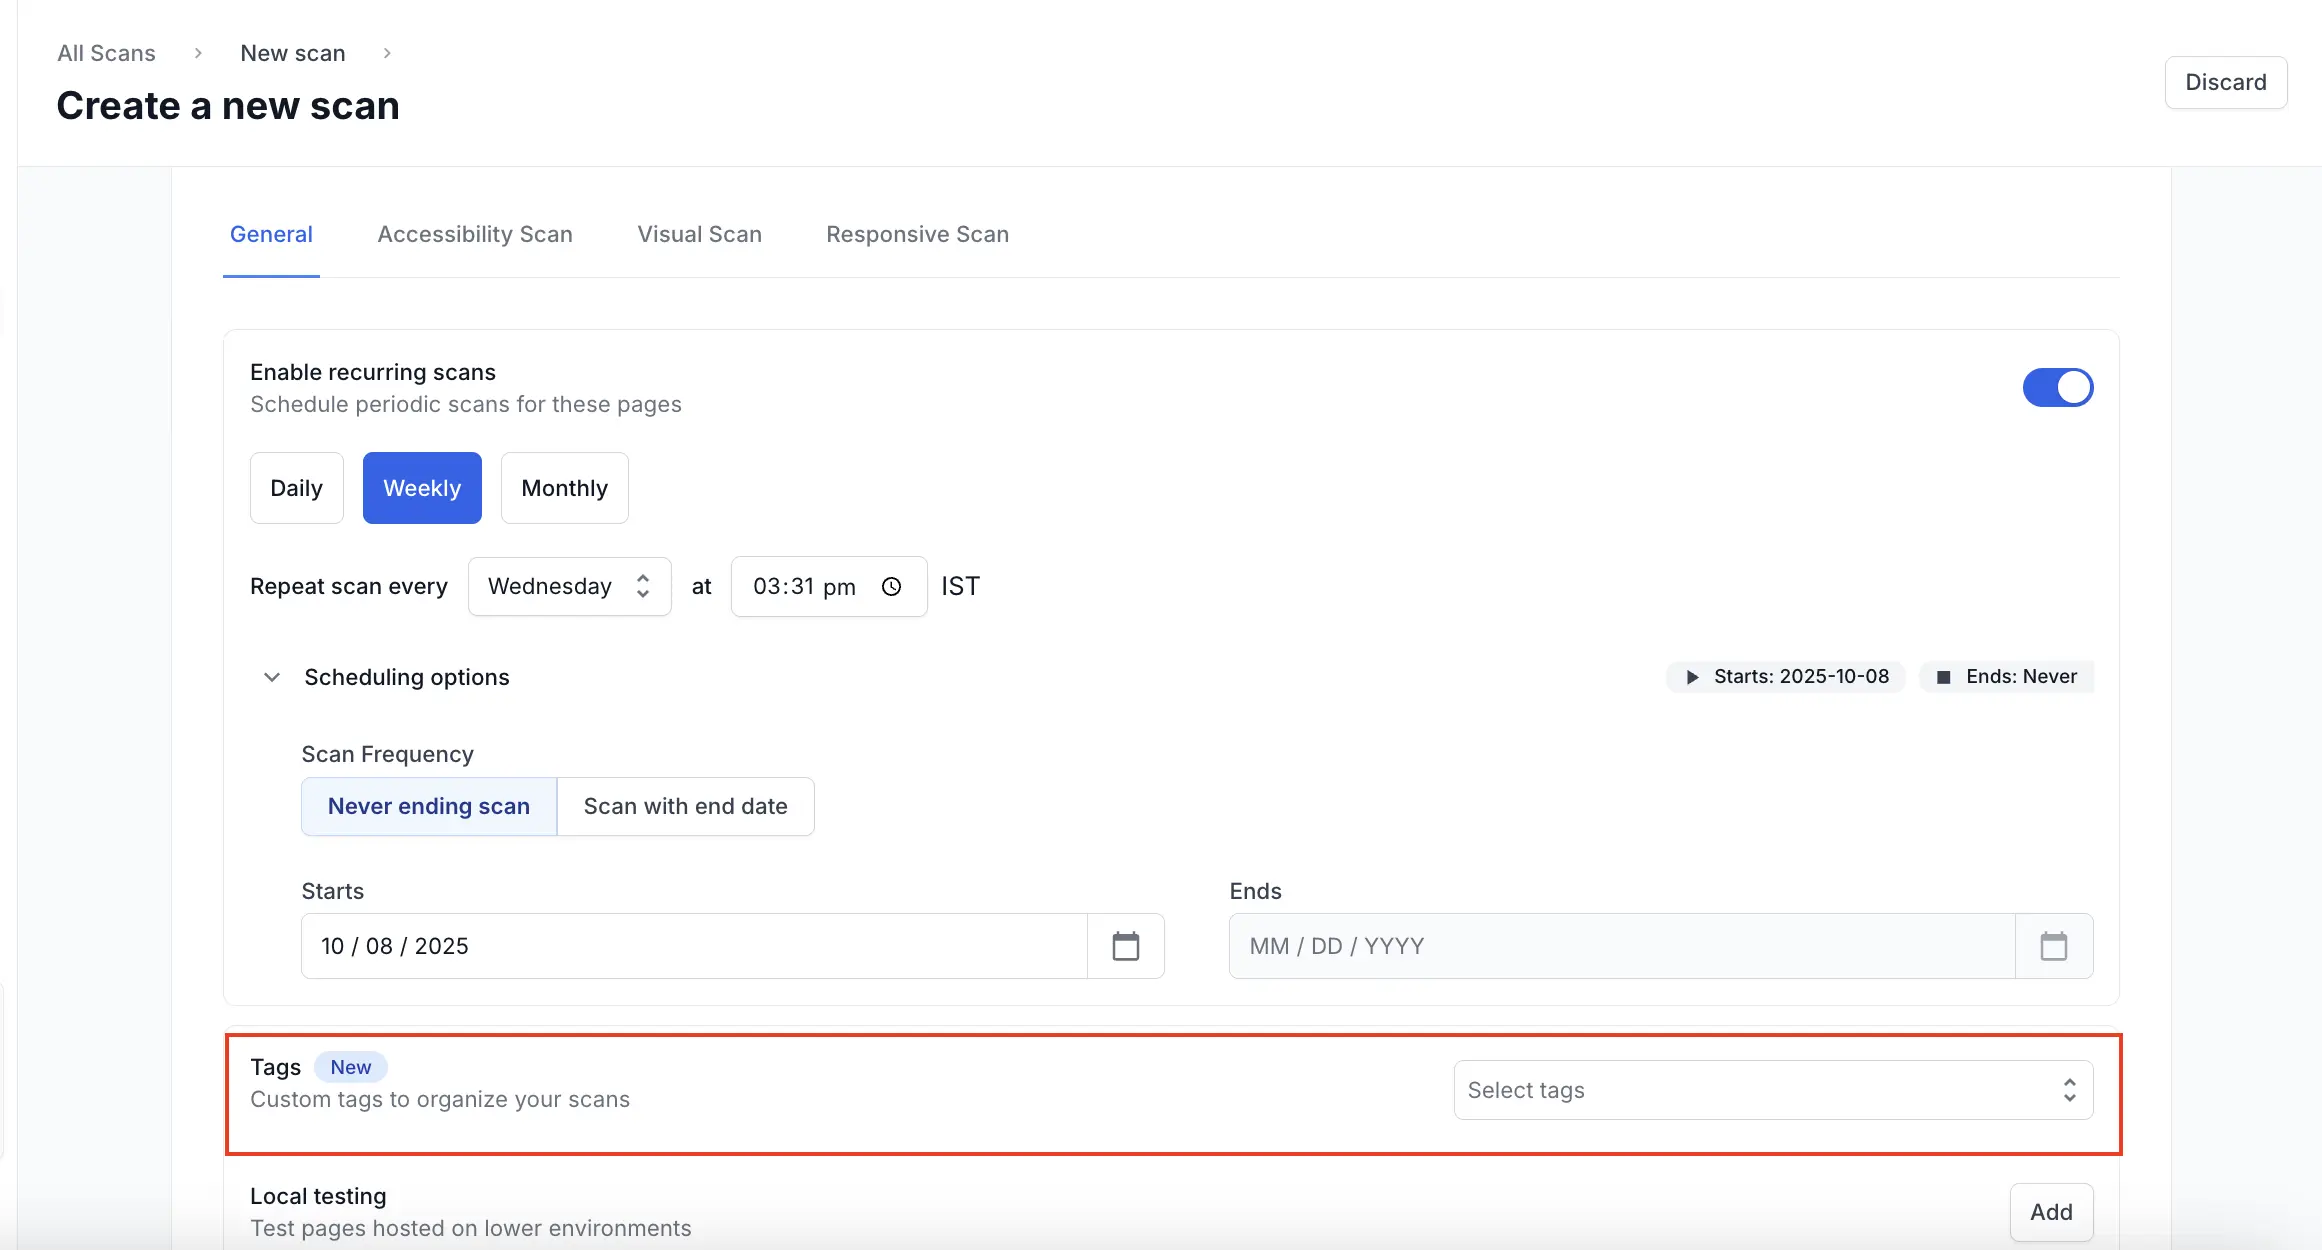
Custom tags for scans
Learn how to create, assign, and filter custom tags for scans in Website Scanner.
Use custom tags to organize and manage your scans efficiently. Tags help you categorize scans by environment, team, feature, or any criteria relevant to your workflow.
Create custom tags
Create tags to label and group scans based on your needs. Tags make it easier to locate and manage scans in your dashboard.
You can access tag options by clicking either the Settings icon within a scan or the Filters option on your scans dashboard. This will display the Tags label.
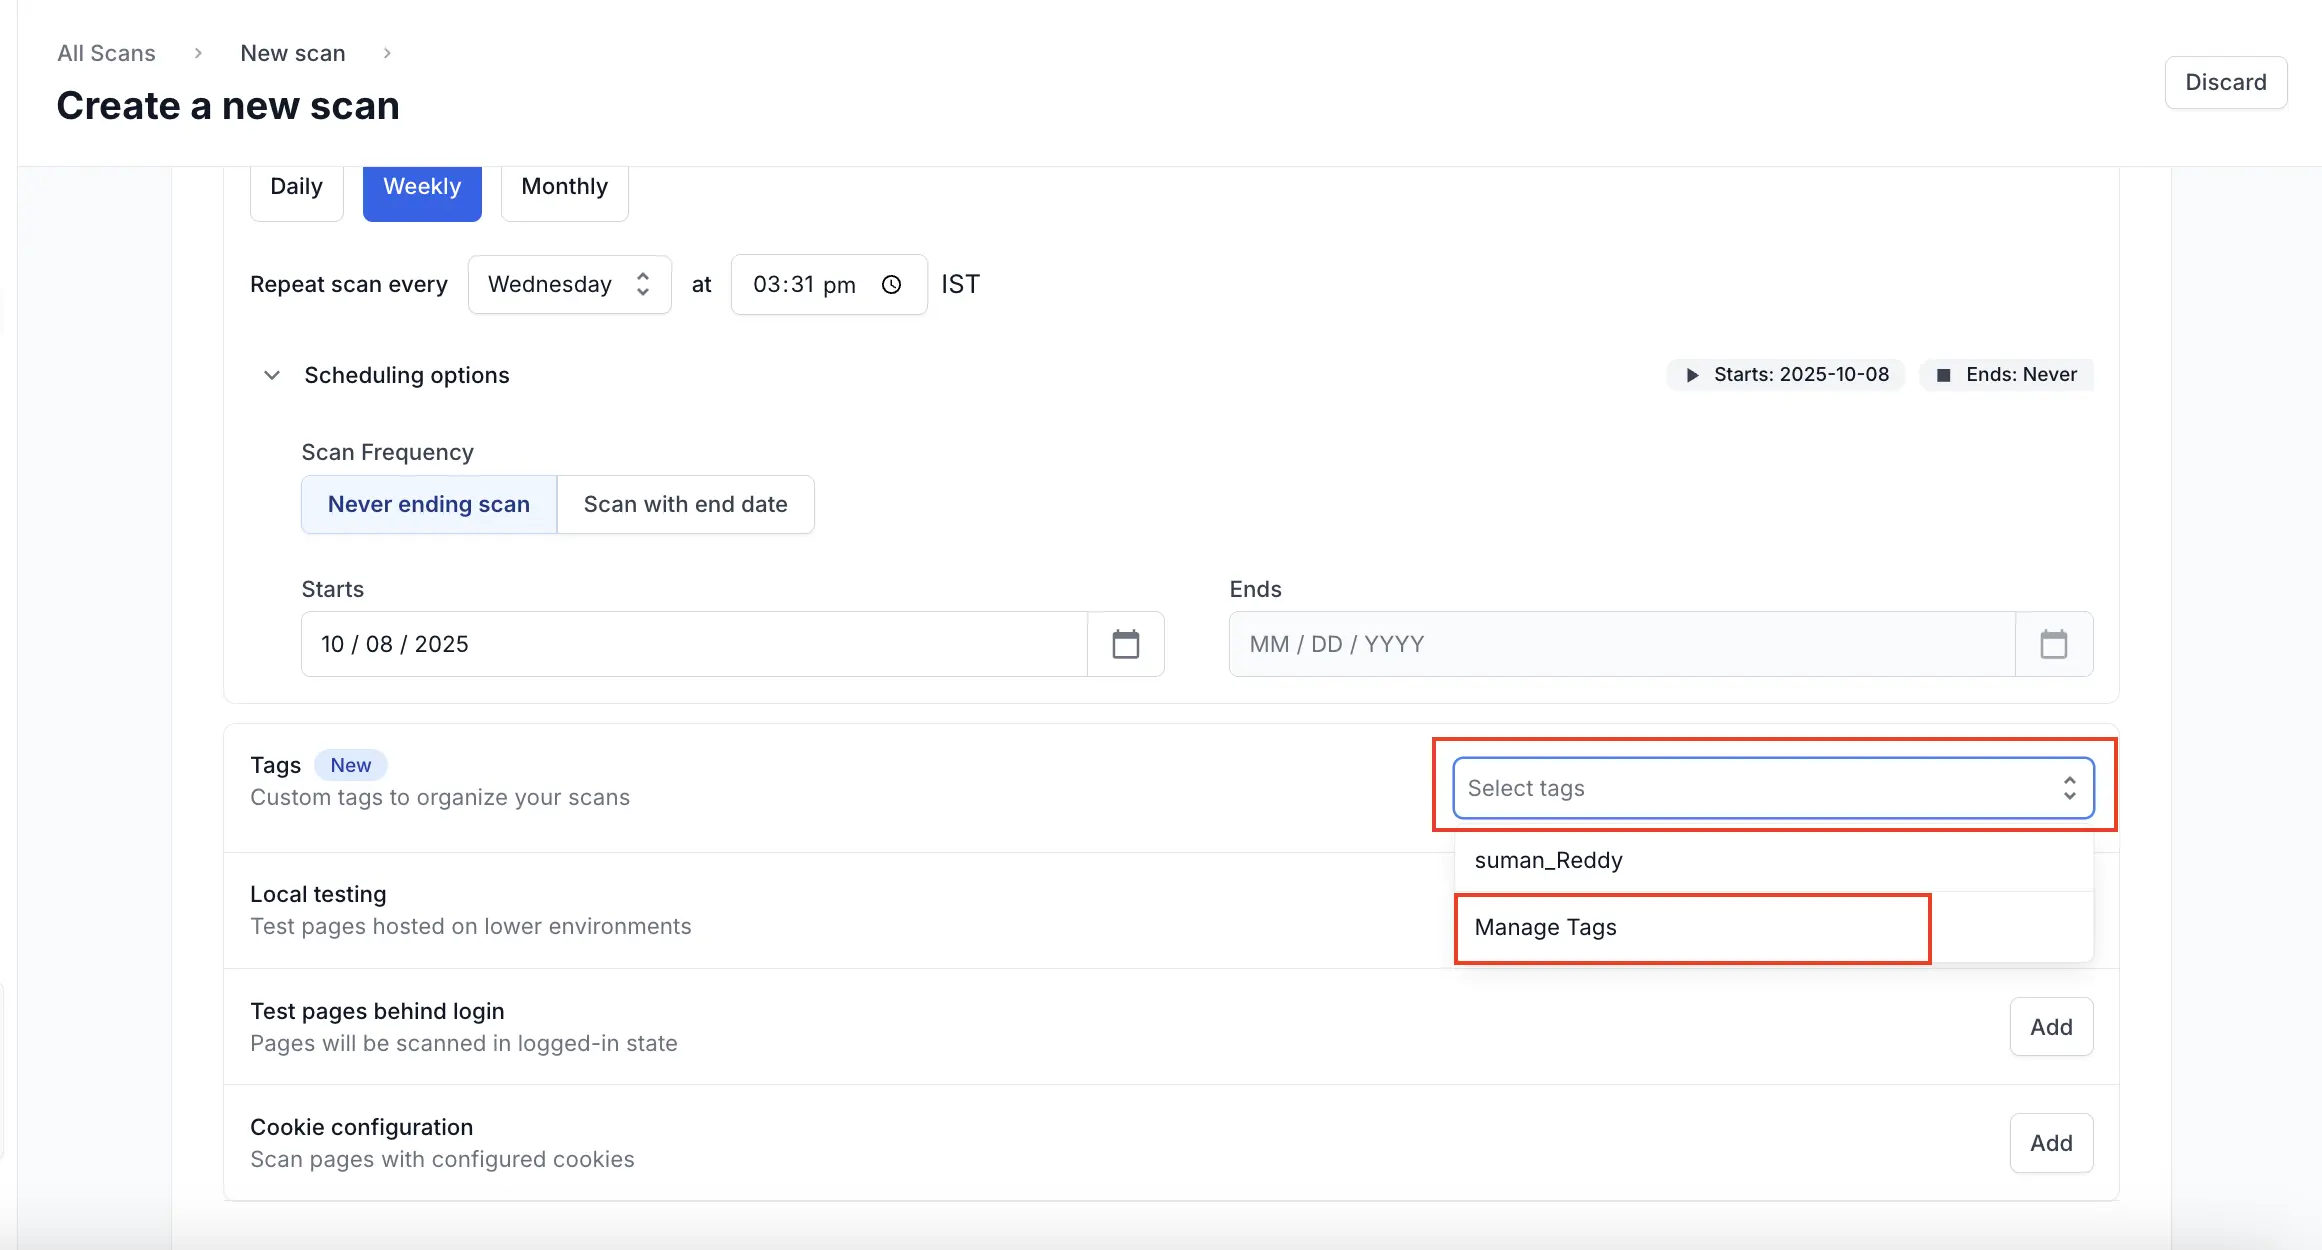
Step 1: Under the Tags label, open the Select tags dropdown and click Manage tags to open the tag management view.
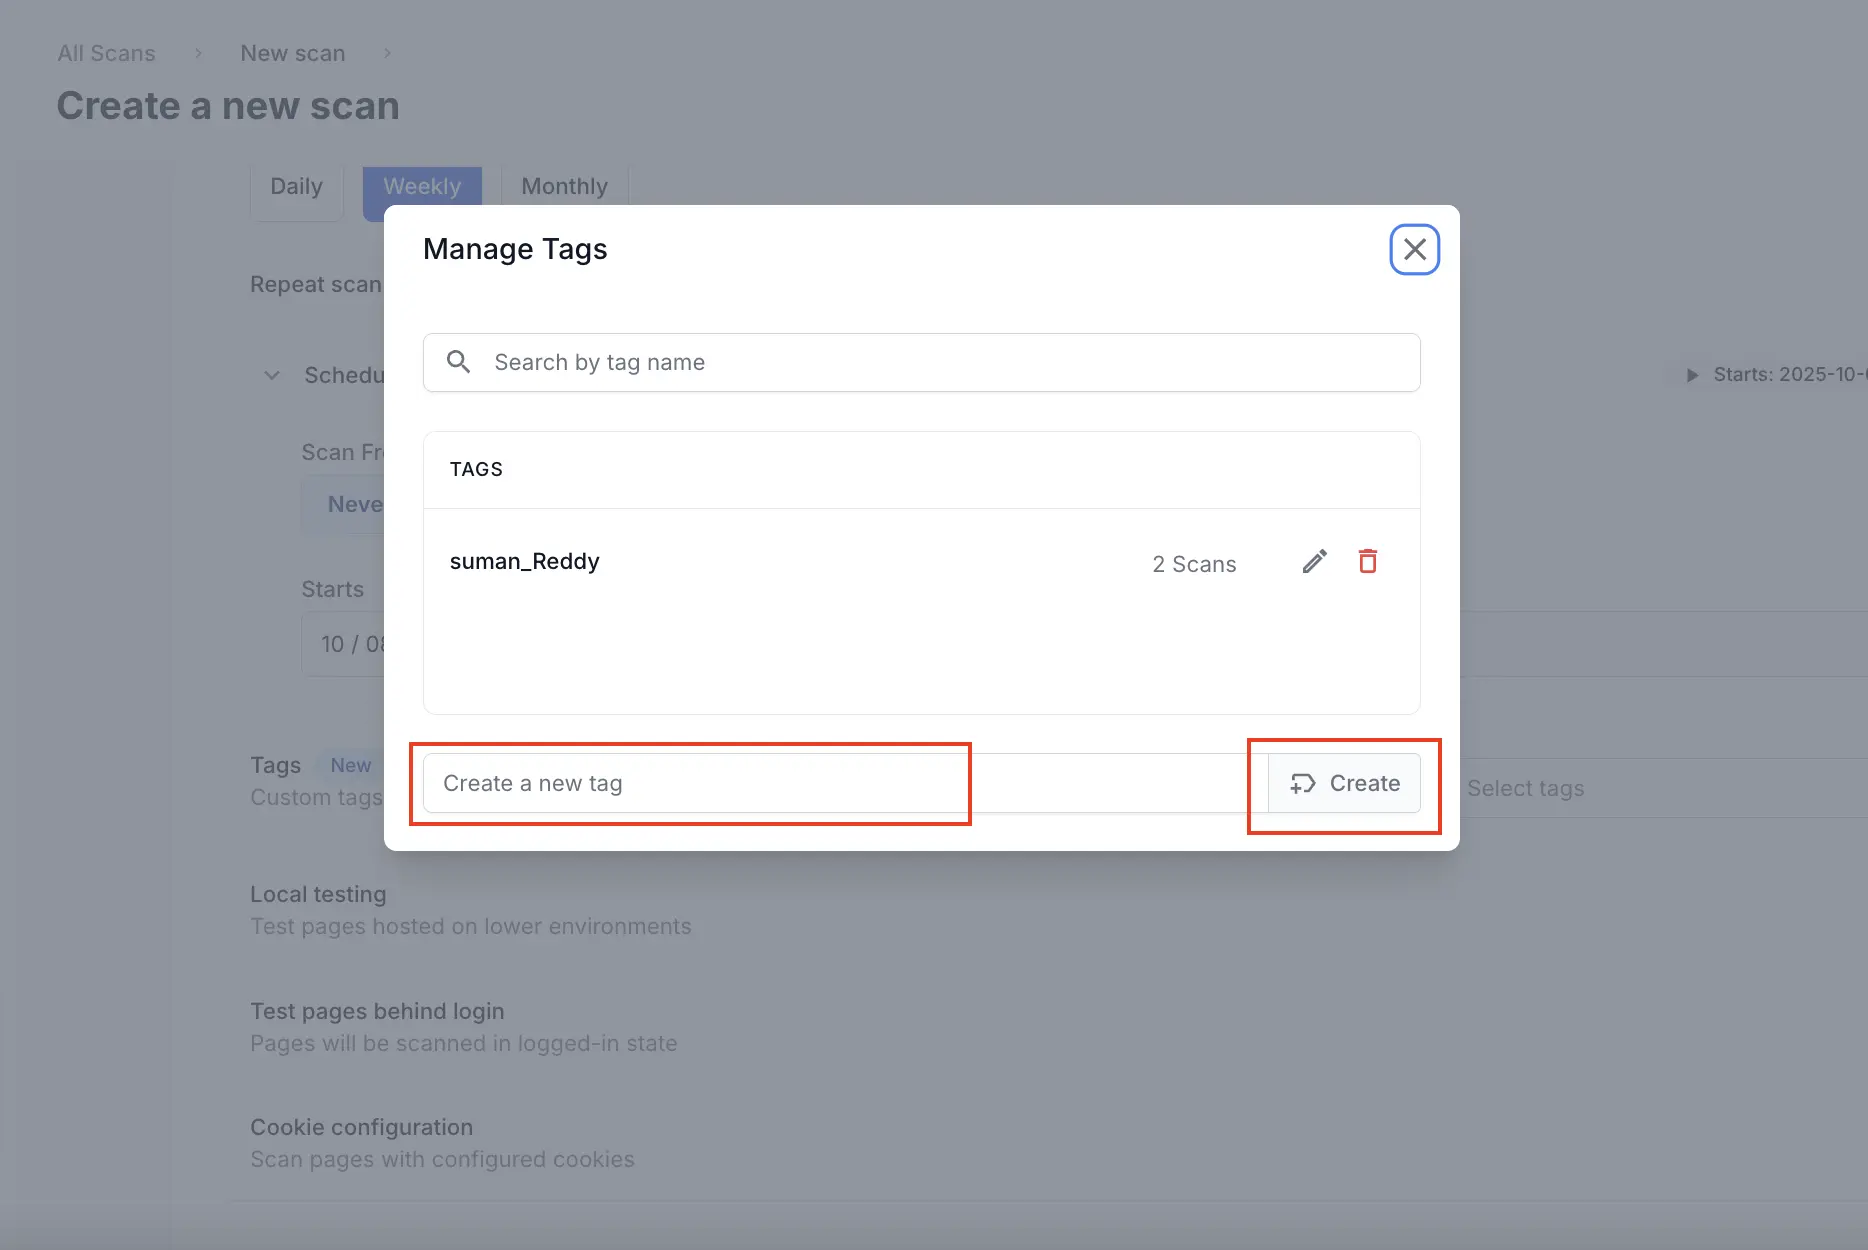
Step 2: In the Create a new tag field, enter a tag name and click Create to add it.
Step 3: Choose the newly created or any existing tag to apply it to your scan.
You can also edit or delete existing tags from the tag management options.
Assign tags to scans
Assign tags when creating a new scan or update them later from the Settings or Filters options. Tags make it simple to organize and identify scans across your projects.
Filter scans by tags
Filter scans using tags to quickly find relevant results. This helps you streamline your workflow and improve scan management efficiency.
Use clear and descriptive tag names to make it easier to identify and group related scans.
We're sorry to hear that. Please share your feedback so we can do better
Contact our Support team for immediate help while we work on improving our docs.
We're continuously improving our docs. We'd love to know what you liked
We're sorry to hear that. Please share your feedback so we can do better
Contact our Support team for immediate help while we work on improving our docs.
We're continuously improving our docs. We'd love to know what you liked
Thank you for your valuable feedback!