Get your setup working faster. Join our Discord for optimisation tips from elite testers.Join our Discord
Integrate your Appium test suite with Bitbucket Pipelines
Integrate Bitbucket Pipelines with the BrowserStack real device cloud to run your Appium tests on App Automate.
You can run your automated tests on BrowserStack App Automate using your existing Bitbucket Pipelines setup. Bitbucket Pipelines reads its configuration from bitbucket-pipelines.yml, and you use the same file to run your tests on BrowserStack.
Prerequisites
Before you begin, ensure that you have the following:
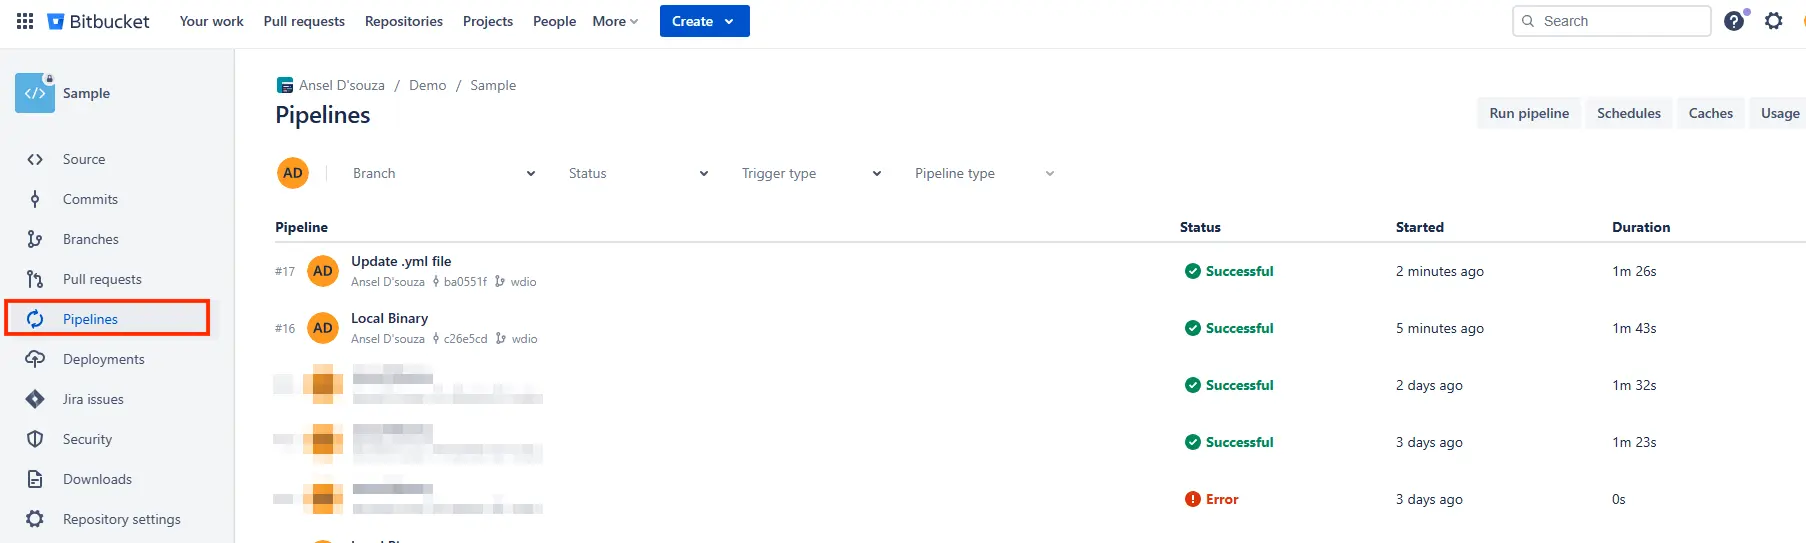
A Bitbucket Cloud repository with Pipelines enabled and a bitbucket-pipelines.yml file.
An Appium test suite for your Android (.apk or .aab) or iOS (.ipa) app.
Your BrowserStack username and access key, available on the Account Settings page.
Integration steps
To integrate your Appium test suite with Bitbucket Pipelines, complete the following steps:
Set up test environment
Update your bitbucket-pipelines.yml file. Each of the following example configurations installs your project dependencies, uploads your app to BrowserStack, and runs your tests. The pipeline reads your credentials from the BROWSERSTACK_USERNAME and BROWSERSTACK_ACCESS_KEY repository variables, which you add in Step 3, Set BrowserStack credentials. Select your language to view the example:
```yaml
image: maven:3.9-eclipse-temurin-17
pipelines:
default:
- step:
name: Run Appium tests on BrowserStack App Automate
caches:
- maven
script:
# Upload the app with a custom ID and store its app_url for the tests to use
- export BROWSERSTACK_APP_ID=$(curl -s -u "$BROWSERSTACK_USERNAME:$BROWSERSTACK_ACCESS_KEY" -X POST "https://api-cloud.browserstack.com/app-automate/upload" -F "file=@<path-to-your-app>" -F "custom_id=SampleApp" | grep -o '"app_url":"[^"]*"' | cut -d'"' -f4)
- mvn -B clean test # Replace with your test command
```
```yaml
image: node:20
pipelines:
default:
- step:
name: Run Appium tests on BrowserStack App Automate
caches:
- node
script:
- npm ci
# Upload the app with a custom ID and store its app_url for the tests to use
- export BROWSERSTACK_APP_ID=$(curl -s -u "$BROWSERSTACK_USERNAME:$BROWSERSTACK_ACCESS_KEY" -X POST "https://api-cloud.browserstack.com/app-automate/upload" -F "file=@<path-to-your-app>" -F "custom_id=SampleApp" | grep -o '"app_url":"[^"]*"' | cut -d'"' -f4)
- npm test # Replace with your test command
```
```yaml
image: mcr.microsoft.com/dotnet/sdk:8.0
pipelines:
default:
- step:
name: Run Appium tests on BrowserStack App Automate
script:
- dotnet restore
# Upload the app with a custom ID and store its app_url for the tests to use
- export BROWSERSTACK_APP_ID=$(curl -s -u "$BROWSERSTACK_USERNAME:$BROWSERSTACK_ACCESS_KEY" -X POST "https://api-cloud.browserstack.com/app-automate/upload" -F "file=@<path-to-your-app>" -F "custom_id=SampleApp" | grep -o '"app_url":"[^"]*"' | cut -d'"' -f4)
- dotnet test --no-restore # Replace with your test command
```
```yaml
image: python:3.12
pipelines:
default:
- step:
name: Run Appium tests on BrowserStack App Automate
caches:
- pip
script:
- pip install -r requirements.txt
# Upload the app with a custom ID and store its app_url for the tests to use
- export BROWSERSTACK_APP_ID=$(curl -s -u "$BROWSERSTACK_USERNAME:$BROWSERSTACK_ACCESS_KEY" -X POST "https://api-cloud.browserstack.com/app-automate/upload" -F "file=@<path-to-your-app>" -F "custom_id=SampleApp" | grep -o '"app_url":"[^"]*"' | cut -d'"' -f4)
- pytest # Replace with your test command
```
```yaml
image: ruby:3.3
pipelines:
default:
- step:
name: Run Appium tests on BrowserStack App Automate
script:
- bundle install
# Upload the app with a custom ID and store its app_url for the tests to use
- export BROWSERSTACK_APP_ID=$(curl -s -u "$BROWSERSTACK_USERNAME:$BROWSERSTACK_ACCESS_KEY" -X POST "https://api-cloud.browserstack.com/app-automate/upload" -F "file=@<path-to-your-app>" -F "custom_id=SampleApp" | grep -o '"app_url":"[^"]*"' | cut -d'"' -f4)
- bundle exec rspec # Replace with your test command
```
Your tests need the app_url of the app you want to test. The app_url has the format bs://<hash>. On every run, the example pipeline in the previous step uses the REST API to upload your app with the custom ID SampleApp and exports the returned app_url as the BROWSERSTACK_APP_ID environment variable. A custom ID always refers to the latest app uploaded with that ID.
If your app doesn’t change between runs, upload it once and remove the upload command from bitbucket-pipelines.yml. If you use the BrowserStack SDK, set app in browserstack.yml to the returned app_url or custom ID. Otherwise, add the app_url or custom ID as the BROWSERSTACK_APP_ID repository variable.
Upload your Android .apk or .aab file, or iOS .ipa file, using one of the following methods:
Upload app using the App Automate dashboard
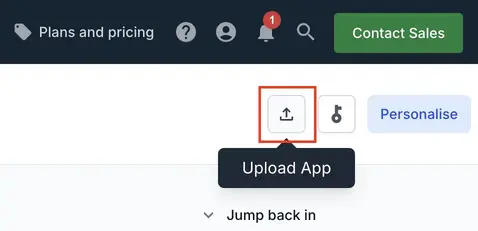
On the App Automate dashboard, click Upload in the top-right corner. From your filesystem, select the app you want to upload.
Upload app using the App Management UI
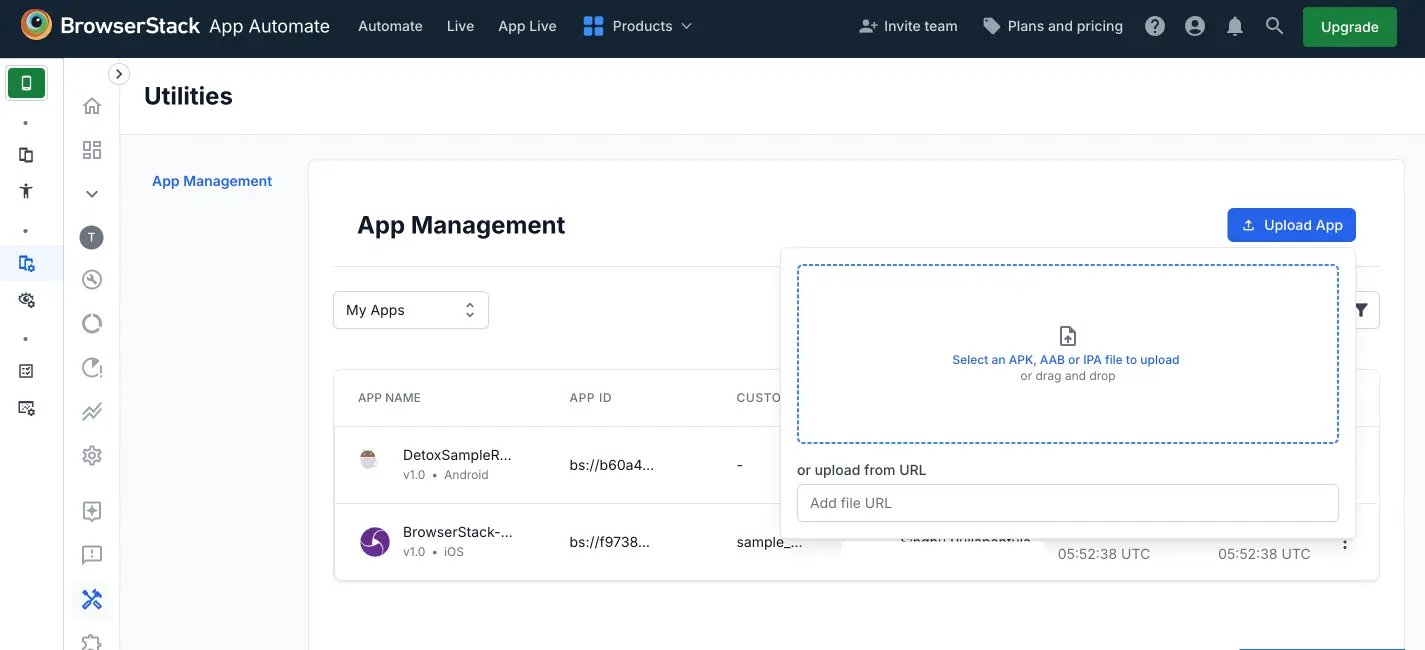
To upload an app using the App Management UI, follow these steps:
From your filesystem, select the app you want to upload. To upload the app using a public URL, paste the URL of your app in the or upload from URL box.
Choose the App Automate framework you want to use for testing. Optionally, add flags and a custom ID.
Click Upload. BrowserStack uploads the app and returns an app_url that you can use to run tests.
Saving your BrowserStack credentials as environment variables lets you run your test suite from your local or CI environment. It also keeps your credentials out of your code and repositories. If you already set these as environment variables on your local machine, skip the local setup below.
In your Bitbucket repository, go to Repository settings > Pipelines > Repository variables and add the following variables:
BROWSERSTACK_USERNAME: Your BrowserStack username
BROWSERSTACK_ACCESS_KEY: Your BrowserStack access key
To run the same tests from your local machine, set the credentials as environment variables using the following commands:
```yml
userName: YOUR_USERNAME
accessKey: YOUR_ACCESS_KEY
app: SampleApp # The custom ID used in the upload step, or an app_url such as bs://<hash>
platforms:
- platformName: android
deviceName: Samsung Galaxy S22 Ultra
platformVersion: 12.0
```
When the BROWSERSTACK_USERNAME and BROWSERSTACK_ACCESS_KEY environment variables are set, the BrowserStack SDK uses them instead of the userName and accessKey values in browserstack.yml. Set app to the custom ID from the upload step so that the SDK always tests the latest upload.
The BrowserStack SDK is the recommended way to integrate. It handles these steps for you. For more information, see How BrowserStack SDK works.
Read the environment variables in your test scripts:
const{remote}=require('webdriverio');constcapabilities={platformName:'android','appium:deviceName':'Samsung Galaxy S22 Ultra','appium:platformVersion':'12.0','appium:app':process.env.BROWSERSTACK_APP_ID,'bstack:options':{userName:process.env.BROWSERSTACK_USERNAME,accessKey:process.env.BROWSERSTACK_ACCESS_KEY,},};(async()=>{constdriver=awaitremote({protocol:'https',hostname:'hub-cloud.browserstack.com',port:443,path:'/wd/hub',capabilities,});// Your test stepsawaitdriver.deleteSession();})();
const{remote}=require('webdriverio');(async()=>{constdriver=awaitremote({user:process.env.BROWSERSTACK_USERNAME,key:process.env.BROWSERSTACK_ACCESS_KEY,hostname:'hub-cloud.browserstack.com',capabilities:{device:'Samsung Galaxy S22 Ultra',os_version:'12.0',app:process.env.BROWSERSTACK_APP_ID,},});// Your test stepsawaitdriver.deleteSession();})();
# Requires Appium-Python-Client 2.x or earlier. Version 3.0 and later removed desired_capabilities.
importosfromappiumimportwebdriverusername=os.getenv("BROWSERSTACK_USERNAME")access_key=os.getenv("BROWSERSTACK_ACCESS_KEY")desired_caps={"device":"Samsung Galaxy S22 Ultra","os_version":"12.0","app":os.getenv("BROWSERSTACK_APP_ID"),}driver=webdriver.Remote(command_executor="https://"+username+":"+access_key+"@hub-cloud.browserstack.com/wd/hub",desired_capabilities=desired_caps)
If you use the BrowserStack Local binary, configure bitbucket-pipelines.yml to download and start it.
Add the following commands to the script section of your bitbucket-pipelines.yml file. The commands download the binary, start it, run your tests, and then stop the binary. Select your runner’s OS:
If you prefer to manage the Local connection through your test scripts, use the BrowserStack Local language bindings.
You can also set other Local options, such as proxy settings or multiple Local connections. For more information, see Test in local environments with Appium.
If you use the Local binary or language bindings, add the local capability to your test scripts. When you set this capability to true, BrowserStack routes your test traffic through the Local binary running in your network. If you use the BrowserStack SDK, browserstackLocal: true in browserstack.yml already sets this capability.

 Join our Discord