Integrate Applivery with App Live
Applivery is a platform for managing, distributing, and testing mobile apps. You can seamlessly distribute your app builds and test them on App Live by integrating Applivery with App Live. After integration, you can add your Applivery workspaces to App Live, share them with your team, and collaborate on testing. Your team can then access and test apps in the shared workspaces, streamlining the testing process within the App Live.
Supported app formats
App Live supports the following app formats:
-
Android:
.apk -
iOS:
.ipa
Integrate Applivery and add a project in App Live
Prerequisites
Ensure you have the following:
- A BrowserStack account. If you have not yet created an account, sign up for a Free Trial.
- An Applivery admin account. You need this to create a service account in Applivery.
- An Applivery service account and the Bearer token. You need these to authenticate your Applivery account with App Live. For more information, see Create a Service Account in the Applivery documentation.
Integration steps
To integrate Applivery and add a project in App Live, follow these steps:
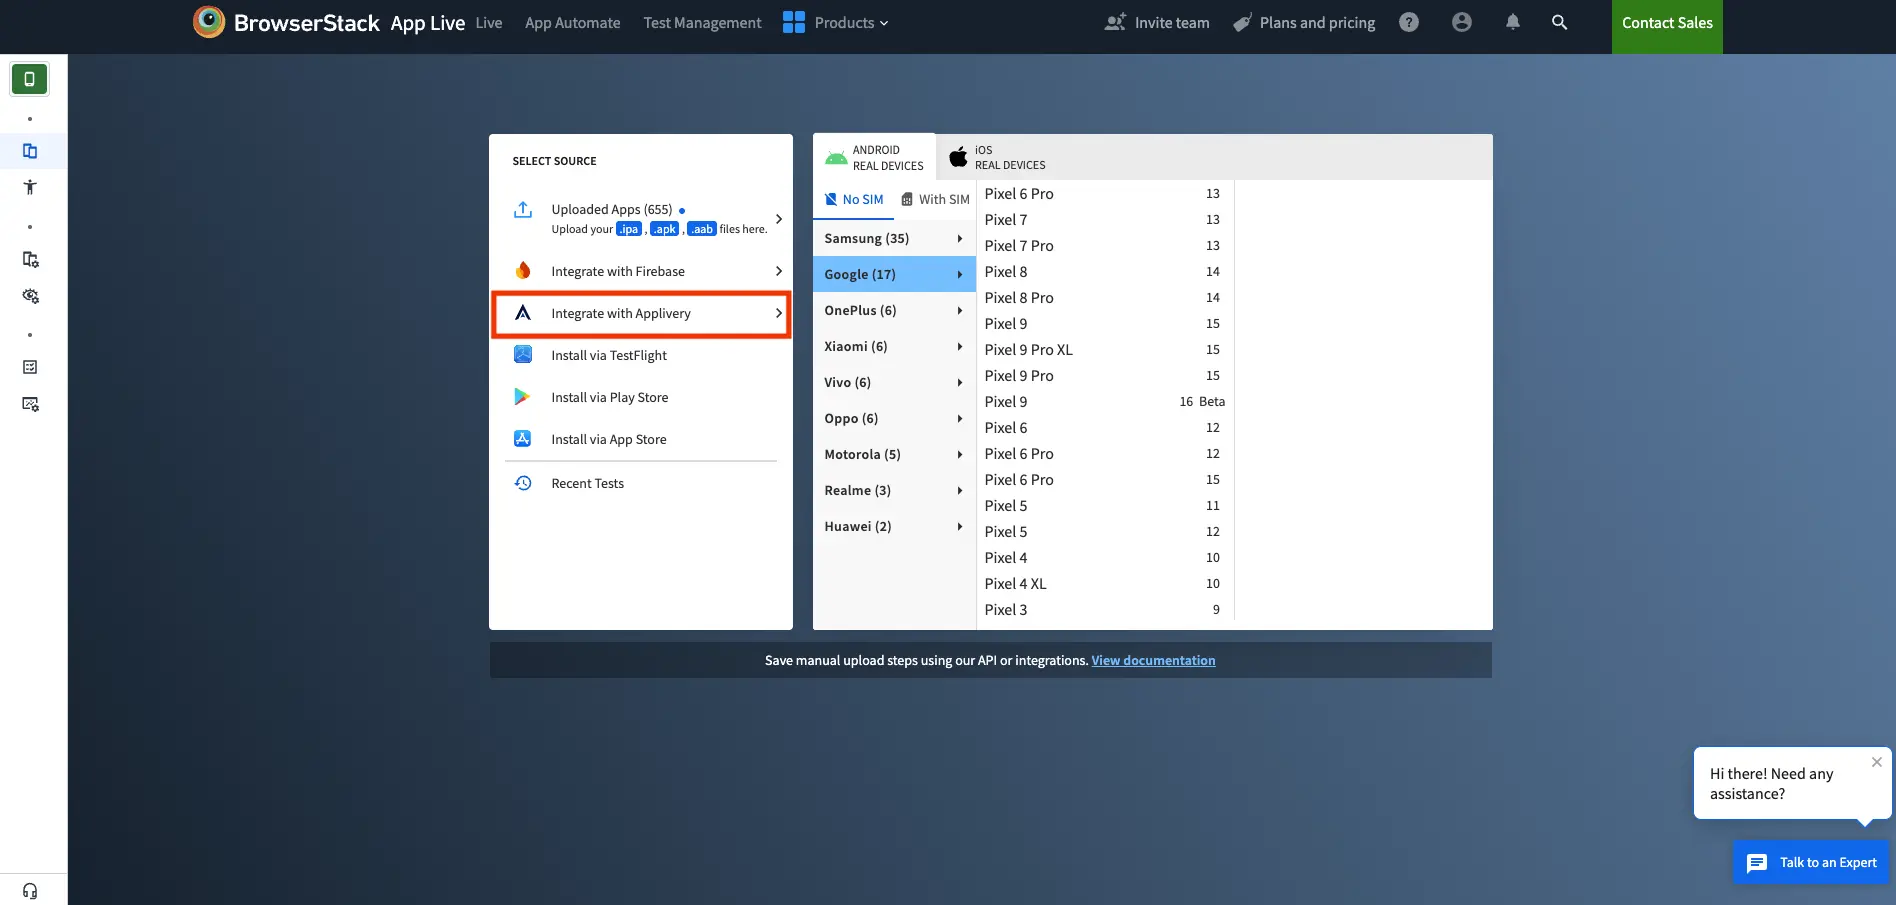
- Log in to the App Live dashboard.
- On the Select Source panel, click Integrate with Applivery.
- On the Integrate with Applivery prompt, enter your bearer token and click Connect workspace.
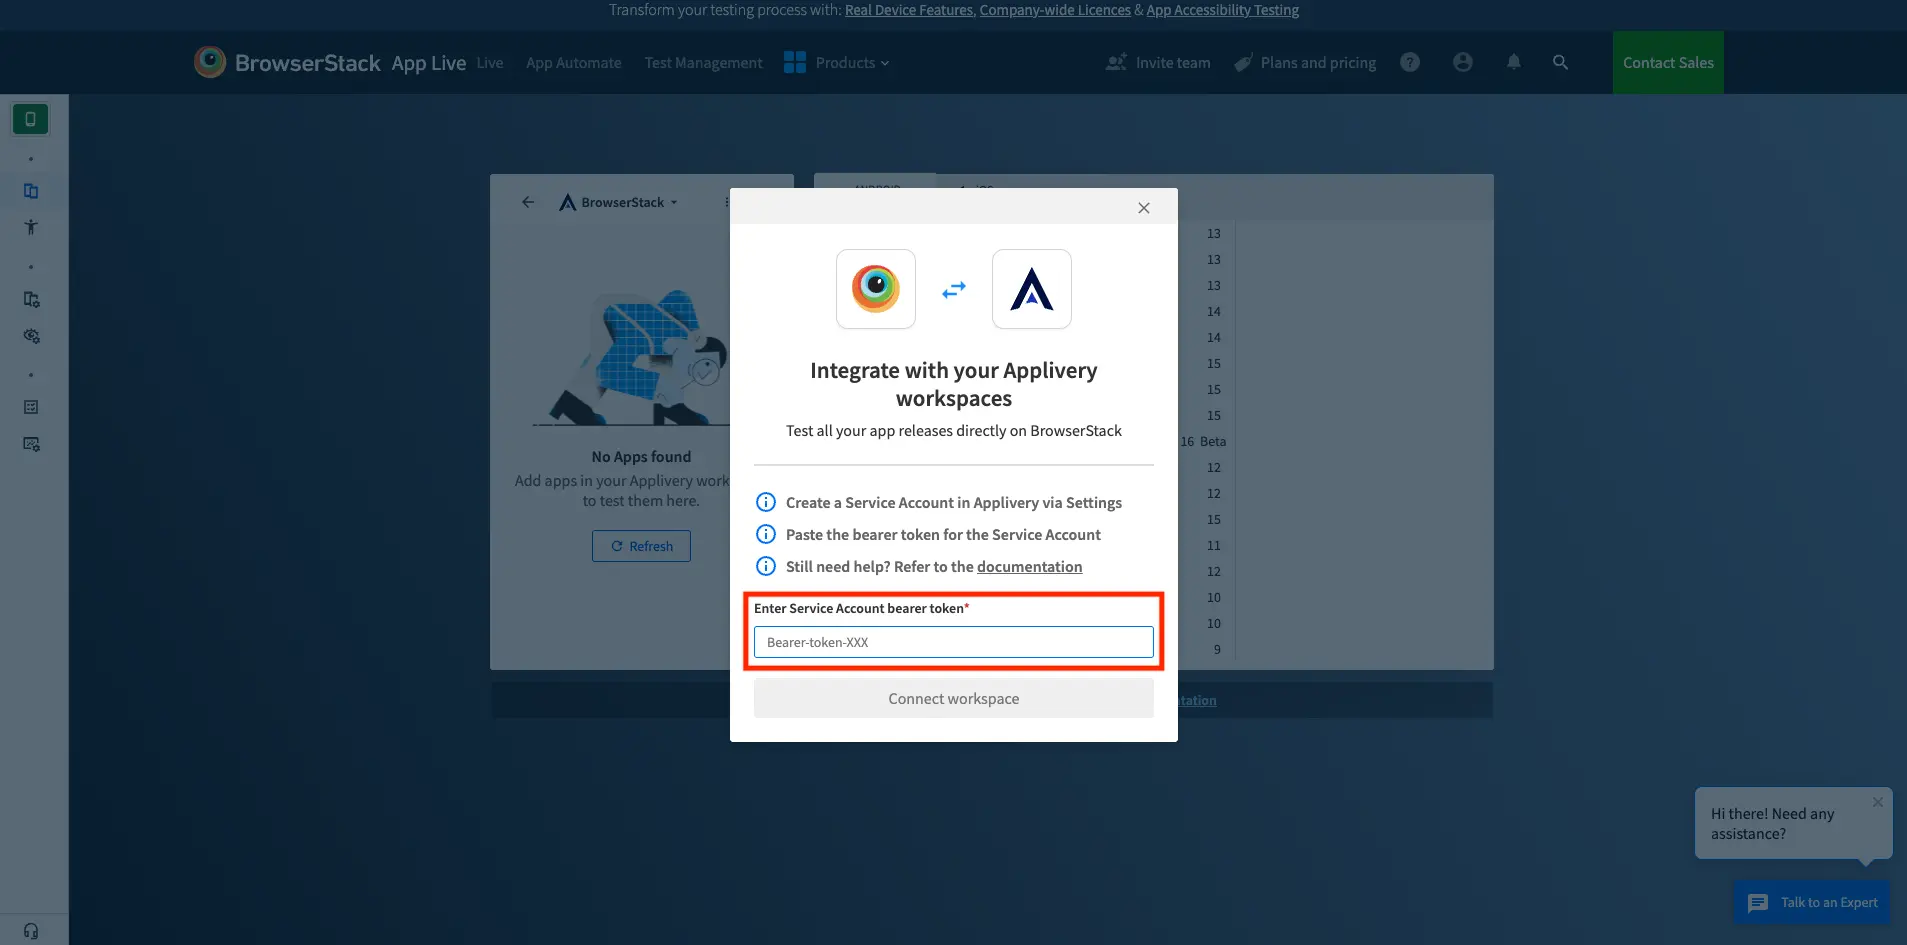
You’ll be successfully authenticated and redirected to the App Live dashboard.
View apps
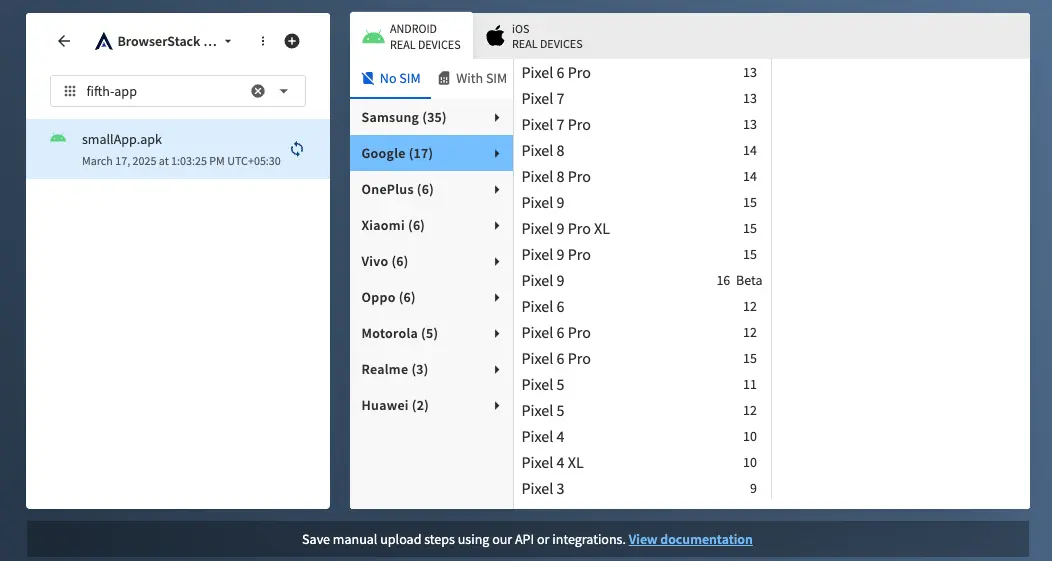
After you add apps to your Applivery workspace, they appear in the Select Source panel on the App Live dashboard.
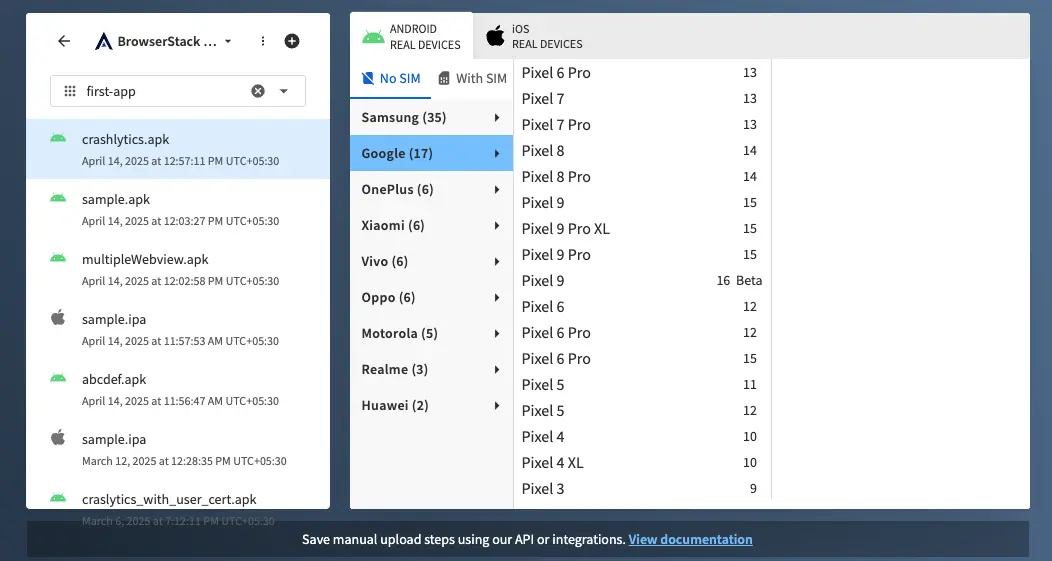
App Live uses the following project hierarchy, project > apps > releases:
- Project list: Includes projects you added and those shared with you by your team members.
- App list: Shows all apps within the selected project.
- Releases list: Displays app releases and their corresponding versions.
Share projects with your team
After adding a project, you can share it with your team members. Once shared, the project appears on their App Live dashboards.
To share a project:
You can only share a project that is added by you.
- From the Applivery project list, select the project you want to share.
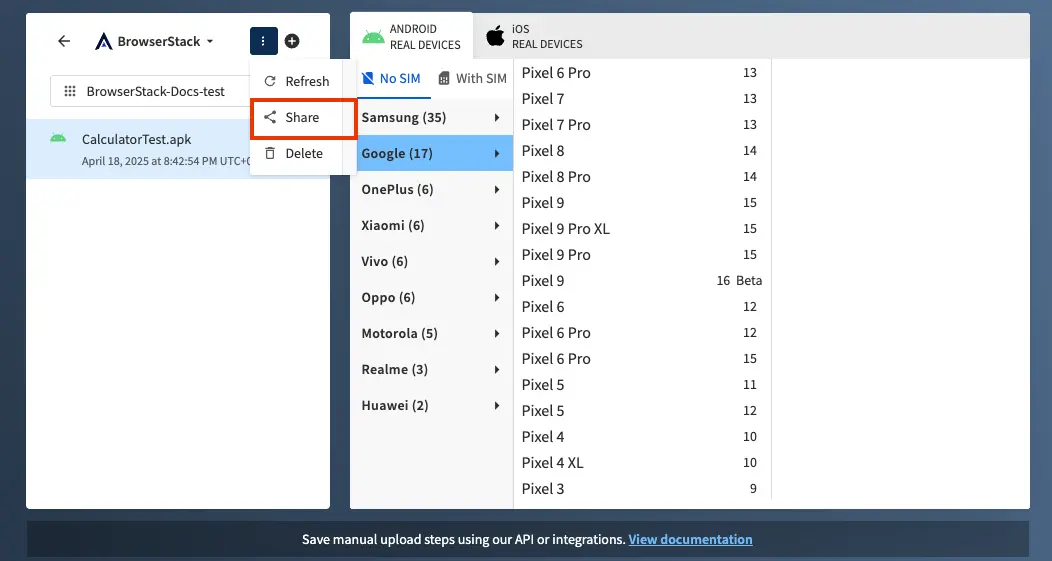
- Click the more options icon (⋮) next to the project name, then click Share.
- On the confirmation prompt, click Share.
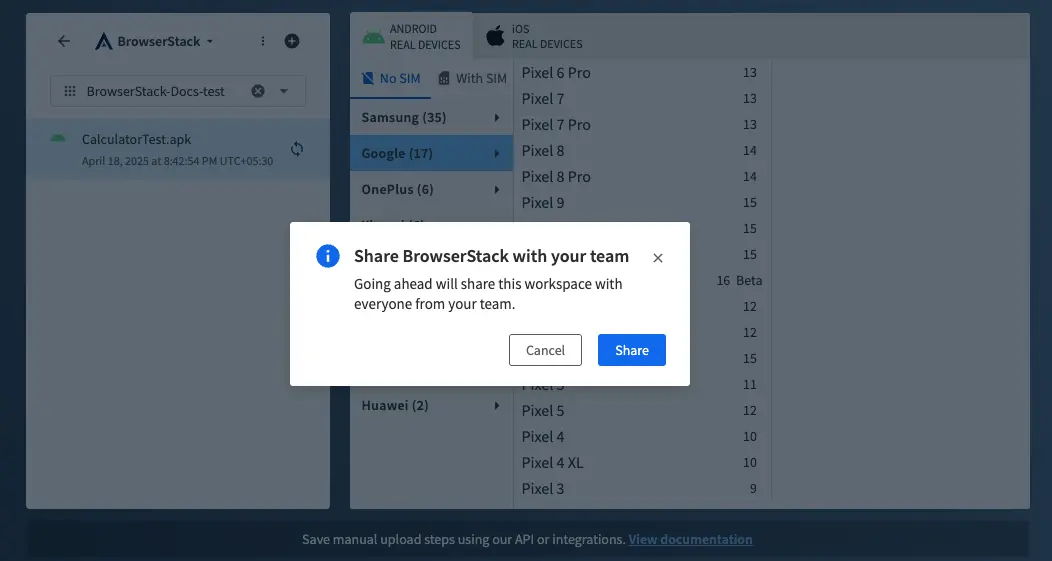
The project is shared with your team members and appears on their App Live dashboards.
Synchronize app releases
You can synchronize your app releases with BrowserStack Cloud.
Synchronizing an app release allows you to:
- Upload the app release to BrowserStack Cloud.
- Sync the app release in BrowserStack with the release in Applivery.
- Enable app configurations such as large app support, video injection, and more.
You can also unsynchronize an app release to delete it from BrowserStack Cloud. Once unsynchronized, the release is no longer available for testing on App Live, and you cannot apply app configurations to it.
Synchronize an app release
- From the project list, select the project.
- From the app list, select the app you want to synchronize.

- Click the synchronization icon next to the app name.
The app begins to synchronize.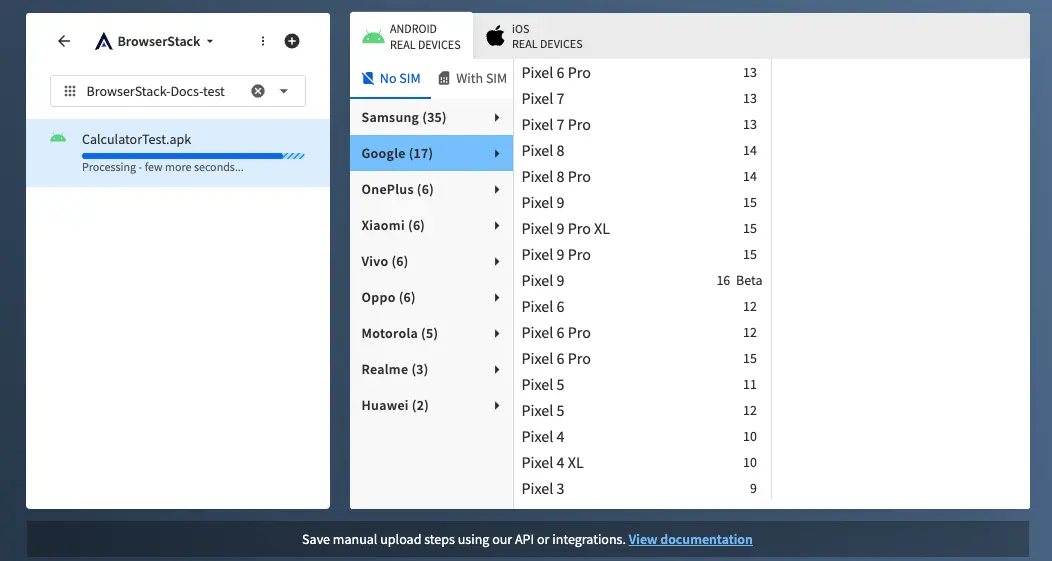
Once the synchronization is complete, the synchronization button changes to the unsynchronize button and app configurations are enabled, which you can apply to the release. These configurations are persistent.
Unsynchronize an app release
- From the project list, select the project.
- From the app list, select the app you want to unsynchronize.
- Click the unsynchronize icon next to the app name.
The app begins to unsynchronize.
Launch a session with an Applivery app
To launch a session with an Applivery app:
- On the App Live dashboard, select the project that includes the app from the project list.
- From the app list, select the app that you want to test.
- Select the device from the device list. After you select the device and app, the app is synchronized automatically to use the latest app for the session.
An App Live session is started with your selected app and device.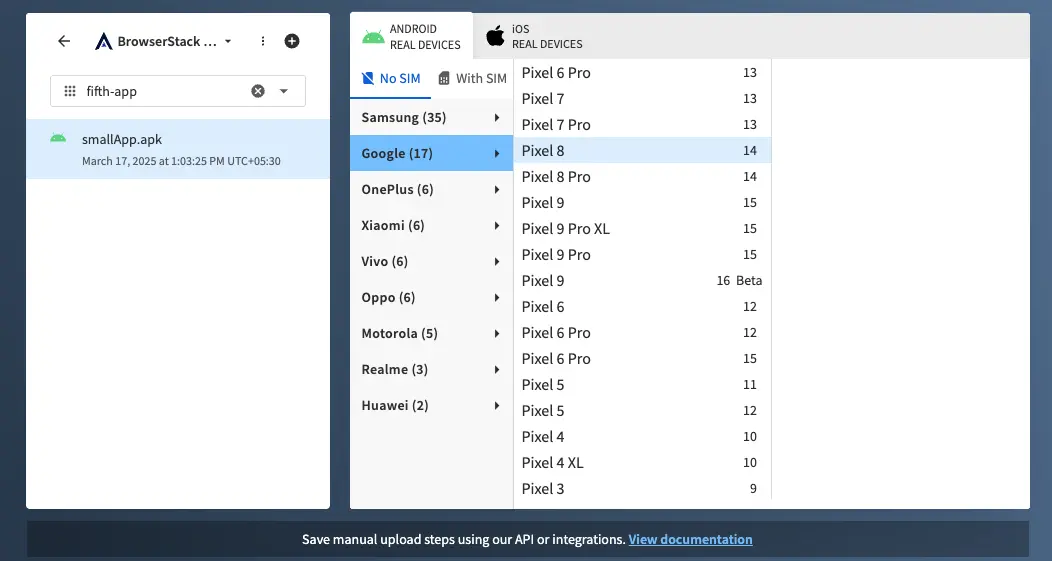
Add more projects
To add more projects, follow these steps on the App Live dashboard:
- Click the plus icon (+) beside the project list.
- Follow the steps in the Integrate Applivery with App Live.
Refresh projects
To refresh projects:
- From the project list, select the project.
- Click the more options icon (⋮) next to the project name, then click Refresh.
Delete projects
To delete projects:
- From the project list, select the project you want to delete.
- Click the more options icon (⋮) next to the project name, then click Delete.
A confirmation message appears to confirm whether you want to delete the project from App Live. Click Delete to confirm.
Delete all projects
To delete all projects that you added at once:
- Go to the Integrations page.
- Scroll down to the Applivery tile. Click Disconnect.
Once you disconnect, all the projects you added are deleted from App Live. However, projects shared with you are not deleted.
We're sorry to hear that. Please share your feedback so we can do better
Contact our Support team for immediate help while we work on improving our docs.
We're continuously improving our docs. We'd love to know what you liked
We're sorry to hear that. Please share your feedback so we can do better
Contact our Support team for immediate help while we work on improving our docs.
We're continuously improving our docs. We'd love to know what you liked
Thank you for your valuable feedback!