Get your setup working faster. Join our Discord for optimisation tips from elite testers.Join our Discord
Playwright with MSTest
Your guide to running tests using MSTest SDK on BrowserStack’s Playwright Grid of 100+ browser-OS combinations.
This section covers running your first build with BrowserStack’s sample repo. To run builds with your existing test suite(s), skip to integrate your test suite.
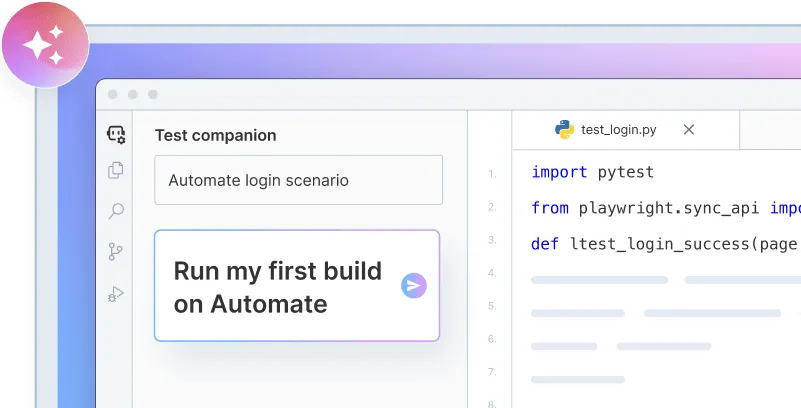
Onboard faster with Test Companion
Launch in your IDE. Chat with the AI assistant to configure and run your first build instantly.
Launch in IDE
Opening Test Companion in your IDE
Prerequisites
BrowserStack Username and Access key. You can find this in your account profile section. If you do not have an account yet, sign up for a Free Trial.
Run a sample build
Run a sample MSTest test build, using your preferred method on BrowserStack:
The browserstack.yml file holds all the required capabilities to run your tests on BrowserStack.
Set access credentials
Set userName and accessKey parameters in the browserstack.yml file, available in the root directory, to authenticate your tests on BrowserStack.
Specify platforms to test on
Set the browsers/OS you want to test under the platforms object. Select over 100+ browsers-OS combinations from the list of supported browsers and OS.
Parallel thread
#1
Windows 10
Chrome 120
Parallel thread
#2
OS X Monterey
Safari 15.6
Parallel thread
#3
iOS 15
iPhone 13
Configure AI Agents
You can enable the following AI agents by adding the respective configurations in your browserstack.yml file:
Enable Self Heal Agent
Auto-fix locator failures with the AI-powered self-heal agent and get up to 40% fewer locator failures. Learn more
True
False
Test Failure Analysis Agent
Auto-enabled
AI-powered root cause analysis for test failures that can reduce debugging time. Learn more
Update the browserstack.yml config file
Copy and replace the following config in the browserstack.yml file available in the root directory of the project. Note that the values in the platforms section are sample values. Replace them with the browser-OS combination of your choice.
After downloading the sample project, unzip it in a desired location.
Import the downloaded project
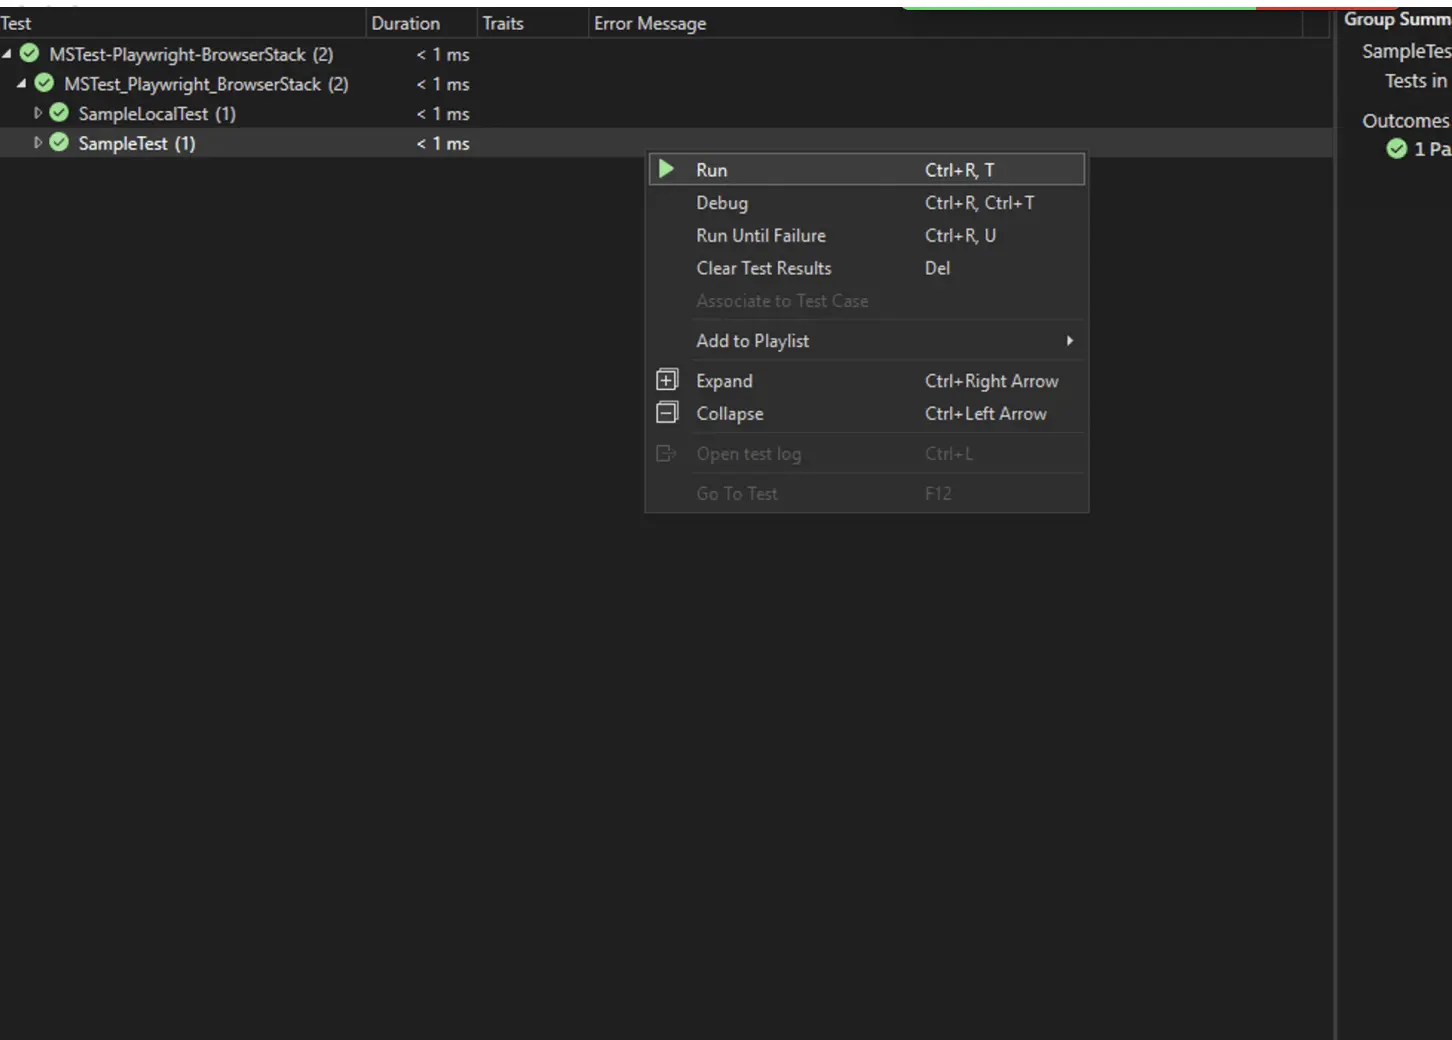
Click File > Open. Navigate to your project and open it.
Configure your browserstack.yml config file
The browserstack.yml file holds all the required capabilities to run your tests on BrowserStack.
Set access credentials
Set userName and accessKey parameters in the browserstack.yml file, available in the root directory, to authenticate your tests on BrowserStack.
Specify platforms to test on
Set the browsers/OS you want to test under the platforms object. Select over 100+ browsers-OS combinations from the list of supported browsers and OS.
Parallel thread
#1
Windows 10
Chrome 120
Parallel thread
#2
OS X Monterey
Safari 15.6
Parallel thread
#3
iOS 15
iPhone 13
Configure AI Agents
You can enable the following AI agents by adding the respective configurations in your browserstack.yml file:
Enable Self Heal Agent
Auto-fix locator failures with the AI-powered self-heal agent and get up to 40% fewer locator failures. Learn more
True
False
Test Failure Analysis Agent
Auto-enabled
AI-powered root cause analysis for test failures that can reduce debugging time. Learn more
Update the browserstack.yml config file
Copy and replace the following config in the browserstack.yml file available in the root directory of the project. Note that the values in the platforms section are sample values. Replace them with the browser-OS combination of your choice.

 Join our Discord
 Configure AI Agents