Sync to test management
Learn how to sync your test cases to BrowserStack Test Management directly from your IDE.
After generating and reviewing your test cases, sync them to your test management system so your entire team can access, execute, and report on them. If you don’t have a Test Management account, you can export test cases as a CSV instead.
Choose a sync mode
Test Companion supports two ways to sync test cases. Pick the one that matches what you have selected in the Test Cases panel.
Sync individual test cases
Use this mode when you want to push one or more specific test cases to Test Management without moving the entire scenario.
- In the Test Cases panel toolbar, click the Test Management Service dropdown.
-
Select BrowserStack.
- From the Project dropdown, select the project to sync to, or create a new one.
- Use the Folders panel on the left to organize your test cases into the folder structure you want.
- In the Test Cases panel, select the individual test cases you want to sync.
- Click Sync to TM.
Test Companion pushes all new and updated test cases to your selected project and folder. After syncing, each test case receives a Test ID that links it to the entry in your test management system.
Sync a scenario to a folder
Use this mode when you want to keep an entire scenario together in Test Management as a single folder of related test cases.
- In the Test Cases panel, select the scenario you want to sync.
- In the Folders panel on the left, choose the destination folder, or create a new one.
- Click Sync to TM.
Test Companion creates the folder structure in your Test Management project (if it does not already exist) and pushes every test case in the scenario into that folder. This keeps related test cases grouped together for execution and reporting.
What syncs
The sync includes:
- Test case name, description, steps, and expected results
- Preconditions, priority, automation status, and test case status
- Custom fields (if configured)
- Folder structure
Synced vs generated view
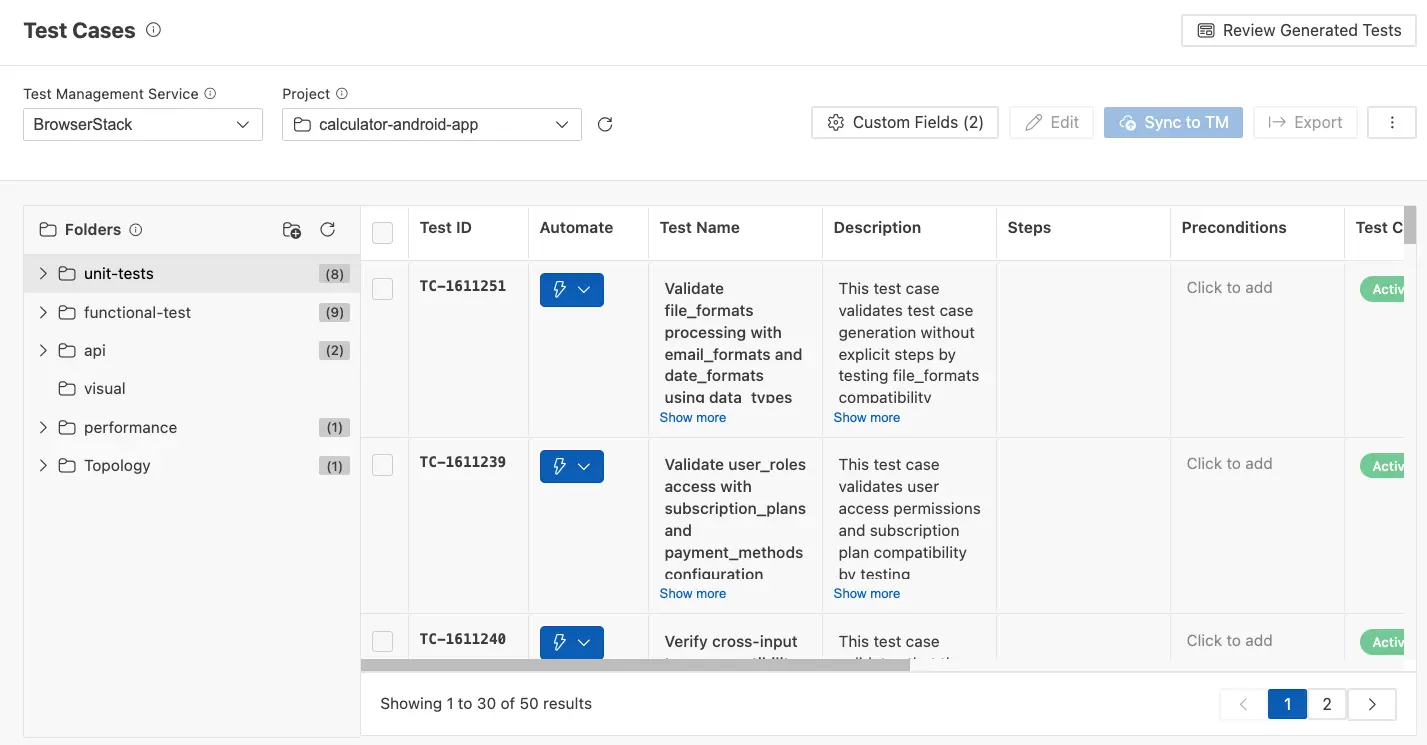
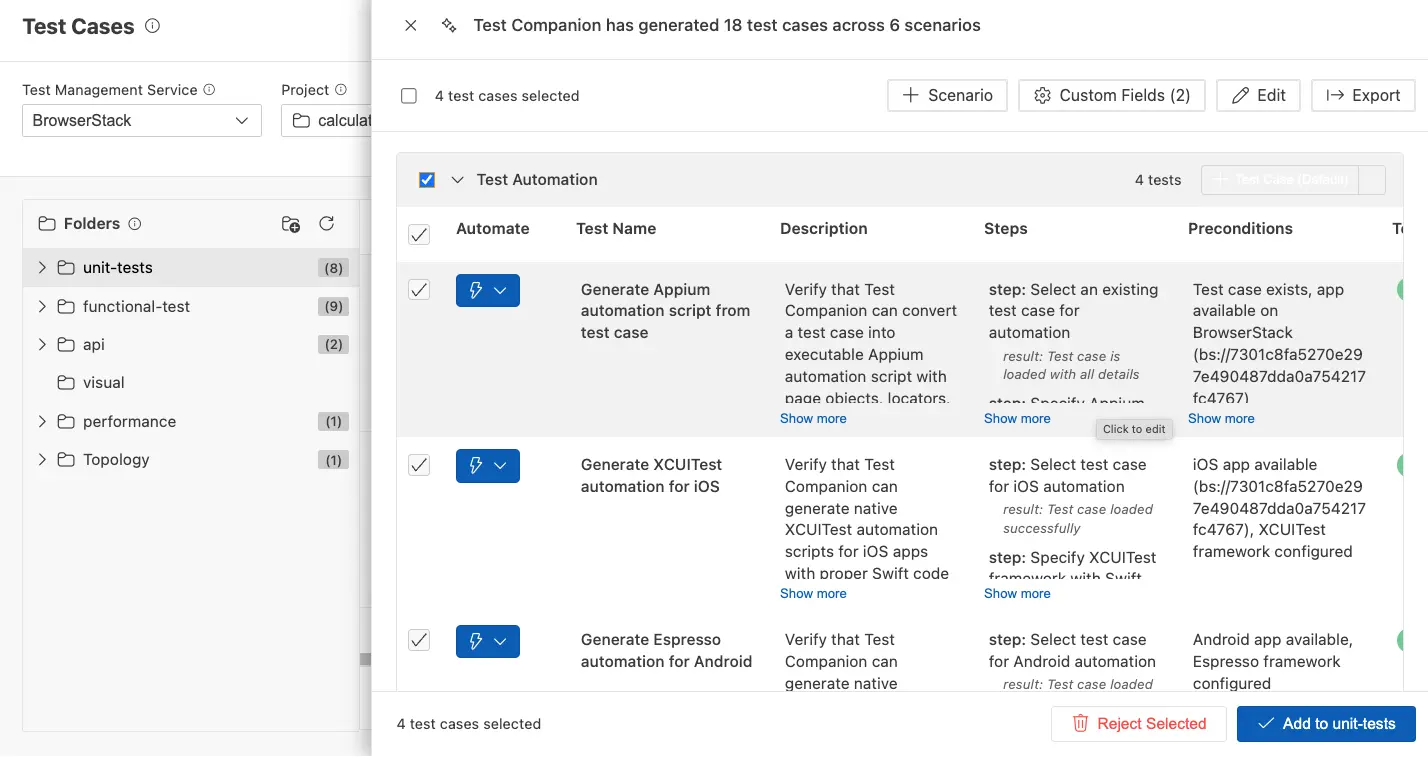
After syncing, use the Review Generated Tests button in the top-right corner of the Test Cases panel to switch between two views:
- Review view: Shows generated test cases grouped by scenario. This is the default view during generation.
- Synced view: Shows test cases as they appear in your test management system, with Test IDs in a paginated table.
Next steps
- Export test cases: Download test cases for offline sharing.
- Custom fields: Add metadata before syncing.
We're sorry to hear that. Please share your feedback so we can do better
Contact our Support team for immediate help while we work on improving our docs.
We're continuously improving our docs. We'd love to know what you liked
We're sorry to hear that. Please share your feedback so we can do better
Contact our Support team for immediate help while we work on improving our docs.
We're continuously improving our docs. We'd love to know what you liked
Thank you for your valuable feedback!