Test run groups
Learn how to organize related test runs into logical groups to manage, close, and track testing efforts together. This helps improve tracking and efficiency.
Organize related test runs into logical sets called Test Run Groups. Grouping test runs helps you manage and track your testing efforts more efficiently, especially for large projects like regression suites, feature-specific tests, or release candidates and so on.
By grouping test runs, you can:
- Organize active runs visually in the list view.
- Close all runs in a group at once.
- Assign all runs in a group to a specific tester.
- Link an entire group of runs to a test plan.
Create a test run group
You can create a run group in two ways:
- By grouping existing test runs from the list view, or
- By creating a new group when you create/edit a test run.
From the test runs list view
Use this method to group existing test runs.
- Navigate to the Test Runs list view from the left navigation bar.
- Select the checkboxes next to the test runs you want to include in the group.
-
Click the more options (⋮) menu in the bulk action bar at the top of the list or adjacent to the selected test runs.
- Click Add to Run Group.
-
In the Link to Run Group dialog, select an existing group or choose Create Run Group to create a new one.
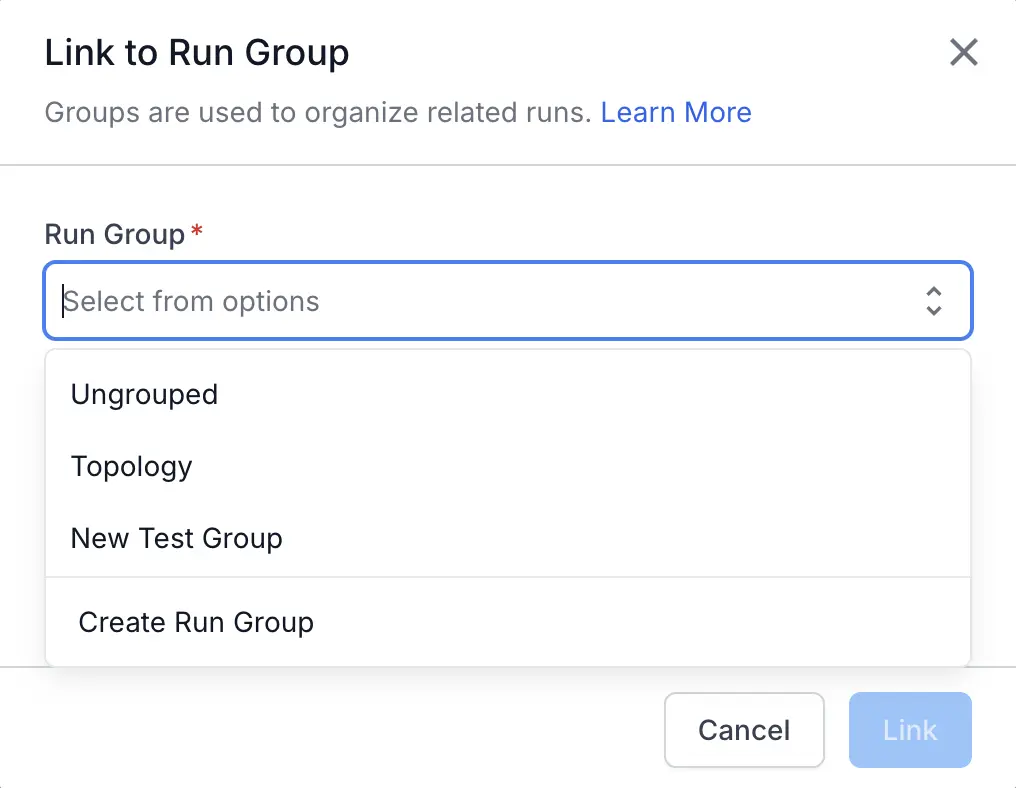
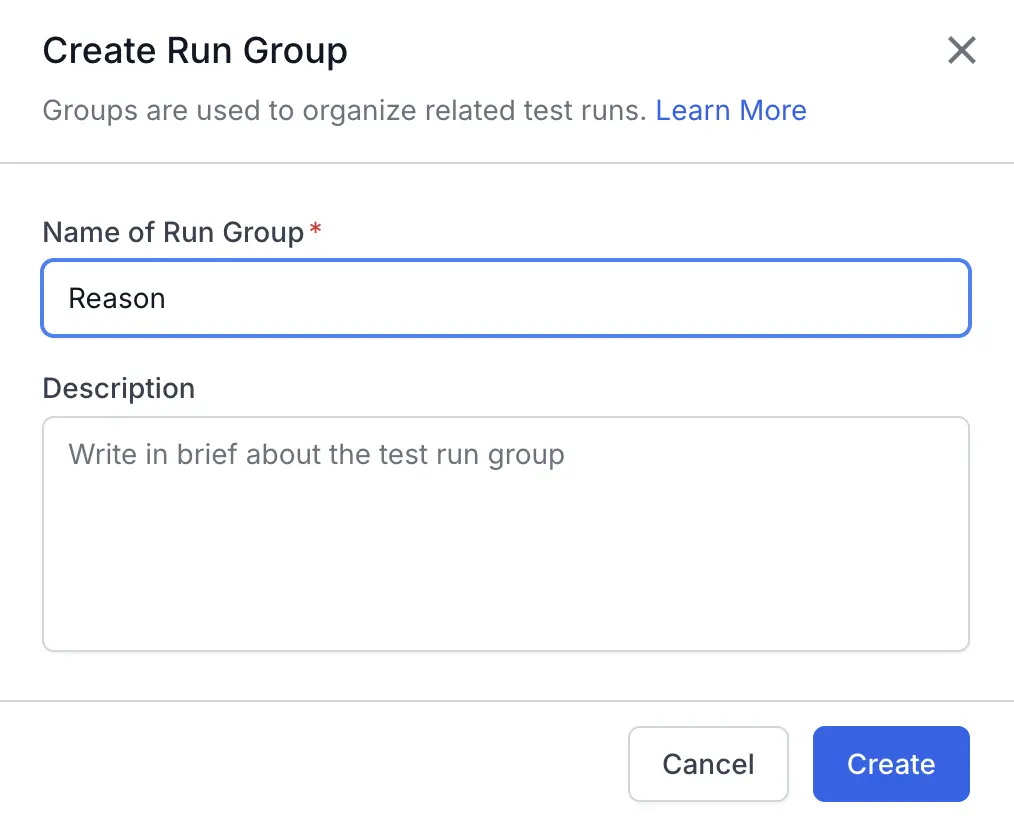
- If you are creating a new group, provide a Name and an optional Description.
-
Click Create and then Link (or Link if using an existing group).
You have now created a new run group and the selected test runs now belong to the run group.
Create or edit a test run
You can assign a test run to a new or existing group directly from the Create New Test Run window.
- Navigate to the Test Runs list view from the left navigation bar.
- Create a new test run or edit an existing test run.
-
Locate the Run Group field on the form.
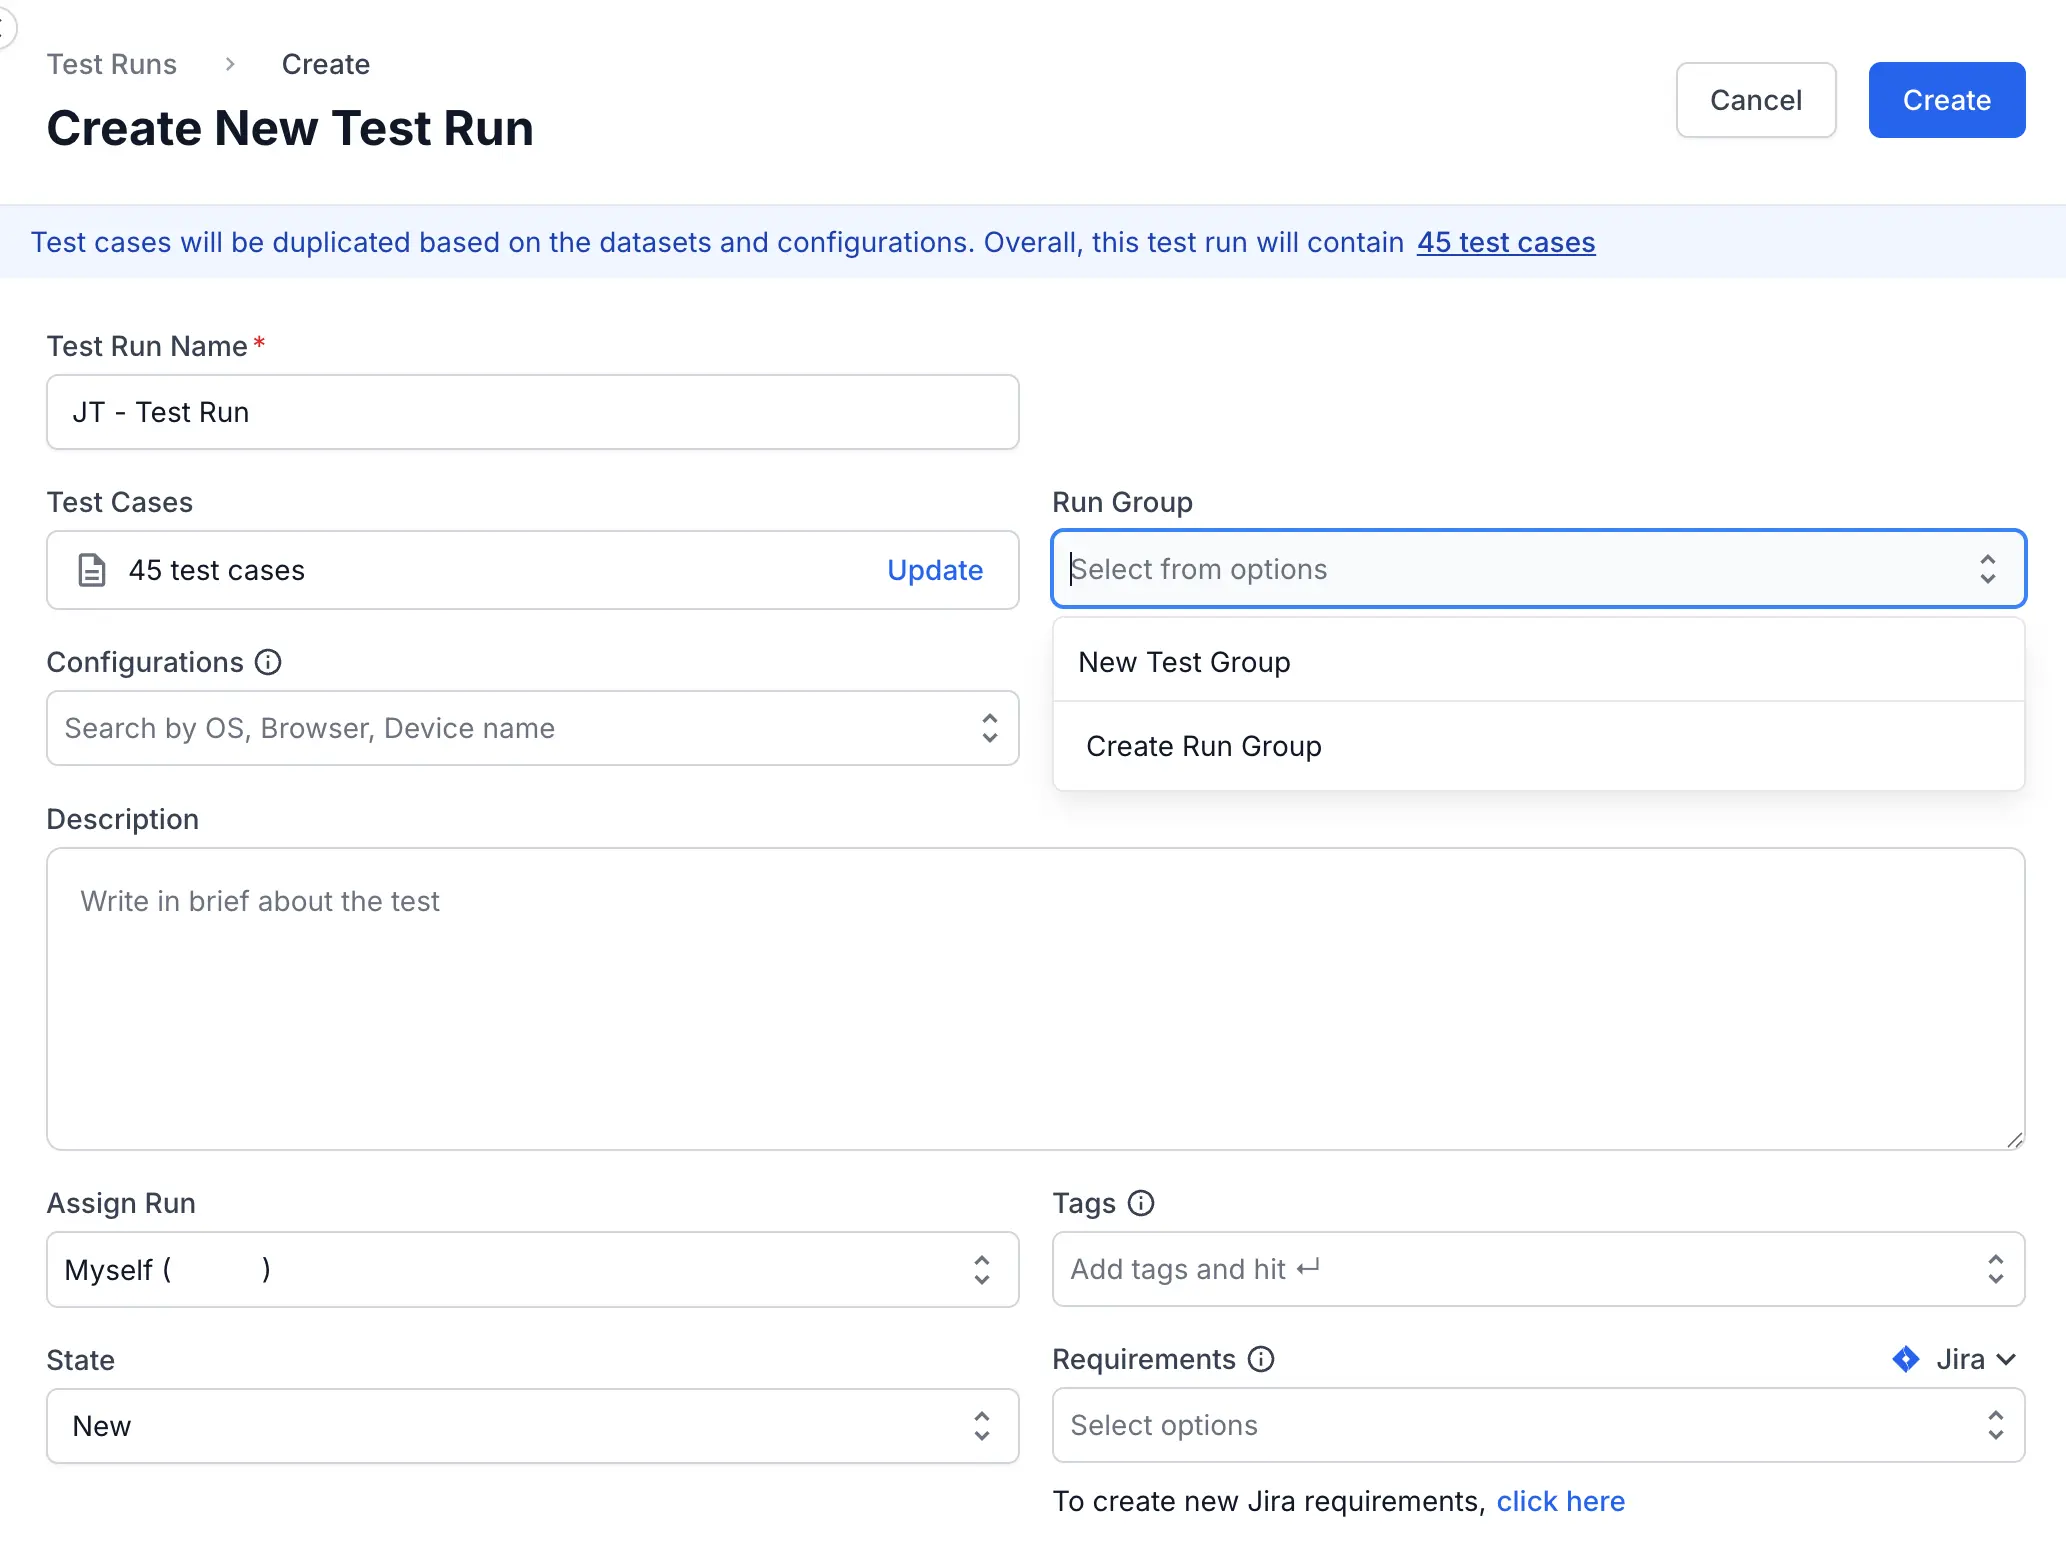
- Select an existing run group from the dropdown or select Create Run Group.
-
If creating a new group, enter a Name and Description in the dialog.
- Complete the remaining of the test run details and click Create.
Your new test run is now created and automatically placed within the specified run group.
View grouped test runs
By default, the test runs list view displays an ungrouped list. You can switch to a grouped view to see test runs organized by their assigned group.
-
On the test runs list view, click the Display Settings icon (grid icon) located beside the search bar.
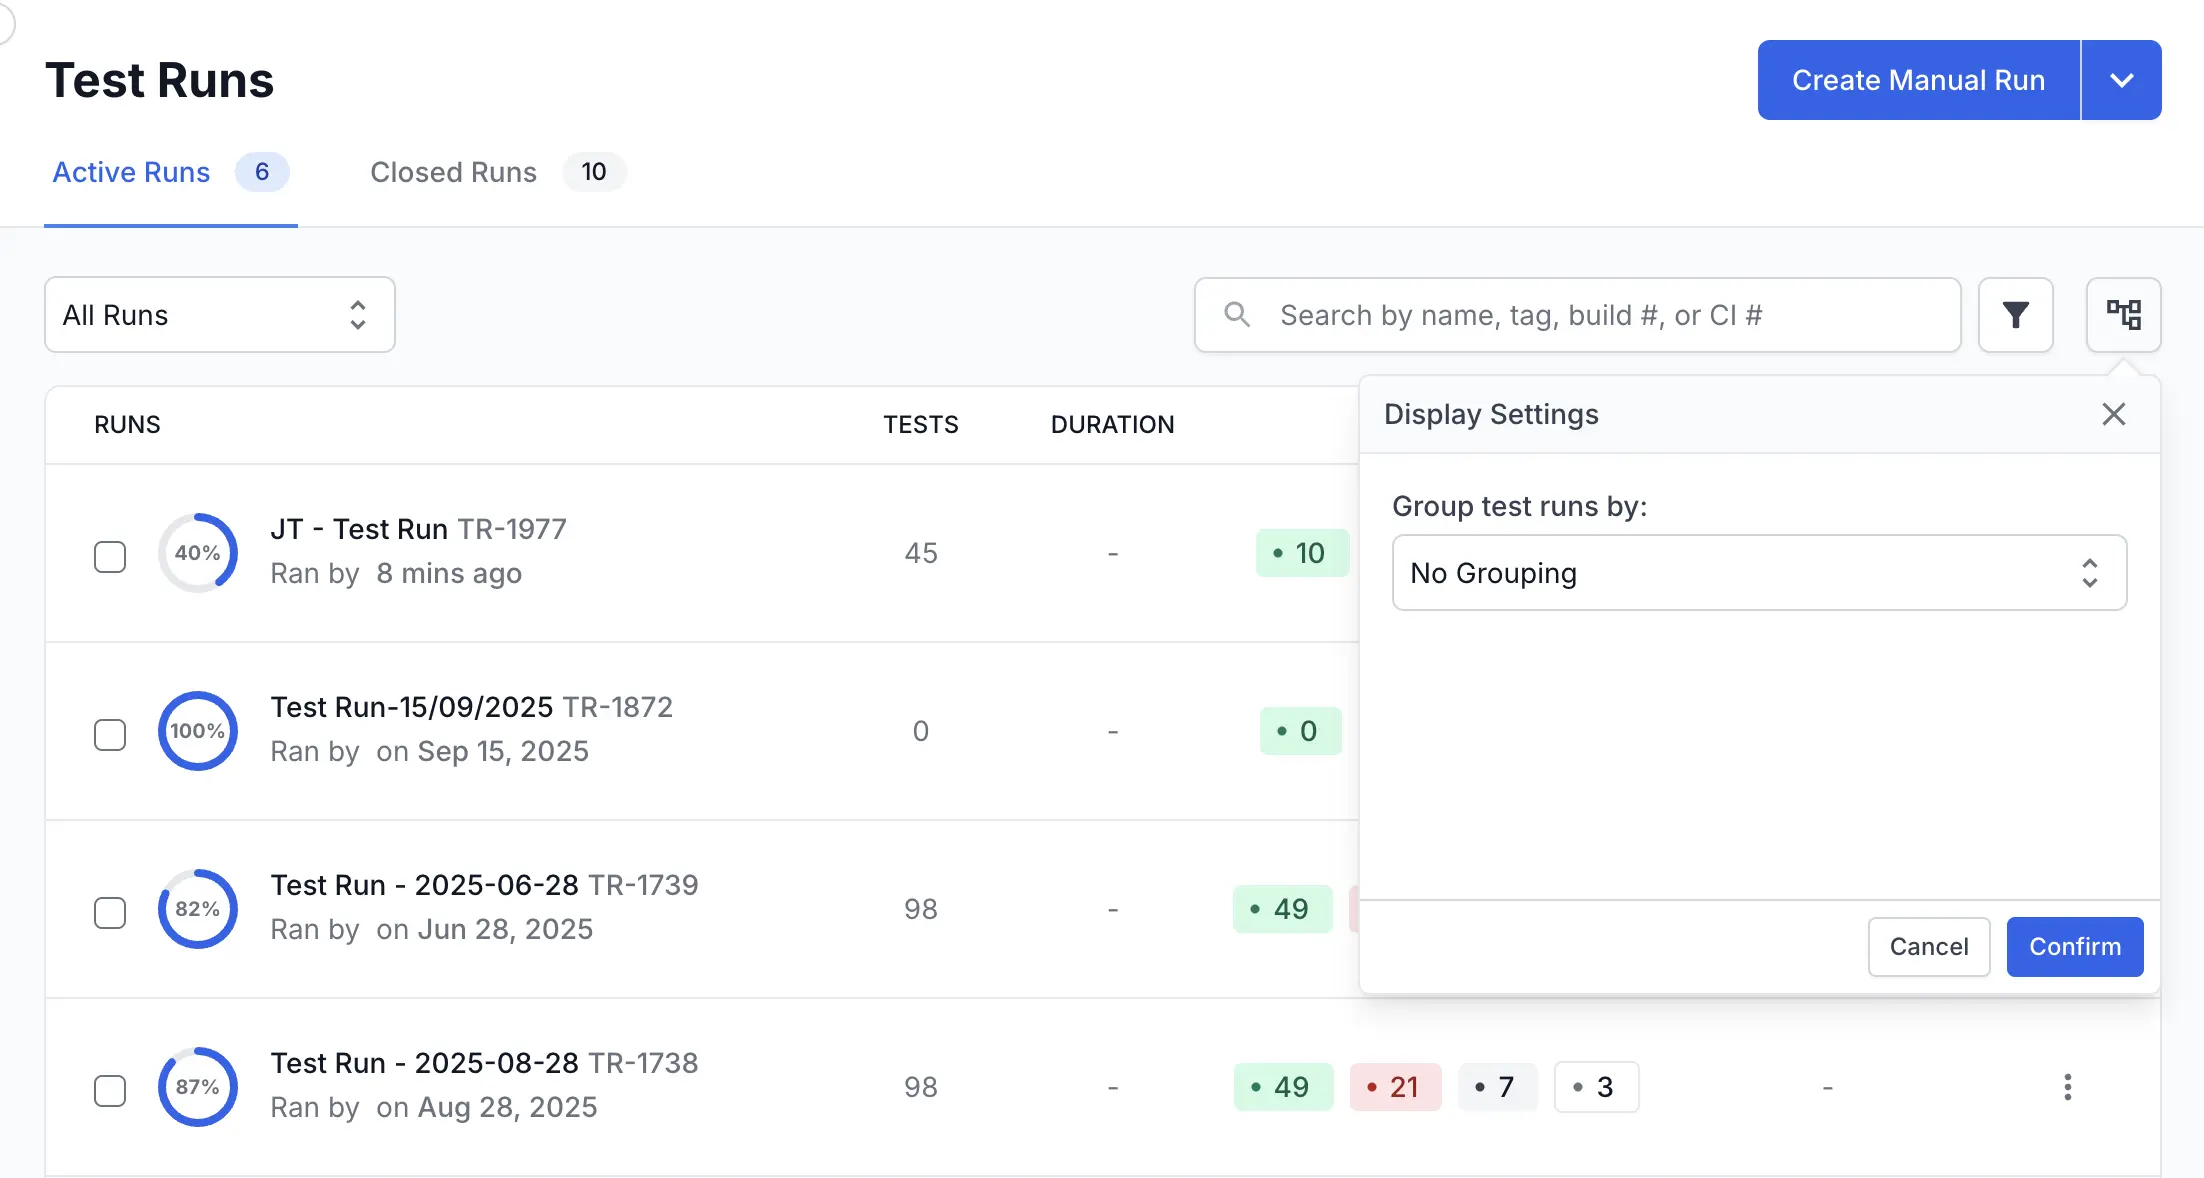
-
In the Display Settings panel, click the dropdown for Group test runs by.
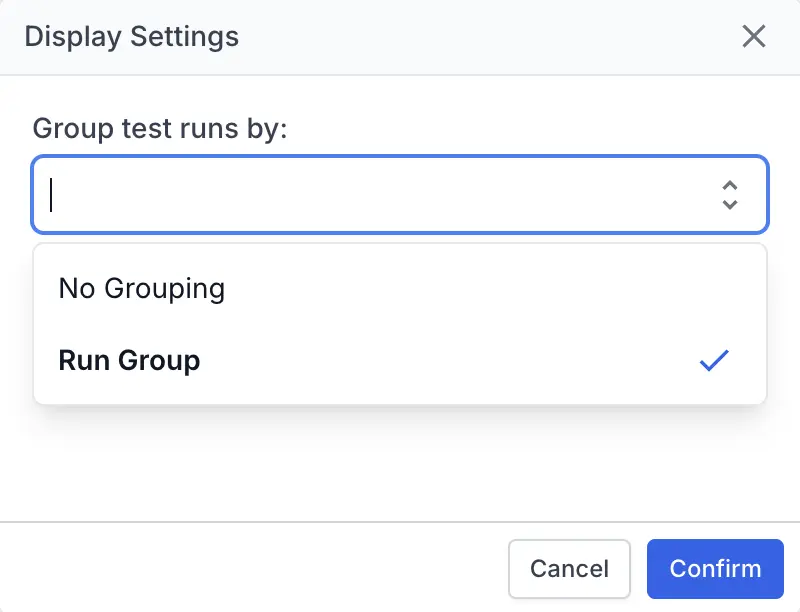
- Select Run Group from the list.
- Click Confirm.
The test run list view now displays your runs in collapsible sections, with each section representing a Run Group. Test runs that are not part of any group will appear under a default heading like Ungrouped.
Next steps
We're sorry to hear that. Please share your feedback so we can do better
Contact our Support team for immediate help while we work on improving our docs.
We're continuously improving our docs. We'd love to know what you liked
We're sorry to hear that. Please share your feedback so we can do better
Contact our Support team for immediate help while we work on improving our docs.
We're continuously improving our docs. We'd love to know what you liked
Thank you for your valuable feedback!