
 Join our Discord
Manage access keys
Learn how to manage access keys to run your tests on BrowserStack.
BrowserStack APIs use HTTP Basic Auth for authentication and require BrowserStack’s account credentials in each request. It helps in identifying the account from which API requests are made. BrowserStack account credentials include username and access-key
You can find your username and access key in your Account > Settings.
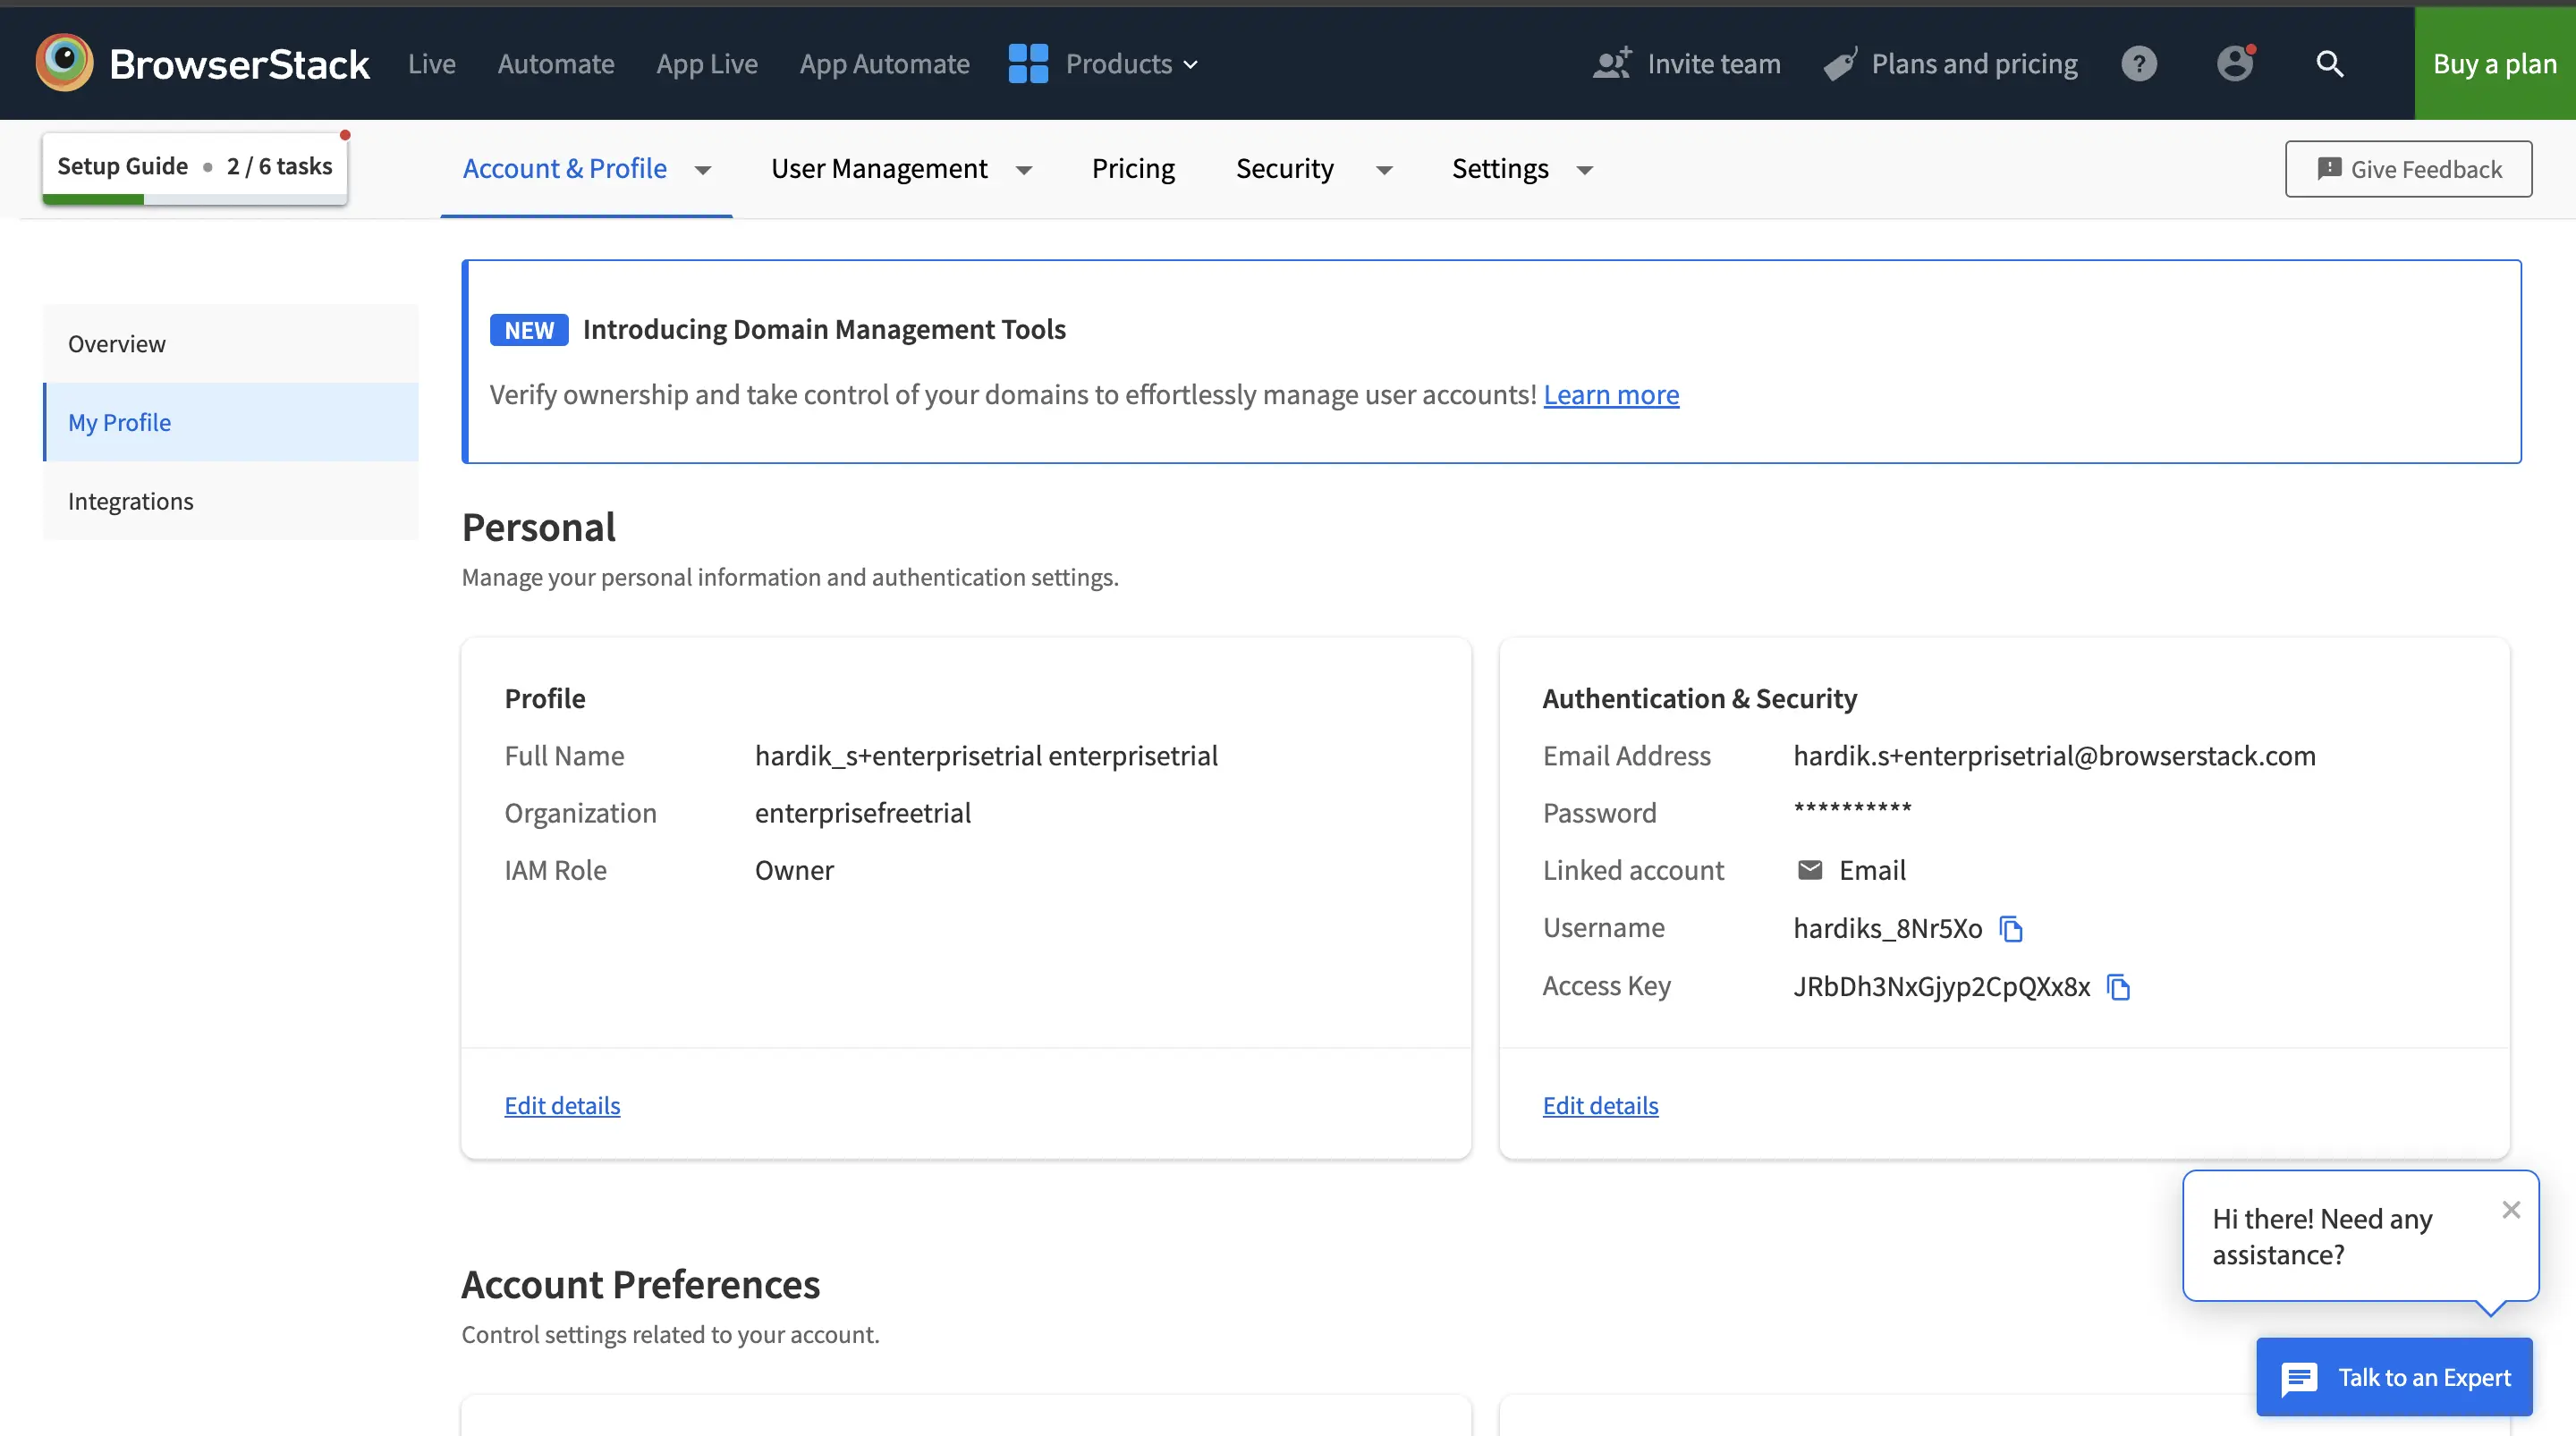
If you are logged-in you will be able to view your username and access key below as well:
username = YOUR_USERNAME
access-key = YOUR_ACCESS_KEY
Reset access keys
We provide you an access key when a user account is created. You may want to reset your BrowserStack access key in any of the following cases:
- In order to comply with your organization’s internal key rotation policies.
- When any members leave the organization.
This page shows four ways of obtaining a new BrowserStack access key:
- Via Command Prompt or Terminal
- Through an API Client (such as Postman)
- Rotate your access key from the dashboard
- Automatically with an auto-rotation policy
Rotate your access key from the dashboard
Rotate your access key to generate a new key from your profile:
Log in to your BrowserStack account.
Click the User Profile icon in the top-right corner, then select Account & Profile and click My Profile.
In the Authentication & Security section, click the rotate icon next to Access Key.
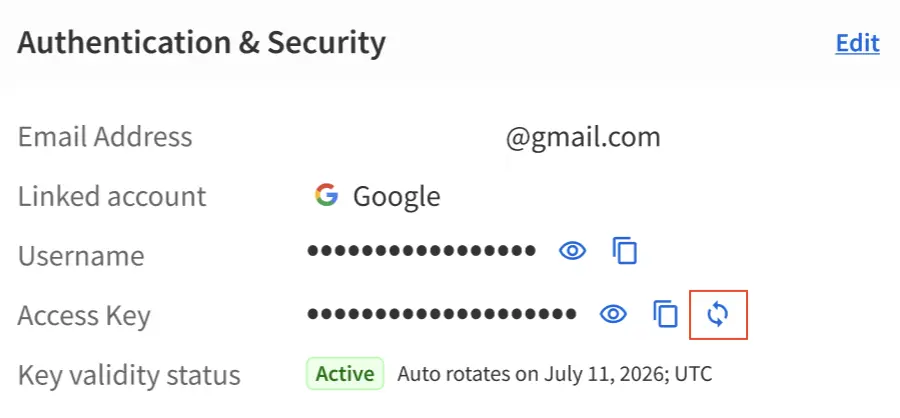
Click Confirm to generate a new access key.
A success message confirms that the access key is rotated. Use the copy icon to copy the new key and update it in your integrations.
- Rotating the access key invalidates the existing key. Any API or integration that uses the old access key stops functioning until you update it with the new key.
- If the auto-rotation policy is enabled, the Key validity status field shows when your access key auto-rotates next. You can manually rotate the key before this date to update your integrations.
Auto-rotate access key
Auto-rotation automatically replaces user access keys and service account access keys with new credentials after a defined duration. This helps you comply with your organization’s key rotation policies without manually resetting your keys. However, we recommend that you manually rotate and update your integrations with the latest access keys.
By default, access keys never auto-rotate. A Group Owner or a Group Admin with authentication permissions can enable the auto-rotation policy for the organization.
Enable the auto-rotation policy
To configure auto-rotation policy for your organization:
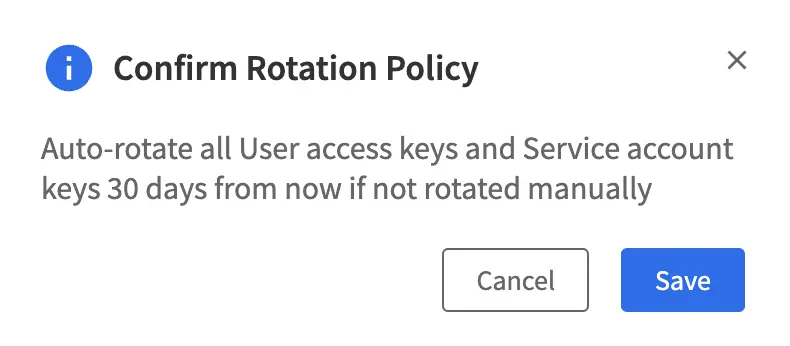
Go to Settings > Permissions and expand Authentication & Security Settings.
Under Access key Auto-rotation policy, select Enable auto-rotation policy.
From the Auto rotate Access keys every list, select a rotation duration. You can choose 30, 60, 90, 180, or 365 days.
Select Save.
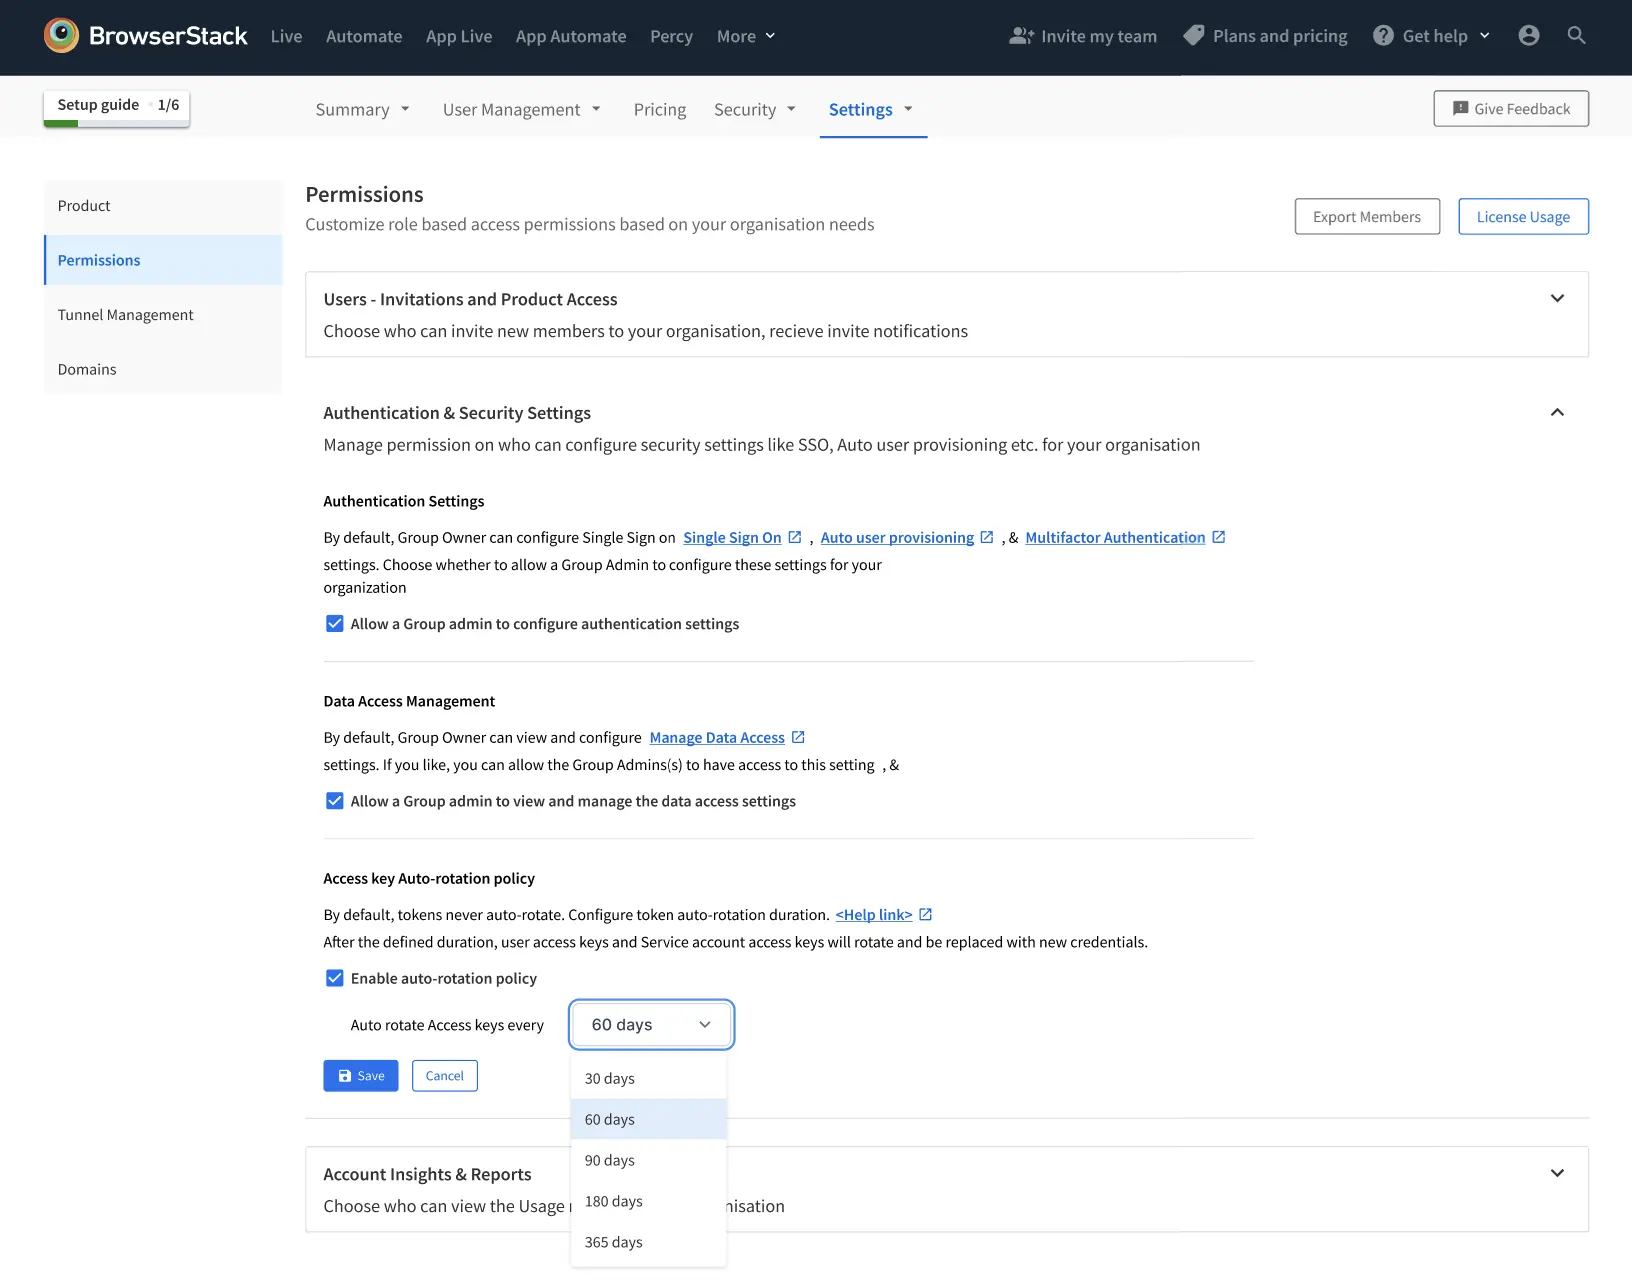
In the Confirm Rotation Policy dialog, review the rotation policy details and select Save. All user access keys and service account keys auto-rotate after the selected duration if you don’t rotate them manually before this date.
Update the rotation duration
To change the rotation duration:
Go to Access key Auto-rotation policy and select a new duration from the Auto rotate Access keys every list.
Select Save.
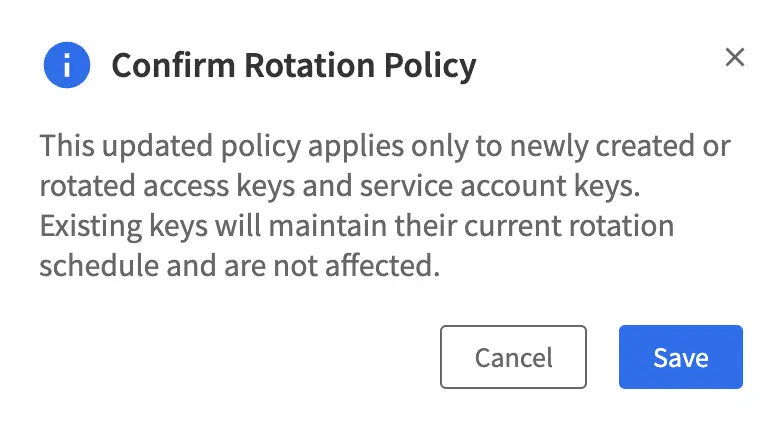
In the Confirm Rotation Policy dialog, select Save. The updated policy applies only to newly created or rotated keys.
Disable the auto-rotation policy
To turn off auto-rotation policy:
Go to Access key Auto-rotation policy and clear Enable auto-rotation policy.
Select Save.
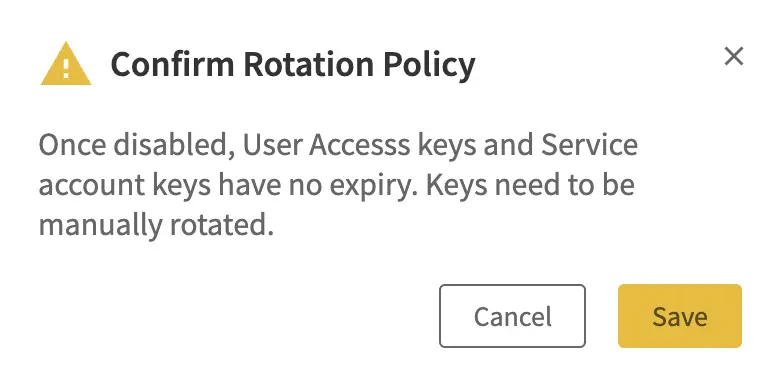
In the Confirm Rotation Policy dialog, select Save. After you disable the policy, user access keys and service account keys no longer expire and must be rotated manually.
View the rotation schedule
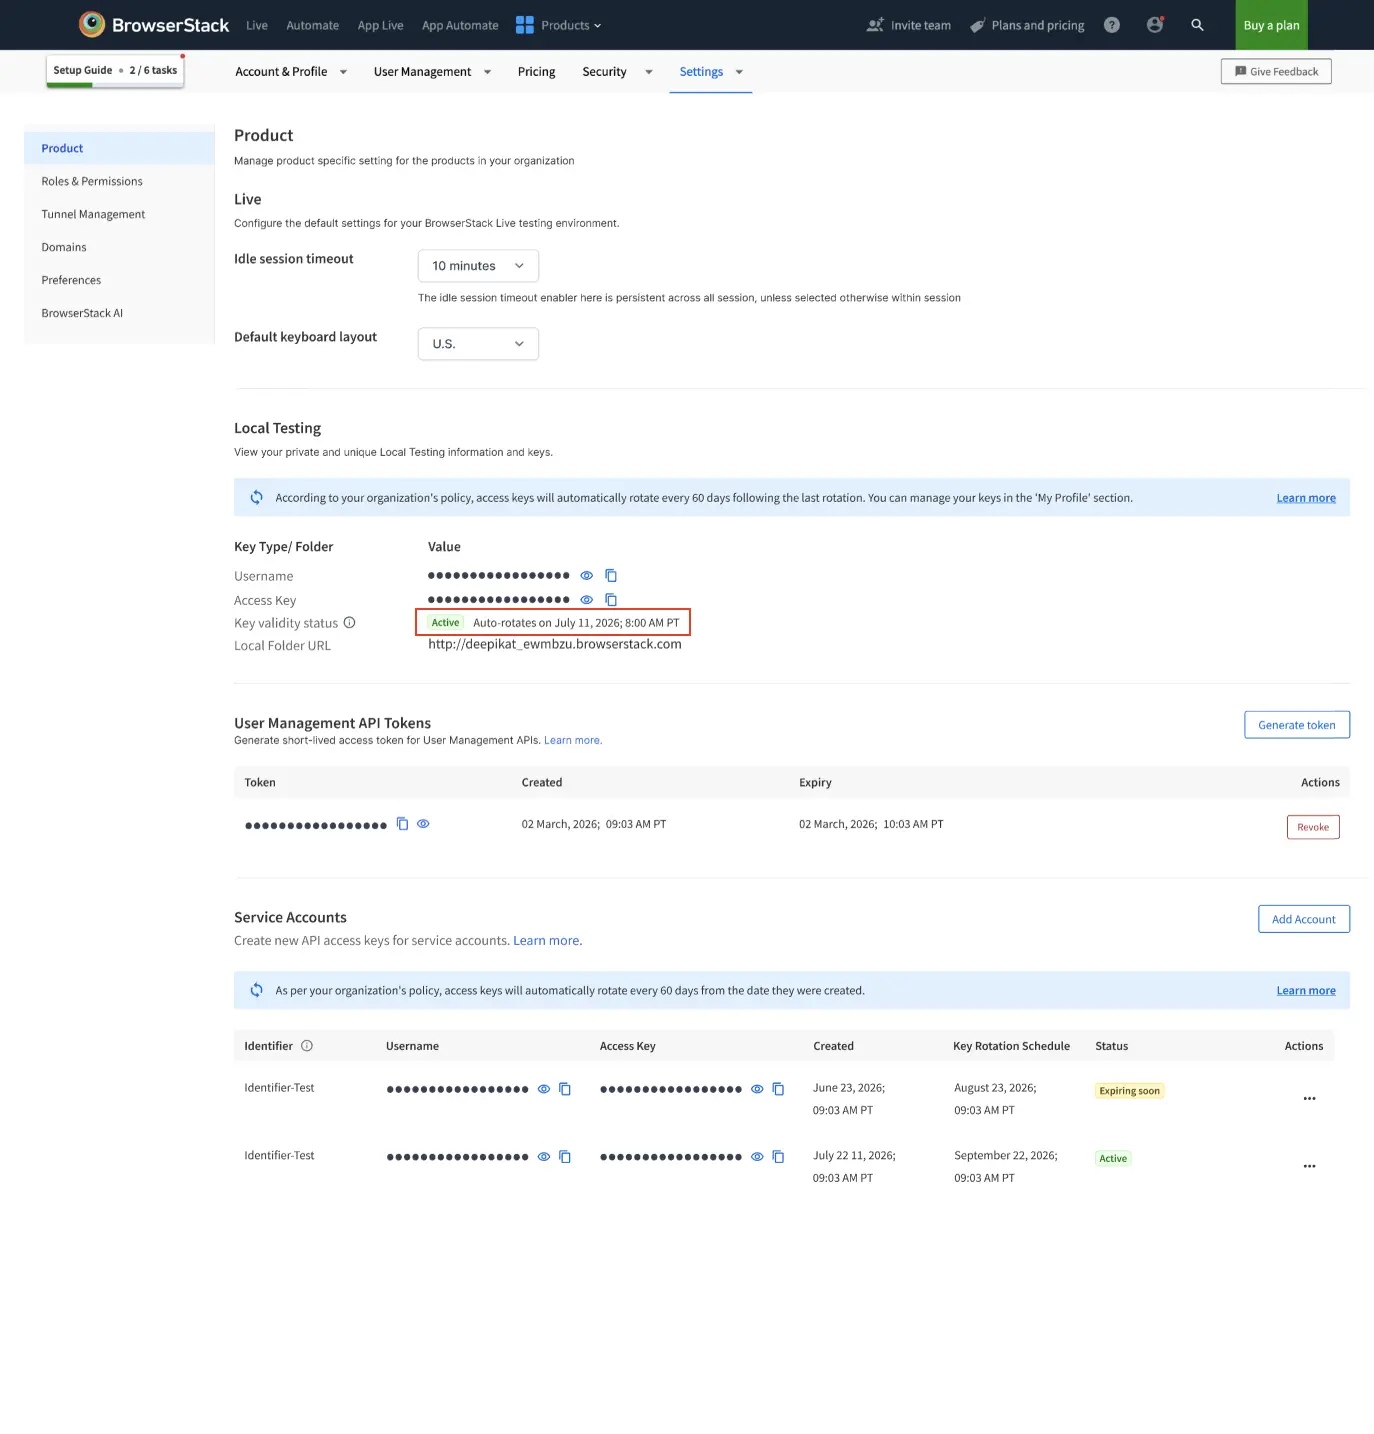
After auto-rotation is enabled, you can view the rotation schedule under Settings > Product:
- In the Local Testing section, the Key validity status field shows the date and time your access key rotates next.
- In the Service Accounts table, the Key Rotation Schedule column shows the next rotation date for each service account key. The Status column shows whether the key is active or expiring soon.
We send you an email 14 days before your access key is rotated. We recommend that you rotate the key manually and update it in your dependent integrations before this date. Otherwise, we rotate the key automatically on the scheduled date.
We're sorry to hear that. Please share your feedback so we can do better
Contact our Support team for immediate help while we work on improving our docs.
We're continuously improving our docs. We'd love to know what you liked
We're sorry to hear that. Please share your feedback so we can do better
Contact our Support team for immediate help while we work on improving our docs.
We're continuously improving our docs. We'd love to know what you liked
Thank you for your valuable feedback!