Add tags
Add tags to load tests and individual runs to organize, identify, and filter them across your projects.
Tags are short, reusable labels that you attach to load tests or individual test runs. Use tags to:
- Group related tests by feature, team, or environment, such as
checkout,payments-team, orstaging. - Filter the Load Tests and Test Runs lists to find relevant results faster.
- Distinguish between iterations of the same load test, such as
baselineandpost-optimization.
To filter requests inside a k6 script using k6’s built-in tags, see Filter k6 tests by tag instead.
Tag scope
Tags apply at two levels. Choose the level based on whether you want the tag to persist across future runs or stay limited to a single run.
| Tag scope | Where you add it | What it applies to |
|---|---|---|
| Load test | The Advanced Settings tab when you create or edit a load test, or the Add tags action on the Load Tests list. | The load test itself and every future run that it triggers. |
| Run | The Add tags action on a specific run in the load test details page or the All Test Runs page. | Only the selected run. The load test and other runs are unaffected. |
Run-level tags do not modify the underlying load test. To make tags persist across future runs, edit the load test and add the tag from the Advanced Settings tab.
You can add tags to your load tests:
- While configuring a load test
- To an existing load test
- From the load test details page
- From the All Test Runs page
Add tags while configuring a load test
When you create or edit a load test, you can add tags from the Advanced Settings tab. These tags apply to the load test and every future run.
Go to the BrowserStack Load Testing dashboard and start creating a load test, or open an existing load test and select Edit.
Continue to Step 3/3: Load Configuration and select the Advanced Settings tab.
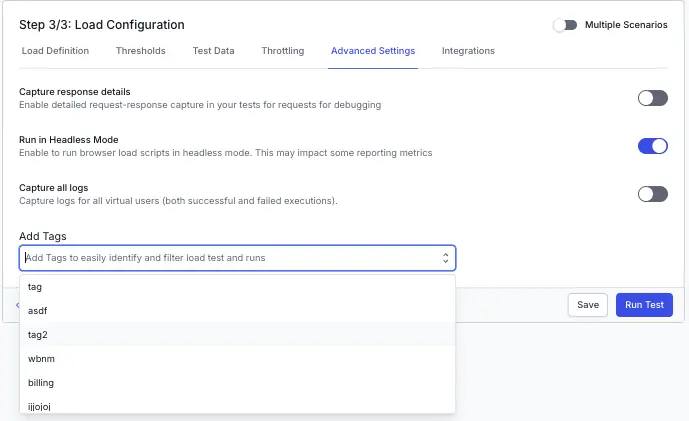
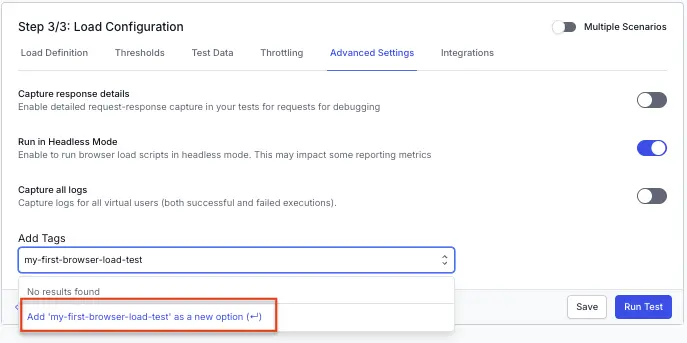
In the Add Tags field, select one or more existing tags from the dropdown, or type a new tag name and select Add <tag> as a new option to create it.
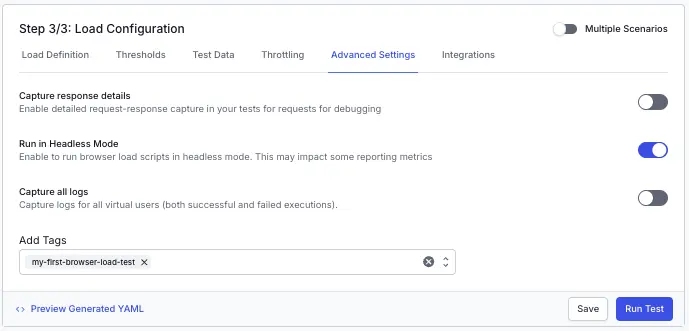
Select Save to apply the tags to the load test, or select Run Test to start a run with the tags applied.
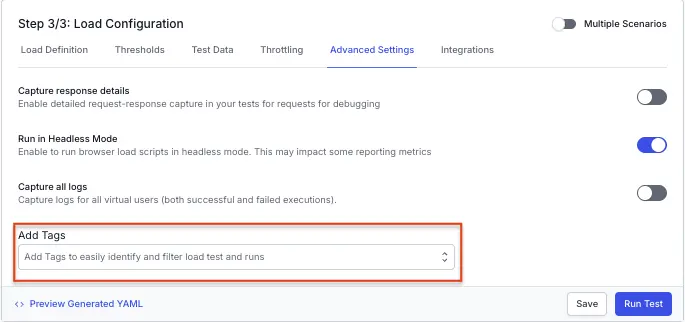
The Add Tags field shows existing tags in a dropdown:
Typing a new value reveals an Add <tag> as a new option entry:
Selected tags appear as chips in the Add Tags field. Select the × icon to remove one:
Add tags to an existing load test
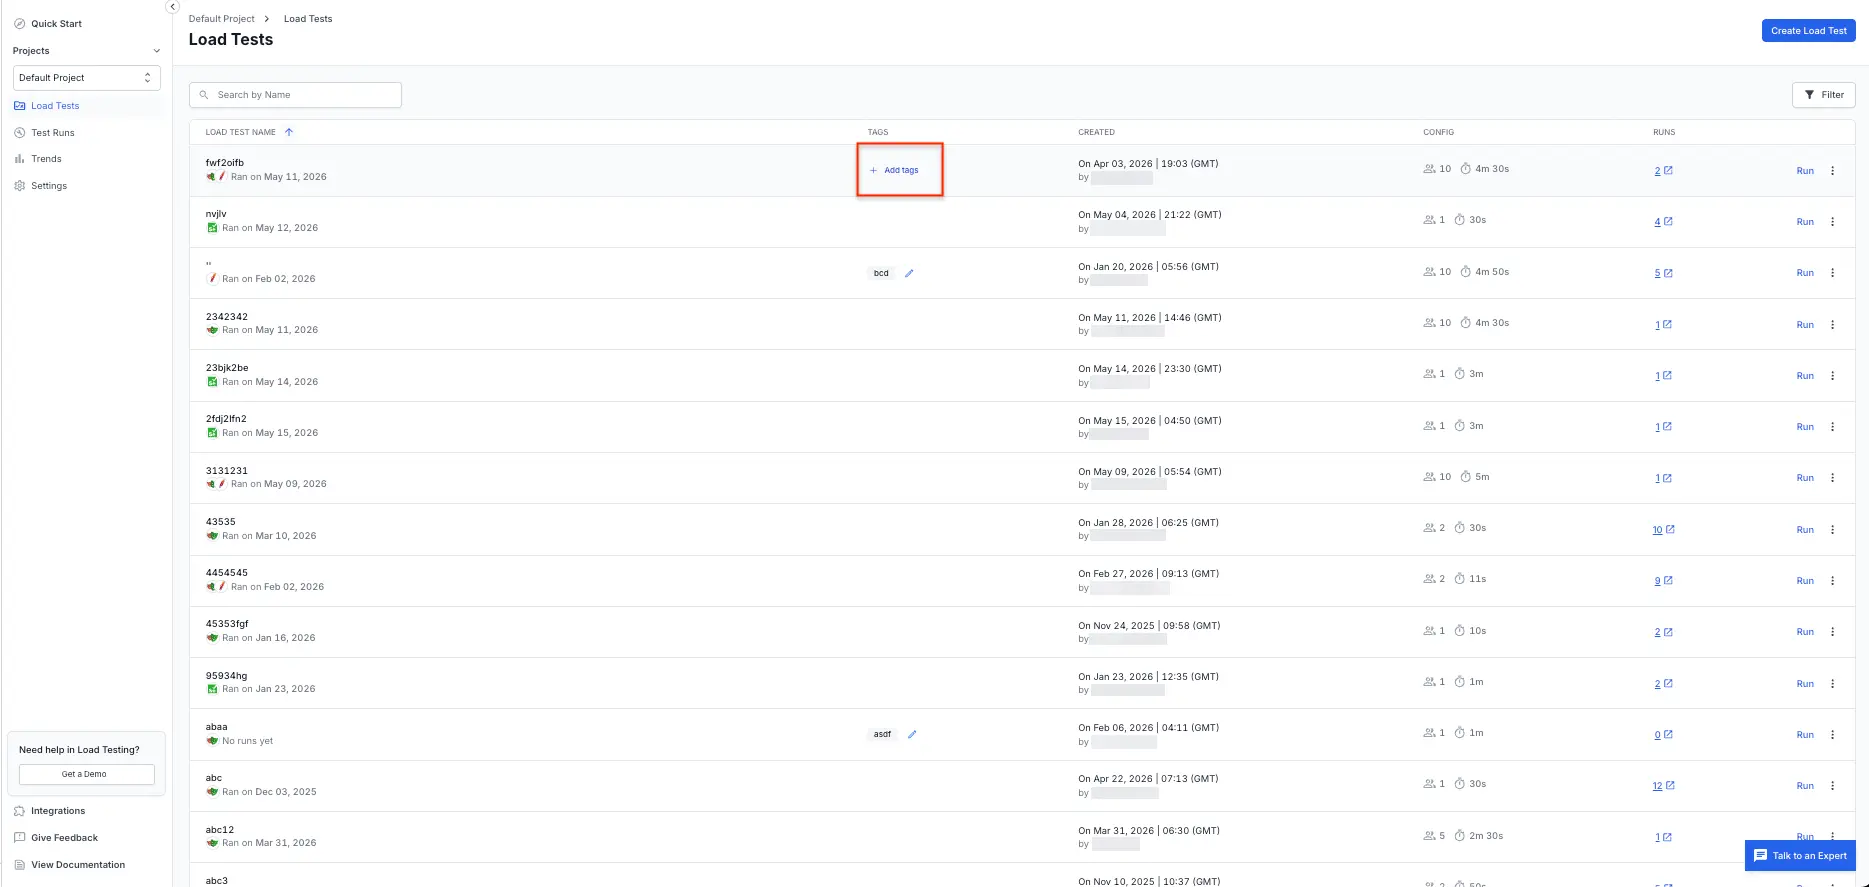
To tag a load test after you create it, use the Load Tests list.
In the left sidebar, select Load Tests to open the list of load tests in your project.
Hover over the row for the target load test, and in the TAGS column select + Add tags.
Select existing tags from the dropdown or type a new tag name and select Add <tag> as a new option. The tags apply to the load test and all of its future runs.
Add tags to a specific test run
To tag an individual run without changing the load test configuration, use either the run row on the load test details page or the All Test Runs page. These tags stay scoped to that run.
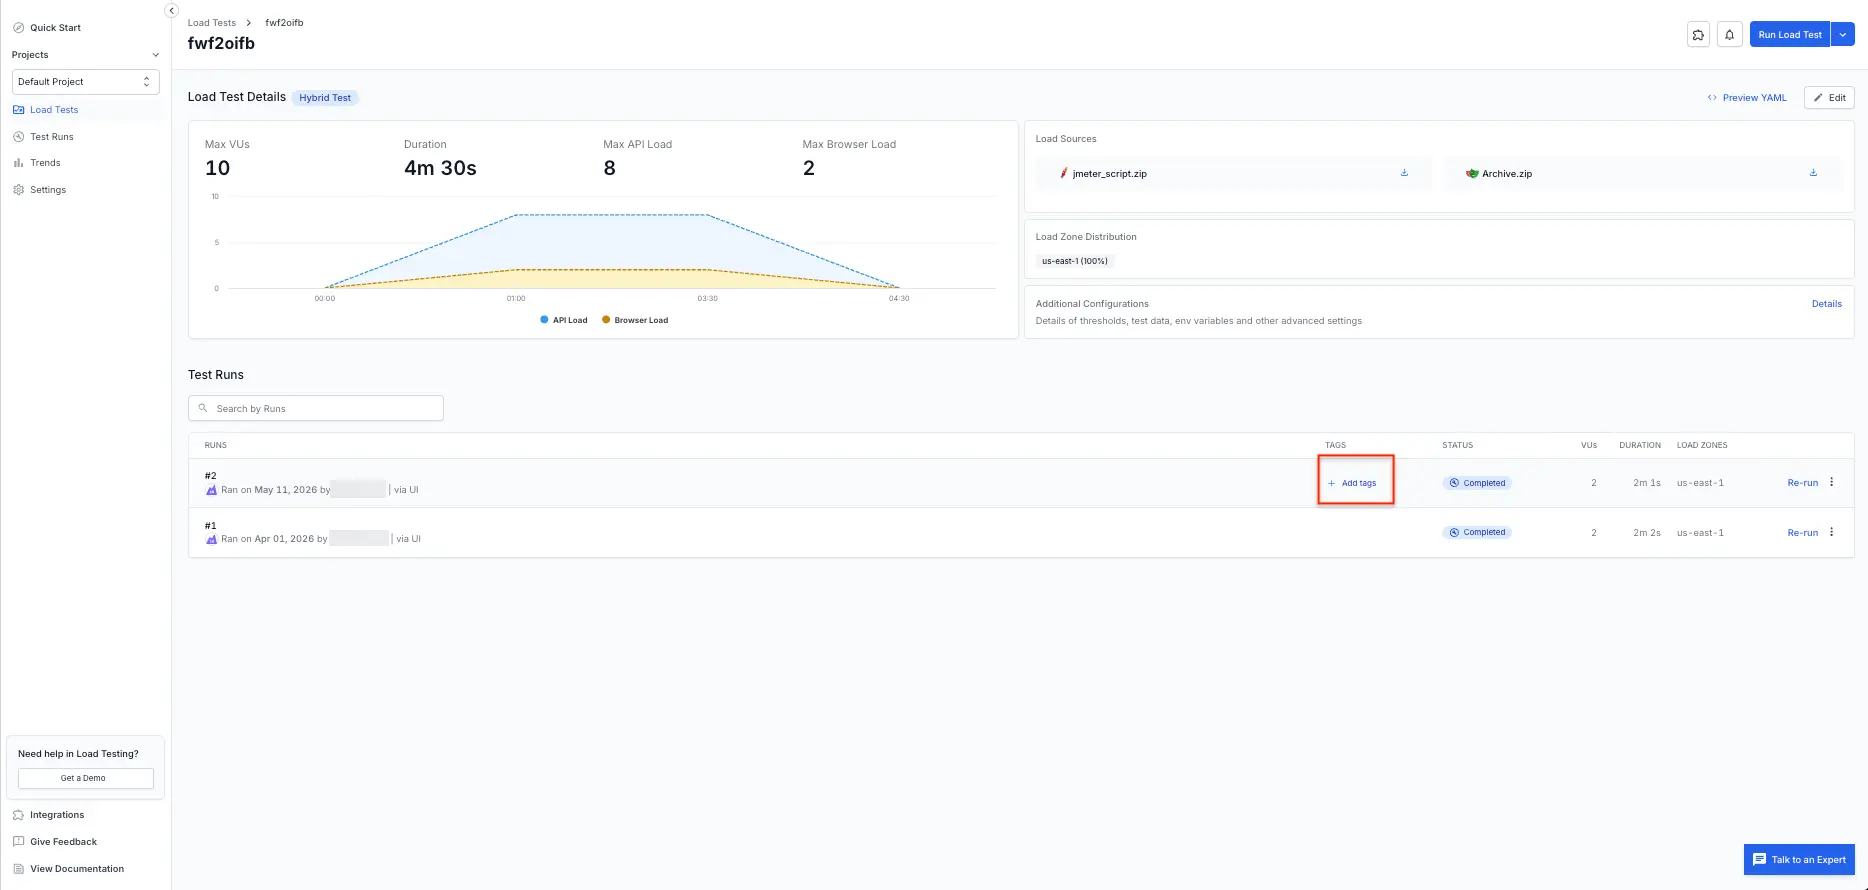
From the load test details page
In the left sidebar, select Load Tests and open the load test that contains the run you want to tag.
Scroll to the Test Runs section, locate the run row, and in the TAGS column select + Add tags.
In the Add Tags dialog, select existing tags or add a new one, and then close the dialog to save. The tags apply only to that run.
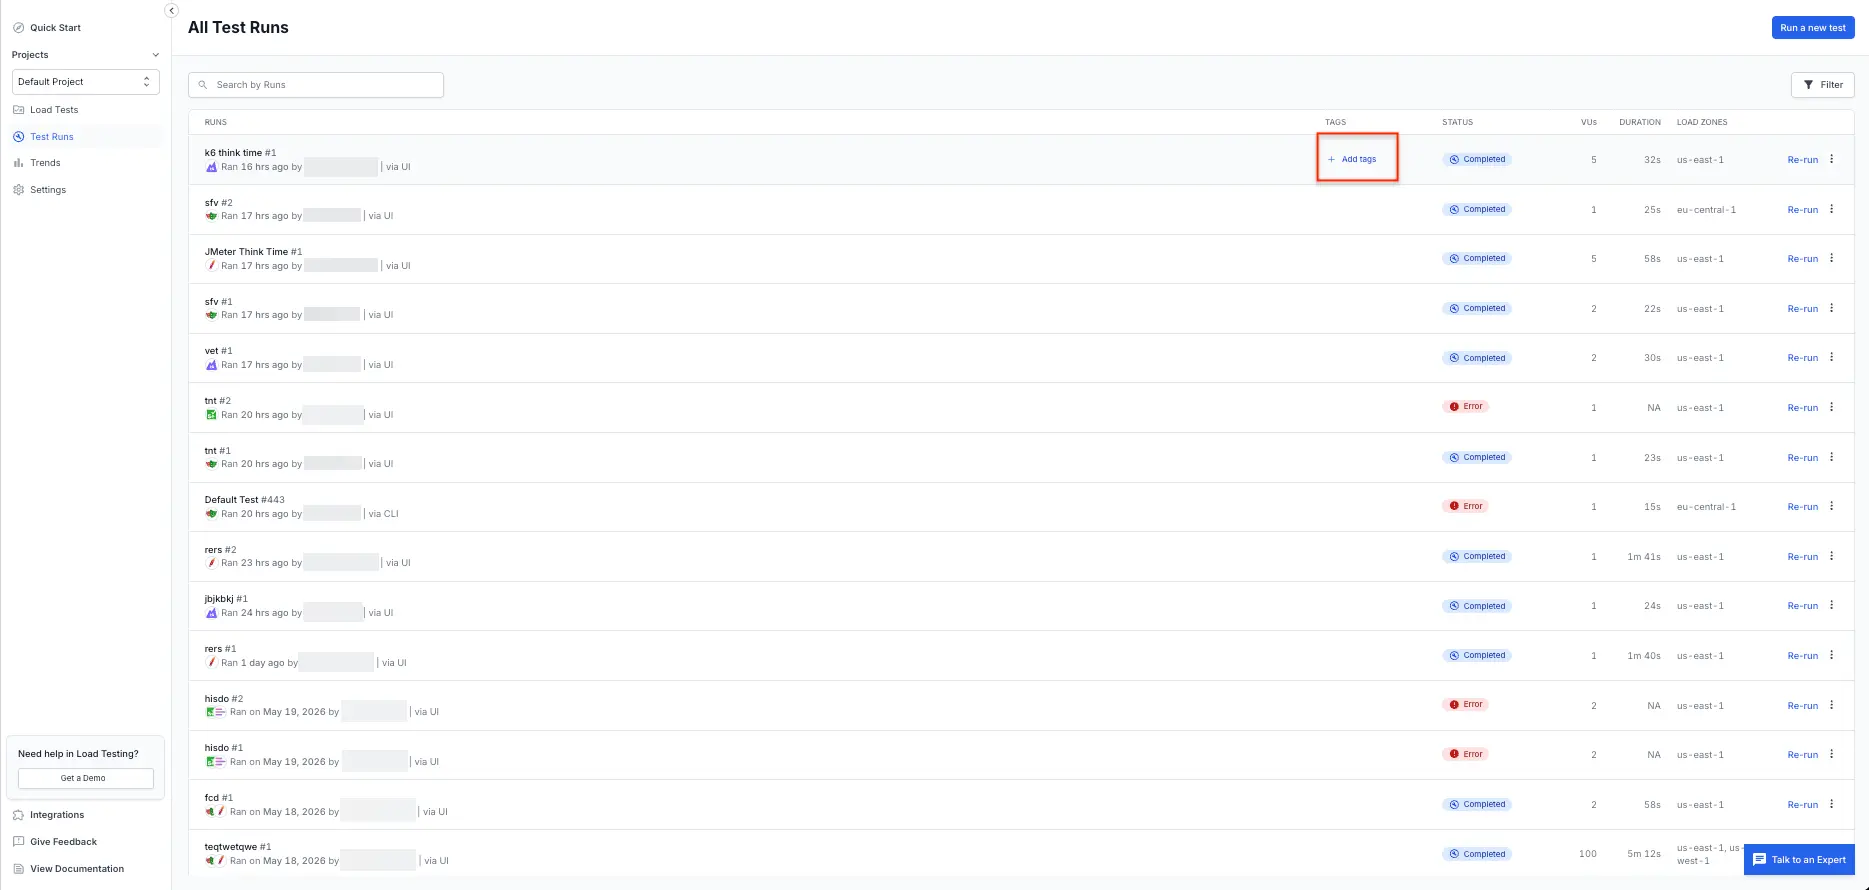
From the All Test Runs page
In the left sidebar, select Test Runs to open the All Test Runs page.
Locate the run you want to tag, and in the TAGS column select + Add tags.
In the Add Tags dialog, select existing tags or add a new one, and then close the dialog to save. The tags apply only to that run.
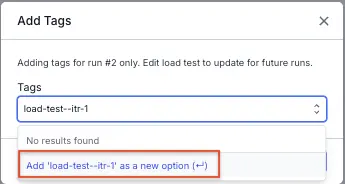
When you open the run-level tag editor, the dialog shows that tags apply only to this run. Choose an existing tag from the dropdown:
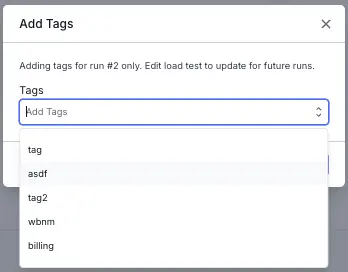
Or type a new value and select Add <tag> as a new option to create one:
Best practices for naming tags
- Use lowercase, hyphenated values, such as
checkout-floworrelease-v2, for consistent search and filter results. - Keep tag names short and descriptive so that they stay readable in list views.
- Reuse existing tags from the dropdown instead of creating near-duplicates, such as
checkoutandcheckouts. - Avoid embedding sensitive information, such as customer identifiers or credentials, in tag values.
Related topics
- Configure load parameters - Overview of all available load configuration options.
- Filter k6 tests by tag - Use k6 script tags to run only a subset of requests in a load test.
- Capture response details - Record request and response data for debugging.
- Store execution logs - Capture logs for all virtual users in a test run.
We're sorry to hear that. Please share your feedback so we can do better
Contact our Support team for immediate help while we work on improving our docs.
We're continuously improving our docs. We'd love to know what you liked
We're sorry to hear that. Please share your feedback so we can do better
Contact our Support team for immediate help while we work on improving our docs.
We're continuously improving our docs. We'd love to know what you liked
Thank you for your valuable feedback!