
 Join our Discord
Install Test Companion in Eclipse
Install Test Companion in Eclipse IDE to generate, automate, and fix test cases without leaving your editor.
Test Companion for Eclipse is a plugin listed on Eclipse Marketplace. If your organization blocks the Marketplace, add the BrowserStack update site under Help > Install New Software instead. Both paths need Eclipse IDE 2024-03 or later and Java 17.
Prerequisites
Before you start, check that you have:
- A BrowserStack account. Create one if you do not have one yet.
- Eclipse IDE 2024-03 or later, on Windows, macOS, or Linux.
- Java 17 or later as the runtime that Eclipse uses. Eclipse refuses to install the plugin on an older runtime.
The plugin runs in any Eclipse IDE package. Examples include Eclipse IDE for Java Developers and Eclipse IDE for Enterprise Java and Web Developers. Packages from 2024-03 onward bundle a Java runtime that meets the requirement. To check your version, choose Help > About Eclipse IDE.
Install the plugin
Eclipse Marketplace is the default path. Use the update site only when a policy blocks the Marketplace, or when your Eclipse package lacks the Marketplace Client.
Install from Eclipse Marketplace
-
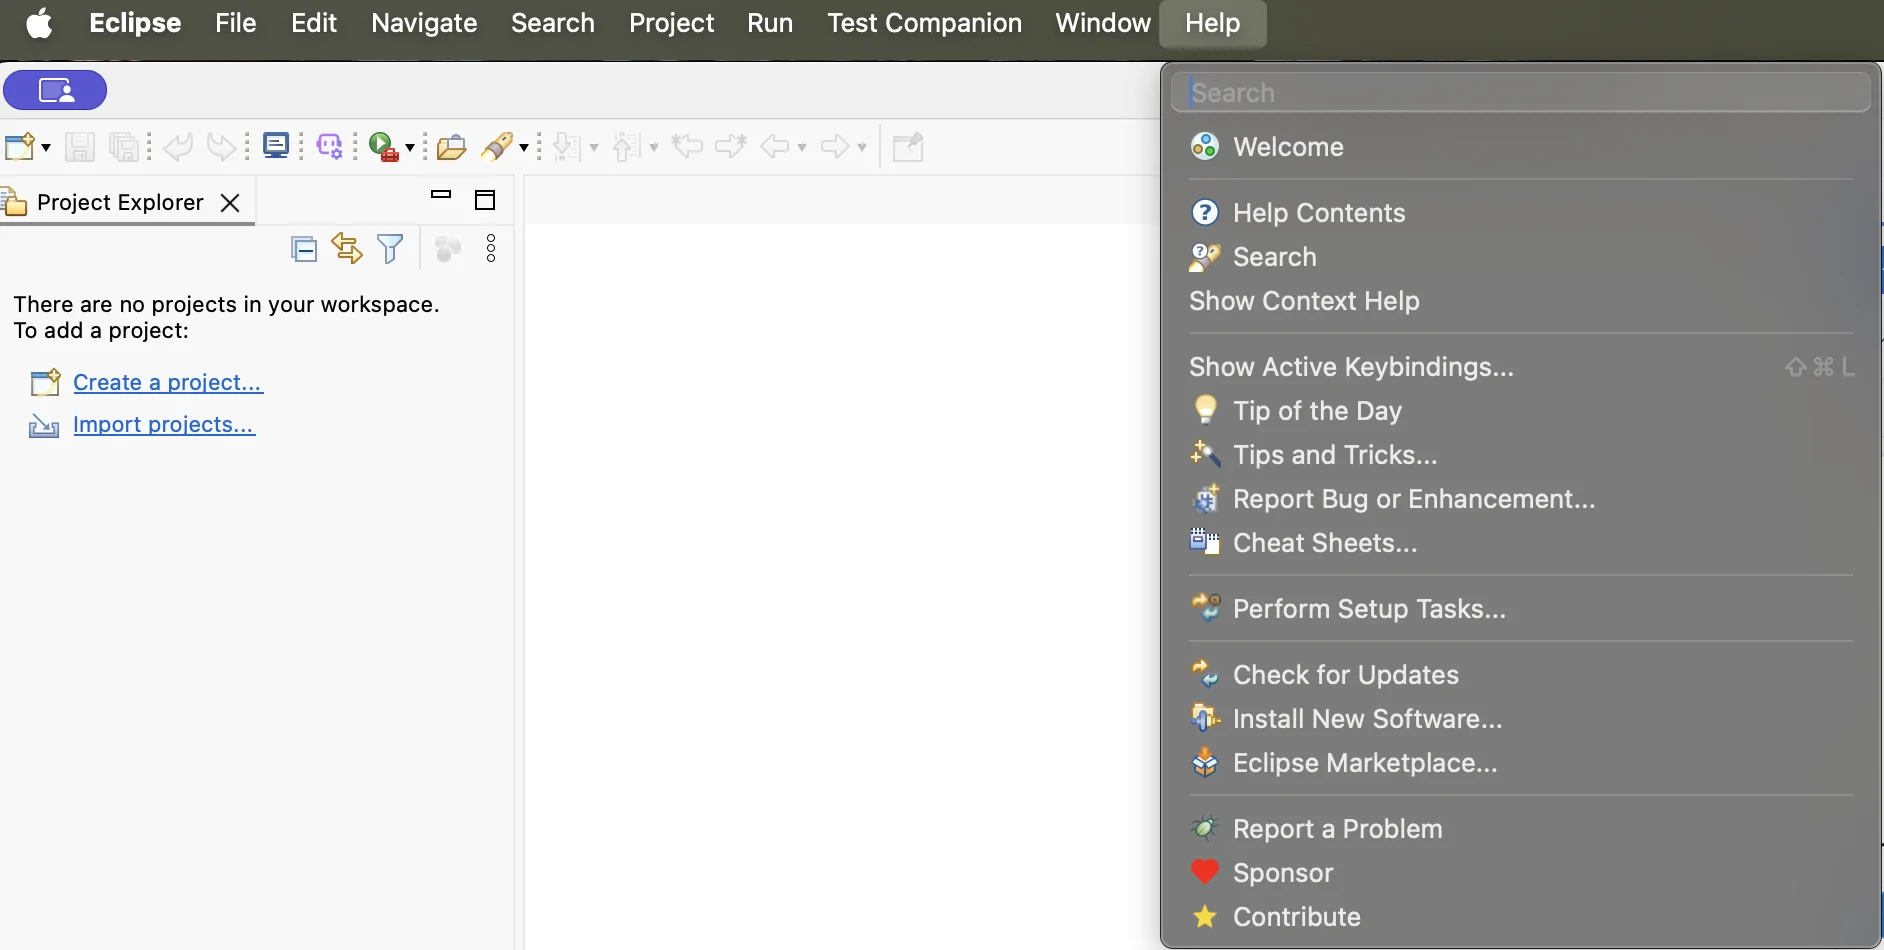
On the menu bar, choose Help > Eclipse Marketplace. The Eclipse Marketplace dialog opens.
-
In the Find box, type
Test Companion, then click Go.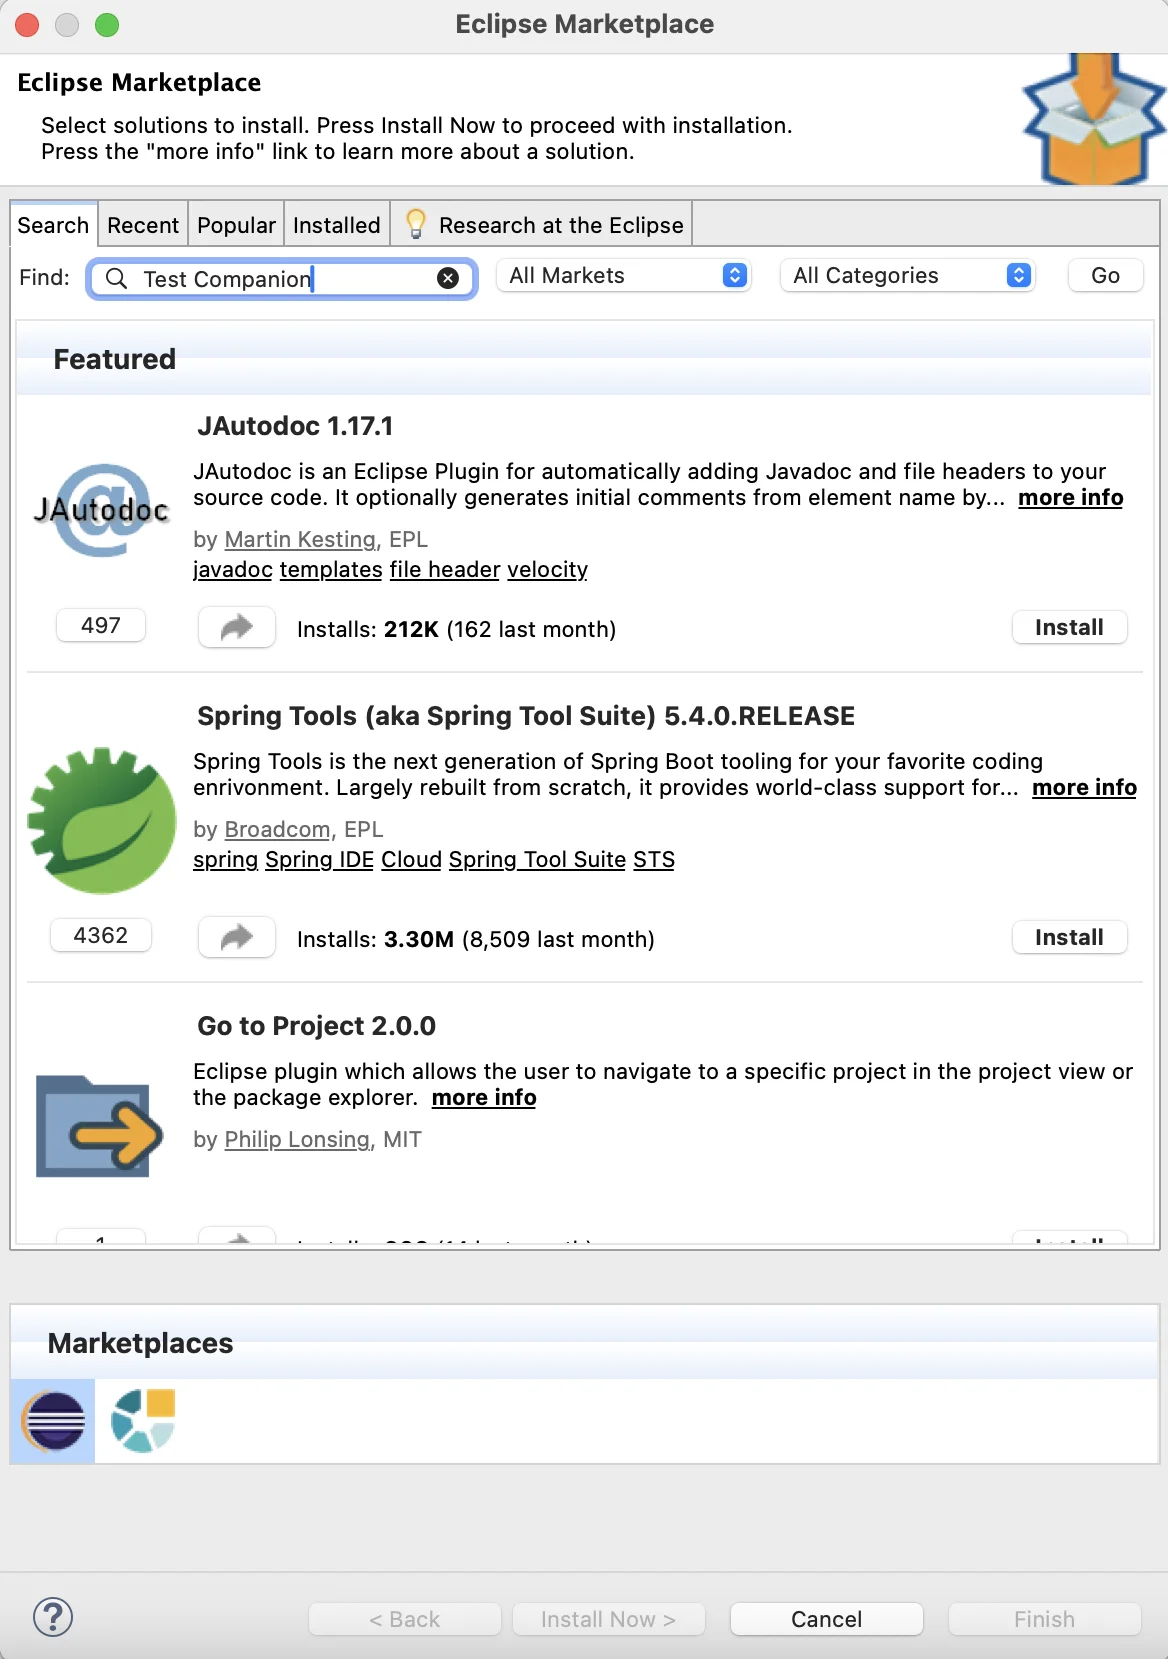
- Find the Test Companion entry from BrowserStack in the results.
- Click Install.
- Review the features to install, then click Confirm.
-
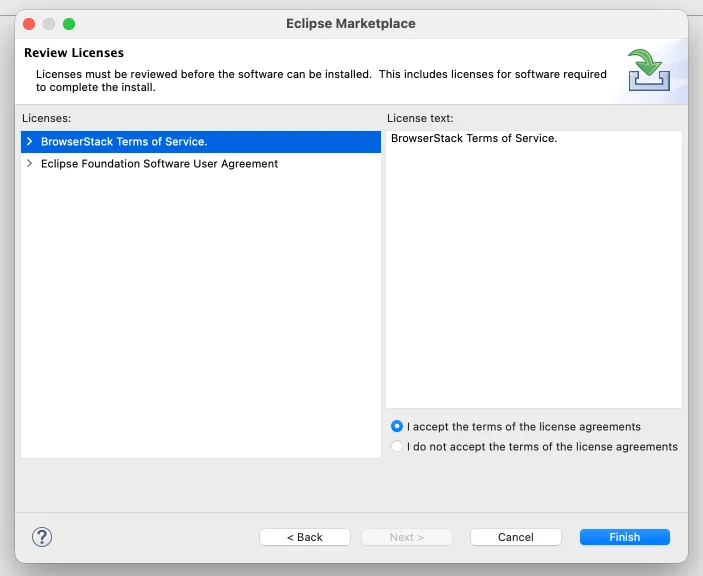
On the Review Licenses page, select I accept the terms of the license agreements, then click Finish.
-
In the Trust Authorities dialog, select the https://test-companion.browserstack.com check box, then click Trust Selected.
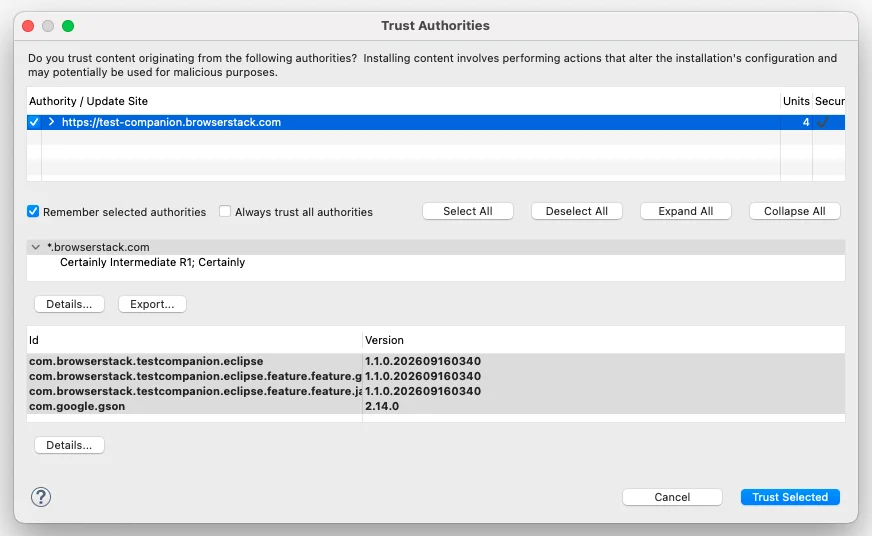
- When prompted, click Restart Now.
You can also browse the Test Companion listing on Eclipse Marketplace.
Install from the update site
-
On the menu bar, choose Help > Install New Software. The Install dialog opens.
- Click Add. The Add Repository dialog opens.
- In the Name box, enter
Test Companion. -
In the Location box, enter
https://test-companion.browserstack.com/eclipse/updates/latest/.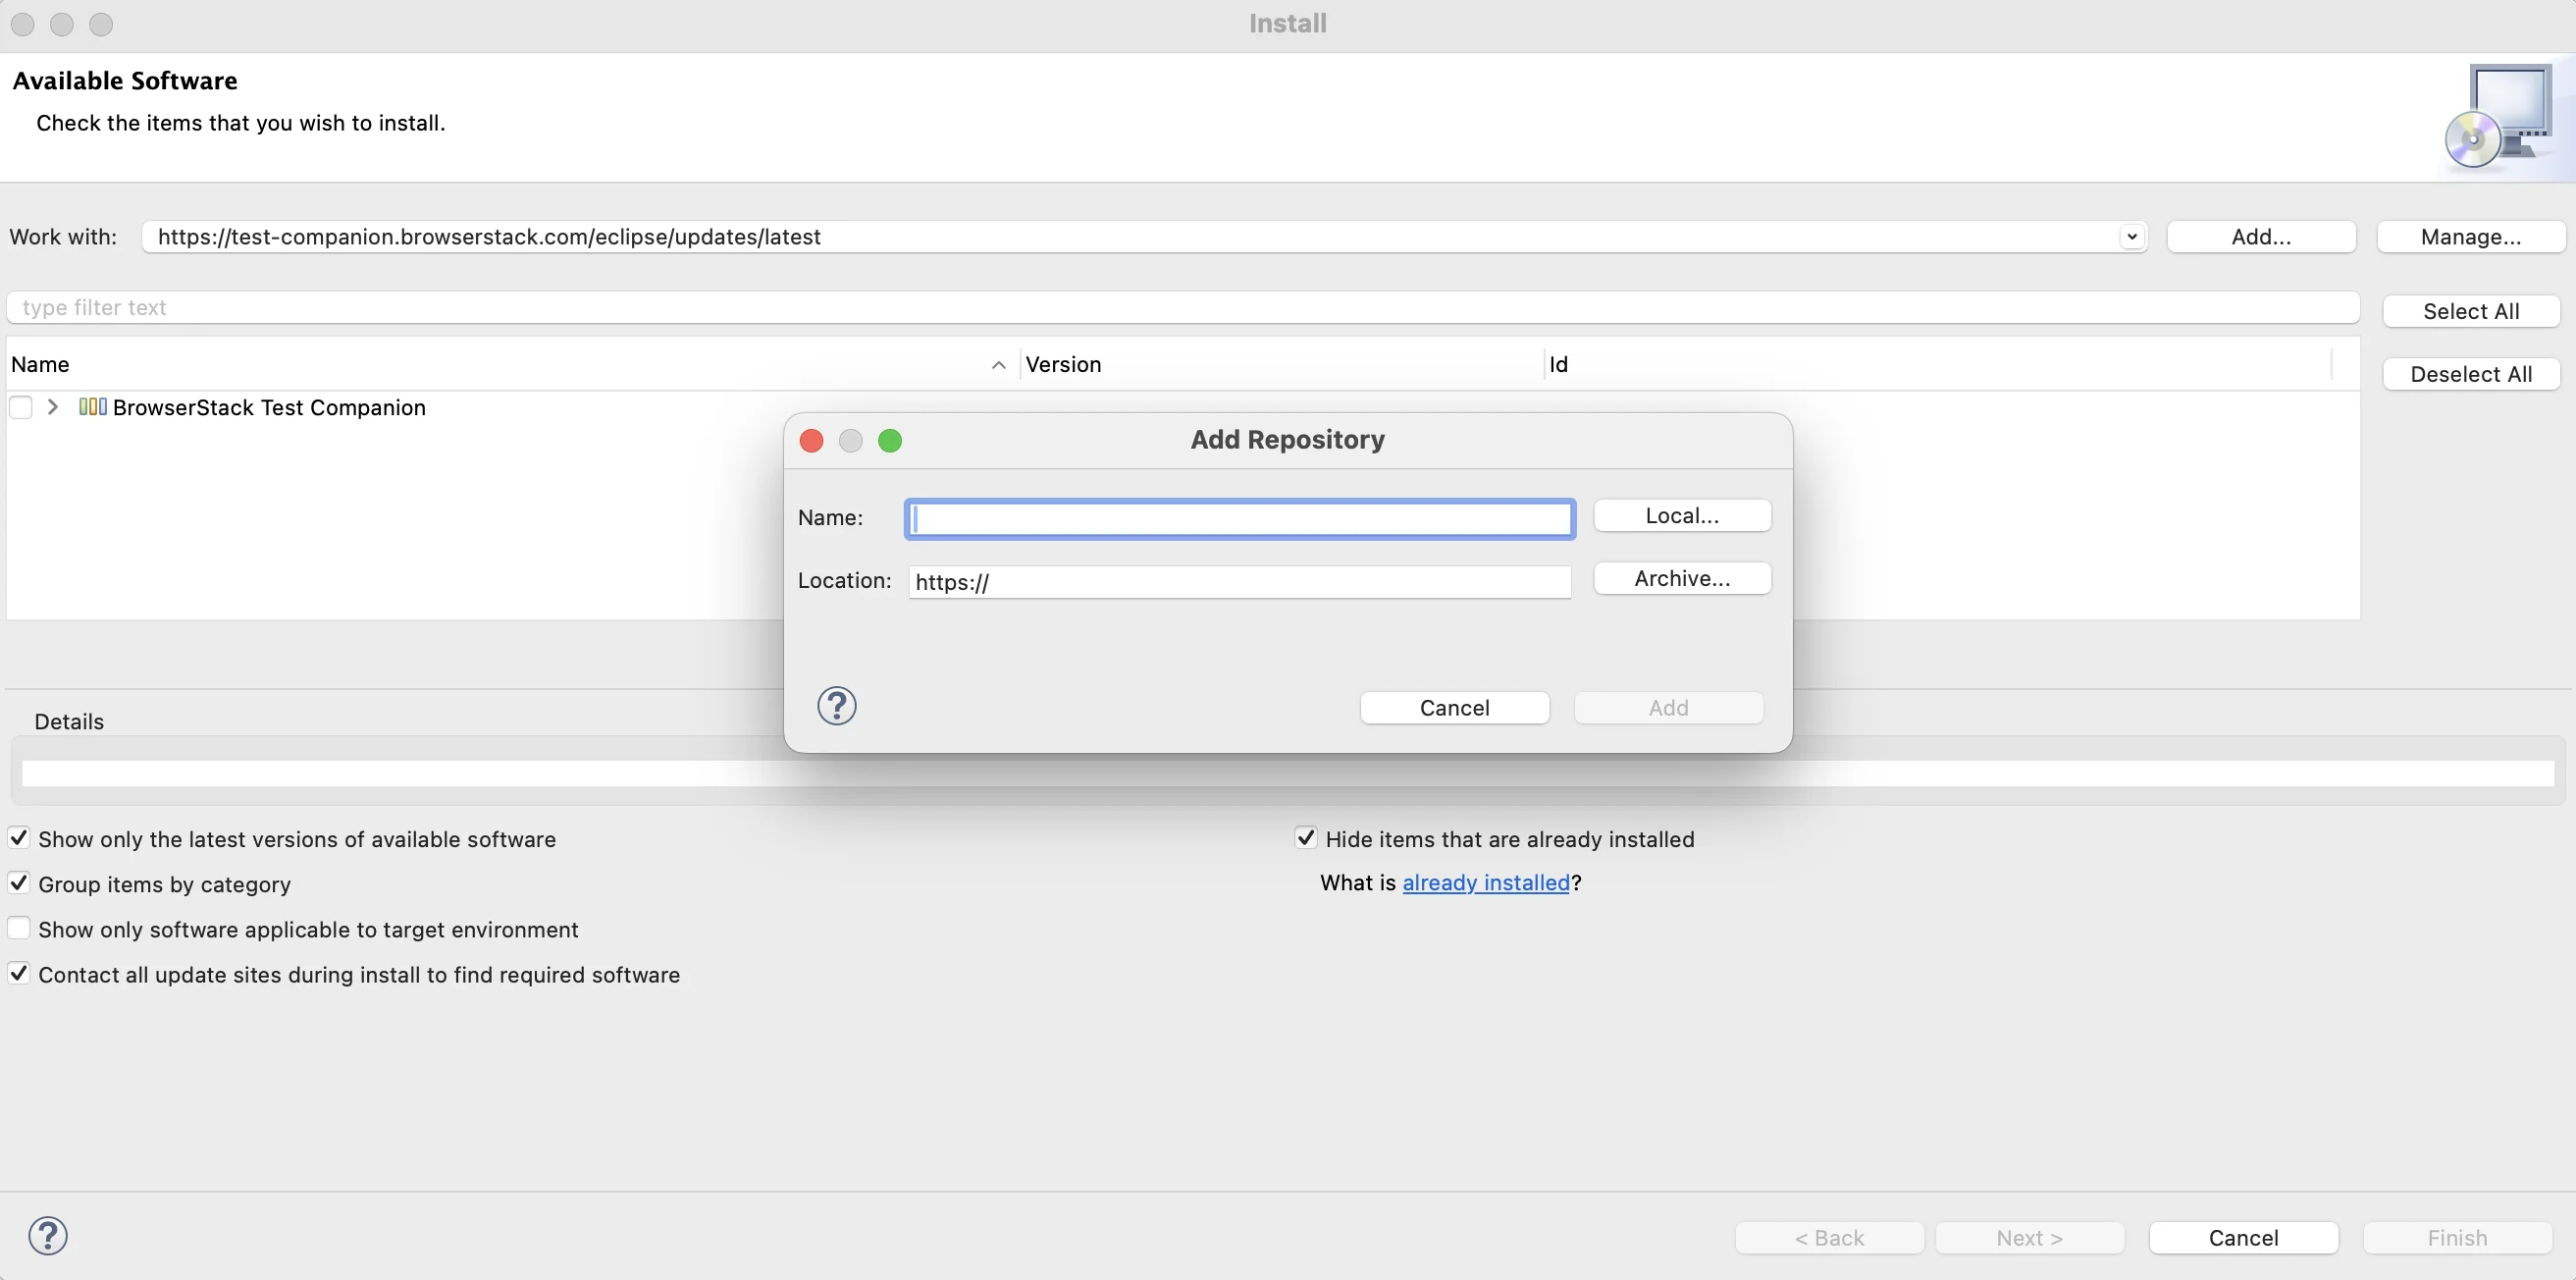
-
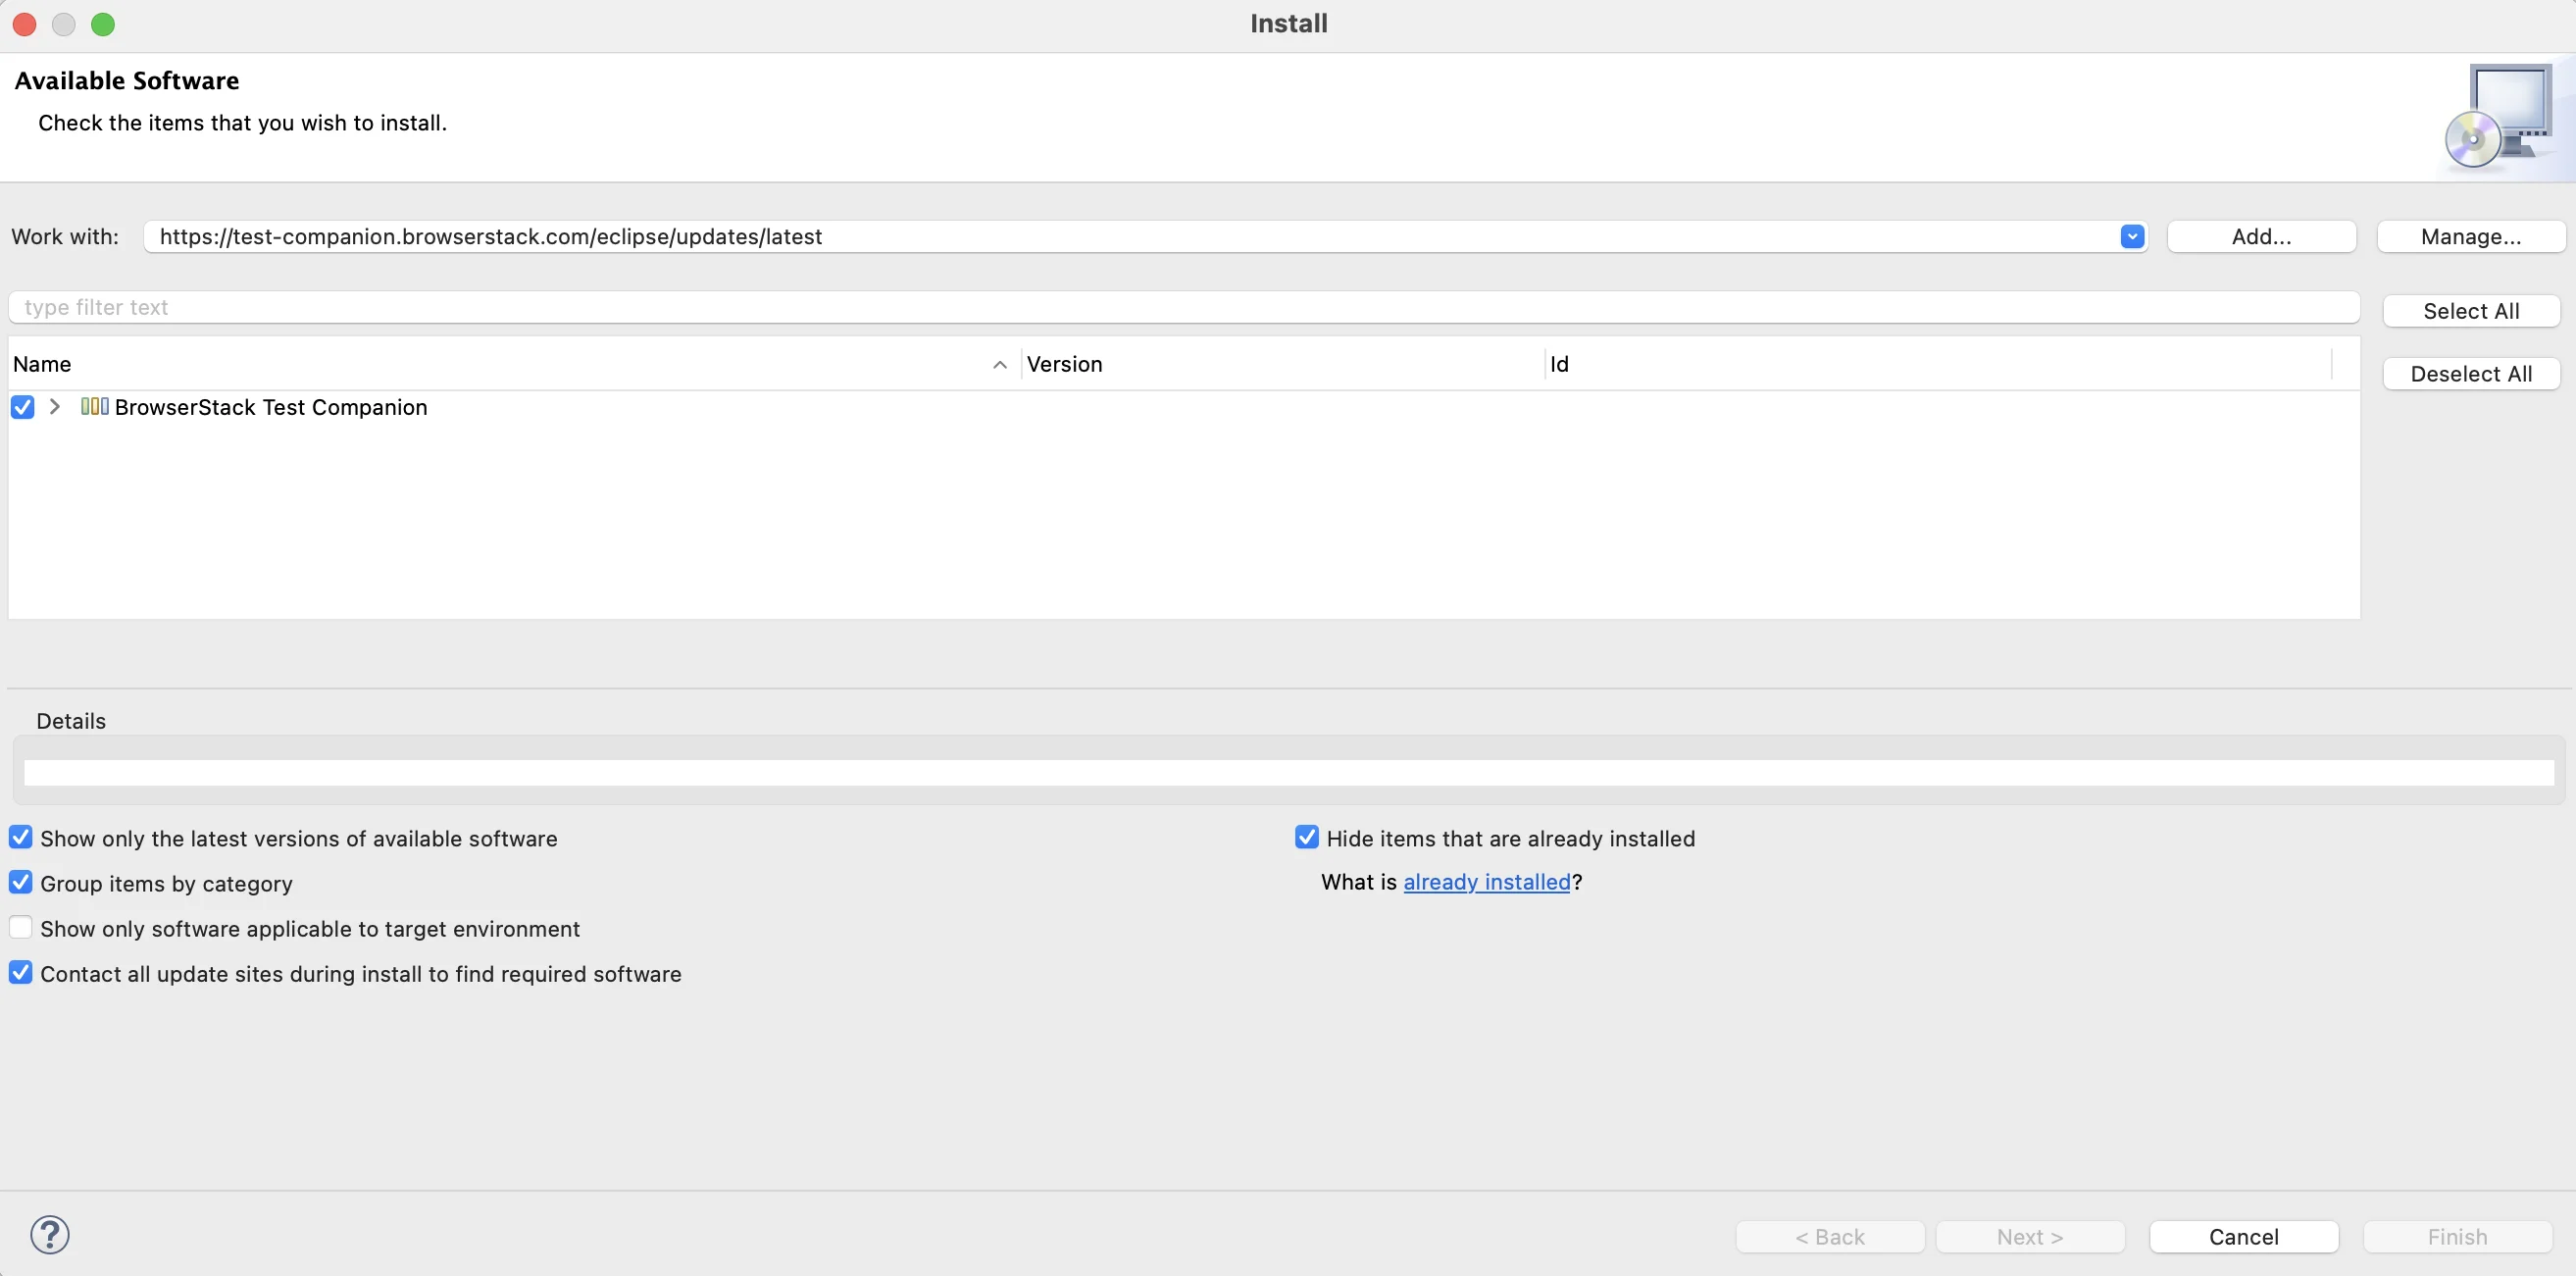
Click Add. Eclipse reads the update site and lists the software it contains.
-
Select the BrowserStack Test Companion check box, then click Next. Eclipse lists the Test Companion feature inside that category.
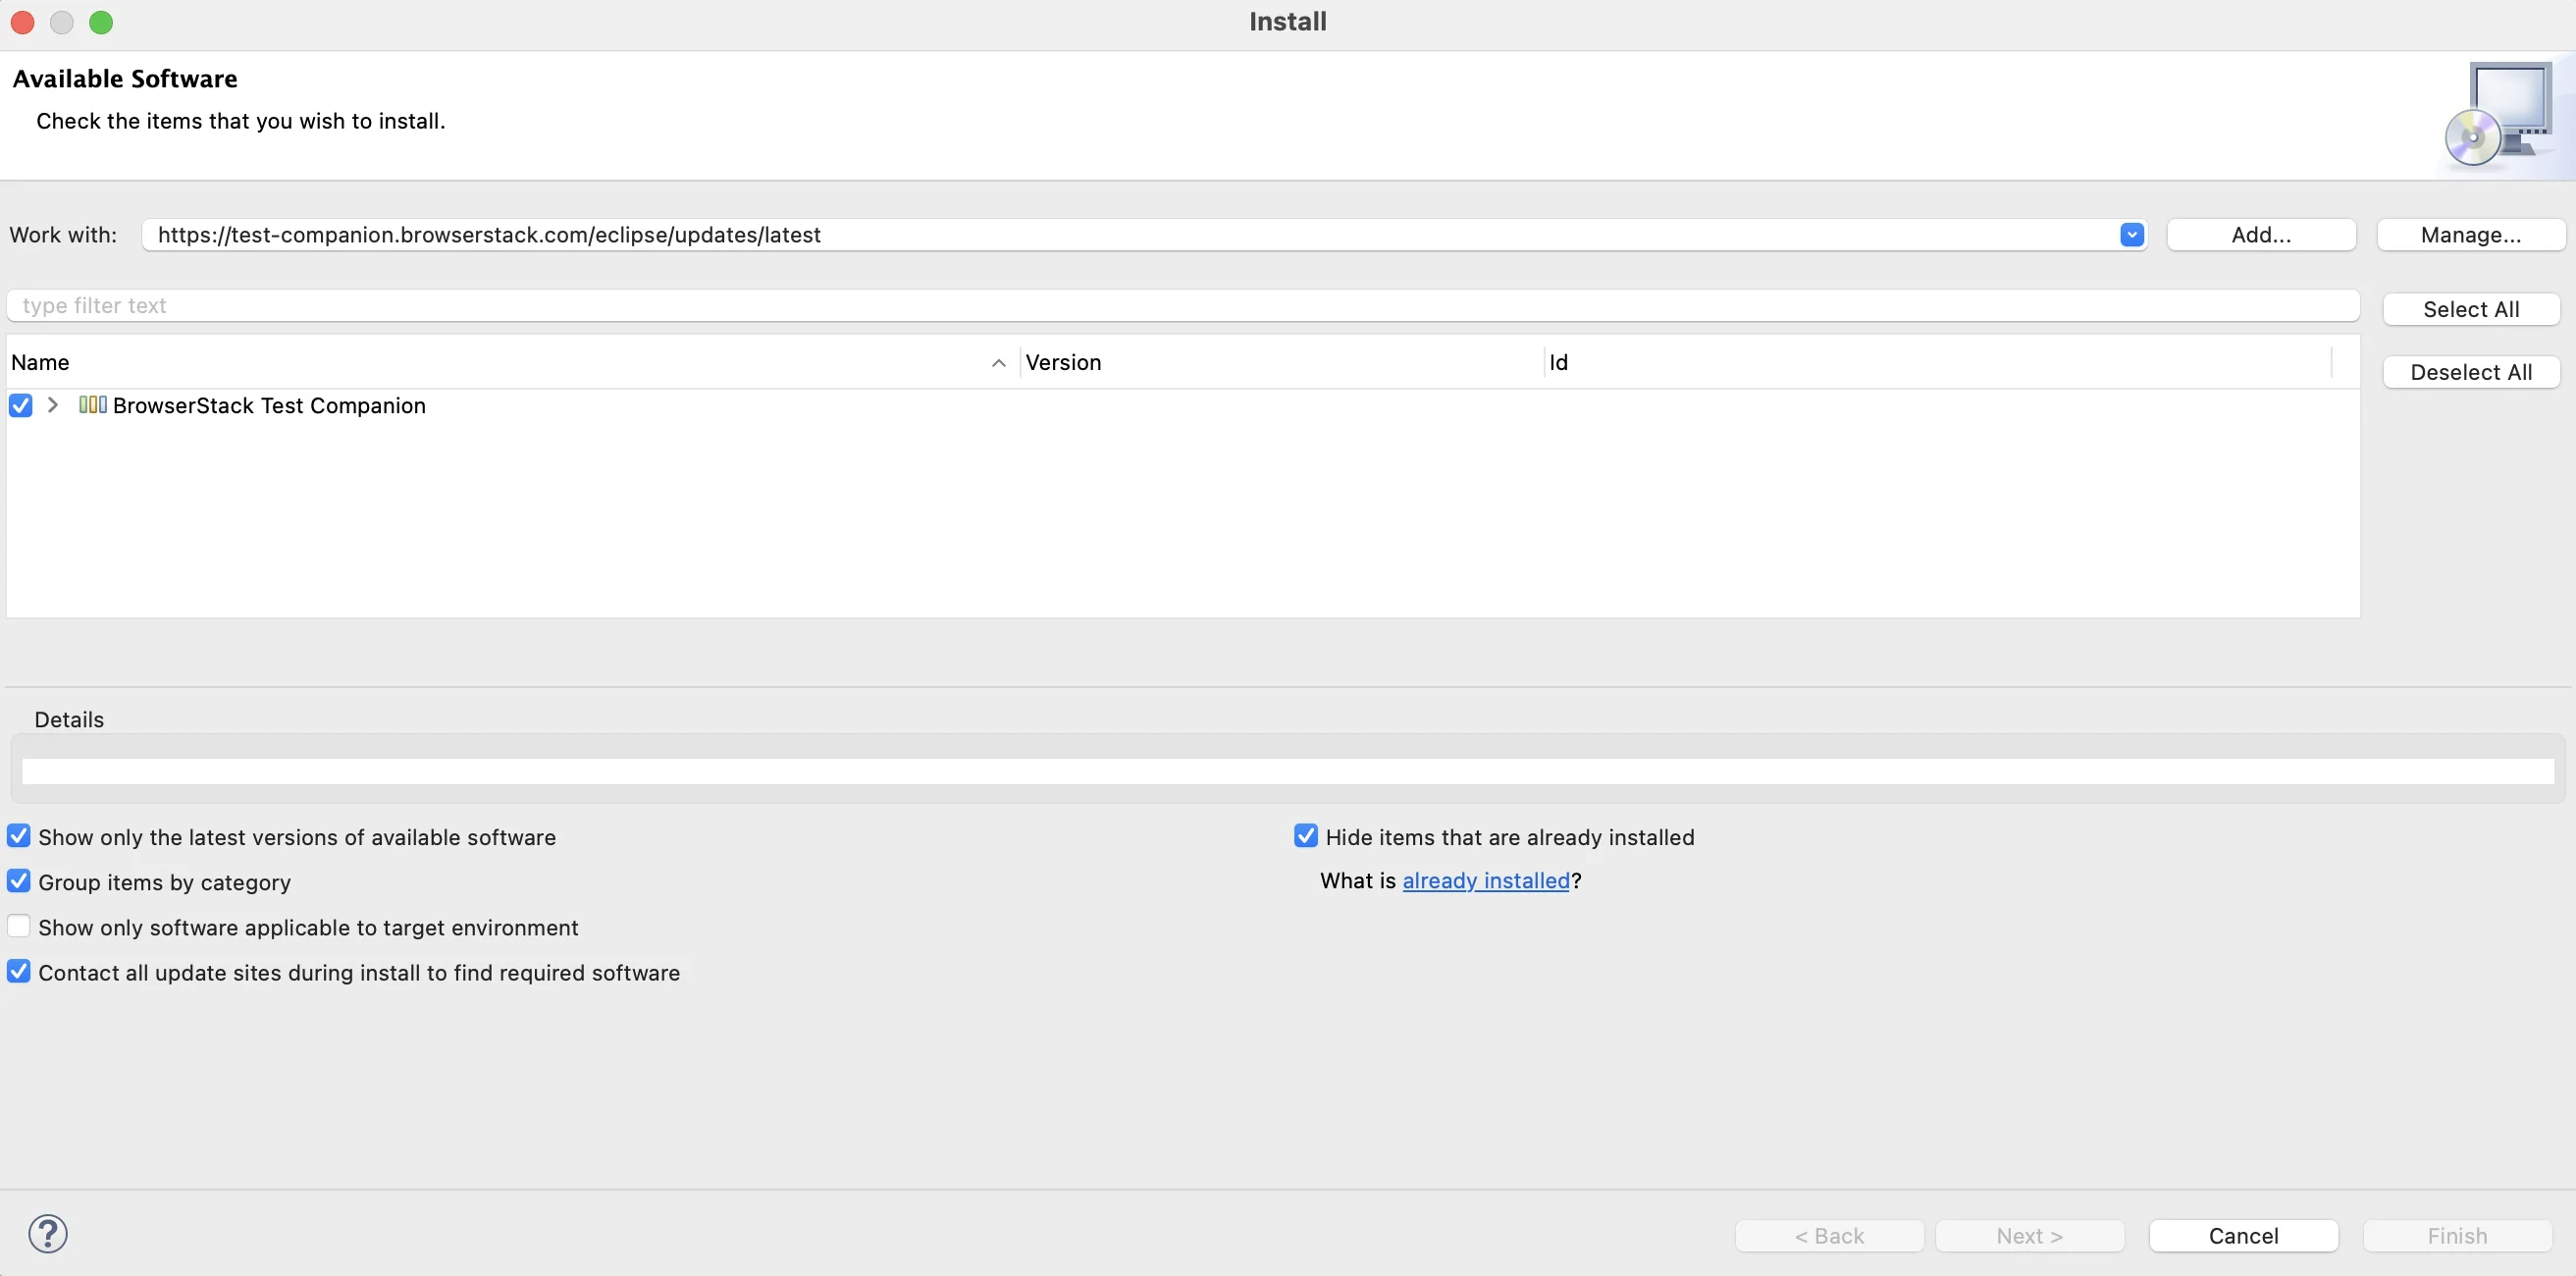
- Review the install details, then click Next.
-
On the Review Licenses page, select I accept the terms of the license agreements, then click Finish.
-
In the Trust Authorities dialog, select the https://test-companion.browserstack.com check box, then click Trust Selected.
- When prompted, click Restart Now.
Both install paths register the BrowserStack update site in Eclipse. Eclipse checks the site for new versions whenever you choose Help > Check for Updates.
Verify the installation
After Eclipse restarts, a Test Companion menu appears on the menu bar. Open the Test Companion panel in any of these ways:
- Choose Test Companion > Open Test Companion.
- Click Test Companion on the main toolbar.
- Press
Ctrl+Alt+Ion Windows and Linux, orCmd+Option+Ion macOS.
Eclipse switches to the Test Companion perspective. Project Explorer is on the left, the editor in the center. The Test Companion panel docks on the right. Panels such as Test Cases and Failure Analysis open as tabs in the editor area.
If you close the perspective, you can open the panel on its own:
- Choose Window > Show View > Other.
- Expand Test Companion.
- Select Test Companion, then click Open.
When the Test Companion menu is missing after the restart, check whether the install completed:
- Choose Help > About Eclipse IDE.
- Click Installation Details.
- On the Installed Software tab, look for Test Companion.
If Test Companion is not listed, repeat the install steps. If it is listed, restart Eclipse.
To use Test Companion, enable BrowserStack AI in your account settings. For more about these settings, read Activate BrowserStack AI.
Sign in to BrowserStack
- Open the Test Companion panel.
-
Click Sign in with BrowserStack.
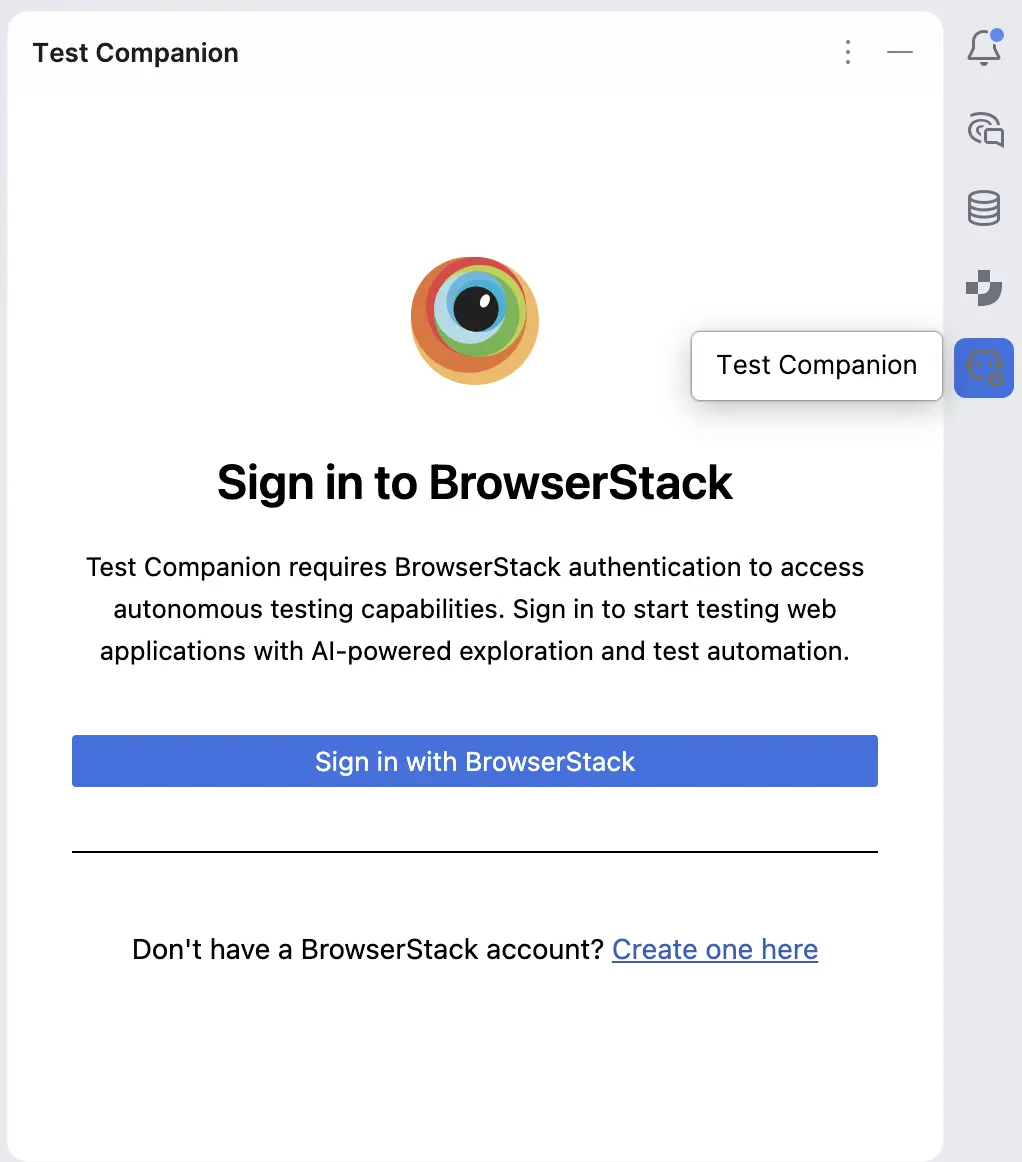
- Your default browser opens a BrowserStack sign-in page.
- Sign in, then authorize the plugin when asked.
The browser shows a confirmation message and closes the tab. If the tab stays open, close it and return to Eclipse. Back in Eclipse, the Test Companion panel shows your account details.
The sign-in request expires after five minutes. If you did not finish in time, click Sign in with BrowserStack again.
Next steps
- Generate test cases: Write test cases from requirements using AI.
- Automate tests with AI: Convert manual test cases into executable automation scripts.
- Fix failed tests: Debug and fix test failures using Test Reporting & Analytics.
We're sorry to hear that. Please share your feedback so we can do better
Contact our Support team for immediate help while we work on improving our docs.
We're continuously improving our docs. We'd love to know what you liked
We're sorry to hear that. Please share your feedback so we can do better
Contact our Support team for immediate help while we work on improving our docs.
We're continuously improving our docs. We'd love to know what you liked
Thank you for your valuable feedback!