Install Test Companion in IntelliJ
Install Test Companion in IntelliJ and other JetBrains IDEs to generate, automate, and fix test cases without leaving your editor.
You install Test Companion from the JetBrains Marketplace, the same way you install any other JetBrains plugin.
The setup process has three steps:
Prerequisites
Before you install the plugin, make sure you have:
- A BrowserStack account. If you do not have one, create one here.
- A supported JetBrains IDE running on IntelliJ Platform 2024.3 or later. The plugin is officially supported on IntelliJ IDEA, PyCharm, WebStorm, GoLand, PhpStorm, RubyMine, CLion, DataGrip, and Rider.
To check your IDE version, open Help > About. A platform build number that starts with 243. or higher meets the requirement.
Install the plugin
Test Companion is also distributed as a JetBrains Marketplace plugin. The simplest way to install it is directly from within your IDE, which also ensures you receive automatic updates whenever a new version is released.
Install from JetBrains Marketplace
Install Test Companion directly from your IDE. This is the simplest method and ensures you receive automatic updates.
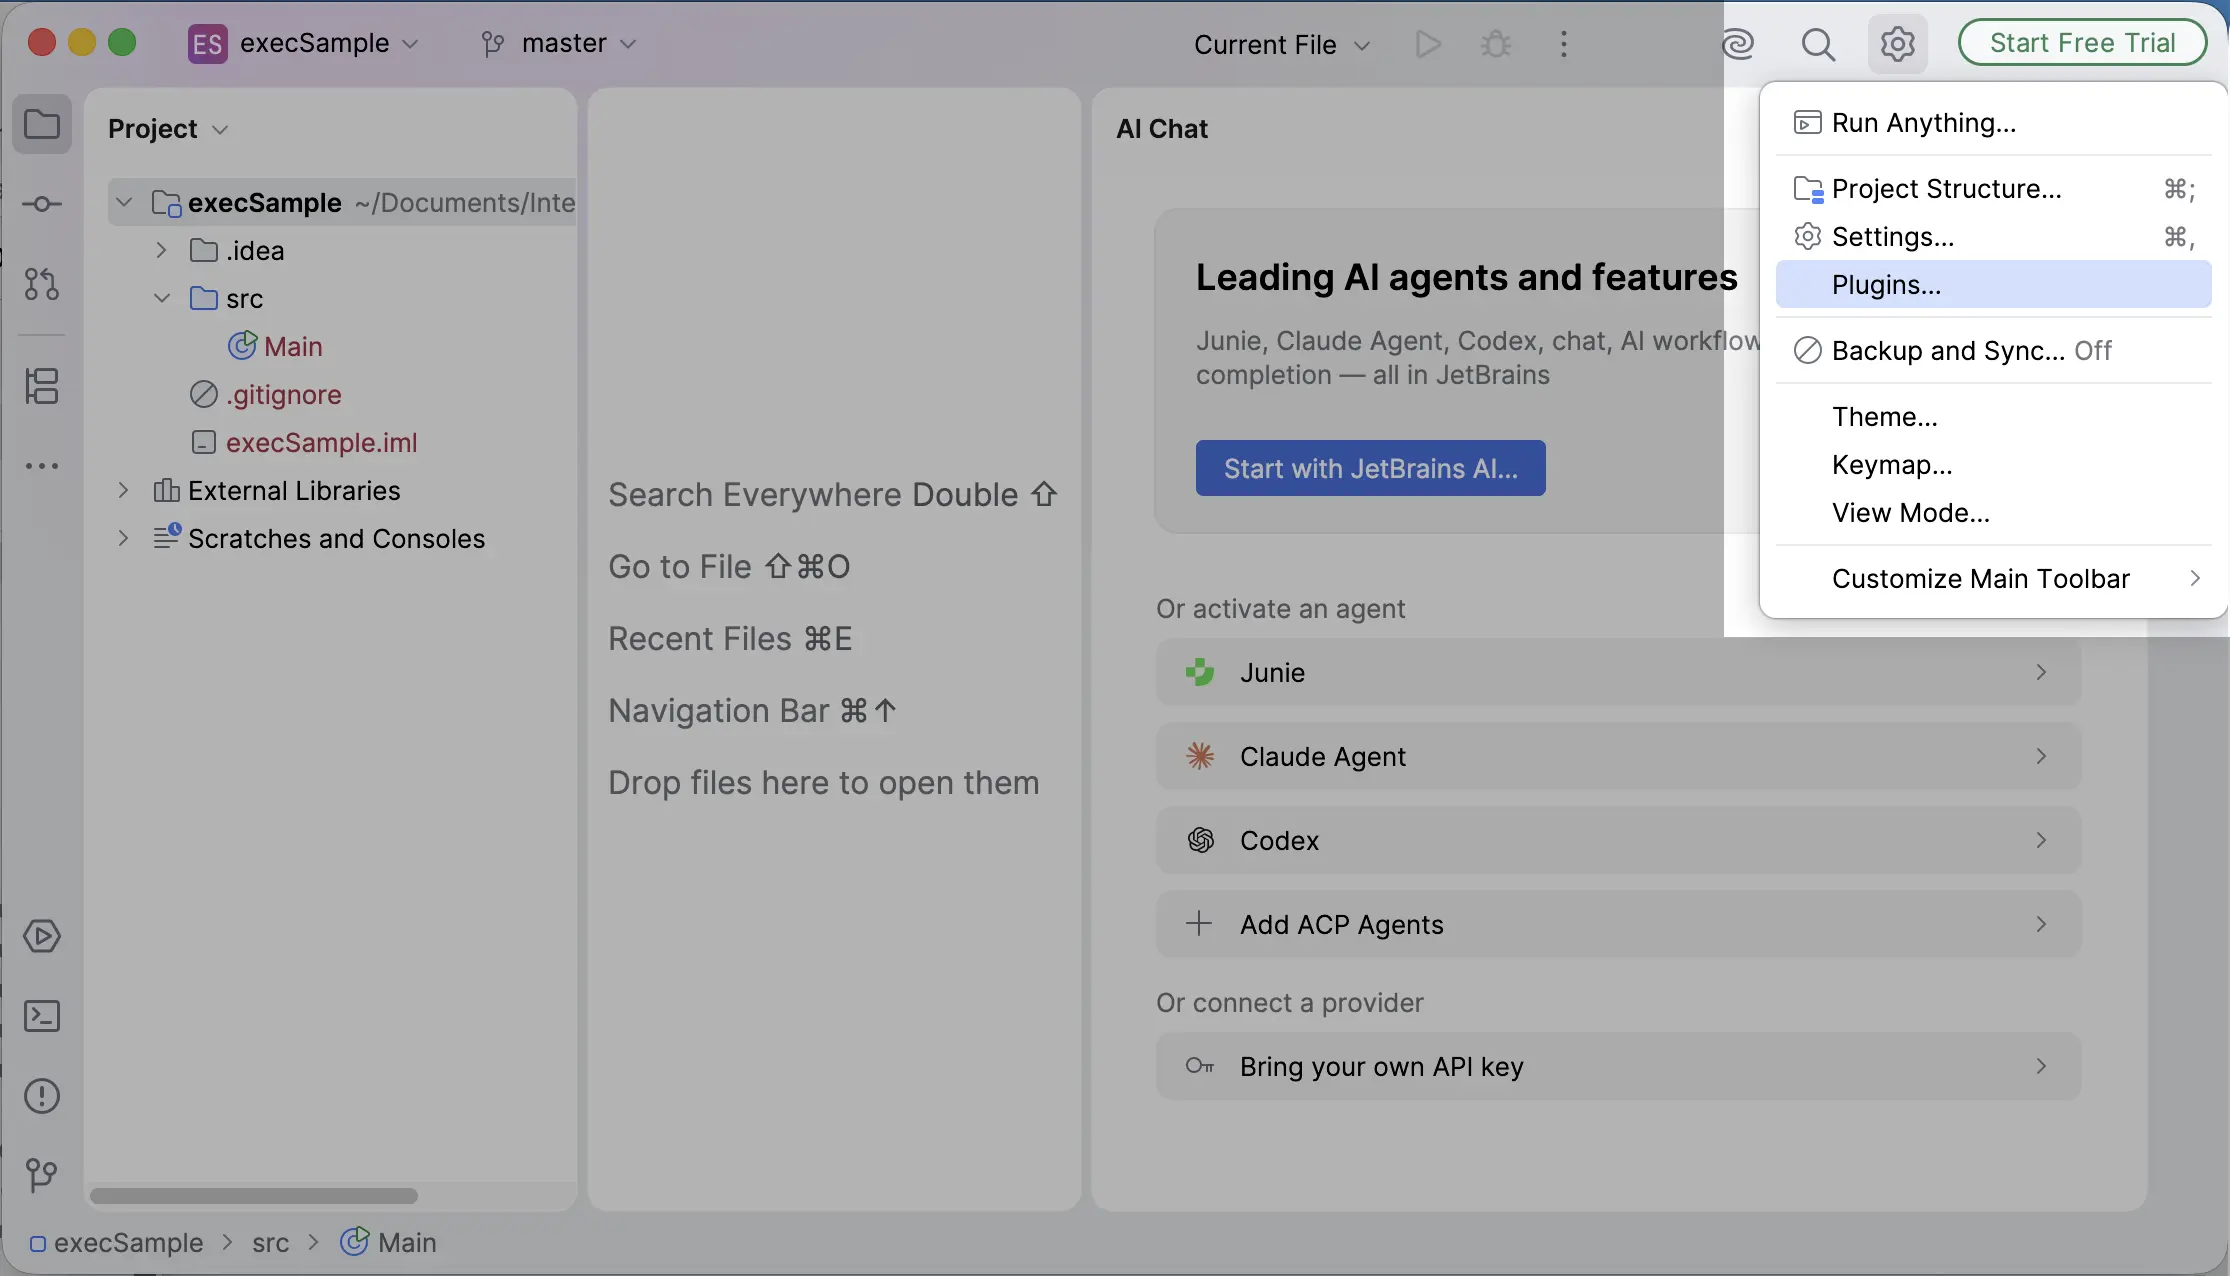
- Open the IDE settings.
-
Keyboard shortcut:
Cmd+,on macOS, orCtrl+Alt+Son Windows and Linux. - Menu: On macOS, choose IntelliJ IDEA > Settings (or your IDE’s equivalent menu item). On Windows and Linux, choose File > Settings.
-
Keyboard shortcut:
- In the left navigation, click Plugins.
- Click the Marketplace tab.
- In the search bar, type
Test Companion. -
Locate the Test Companion plugin, published by BrowserStack.
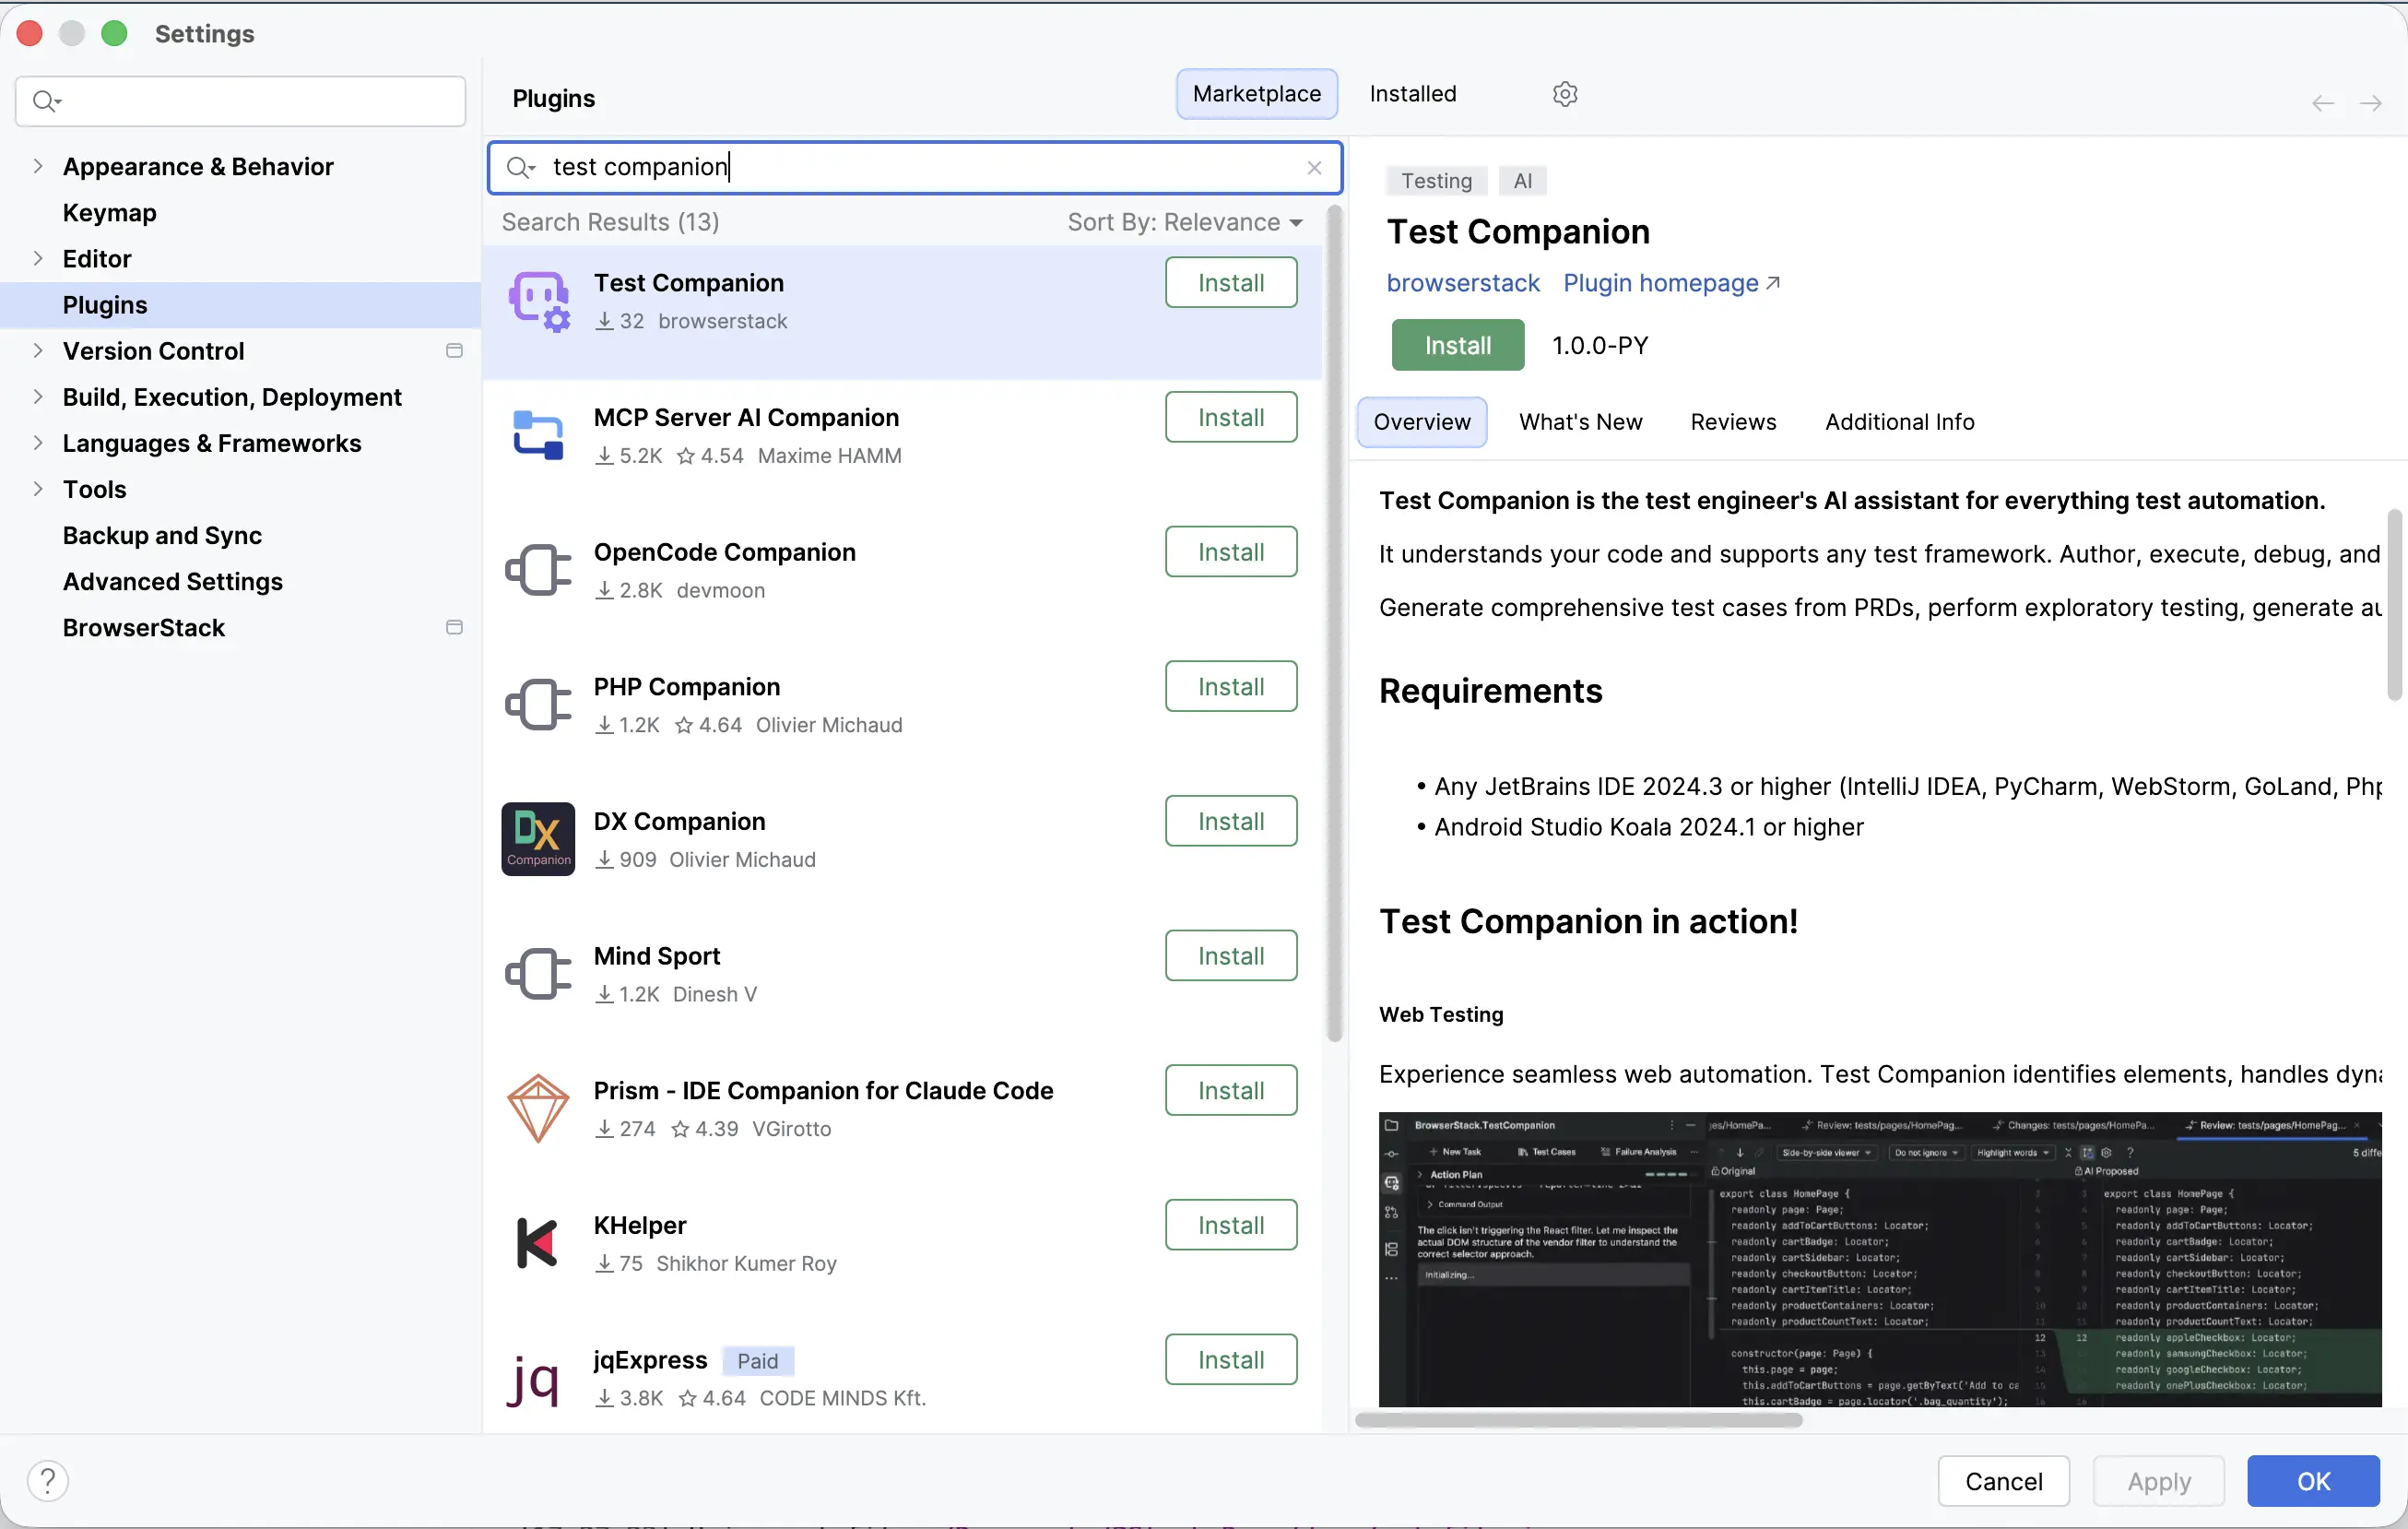
- Click Install.
- Click Apply.
- When prompted, click Restart IDE.
The plugin activates after the restart.
You can also browse the Test Companion listing on the web at JetBrains Marketplace.
Verify the installation
After the IDE restarts, look for the Test Companion tool window stripe button in your IDE. JetBrains IDEs dock new tool windows in the bottom tool window bar by default. You can drag the button to the left or right bar if you prefer.
Click the button to open the Test Companion panel.

To leverage Test Companion’s AI features, enable BrowserStack AI in your account settings. For further details, refer to our comprehensive documentation on activating AI preferences.
Sign in to BrowserStack
Connect the plugin to your BrowserStack account.
- Click the Test Companion tool window stripe button to open the panel.
-
In the panel, click Sign in with BrowserStack.
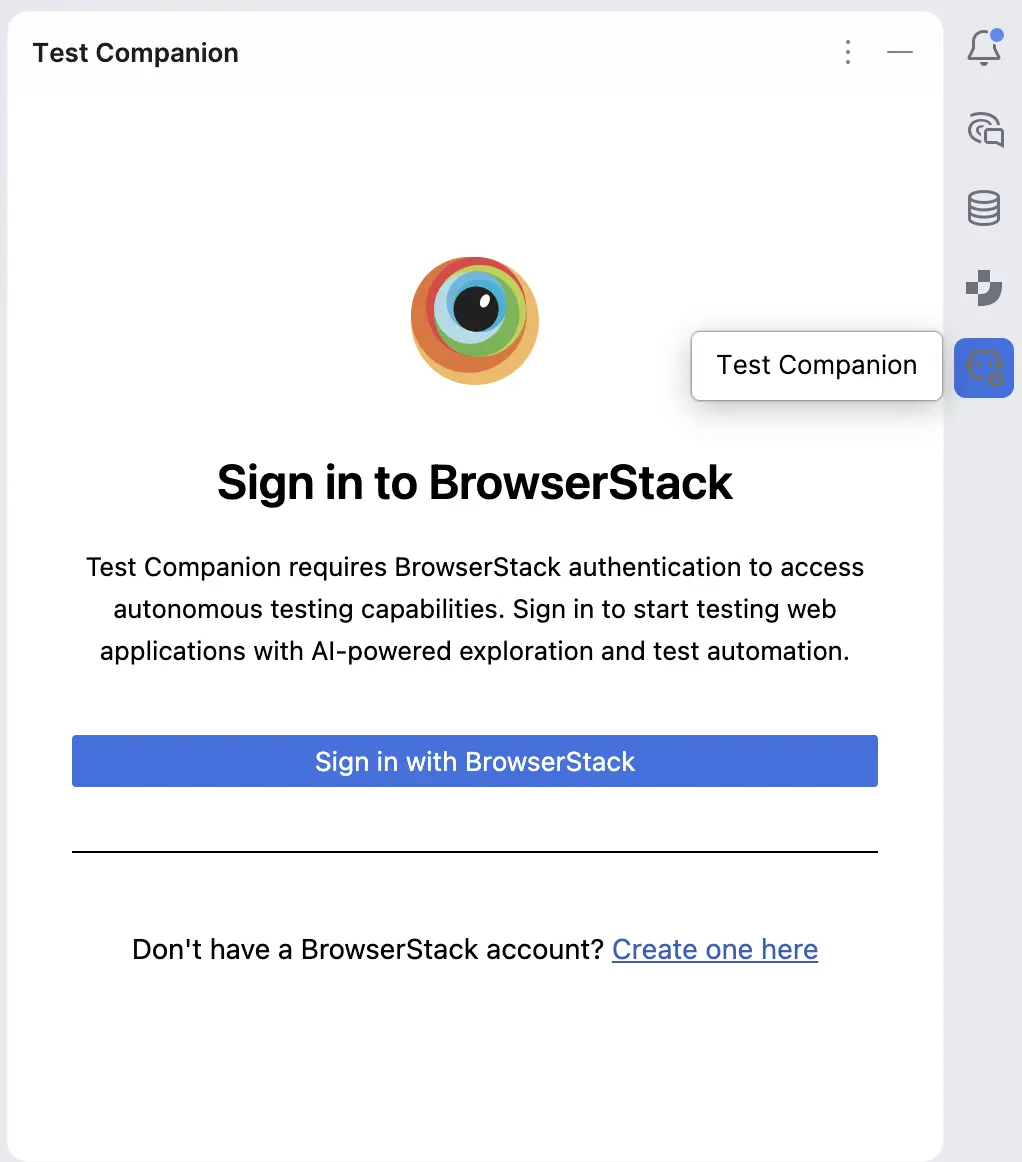
- Your default browser opens. It prompts you to authorize the plugin.
- Follow the prompts to sign in. If you do not have an account, create one on the BrowserStack site.
After you sign in, the browser redirects you back to your IDE. The Test Companion panel now shows your user information. The plugin is ready to use.
Test Companion is installed and configured.
Next steps
Start exploring what Test Companion can do:
- Generate test cases: Write test cases from requirements using AI.
- Automate tests with AI: Convert manual test cases into executable automation scripts.
- Fix failed tests: Debug and fix test failures using Test Reporting & Analytics.
We're sorry to hear that. Please share your feedback so we can do better
Contact our Support team for immediate help while we work on improving our docs.
We're continuously improving our docs. We'd love to know what you liked
We're sorry to hear that. Please share your feedback so we can do better
Contact our Support team for immediate help while we work on improving our docs.
We're continuously improving our docs. We'd love to know what you liked
Thank you for your valuable feedback!