Login popups are a common security mechanism on modern websites, often requiring authentication through a username and password. However, handling these popups in Selenium can be challenging since the elements cannot be directly inspected for locators.
Overview
- Definition of Authentication Popup in Selenium: A proxy port is the communication endpoint on a proxy server that manages the flow of requests between client devices and the internet.
- Functionality of Authentication Popup in Selenium: It ensures smooth, secure, and efficient routing of traffic, allowing access to online resources via the proxy server.
This guide explains different approaches to automate login popups in Selenium WebDriver with Java, including passing credentials in the URL, using the AutoIt tool, and leveraging Chrome DevTools Protocols (CDP) in Selenium 4.
What is an Authentication Pop-up
When users access any protected web URL, an authentication pop up is displayed to enter credentials. These types of popups normally use Basic Authentication, which is a method for an HTTP user agent (For example: a web browser) to provide a username and password when making a request.
The client sends HTTP requests with the Authorization header that contains the word Basic followed by a space and a base64-encoded string username and password.
Authorization header format
Authorization: Basic <base64 encoded credentials>
Credentials are a combination of username and password separated by a colon.
admin: admin
For example, to authorize as admin: admin the client would send the following
Authorization: Basic YWRtaW46YWRtaW4=
When the server receives this request, it can access the Authorization header, decode the credentials, and look up the user to determine if they should be allowed access to the requested resource.
Now let us dive into different ways to handle such login pop-ups.
For a Maven project, add the Selenium Java, WebDriverManager, and TestNG dependencies in the pom.xml file.
<dependencies>
<dependency>
<groupId>org.seleniumhq.selenium</groupId>
<artifactId>selenium-java</artifactId>
<version>3.141.59</version>
</dependency>

<dependency>
<groupId>io.github.bonigarcia</groupId>
<artifactId>webdrivermanager</artifactId>
<version>5.2.1</version>
</dependency>

<dependency>
<groupId>org.testng</groupId>
<artifactId>testng</artifactId>
<version>7.6.1</version>
</dependency>
</dependencies>
Also Read: How to Automate TestNG using Selenium
Passing credentials in the URL
This is the simplest alternative by directly passing username and password in the URL separated by colon. After “https://” and before domain name, pass credentials as <username>:<password> followed by “@”.
Syntax: https://<username>:<password>@<domain>
Example: https://admin:admin@the-internet.herokuapp.com/basic_auth
public class PassingInURL {
WebDriver driver;
String username;
String password;
String domain;
String url;

@BeforeTest
public void setUp() {
WebDriverManager.edgedriver().setup();
// Instantiate the webdriver
driver = new EdgeDriver();
username = “admin”;
password = “admin”;
domain = “the-internet.herokuapp.com/basic_auth”;
}

@Test
public void launch() {
url = “https://” + username + “:” + password + “@” + domain;
driver.get(url);
String text = driver.findElement(By.cssSelector(“div.example p”)).getText().trim();
Assert.assertEquals(text, “Congratulations! You must have the proper credentials.”);
}

@AfterTest
public void tearDown() {
driver.quit();
}
}
Using AutoIt tool
AutoIt is a third-party tool that can be integrated with Selenium script to help automate popups in Windows. Auto IT is freeware scripting language designed to automate Windows GUI. It uses a combination of mouse movement, keystrokes, and window control manipulation to automate a workflow in Windows which is not possible with Selenium.
How to Install AutoIt
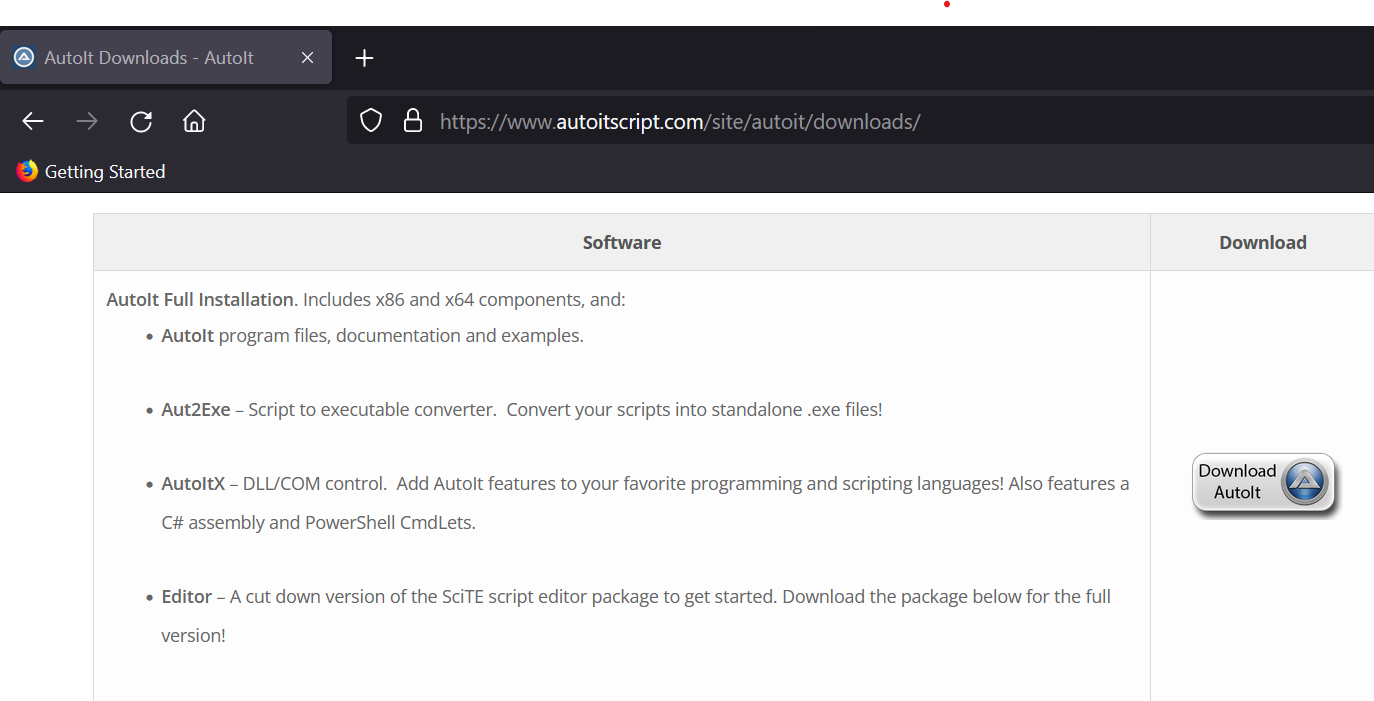
- Go to the official download page of AutoIt and download the AutoIt software zip file.
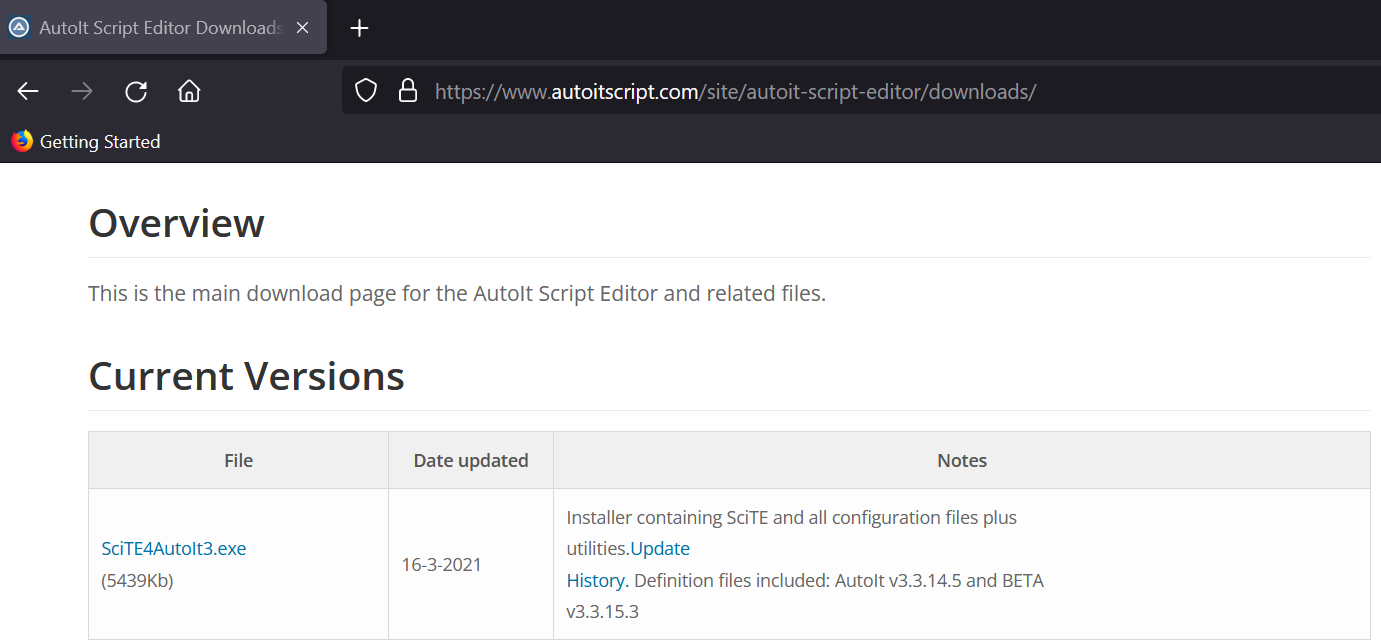
- Go to AutoIt script editor download page and download AutoIt script Editor executable.
- Move both the files to any preferred location in your system and extract the AutoIt zip file. There should be two executables now “autoit-v3-setup.exe” and “SciTE4AutoIt3.exe”
- Finish installation of both the files in the system and browse till “C:\Program Files (x86)\ AutoIt3” to discover the AutoIt folder as AutoIt executables are 32 bit.
Creating AutoIt script
- Browse to “C:\Program Files (x86)\AutoIt3\SciTE” and double-click “SciTE.exe” to launch AutoIt editor.
- Enter the below code to pass username and password in AutoIt editor and save the file with extension .au3
Example: Login.au3
Send(“admin”)
Send(“{TAB}”)
Send(“admin”)
Send(“{ENTER}”)
- Right-click the created script(Login.au3) and choose “Compile script (x64)/ Compile script (x64) “ depending on your Windows configuration and observe that “Login.exe” is generated.
- Now after the driver.get() method you can put the AutoIt executable path as below
Runtime.getRuntime().exec(“D:\\Auto IT\\Login.exe”);
public class AutoIT {
WebDriver driver;
String url;
@BeforeTest
public void setUp() {
WebDriverManager.chromedriver().setup();
// Instantiate the webdriver
driver = new ChromeDriver();
url = “http://the-internet.herokuapp.com/basic_auth”;
}
@Test
public void launch() throws InterruptedException, IOException {
driver.get(url);
driver.manage().timeouts().pageLoadTimeout(10, TimeUnit.SECONDS);
Runtime.getRuntime().exec(“D:\\Auto IT\\Login.exe”);
Thread.sleep(2000);
String text = driver.findElement(By.cssSelector(“div.example p”)).getText().trim();
Assert.assertEquals(text, “Congratulations! You must have the proper credentials.”);
}
@AfterTest
public void tearDown() {
driver.quit();
}
}
Using ChromeDevTools Protocols API
Selenium 4 has introduced a new API that grants access to Chrome DevTools directly from your automated tests. This is done via the Chrome DevTools protocol (CDP), which is essentially a set of tools that enables you to access and control Chromium-based browsers.
Add below Selenium4 dependency instead of Selenium3 to pom.xml file and save it:
<dependencies>
<dependency>
<groupId>org.seleniumhq.selenium</groupId>
<artifactId>selenium-java</artifactId>
<version>4.0.0-alpha-6</version>
</dependency>
</dependencies>
DevTools is a class that provides various methods to handle developer options, such as createSession, addListener, close and send.
The getDevTools() method returns the new DevTools object which allows you to send() the built-in Selenium commands for CDP.
Steps to use Chrome DevTools
- ChromeDev Tools works only for Chromium-based browsers such as Google Chrome and Microsoft Edge. So, we need to create a driver instance of ChromeDriver or EdgeDriver.
ChromeDriver driver=new ChromeDriver()
OR
EdgeDriver driver=new EdgeDriver()
- Get the dev tools from following code and create a new session
DevTools devTools = driver.getDevTools();
devTools.createSession();
- Enable the network domain of dev tools
devTools.send(Network.enable(Optional.empty(), Optional.empty(), Optional.empty()));
You can pass Optional.empty() in case you do not have to specify any network.
- Concatenate username and password separated by colon and store it any String object
String auth = username + “:” + password;
- Encode the username and password using Base64 from java.util package
String encodeToString = Base64.getEncoder().encodeToString(auth.getBytes());
- Finally pass the network header as Authorization: Basic <encoded string> using HashMap
Map<String, Object> headers = new HashMap<>();
headers.put(“Authorization”, “Basic ” + encodeToString);
- Now as the header is set, we can invoke the website by driver.get()
driver.get(“https://the-internet.herokuapp.com/basic_auth”);
public class BasicAuthSelenium4 {
ChromeDriver driver;
@BeforeTest
public void setup() {
// Setup Chrome driver
WebDriverManager.chromedriver().setup();
driver = new ChromeDriver();
driver.manage().window().maximize();
driver.manage().timeouts().implicitlyWait(30, SECONDS);
// Authentication username & password
String username = “admin”;
String password = “admin”;
// Get the devtools from the running driver and create a session
DevTools devTools = driver.getDevTools();
devTools.createSession();
// Enable the Network domain of devtools
devTools.send(Network.enable(Optional.empty(), Optional.empty(), Optional.empty()));
String auth = username + “:” + password;
// Encoding the username and password using Base64
String encodeToString = Base64.getEncoder().encodeToString(auth.getBytes());
System.out.println(“Encoded String: ” + encodeToString);
// Pass the network header as Authorization : Basic <encoded String>
Map<String, Object> headers = new HashMap<>();
headers.put(“Authorization”, “Basic ” + encodeToString);
devTools.send(Network.setExtraHTTPHeaders(new Headers(headers)));
}
@Test
public void launch() {
driver.get(“https://the-internet.herokuapp.com/basic_auth”);
String text = driver.findElement(By.cssSelector(“div.example p”)).getText().trim();
Assert.assertEquals(text, “Congratulations! You must have the proper credentials.”);
}

@AfterTest
public void tearDown() {
driver.quit();
}
}
This article explains the different ways to automate Window login popups in Selenium script. Passing credentials in the URL itself is an insecure approach as it may expose credentials in insecure contexts. Auto IT requires additional installation and configuration to work with the Selenium script. So, if we compare all three, using ChromeDevTools Protocols is the best approach so far.
It is crucial to test the login popup on different Windows OS and different browsers. And this can be achieved by running your tests on BrowserStack real device cloud as it has all the latest Windows OS and browsers available to test your product.


