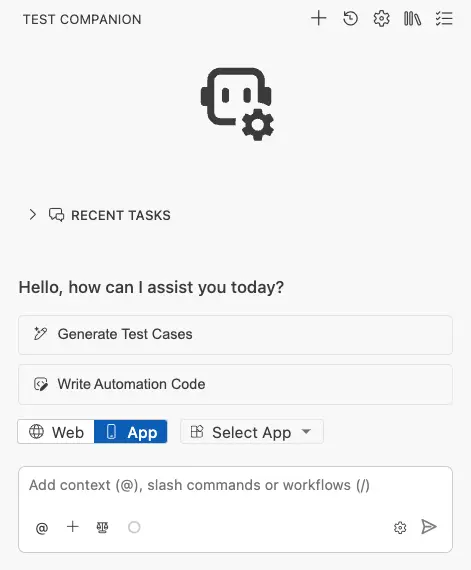
Generate test cases
Generate structured test cases for your app from requirements or by exploring it on a real device.
Test Companion produces test cases organized by scenario, with titles, steps, expected results, and platform-specific considerations like gestures, permissions, and orientation changes.
You have two starting points:
- From requirements: Provide a PRD, user story, Jira link, or feature description. The AI generates test cases from that source.
- By exploring the app: Ask Test Companion to navigate your app on a real device. The AI generates test cases from what it observes.
Before generation begins, Test Companion shows an action plan in the chat that previews how it will categorize the tests.
Before you begin
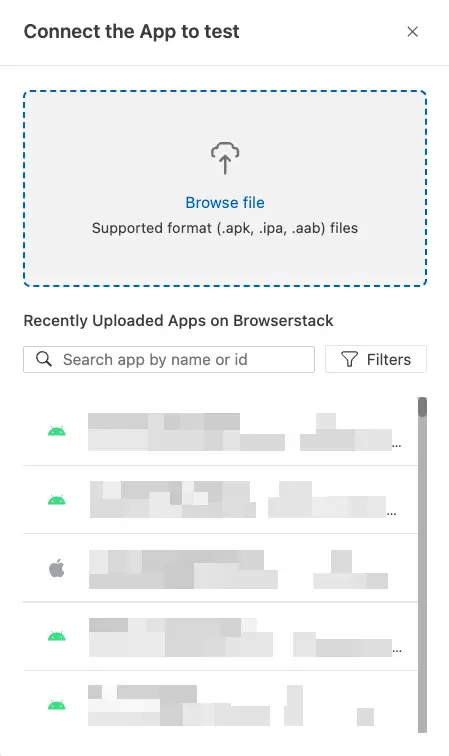
- Switch to App mode and connect your app. See Connect your app.
- For requirements-based generation, have your PRD, spec, or user story ready.
Generate from requirements
The AI reads your source document and produces test cases tuned for app testing, including platform-specific interactions.
-
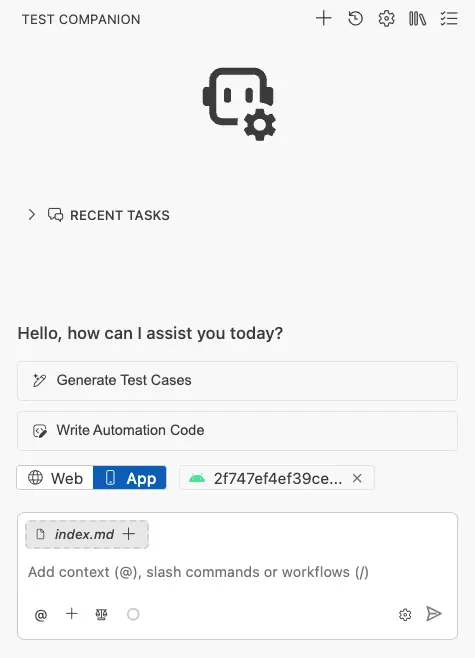
In App mode, confirm your app is connected.
- Add context to the chat box. You can combine methods:
- Attach a file: Click the + (Add Files & Images) icon to attach a PRD, spec, or screenshot.
- Paste text: Paste your requirements, Jira/Confluence/Azure link, or user story directly.
- Click the Send message icon.
Test Companion generates test cases organized by scenario.
Example prompt:
Generate test cases for the checkout flow based on this PRD:

The user can:
- Add items to the cart from the product listing.
- View the cart and modify quantities.
- Enter a shipping address.
- Choose a payment method (credit card or PayPal).
- Place the order and see a confirmation screen.

Cover happy paths, negative cases (invalid card, empty cart), and
edge cases (network drop mid-checkout, session timeout).
Generate by exploring the app
Use this method when you do not have written requirements, or when you want test cases that reflect how the app behaves in practice.
Test Companion launches your app on a BrowserStack device, navigates the screens, captures UI hierarchy data and screenshots, and writes test cases from what it finds.
-
In App mode, click the Select App dropdown to confirm or change your app.
-
In the Connect the App to test panel, select an app from the list or upload a new one.
- Add context describing what to explore:
- Attach a file: Reference designs, specs, or screenshots.
- Paste text: Describe the flow, feature, or screens to test.
- Send the message.
Test Companion starts the device session, opens the app, and navigates the screens you described. The AI writes test cases from the elements, interactions, and flows it discovers.
Example prompt:
Explore the app and generate test cases for the entire onboarding flow,
from the first screen a new user sees to the home screen. Cover:

- Each step of the onboarding wizard.
- Skipping optional steps.
- Going back to a previous step.
- The user closing the app mid-onboarding and reopening it.
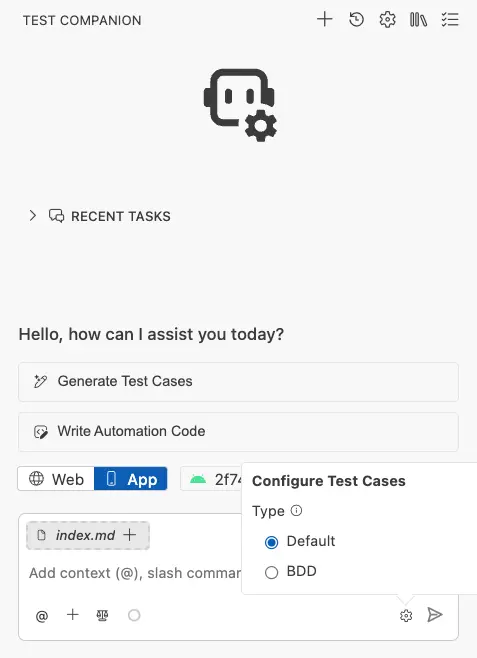
Configure the test case format
Open the Configure Test Cases panel at the bottom of the screen before generation. Choose a format:
| Format | When to use |
|---|---|
| Default | Standard format with title, numbered steps, and expected results. Suitable for most teams. |
| BDD | Given/When/Then syntax for teams using Cucumber, SpecFlow, or Behave. |
The format applies to the current generation task.
Review generated test cases
When generation completes, the Test Cases panel opens on the right side of your IDE. A summary banner at the top shows the totals (for example, “24 test cases across 8 scenarios”).

Every field is editable. Modify titles, steps, and expected results before adding the test cases to your suite.
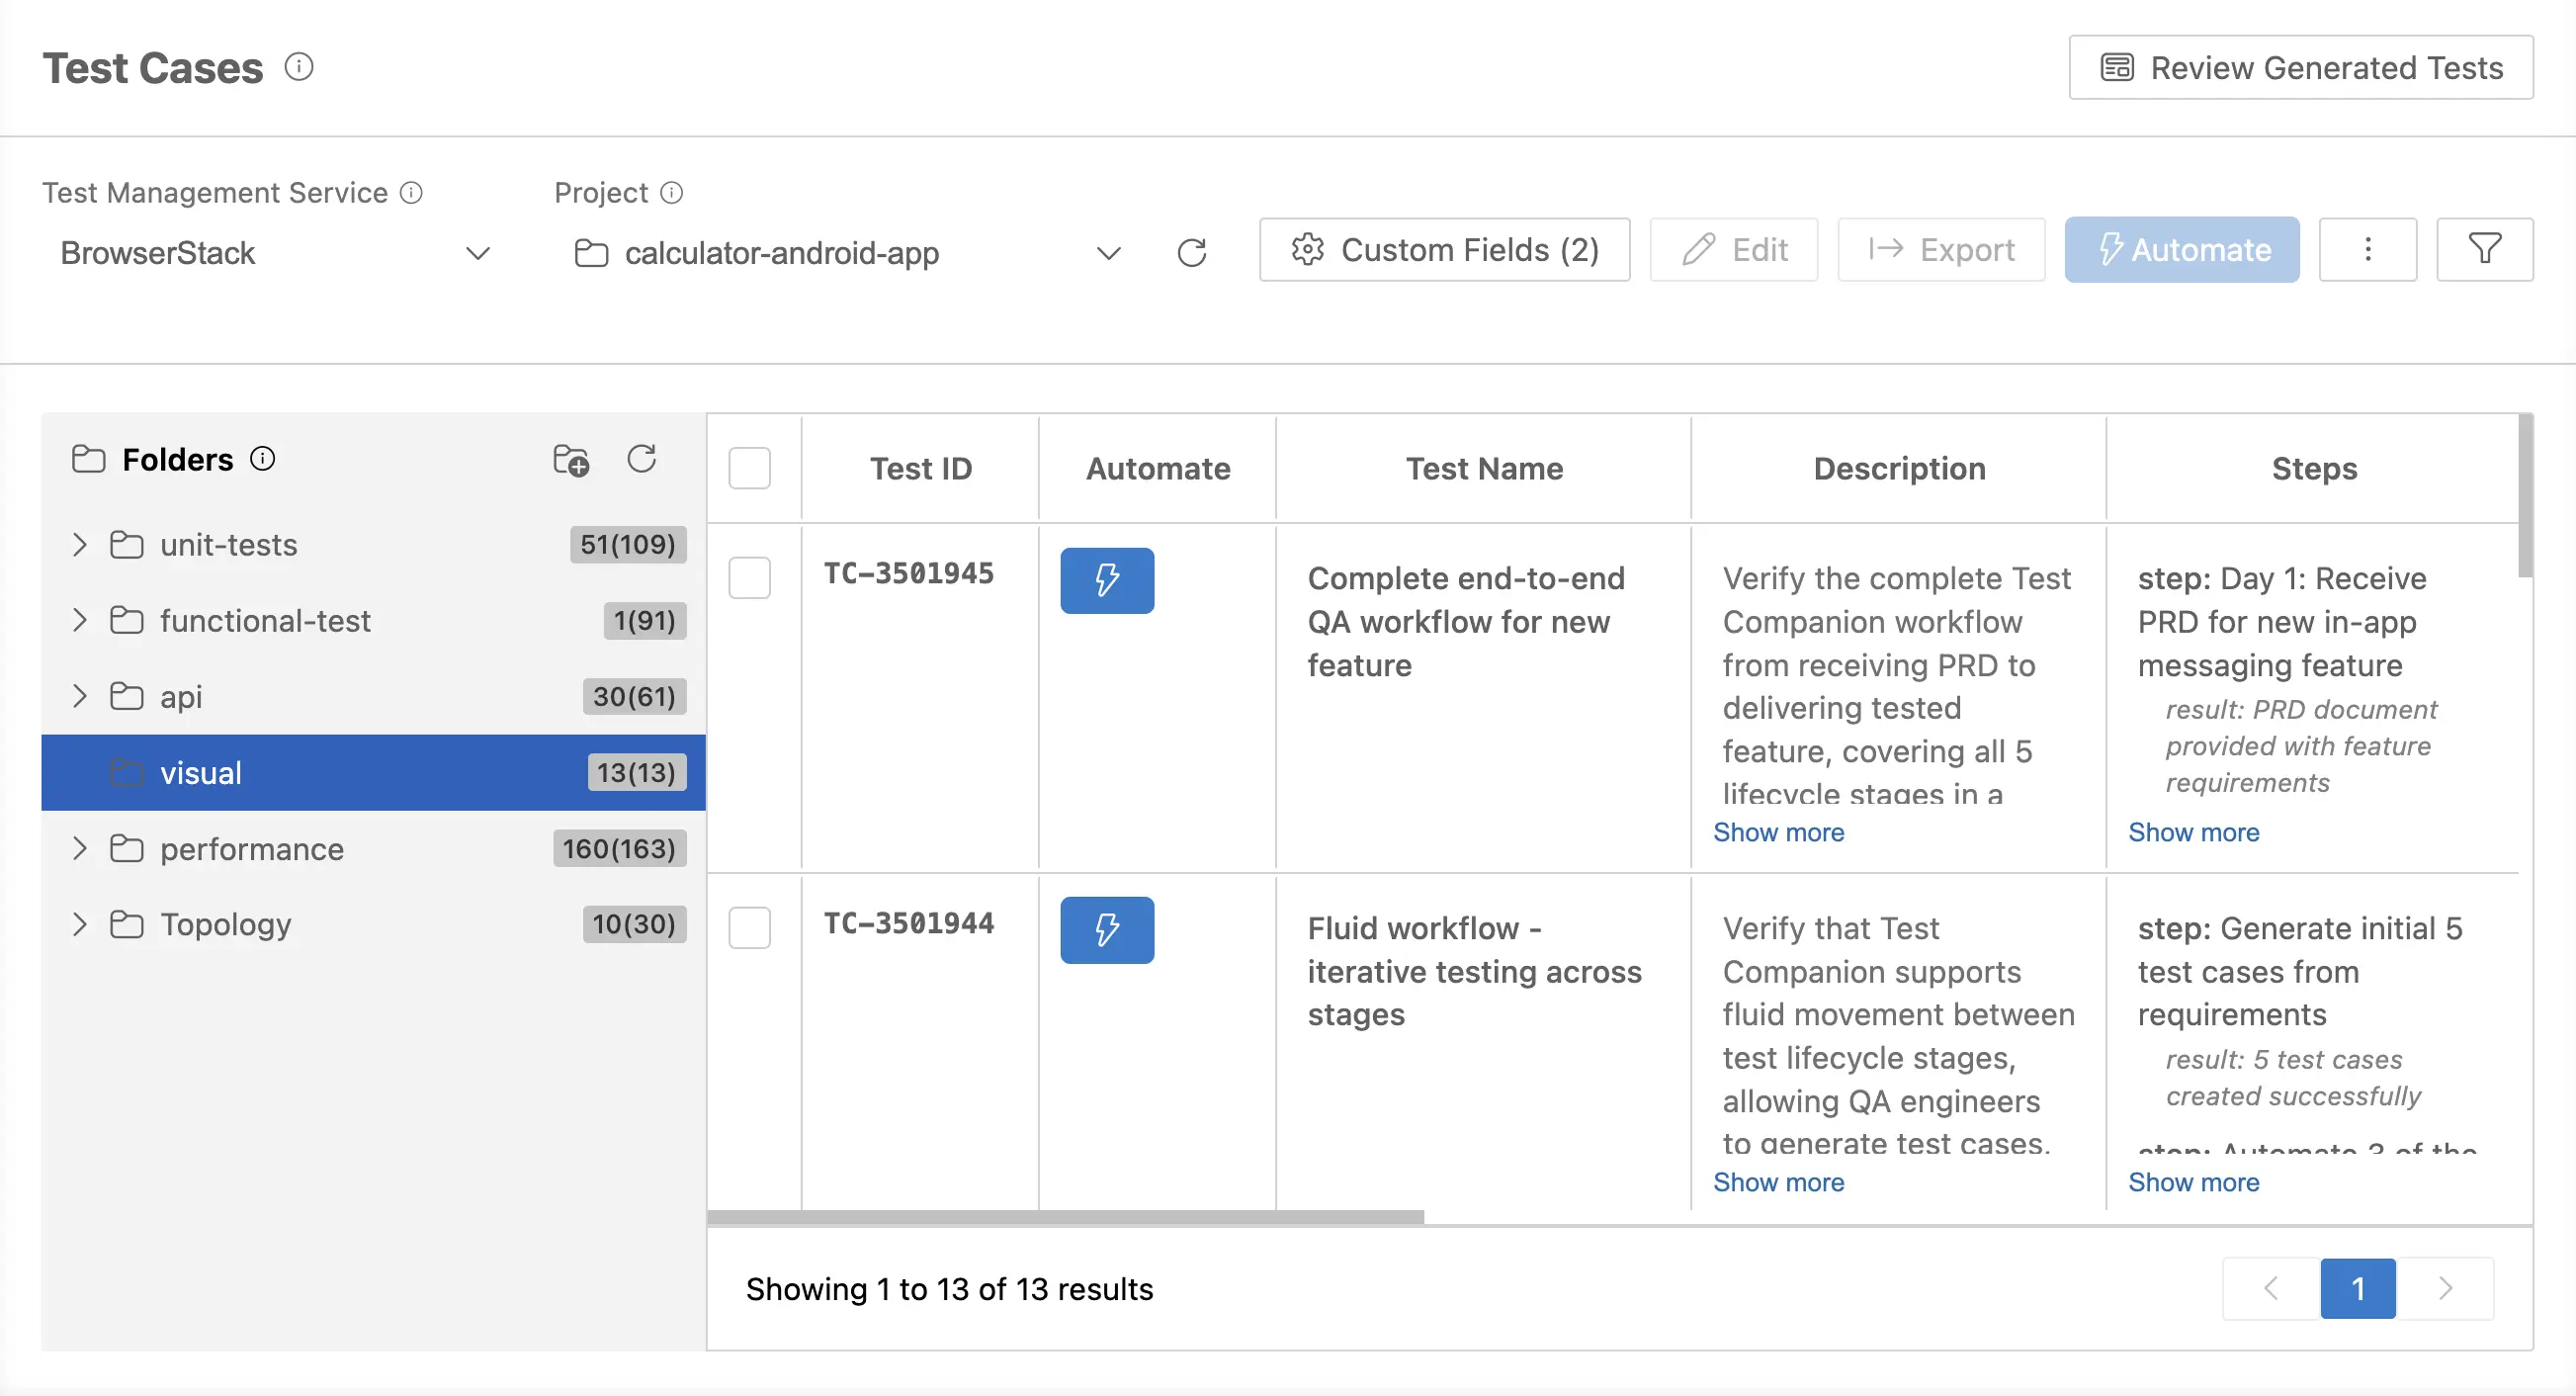
How test cases are organized
Test cases are grouped by scenario, a logical category the AI assigns based on your input. For an app onboarding flow, scenarios might include:
- First-time launch: Permission prompts, language selection, account creation.
- Authentication: Login, signup, biometric unlock, password reset.
- Tutorial: Step navigation, skip behavior, restart on app reopen.
- Edge cases: Network drops, app backgrounding, low memory.
Expand or collapse scenarios to focus on what matters.
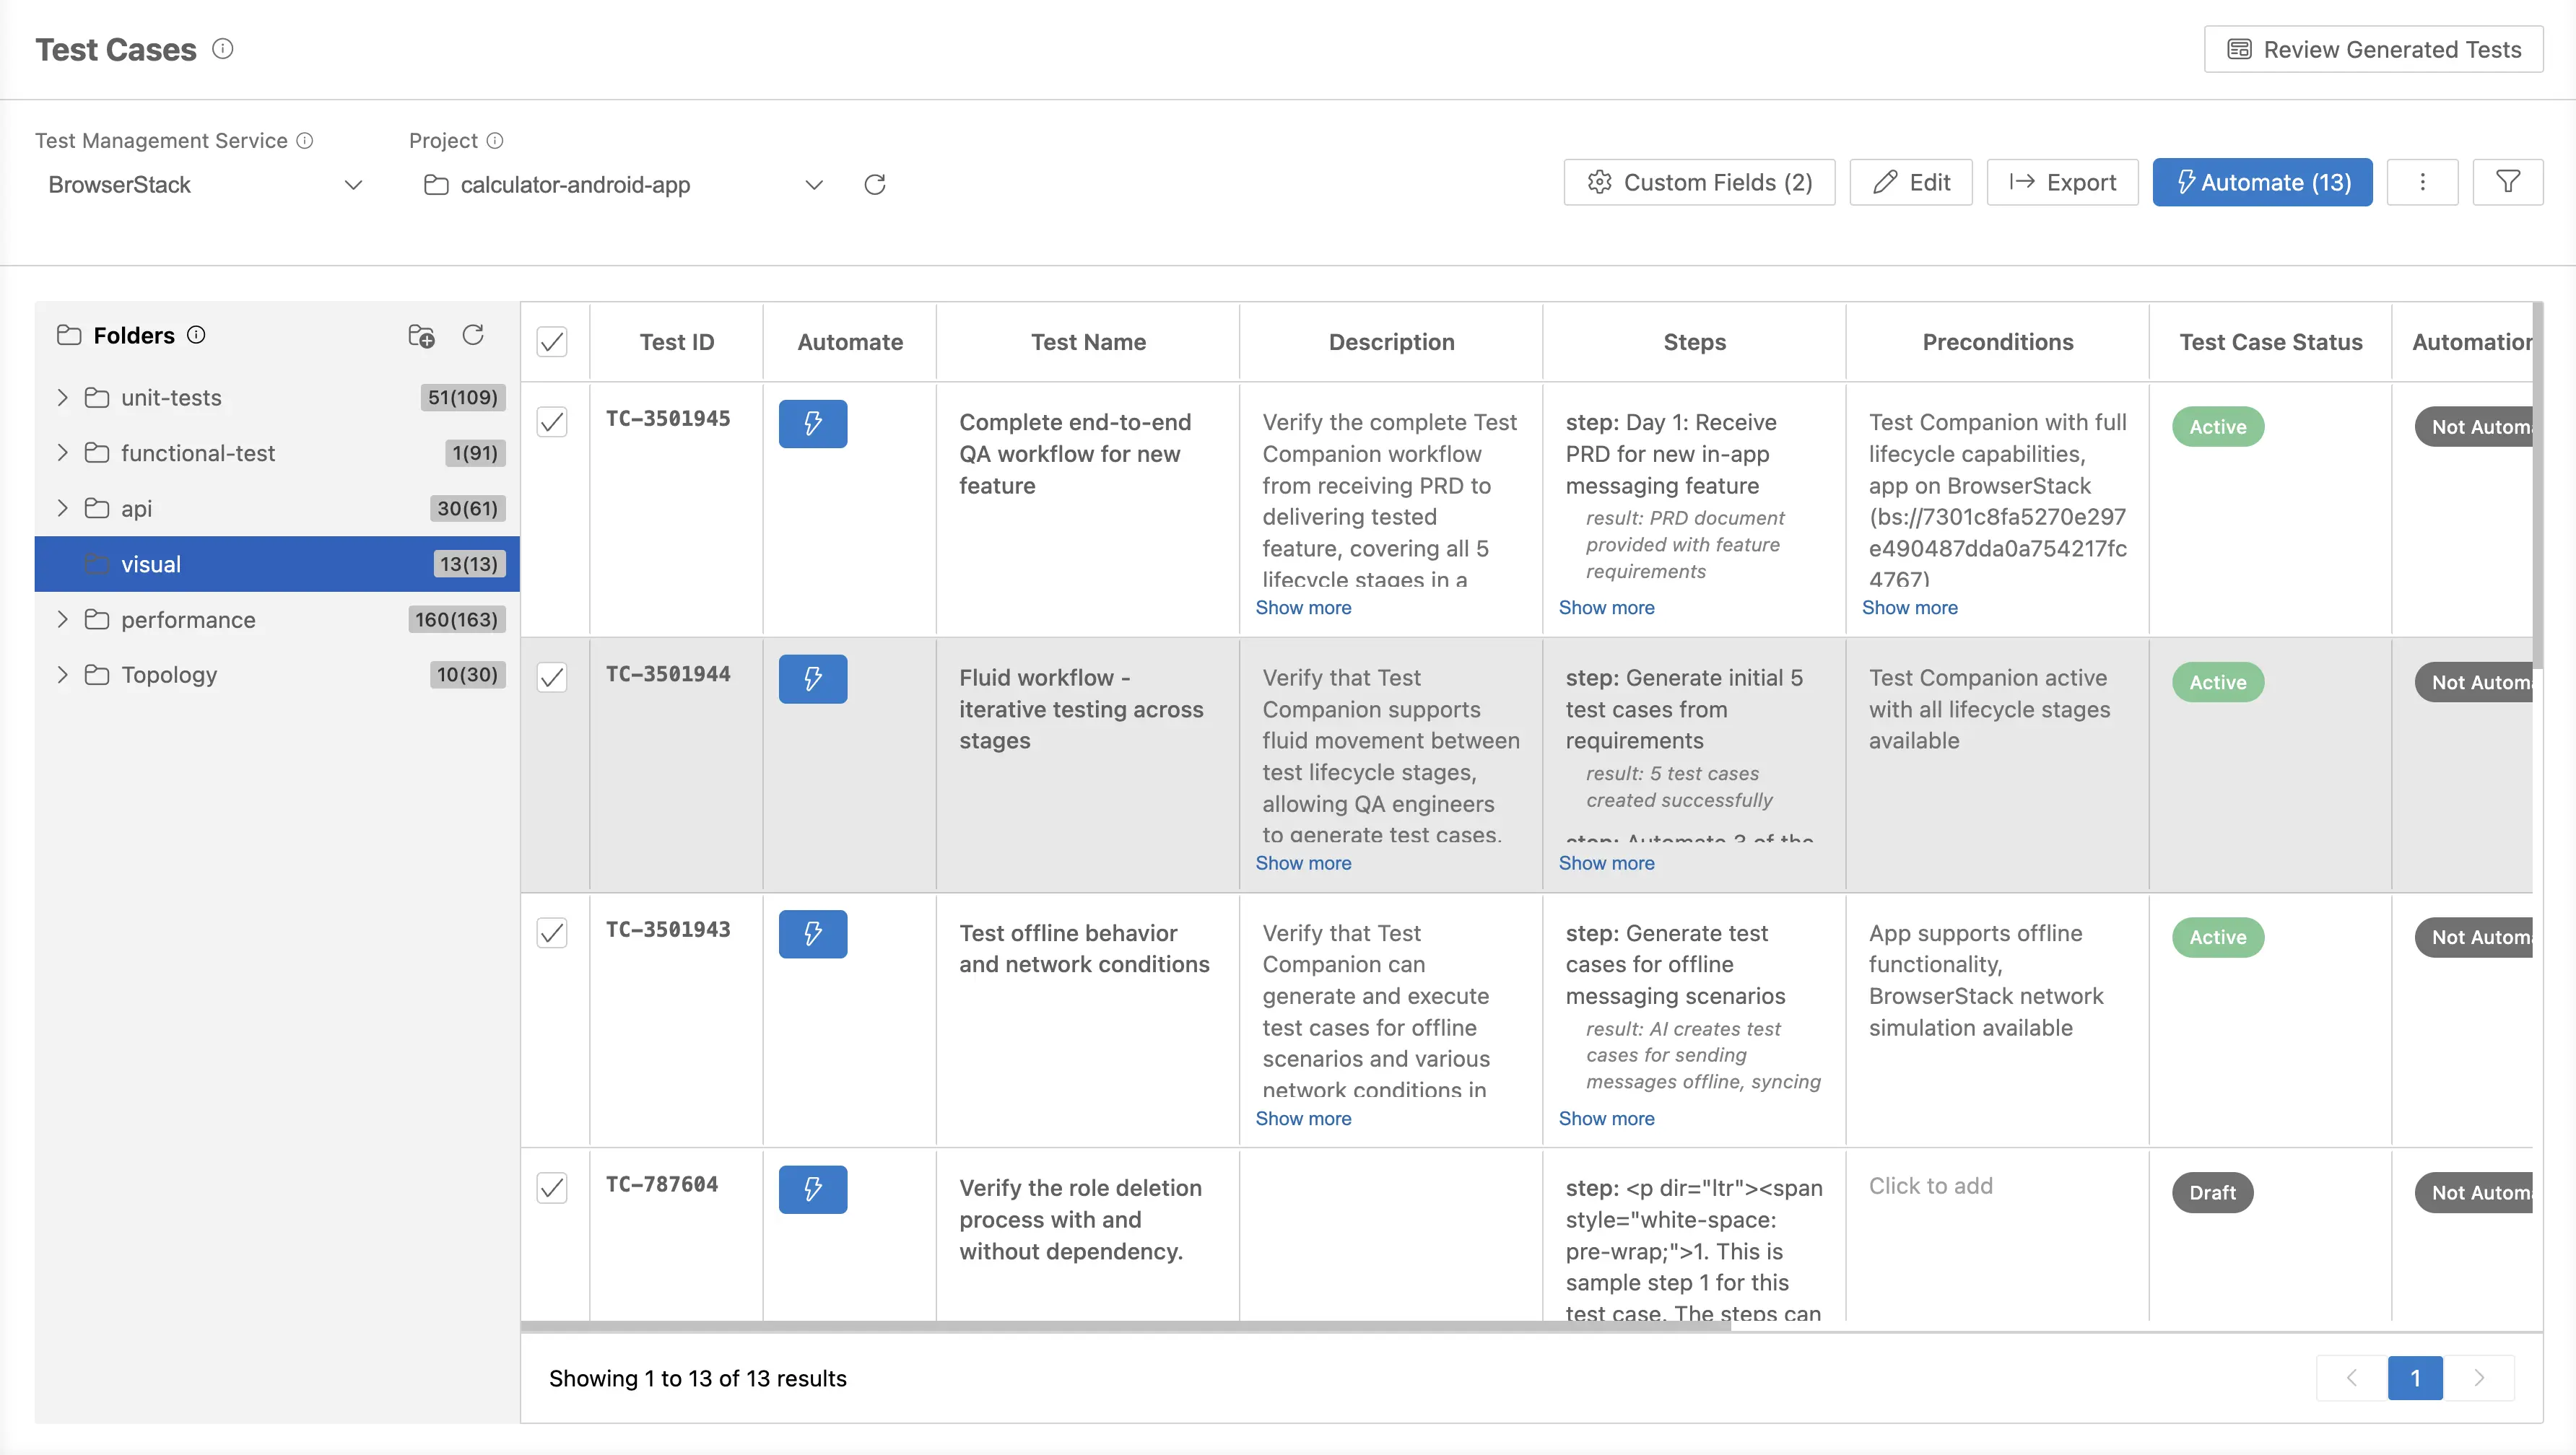
Components of each test case
Each row in the panel includes:
| Column | Description |
|---|---|
| Automate | Sends the test case to the automation workflow. Test Companion generates an executable script for it. |
| Test Name | Short title describing what the test verifies (for example, “Verify biometric login on first unlock”). |
| Description | Full context. Click Show more to expand. |
| Steps | Numbered actions, including app-specific interactions like tap, swipe, type, and grant permission. Each step shows the expected result below the action. |
| Preconditions / Background | Setup conditions. Default format labels this Preconditions. BDD format labels it Background with Given/When/Then setup. |
Expanding a row also shows:
- Test Case Status: Reviewed (green) or pending (red).
- Automation Status: Whether automation code exists for this test case.
Manage test cases
Select test cases
Click the checkbox on a row to select it. Use the scenario-level checkbox to select every test case in a scenario. The counter at the top tracks selections.
The Review Generated Tests button switches between the review view (scenarios) and the synced view (Test IDs and folder structure from Test Management).
Accept or reject
After review, you have two options:
- Add to Test Cases: Accepts the selected test cases into your collection. If folders are configured, the active folder receives them.
- Reject Selected: Removes the selected test cases. Use this to discard low-value or duplicate cases before they reach Test Management.
Edit in bulk
To edit multiple test cases:
- Select the rows.
-
Click Edit in the toolbar to open the Edit Test Cases dialog.
-
Update Test Case Status, Automation Status, or Priority.
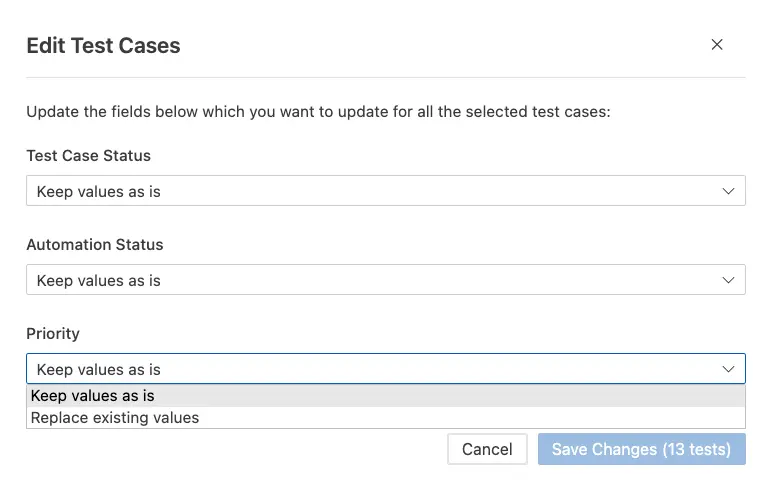
- Click Save Changes (N tests).
To edit a single test case, click directly on the field (name, description, steps, or preconditions) in the panel.
Add a new scenario
Click + Scenario in the toolbar to create a new scenario at the bottom of the panel. Each new scenario includes empty test case rows and a + Test Case (BDD) button.
Add test cases manually
Use the format badge at the top-right of each scenario to switch between Default and BDD per scenario.
At the bottom of each scenario, the New Test Case row has placeholder fields. Click them to add a test case the AI may have missed.
Custom fields
Click Custom Fields in the toolbar to add metadata as name-value pairs. Examples:
-
version:1.0.1 -
Configuration:Android 14, Pixel 8
Custom fields sync to your test management system. Use them for build versions, environment configurations, priority, or any tracking data your team needs.
Export test cases
Click Export in the toolbar to save the selected test cases for sharing with stakeholders who do not have access to Test Companion or BrowserStack Test Management.
Sync to Test Management
If you use BrowserStack Test Management, push test cases directly from the panel.
-
From the Test Management Service dropdown in the toolbar, select BrowserStack.
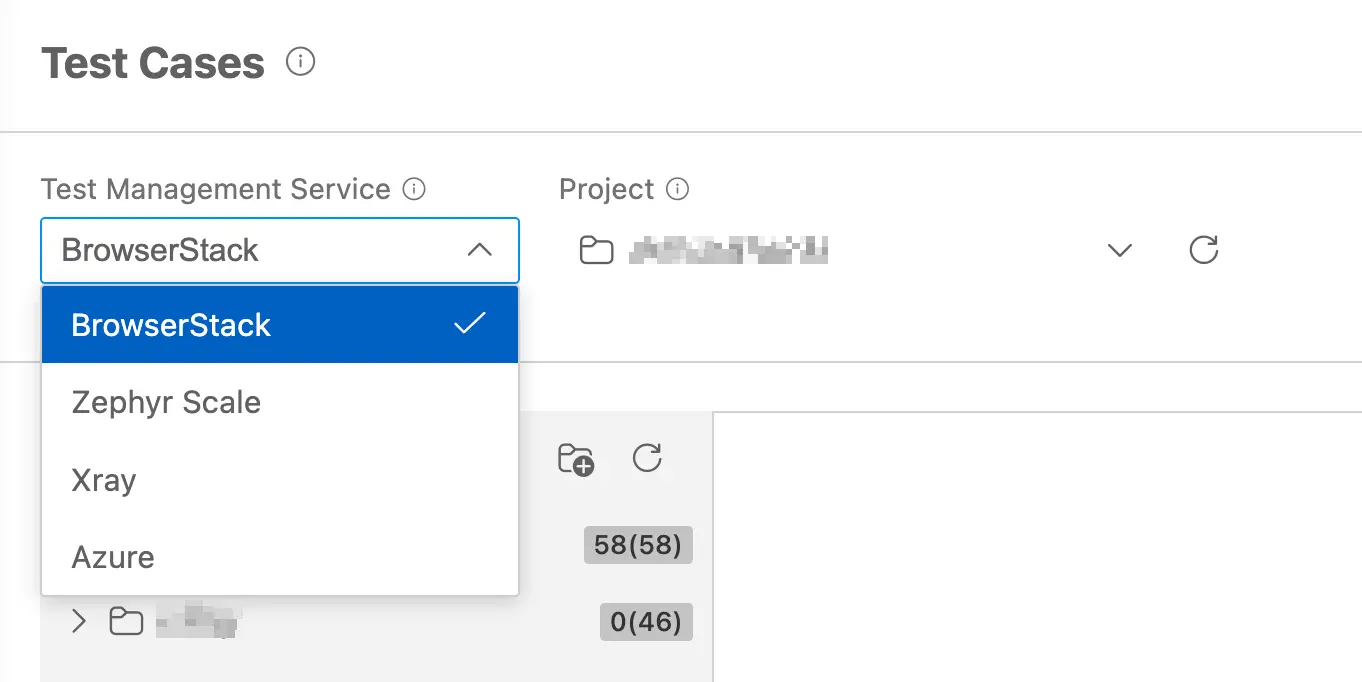
-
Choose a Project from the second dropdown, or create one.
-
Organize test cases into Folders using the folder panel on the left.
-
Click Sync to TM (blue) to push the test cases.
After sync, each test case receives a Test ID that links it to the entry in Test Management. The synced view shows every test case with its ID in a paginated table.
Best practices
- Be specific about scope. Narrow requests produce better output. “Generate test cases for the push notification opt-in flow” beats “Generate test cases for my app”.
- Specify the platform when it matters. If you only need iOS coverage, say so. If you need both, ask the AI to flag platform differences.
- Mention known pain points. If a feature has a history of bugs (for example, language switching crashes the app), call them out so the AI covers them.
- Reject before syncing. Use Reject Selected to remove low-value test cases. A focused suite is easier to maintain than a comprehensive one.
For more general prompting tips, see the Prompt guide.
Next steps
- Automate tests: Convert these test cases into executable scripts.
- Fix failed tests: Patch tests that break in CI or locally.
We're sorry to hear that. Please share your feedback so we can do better
Contact our Support team for immediate help while we work on improving our docs.
We're continuously improving our docs. We'd love to know what you liked
We're sorry to hear that. Please share your feedback so we can do better
Contact our Support team for immediate help while we work on improving our docs.
We're continuously improving our docs. We'd love to know what you liked
Thank you for your valuable feedback!