For a static website that displays text, images, links, and buttons beautifully, HTML and CSS are more than enough to get you a good-looking landing page or even a business website.
Overview
How to Create a Website using HTML And CSS
- Create a Layout
- Set up the boiler code
- Create major elements in the layout
- Create the HTML content
- Create CSS for the layout
- Create CSS to style individual elements
- Add background color and style
In this guide, you will learn the core concepts of HTML and CSS, and how to create a beautiful website by just using HTML and CSS.
How to Set Up your CSS and HTML for Creating a Website
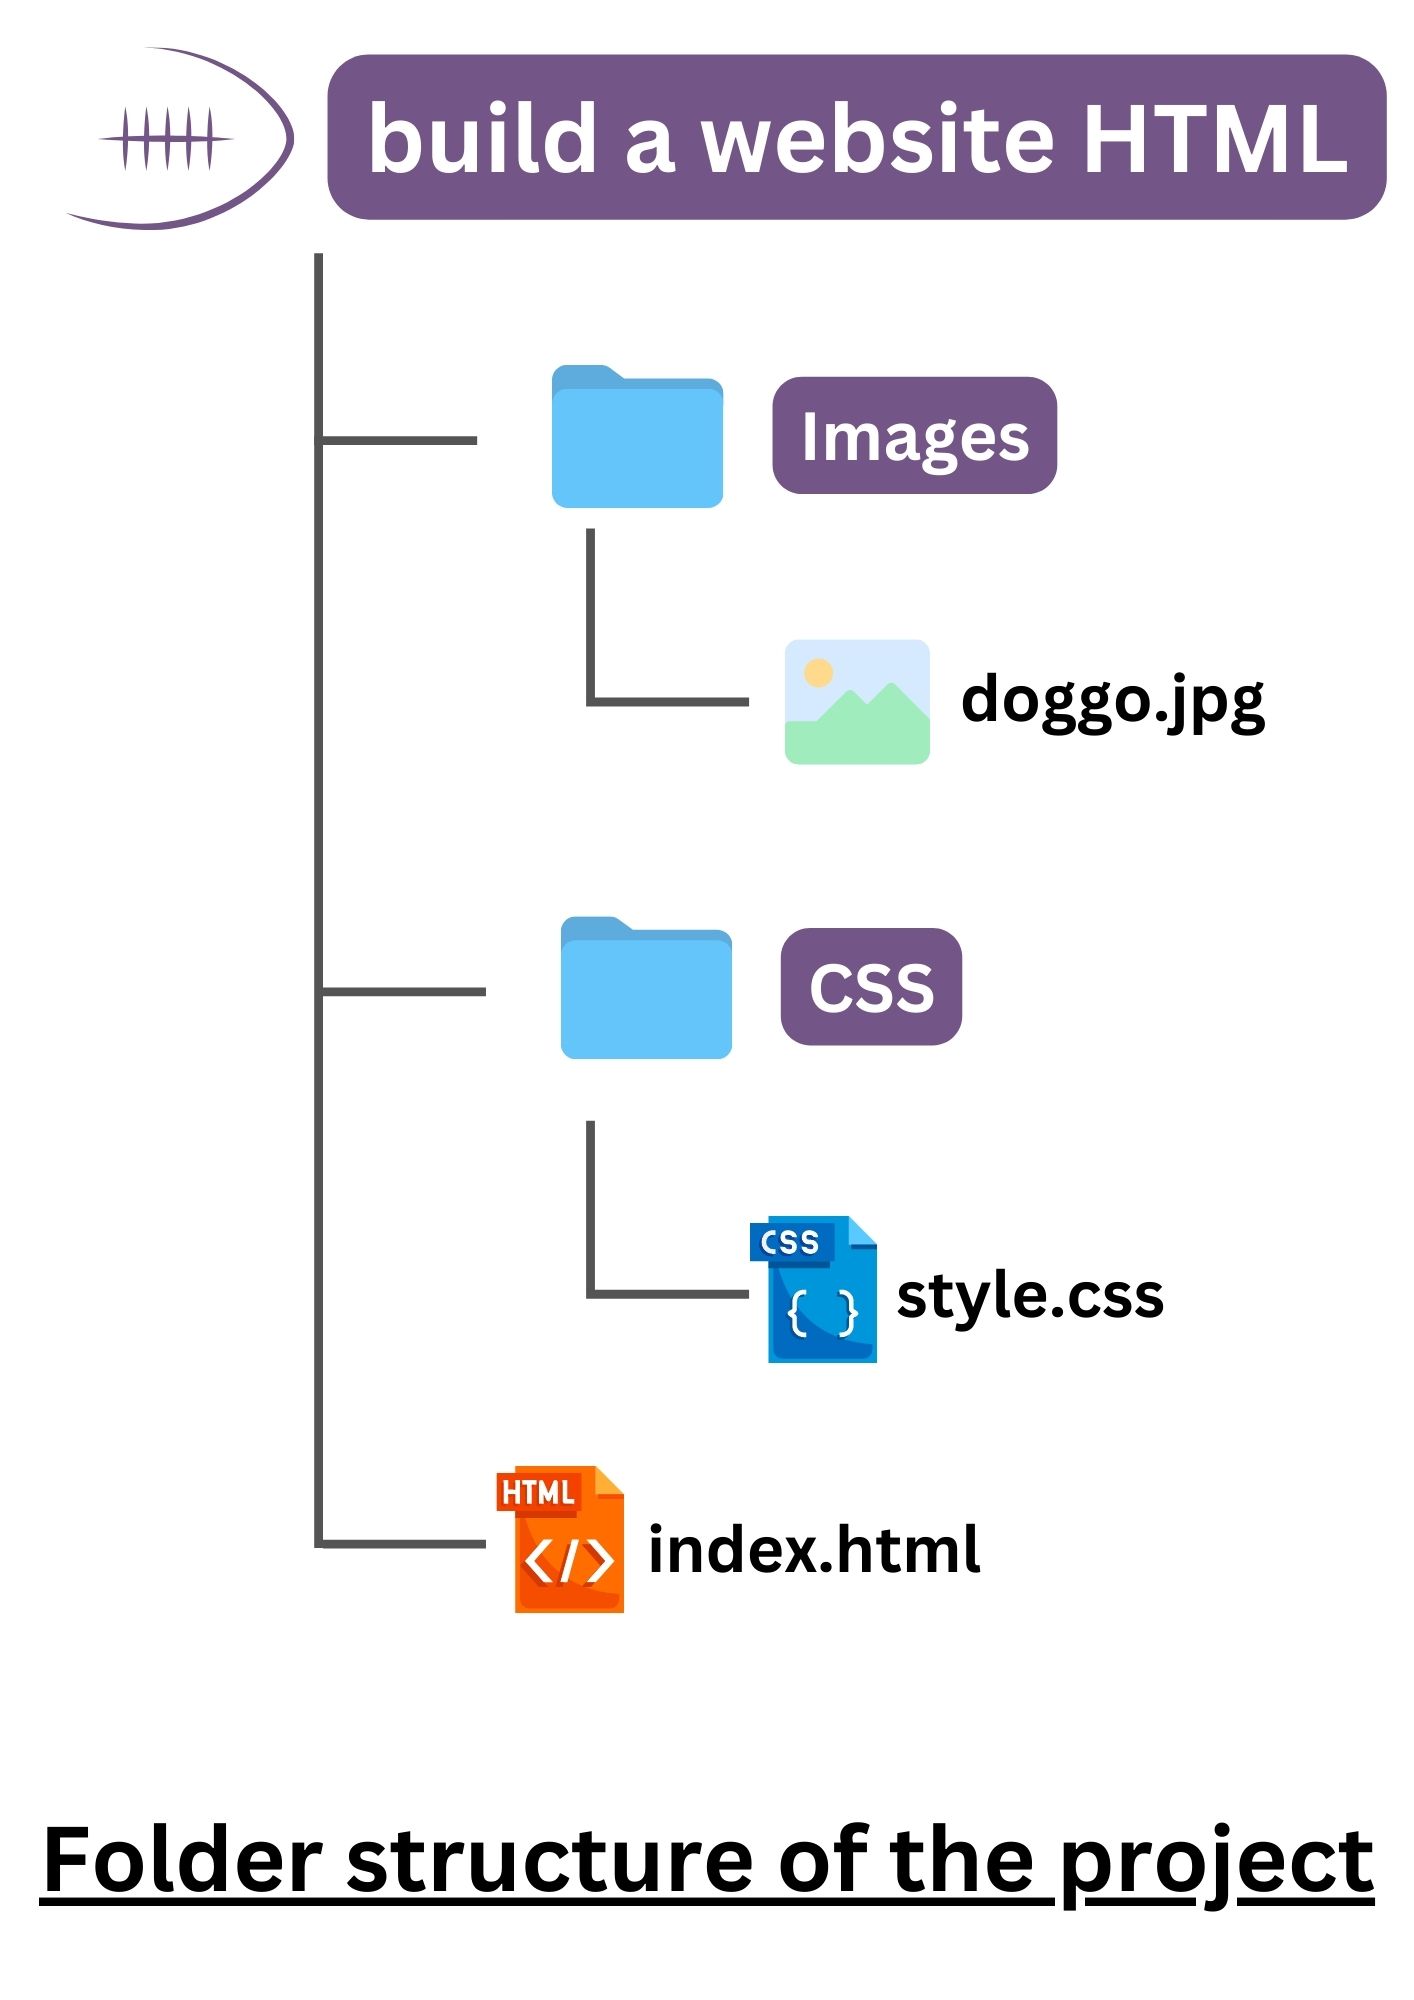
Before starting our HTML and CSS website project, first let’s set the necessary folder and file structure according to how you are going to code the entire project. Let’s name our folder “build a website HTML”. Inside the folder, create a new “index.html” file and two folders named “CSS” and “images.” Create a “style.css” file inside the CSS folder and store all the necessary images required in the project inside the images folder.
Read More: Handling Images in HTML and CSS
The naming convention is not necessary. However, a well-designed folder structure helps in quick navigation between the HTML and CSS files.
How to Create a Website using HTML And CSS
In this section, let’s create a full-fledged website using only HTML and CSS. Most of the users have a question today – Can you create a website just using HTML and CSS?
It is quite possible to create a good-looking website with the help of only HTML and CSS. HTML stands for Hypertext markup language and provides the skeleton for our website. However, CSS (Cascading Style Sheet) allows the skeleton to be more good-looking. Let us use seven steps to create a good-looking website from scratch.
Step 1: Create a Layout
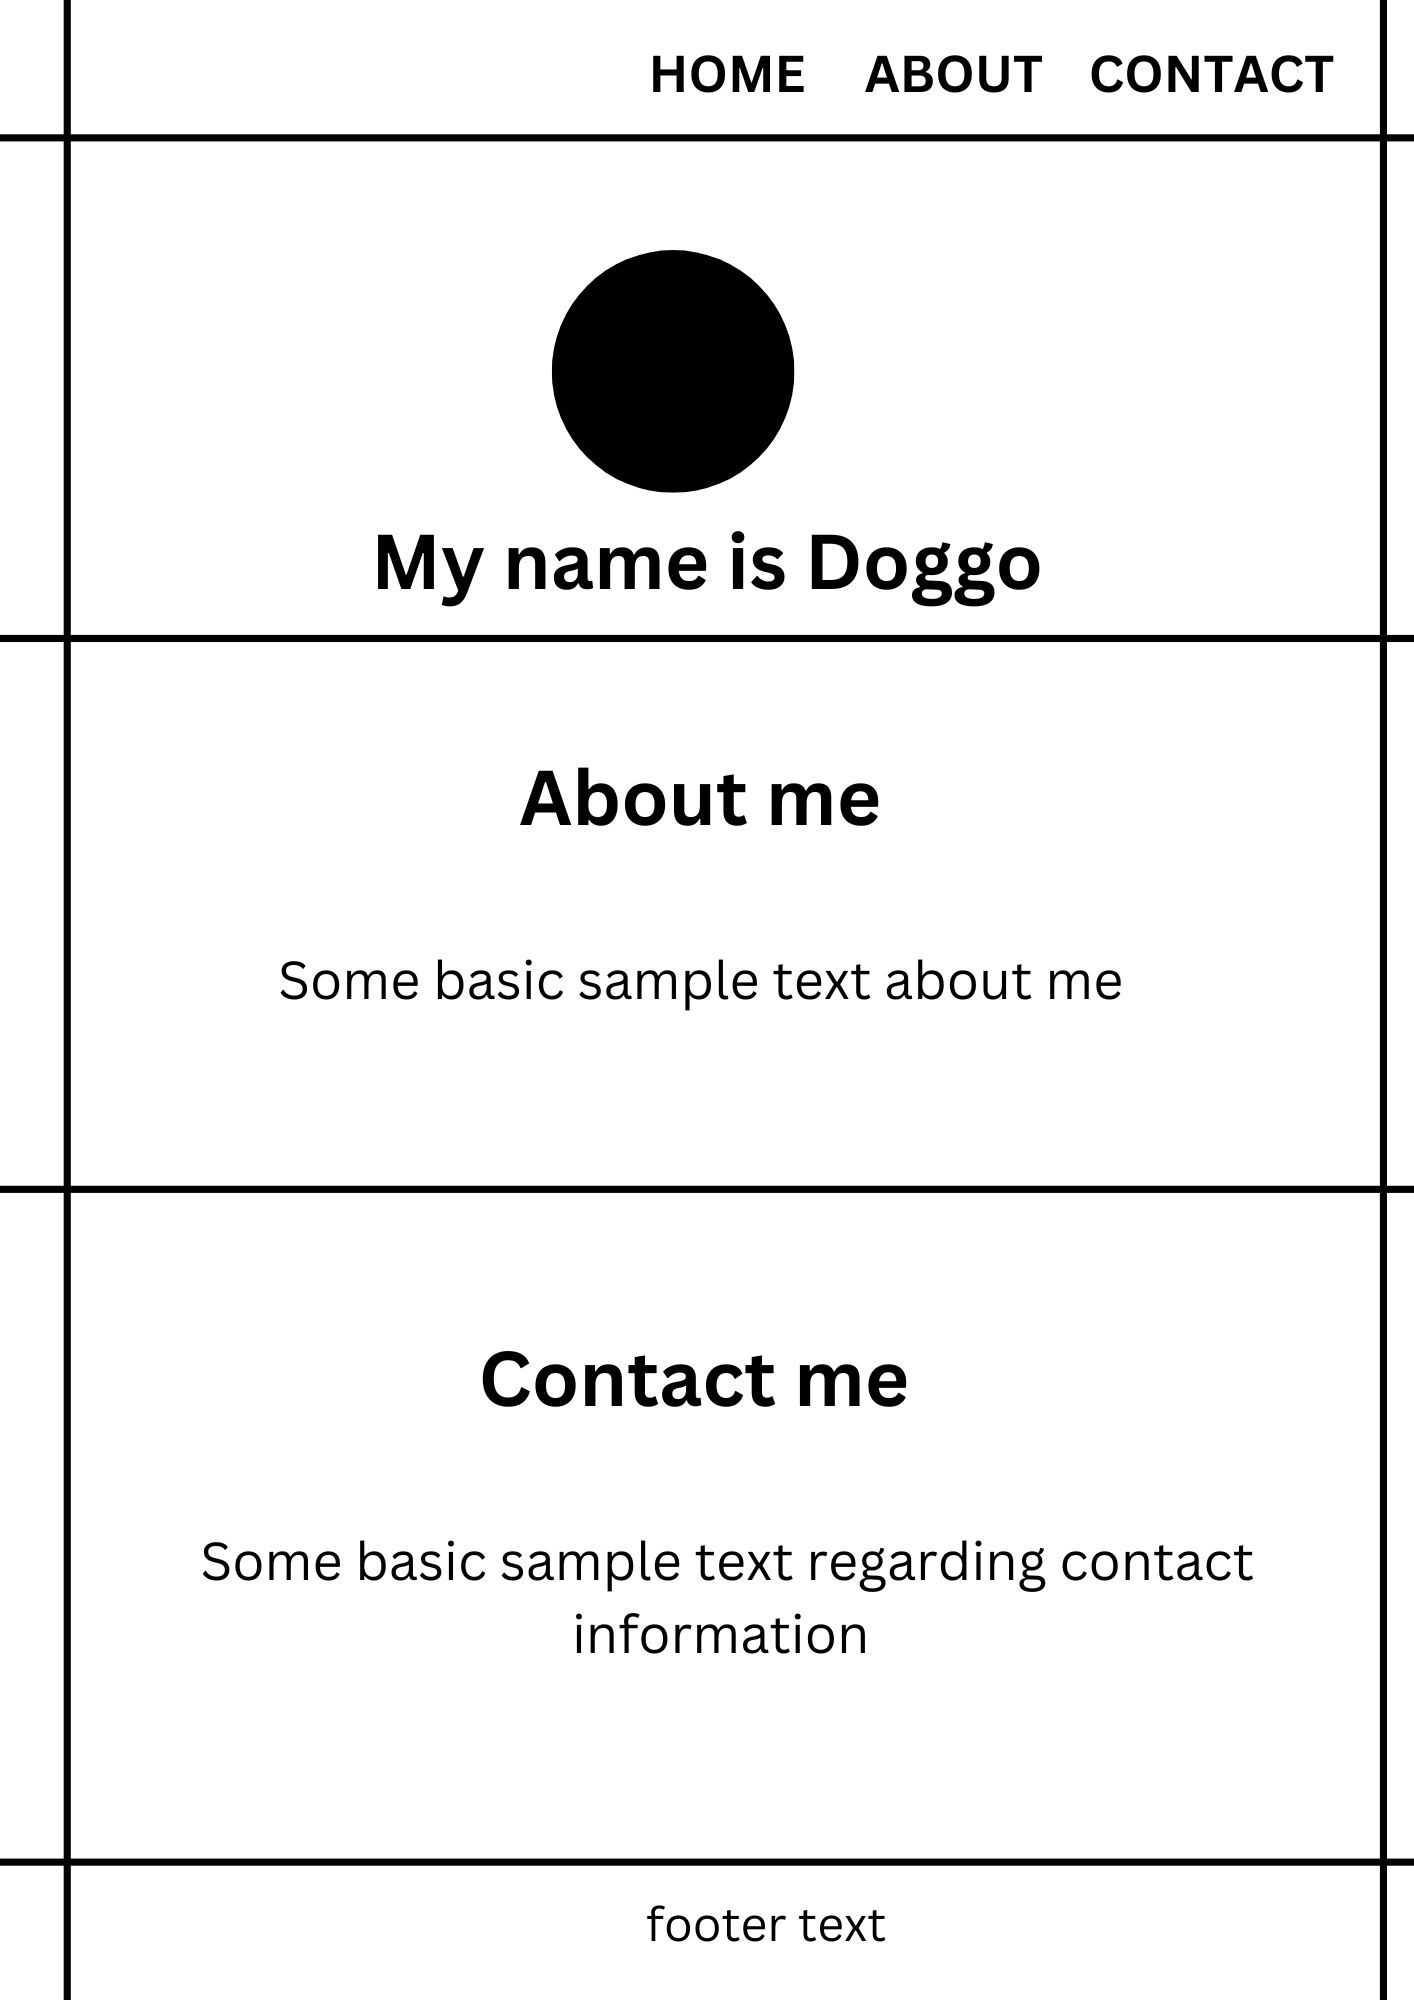
First create a basic structure of your website as a rough sketch. There are a lot of free online services that will help you design your website. Nonetheless, you must have a basic structure of the website ready.
Step 2: Set up the boiler code
Create a new project folder and create an empty index.html file inside the folder. Here, add the boilerplate code to the HTML file.
<!DOCTYPE html>
<html lang="en">
<head>
<title>How to create a website using HTML and CSS</title>
<link rel="stylesheet" href="css/style.css">
</head>
<body>
<h1>Test</h1>
</body>
</html>
Before starting the actual content add some test content in your HTML file, and run it on the browser to test if the code is working fine.
Step 3: Create major elements in the layout
Create section elements in the HTML file.
<!DOCTYPE html>
<html lang="en">
<head>
<meta charset="UTF-8">
<meta name="viewport" content="width=device-width, initial-scale=1.0">
<title>How to create a website using HTML and CSS</title>
<link rel="stylesheet" href="css/style.css">
</head>
<body>
<header>

</header>
<main>
<section id="intro">

</section>

<section id="about">

</section>

<section id="contact">

</section>

</main>
<footer>

</footer>
</body>
</html>
Read More: Browser compatibility with CSS Gradients
Step 4: Create the HTML content
In the previous step, you had created the elements in the layout. In this step, fill in the HTML content. Note that, in this example, let us fill the content with dummy text only.
<!DOCTYPE html>
<html lang="en">
<head>
<meta charset="UTF-8">
<meta name="viewport" content="width=device-width, initial-scale=1.0">
<title>How to create a website using HTML and CSS</title>
<link rel="stylesheet" href="css/style.css">
</head>
<body>
<header>
<nav>
<ul>
<li><a href="#intro">Home</a></li>
<li><a href="#about">About</a></li>
<li><a href="#contact">Contact</a></li>
</ul>
</nav>
</header>
<main>
<section id="intro">
<div class="Container">
<img src="Images/doggo.jpg" alt="display picture of doggo">
<h2>My name is Doggo</h2>
</div>
</section>

<section id="about">
<div class="container">
<h1>About Me</h1>
<p>Lorem ipsum dolor sit amet consectetur adipisicing elit. Sint, similique?</p>
<ul>
<li>Btech Qualified</li>
<li>Software Engineer</li>
<li>GATE AIR 01</li>
</ul>
</div>
</section>

<section id="contact">
<div class="container">
<h1>Contact me</h1>
<p>Lorem, ipsum dolor sit amet consectetur adipisicing elit. Nam, laudantium.</p>
<ul>
<li>Email ID</li>
<li>Insta ID</li>
<li>Facebook ID</li>
</ul>
</div>
</section>

</main>
<footer>
<p>© Copyright 2022 Doggo Co LTd.</p>
</footer>
</body>
</html>
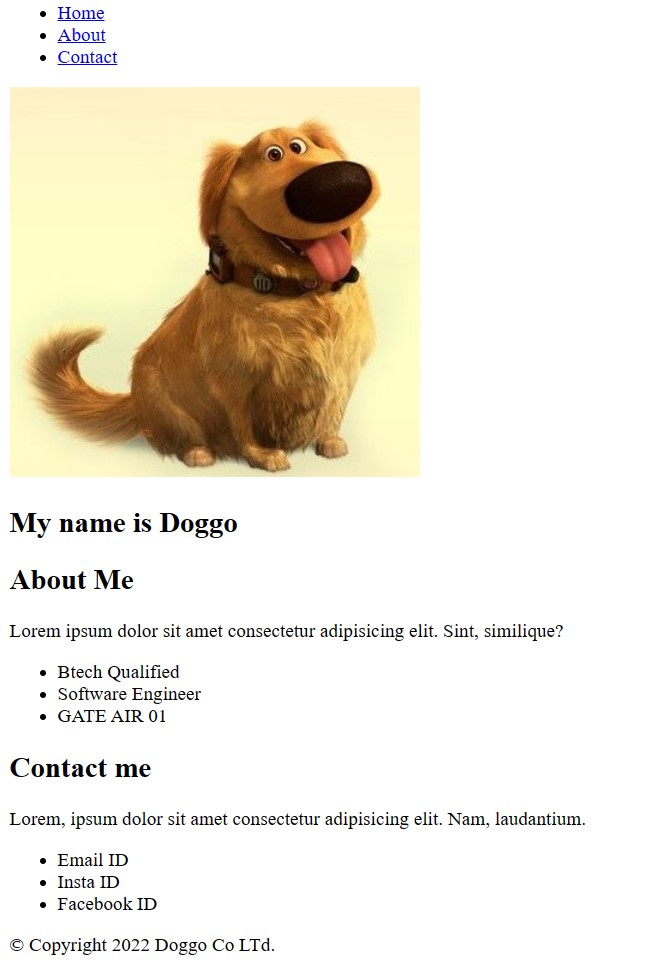
Now, if you reload the page, you are going to get an output something like this. You are now going to give this webpage some CSS in the next step to make it good-looking.
Step 5: Create CSS for the layout
Before adding the depth in the CSS, let us first add some basic CSS to make our webpage look somewhat similar to the layout that we designed in the first step.
Moreover, we linked our HTML file to a CSS file in the second step while writing our boilerplate code. Add the basic layout CSS in the linked CSS file. In this step, we are going to focus on height, width, padding, margin, and display of the sections and images, to make them adjustable according to the webpage.
*{
padding: 0;
margin: 0;
}

header{
height: 45px;
}
header nav ul{
display: flex;
margin-left: 80%;
}

header nav ul li{
padding-left: 10%;
}

section{
height: 100vh;
border: 1px solid grey;
display: flex;
justify-content: center;
align-items: center;
}

.Container{
margin-top: 10%
}

.Container img{
height: 300px;
}

.Container h2{
margin-top: 3%;
}

footer {
line-height: 40px;
display: flex;
justify-content: center;
}Step 6: Create CSS to style individual elements
In this step let us style individual content. Let us focus on properties like font, border, colors, and more.
*{
padding: 0;
margin: 0;
}

header{
height: 45px;
}
header nav ul{
display: flex;
margin-left: 70%;
list-style: none;
}

header nav ul li{
padding-left: 10%;
}

header a{
text-decoration: none;
color: brown;

}

section{
height: 100vh;
border: 1px solid grey;
display: flex;
justify-content: center;
align-items: center;
}

.Container img{
height: 300px;
border-radius: 50%;
}

.Container h2{
margin-top: 2%;
font-size: 3em;
font-family: 'Lucida Sans', 'Lucida Sans Regular', 'Lucida Grande', 'Lucida Sans Unicode', Geneva, Verdana, sans-serif;
}
.Container p, ul{
margin-top: 2%;
font-size: 1.5rem;
}

footer {
line-height: 40px;
display: flex;
justify-content: center;
font-size: 1rem;
}
Step 7: Add background color and style
In this step,let us add some finishing touches, and our website is ready. Let us add a background image and background colors to the sections.
#intro {
background-image: url(pinkbg.jpg);
background-repeat: round;
}
#about{
background-color: bisque;
}
#contact{
background-color: blanchedalmond;
}
After completing the entire code of our website, it will look something like this. Note that you can add more CSS to make it further good-looking.
How to optimize HTML code for Website?
View the Source Code of an HTML Document
To view the source code of any webpage:
- Navigate to the webpage
- Right-click on the page
- Select “view page source”
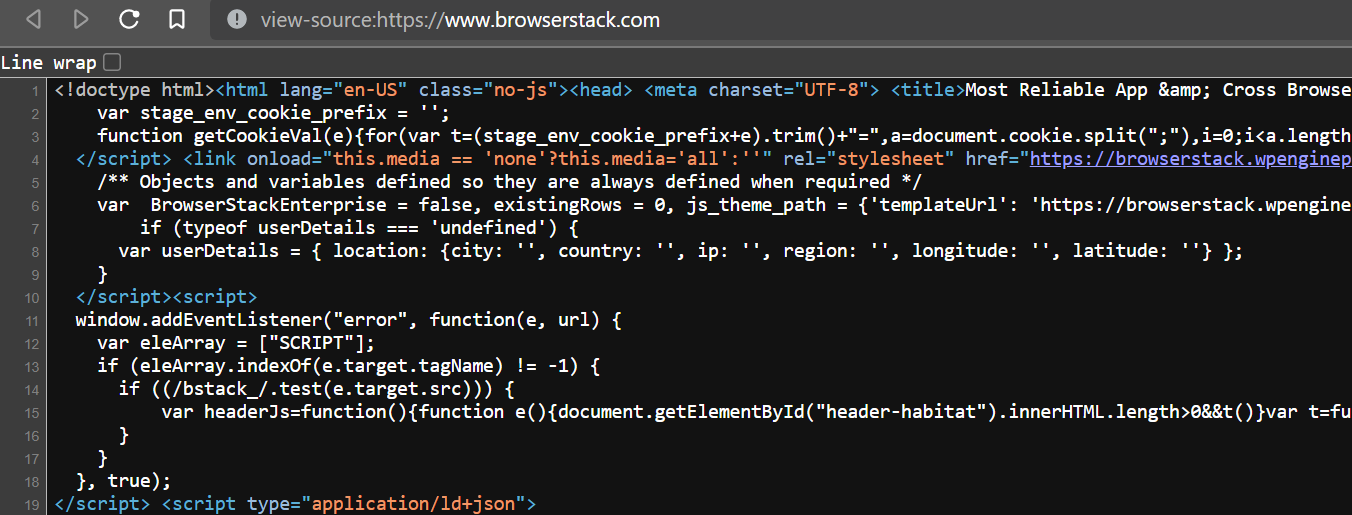
Alternatively, you may use a keyboard shortcut CTRL + U or CMD + U to inspect the source code of any HTML document.
The source code of an HTML document will look something like this.
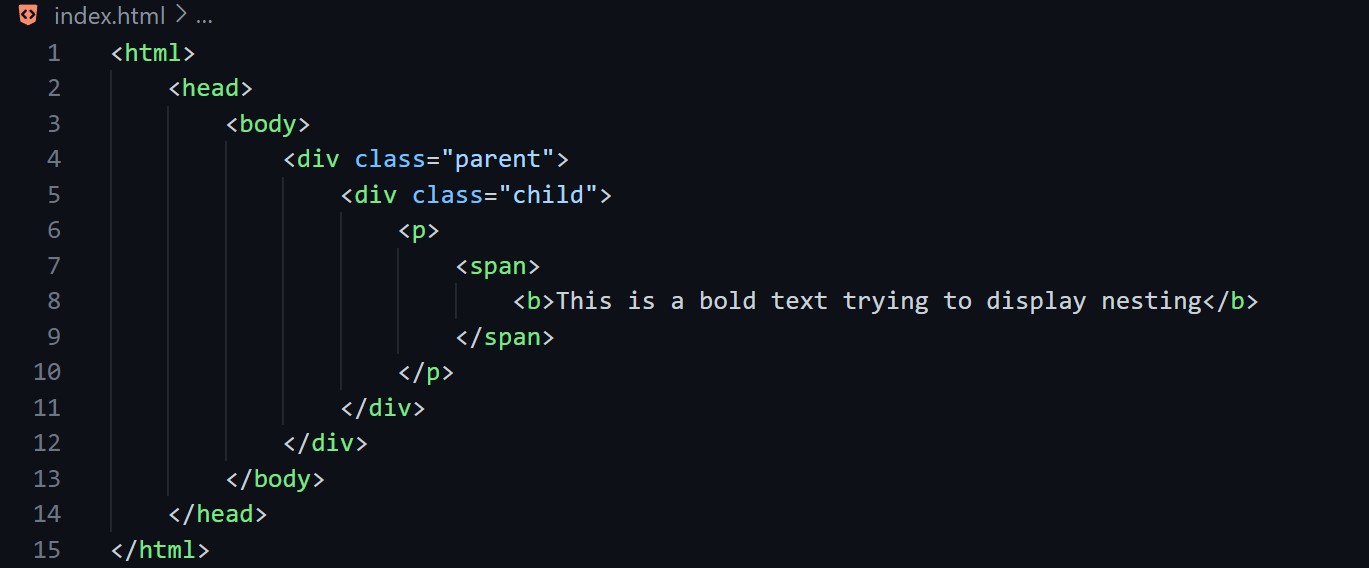
Nest HTML Elements
Nesting in HTML is to apply several HTML tags to a single content. In nesting, one element can be placed inside other elements. Another benefit of nesting in HTML includes improving the readability of your code for you and other developers.
Nesting in HTML will look something like this.
How to optimize CSS code for Website
Here are the ways you can optimize CSS code for websites:
Style Images with CSS
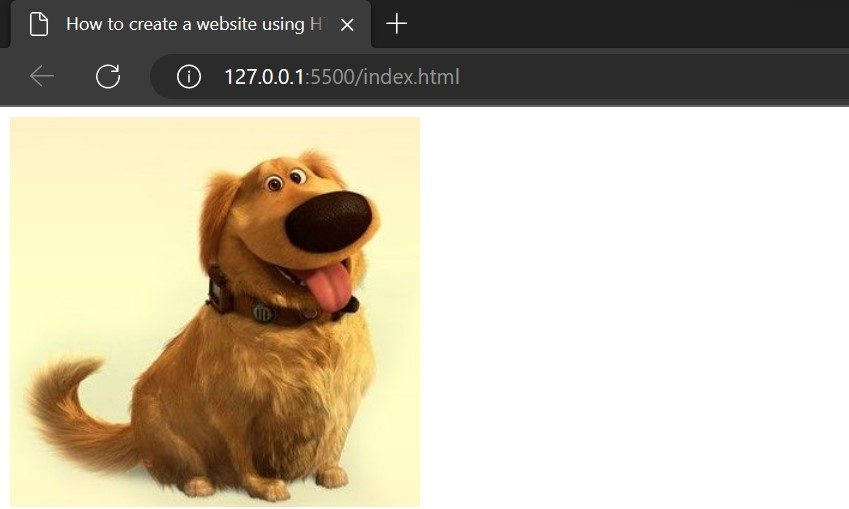
In this section, let’s learn how to style images with CSS such as adding a border to an image, adjusting its dimensions, and further specific CSS to our images in the webpage. First, add an image element in the HTML file.
<img src="doggo.jpg" alt="Image of Doggo">
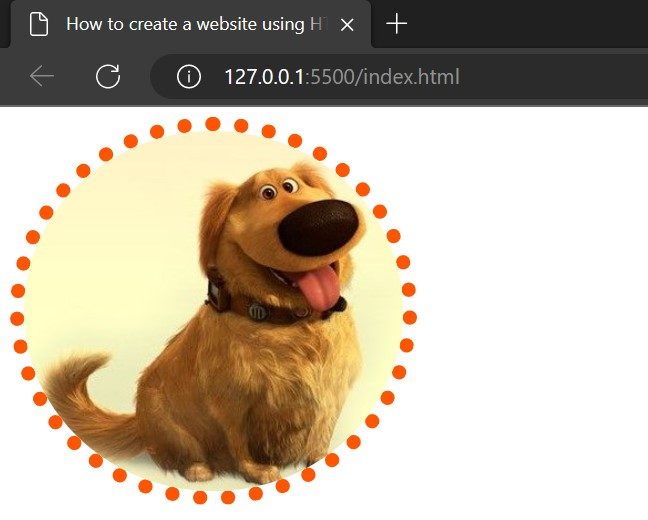
Now, it’s time to add CSS to the image to make it look good.
img{
height: 300px;
border-radius: 50%;
border: 12px dotted rgb(255, 85, 0);
}
This CSS will apply to all the images of our HTML document.
Read More: How to position Text Over an Image using CSS
Styling Classes With CSS
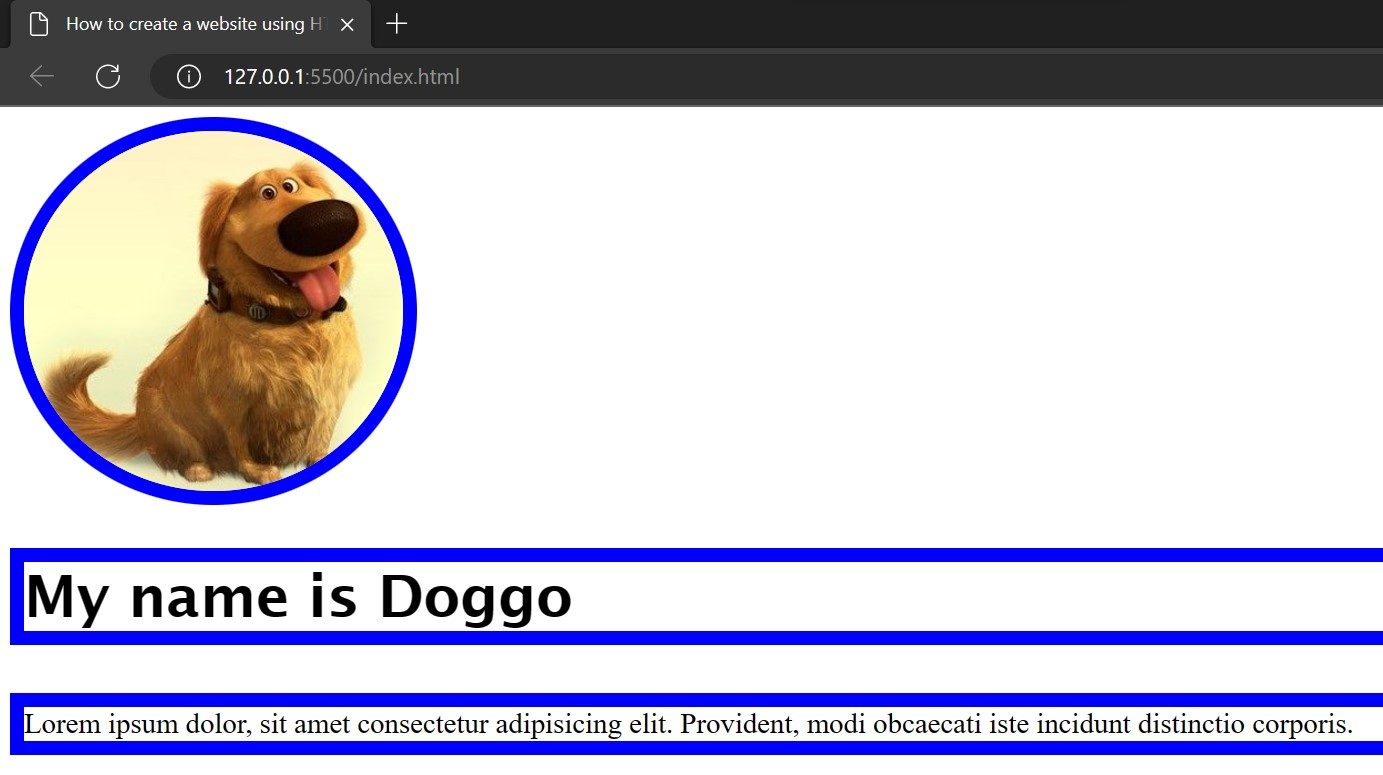
Now, let’s see how to create classes with the help of CSS. here, we shall learn how to apply CSS rules only to the HTML elements that have specific classes. First, let’s create an HTML element that has some class, and then we shall apply CSS to the entire class. Applying CSS to the entire class will allow us to style all the elements that have the particular class.
<img src="dog background.jpg" alt="" class="blueBorder">
<h2 class="blueBorder">My name is Doggo</h2>
<p class="blueBorder">Lorem10</p>
In this example, we took three different elements having the same class. Once we apply CSS to the class, it will be applied to all the elements belonging to the same class.
.blueBorder{
border: 12px solid blue;
}
To use the class as a selector while creating a CSS rule, we use the ‘.’ symbol before writing the class name in the CSS file.
Styling IDs with CSS
Using IDs as selectors while creating CSS rules is similar to using classes as selectors. However, IDs are unique in the HTML document, and no two elements can carry the same IDs. IDs are generally applied to elements that are present only once in the HTML document, such as the navbar, logo, and more.
<h2 id="BrowserStack">Using ID as a CSS selector</h2>
Now, let’s create a CSS rule, using ID as a selector.
#BrowserStack{
font-size: 2rem;
color: blueviolet;
background-color: bisque;
}
Creating Pseudo-classes With CSS
Pseudo-classes are classes that are activated when certain keywords are added to a selector that specifies a certain state. For example, the pseudo-class :hover is used to change the state of the element when a user hovers the pointer over it.
Let’s take an example when we hover over the previous image, it changes the border color of the image.
img:hover{
border: 12px dotted blue;
}
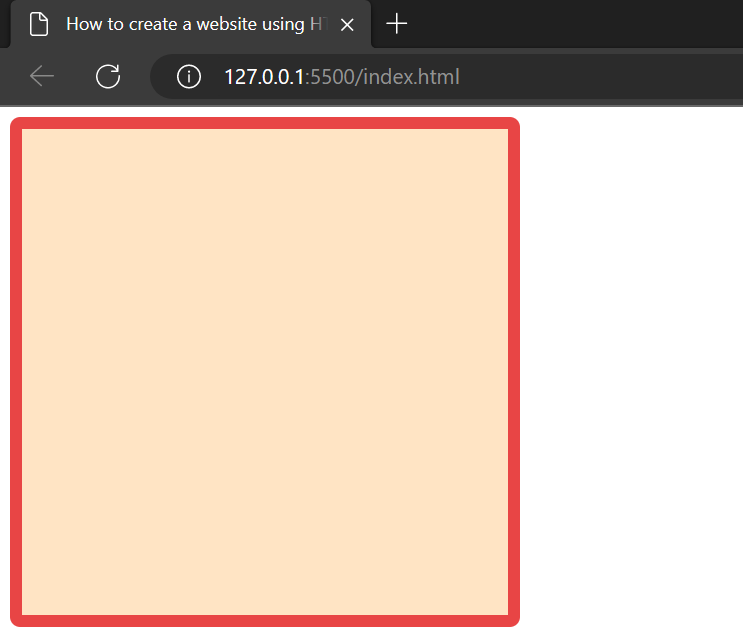
Styling HTML <div> element with CSS
The div tag is often used to specify the container for HTML elements. It can also be used to structure the layout of the webpage. Now, let’s understand how to style the div element and its children elements.
div{
background-color: bisque;
border: 10px solid rgb(232, 69, 69);
border-radius: 2%;
height: 50vh;
width: 50vh;
}
How to adjust the Content, Padding, Border, & Margins of an HTML Element With CSS
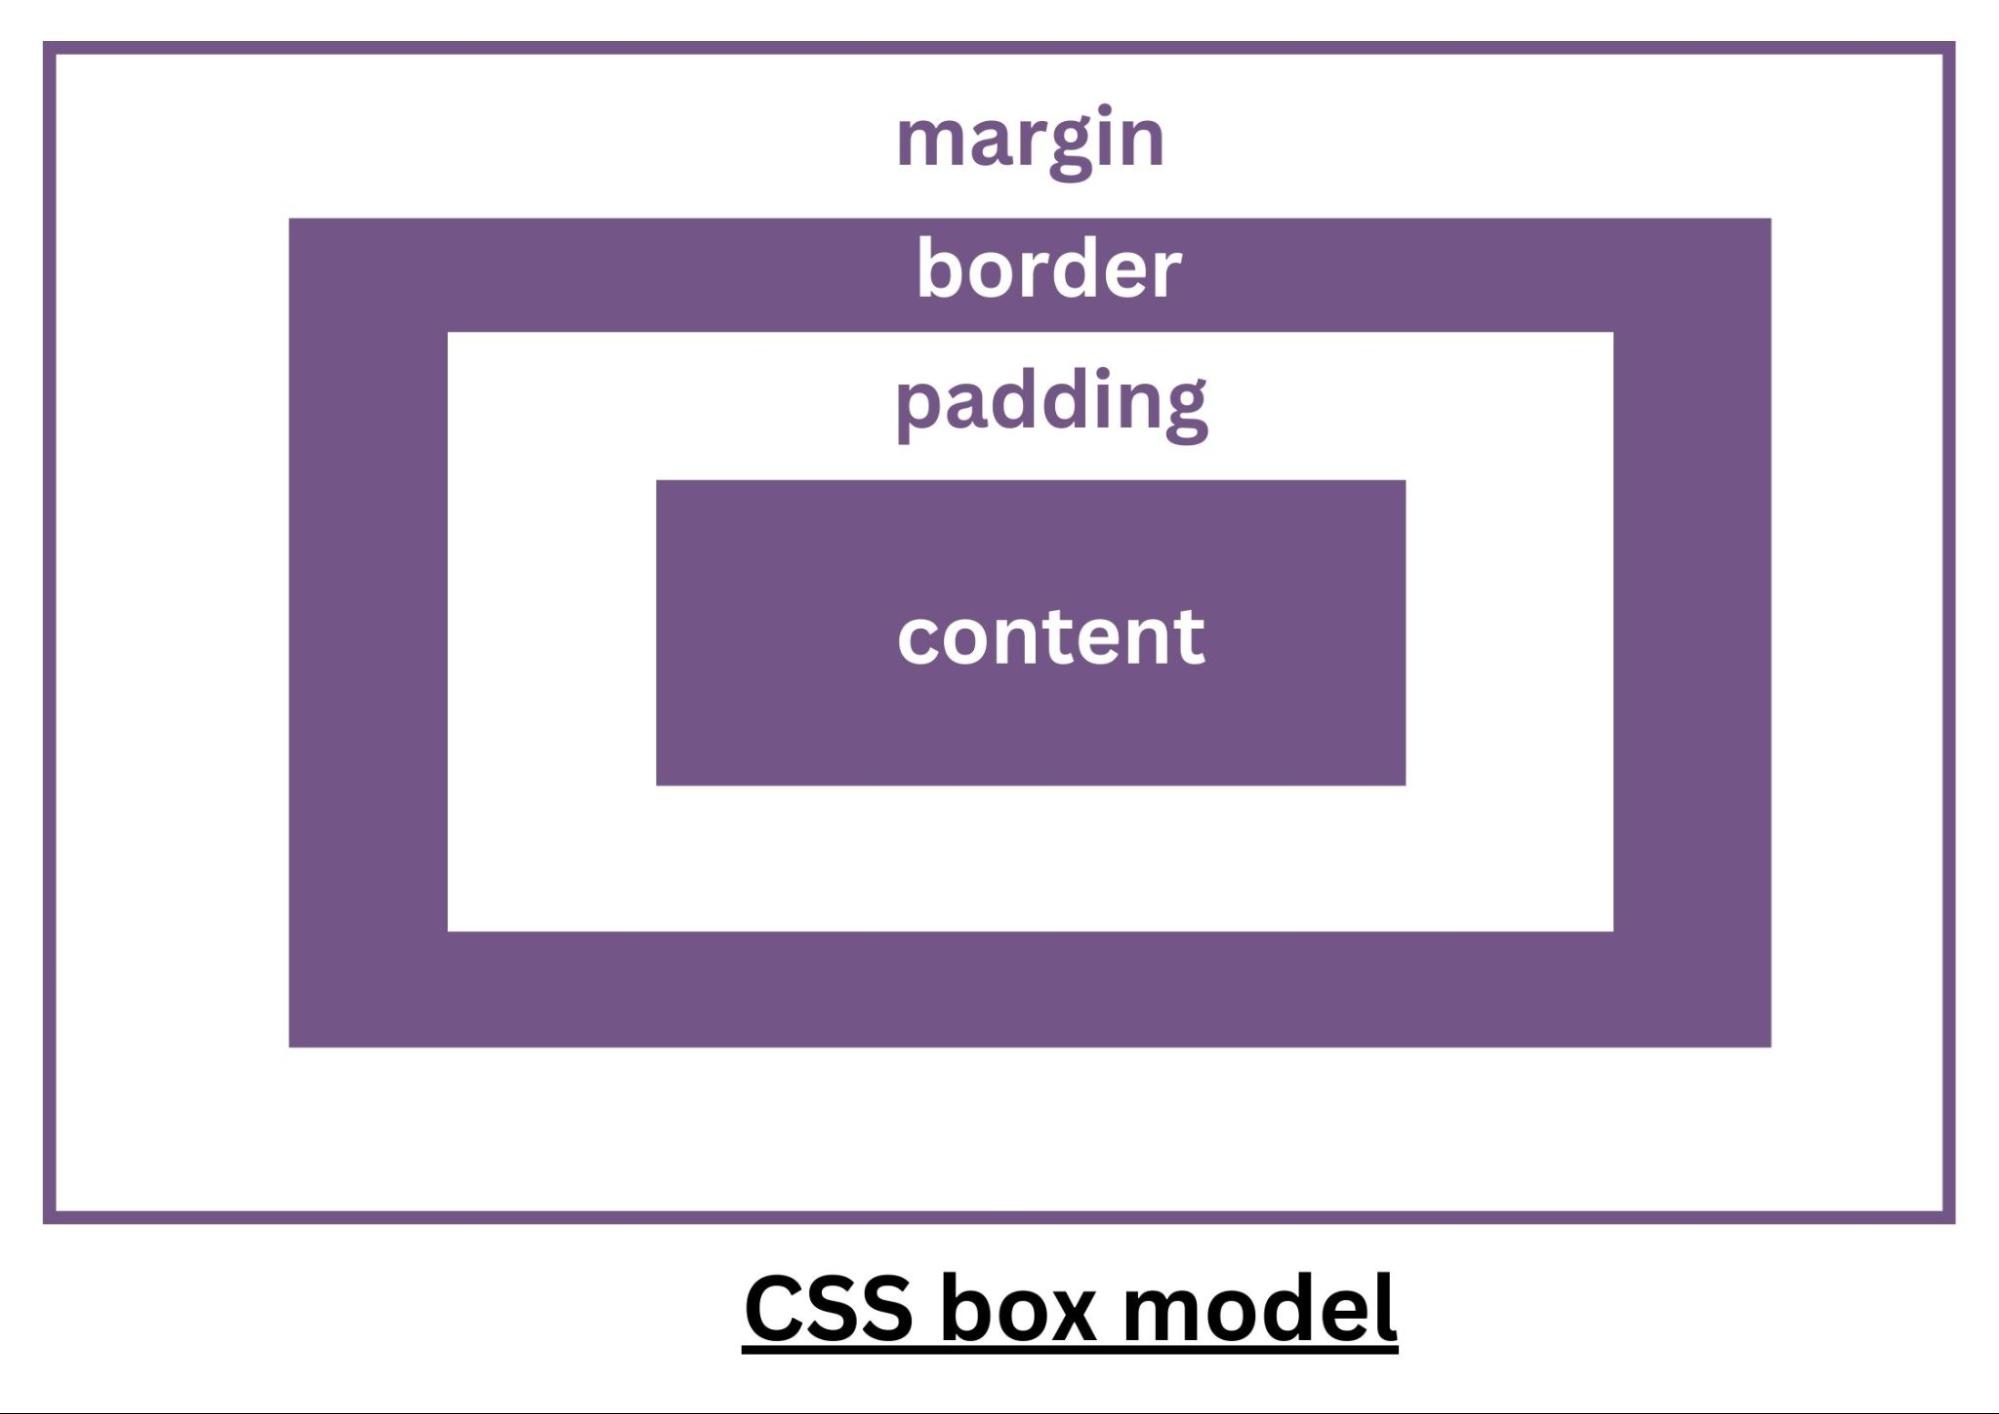
Before understanding how to adjust the content, padding, border, and margins of an HTML element, let’s understand the CSS box model. It is a box that wraps around every HTML element in the DOM.
- Content box: It is the space where the content of the HTML element appears, such as images, text, and more.
- Padding: It is the transparent area around the content of the element.
- Border: It is the box surrounding the padding box. By default, the value of the border for every HTML element is zero; however, increasing the border value increases the space between the padding and the margin box.
- Margin: It is the transparent area outside the border box.
Let’s take the example of the previous image to understand how to adjust these values.
img{
height: 300px;
border-radius: 50%;
border: 12px dotted rgb(255, 85, 0);
padding: 10px 10px 20px 20px;
margin: 20px 20px 15px 10px;
}
How to test a Website on Real Devices with BrowserStack Live?
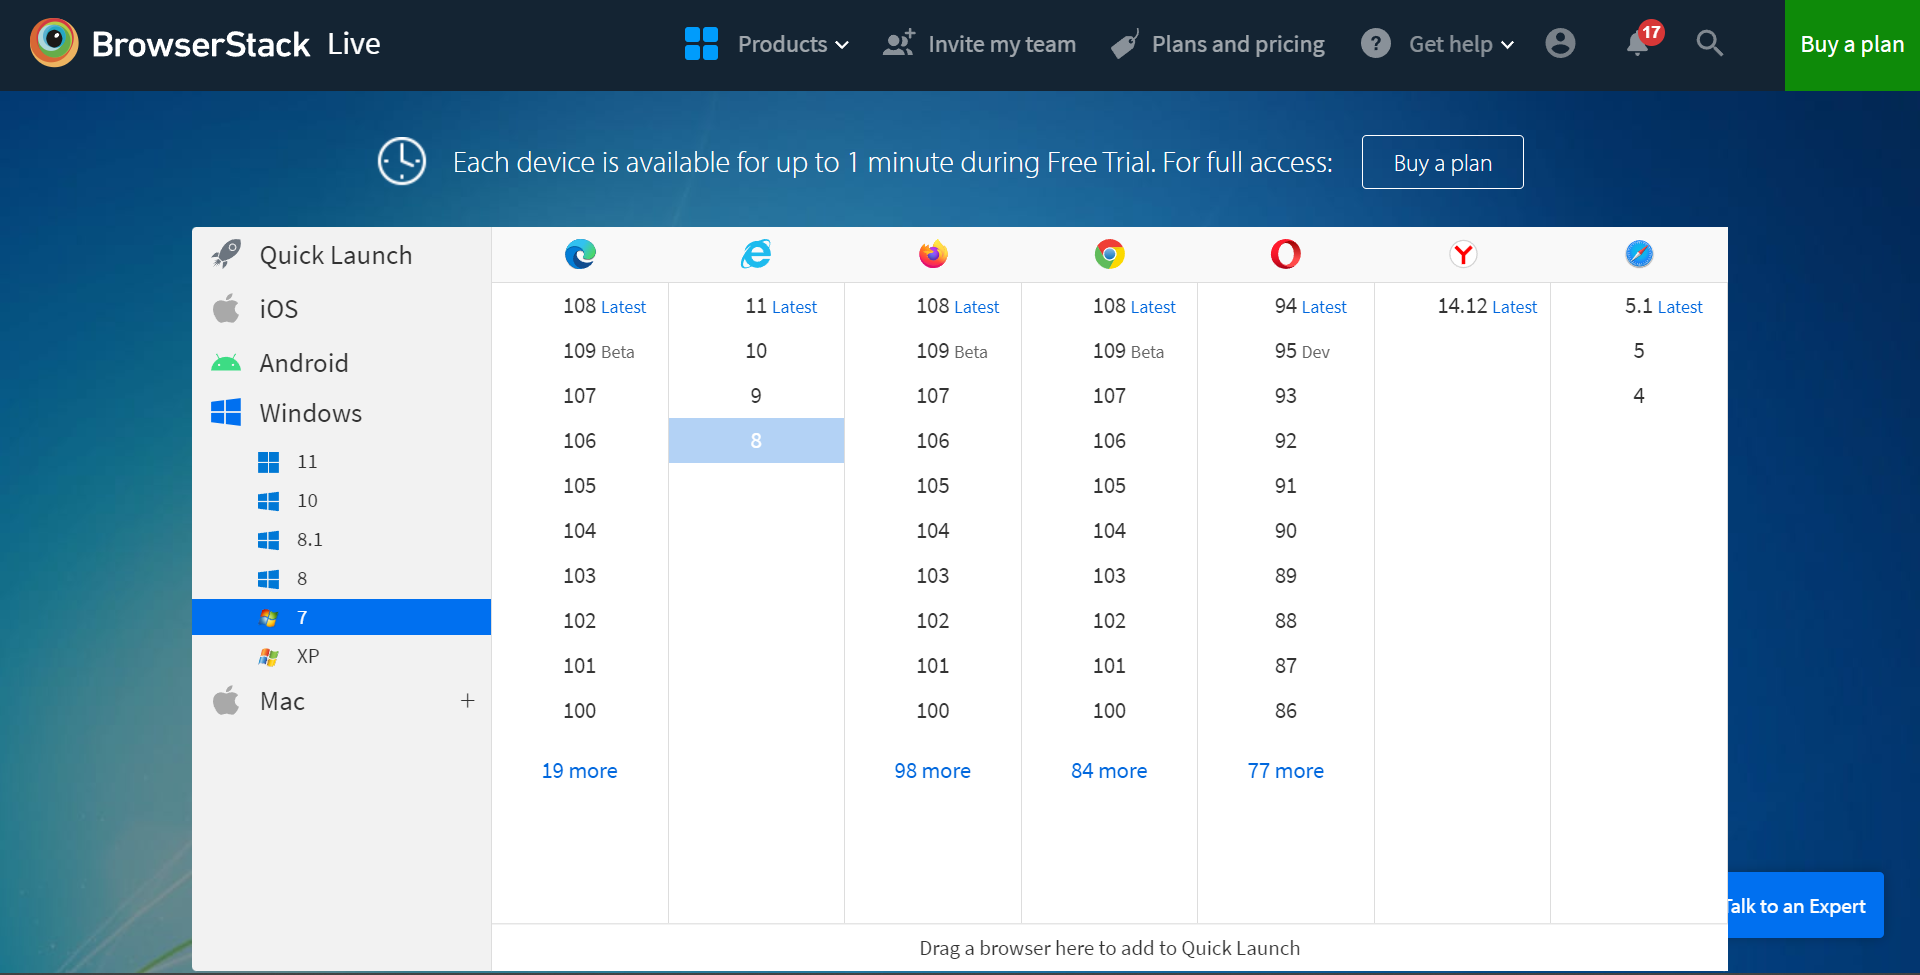
BrowserStack allows you to test your website on different browser-device combinations and check if your website is working as expected under real user conditions. Here’s how you can test your website on Real Devices & Browsers using BrowserStack Live:
Sign up for a free BrowserStack account
- Step 1: Launch BrowserStack Live
- Step 2: Select the Browser-OS-Device combination on which you want to test your website.
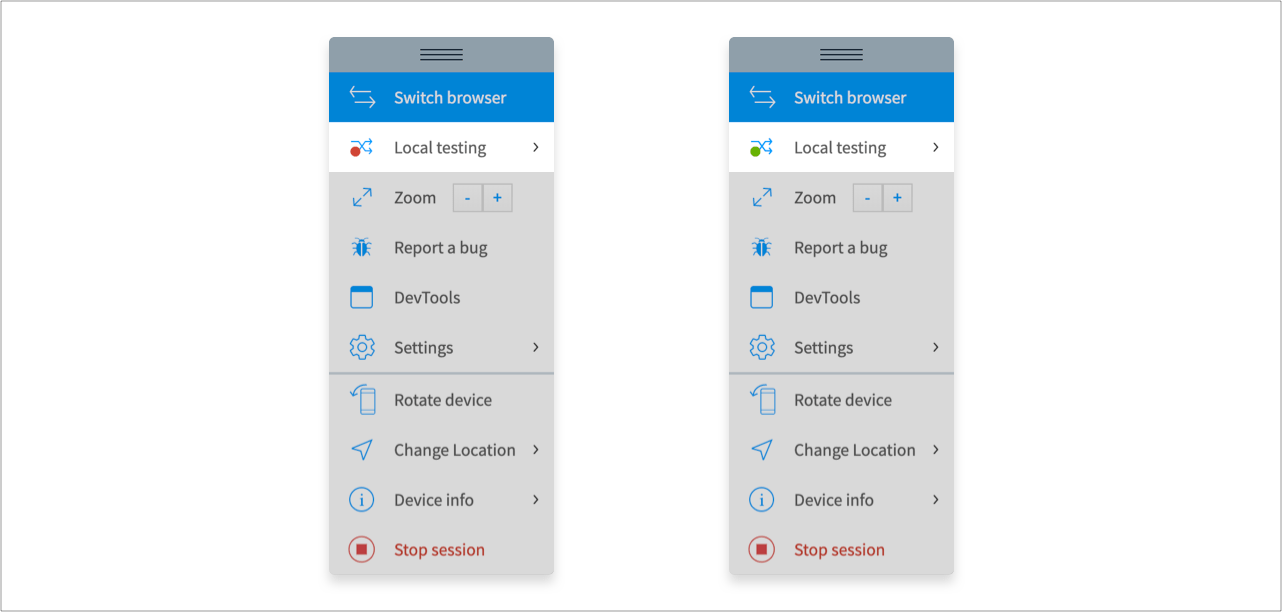
- Step 3: Enable local testing
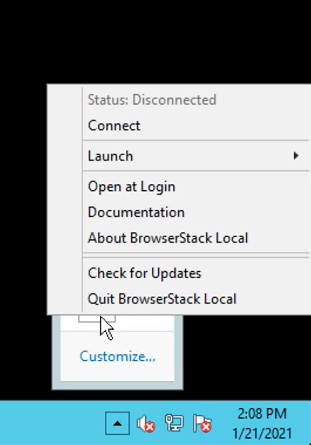
BrowserStack allows you test your local website. To enable BrowserStack local testing, start a session on BrowserStack Live and look for the green indicator on the ‘Local Testing’ icon in the toolbar tray.
Read More: Overcoming Challenges of Local Testing
If the icon is red, look for the BrowserStack local app, download it, and launch a live session from the toolbar.
- Step 4: Run the test
Now, the final step is to enter the local host URL of your website, and it will display your website on the Live Session.
Conclusion
If you require a static website that displays text, images, links, and buttons beautifully, HTML and CSS are more than enough to create a good-looking landing page or even a business website. In this guide, you’ve learned the core concepts of HTML and CSS, which enable you to create a beautiful website by just using HTML and CSS.
To ensure the website delivers the right user experience, it is essential that you test it on real devices and browsers. BrowserStack Live allows you to test the website under real user conditions for accurate test results.
Useful Resources for CSS
Tutorials
- Advanced CSS Tutorial
- Understanding Sibling Selectors in CSS
- Understanding CSS radial-gradient() function
- How to position Text Over an Image using CSS
- How to resize an image using CSS
- How to use CSS rgba() function correctly?
- Handling Images in HTML and CSS: Everything you need to know
- Dynamic Rendering using HTML and CSS
- Why CSS Position Sticky is Not Working
- A complete guide to CSS Media Query
- CSS Subgrid: What is it and Why do you need it
- What are CSS Breakpoints and Media Query Breakpoints
- How to Create Responsive Designs with CSS
- CSS Selectors in Cypress
- CSS Selector in Selenium: Locate Elements with Examples
- CSS Selectors Cheat Sheet (Basic & Advanced)
Differences
- CSS Grid vs Bootstrap: Which one is better for you?
- What is Responsive CSS vs Reactive CSS?
- Xpath Vs CSS Selector: Key Differences
Frameworks
- Top Responsive CSS Frameworks
- Top 7 CSS Frameworks for Developers
- What are CSS Modules and why use them?
Browser Compatibility & Cross-Browser Testing
- Browser compatibility with CSS Gradients
- Browser Compatibility of Cursor Grab & Grabbing in CSS
- How to Create Browser Compatible Smooth Scrolling with CSS and JavaScript
- How to Create Browser Specific CSS Code
- Fixing Browser Compatibility Issues with CSS Opacity & RGBA
- CSS techniques for Improved Cross Browser Compatibility


