Ever struggled to debug a Selenium test that passes locally but fails mysteriously across different browsers and devices?
This is a common pain point in cross-browser testing, where UI issues surface only on specific OS-browser combinations you can’t easily replicate locally.
Without visual evidence from those exact environments, you’re forced to sift through cryptic logs or manually spin up VMs.
I’ve wasted countless hours recreating intermittent failures that disappear on retry, slowing down bug triage and stalling CI/CD pipelines.
That’s when I understood the critical value of taking screenshots in Selenium.
Overview
Selenium WebDriver is an open-source tool for automating web browsers. It simplifies taking screenshots by providing straightforward built-in methods that allow testers to capture the current state of a web page with just a few lines of code, making documentation and debugging faster and easier.
How to Take a Screenshot in Selenium?
To take a screenshot in Selenium, use the TakesScreenshot interface with the getScreenshotAs() method. This method captures the current view of the browser during testing.
You can save the screenshot as a file or in base64 format, depending on how you want to use it, either for reports or further processing.
Steps to Take a Screenshot in Selenium
Step 1: Import required classes from Selenium and Java libraries, such as TakesScreenshot, OutputType, File, and optionally FileUtils from Apache Commons IO.
Step 2: Typecast WebDriver: Convert your WebDriver instance into a TakesScreenshot type.
Step 3: Capture screenshot: Use the getScreenshotAs(OutputType.FILE) method to capture the current view.
Step 4: Save the file: Use FileUtils.copyFile() to save this screenshot to your chosen location.
Example:
java
File src = ((TakesScreenshot)driver).getScreenshotAs(OutputType.FILE);

FileUtils.copyFile(src, new File("screenshot.png"));
This article explores why taking screenshots in Selenium is important, the prerequisites needed, and step-by-step methods to capture screenshots using Selenium WebDriver.
Why take Screenshot in Selenium?
The purpose of automated testing is undermined if tests must be re-run every time a script fails. When an error occurs, having a clear visual snapshot of the issue helps quickly identify the exact problem in the code instead of relying only on logs.
Screenshots also help testers verify whether the application’s workflow is behaving as expected, providing clear visual confirmation during test execution.
This becomes even more important in scenarios like headless execution or CI runs, where there is no direct visibility into the browser.
According to Mukesh Otwani, a skilled automation testing expert, screenshots help testers understand the application flow and track test execution effectively, especially when visual feedback is otherwise unavailable.
This is where Selenium screenshots come into play, delivering instant visual evidence to accelerate debugging and test validation.
Here are some typical cases where capturing screenshots in Selenium proves crucial:
- When application issues occur during test execution
- When an assertion failure occurs
- When web elements are difficult to locate on a page
- When timeouts occur while finding page elements
Testing has become much more straightforward thanks to enhancements in Selenium WebDriver.
Since the WebDriver architecture allows interaction outside the JavaScript sandbox, it enables testers to capture screenshots directly during test execution, making failure analysis faster and more reliable.
As test suites grow and move into cross-browser execution, capturing screenshots locally often falls short of reflecting real user environments.
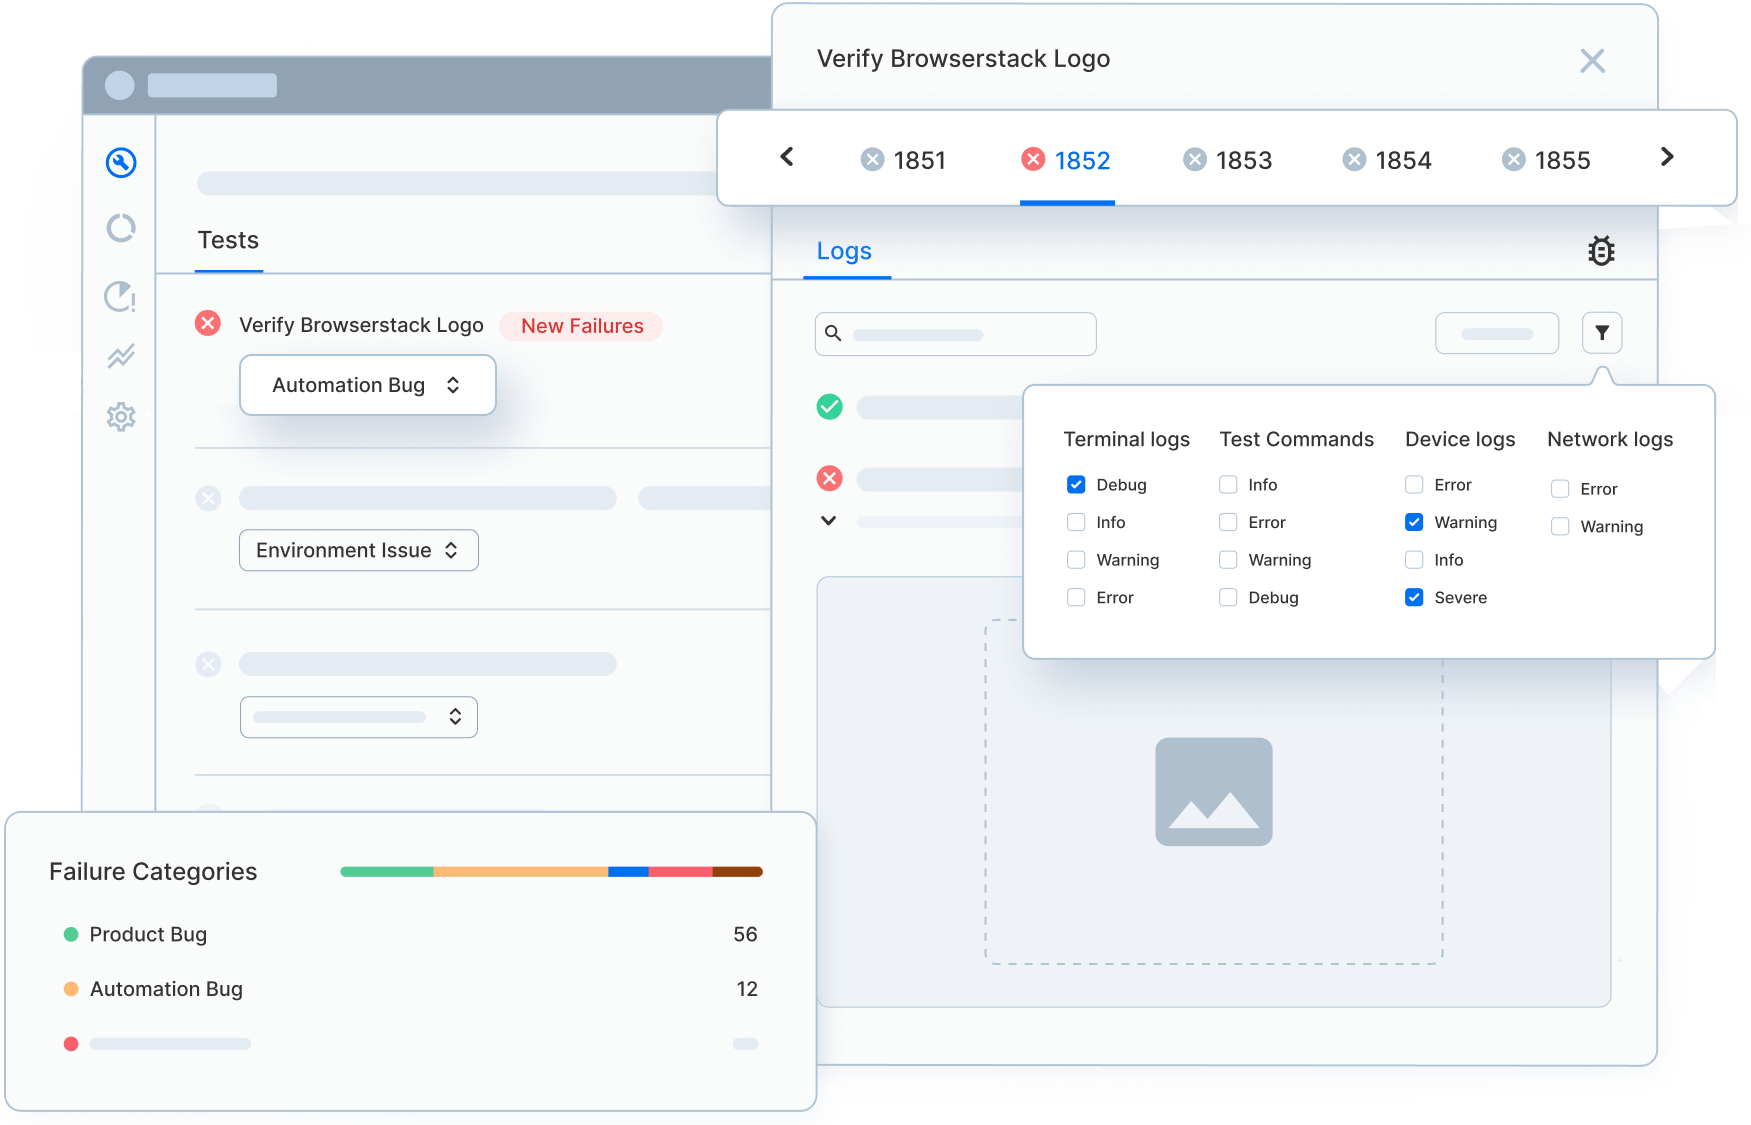
Platforms like BrowserStack Automate extend Selenium’s native screenshot capabilities by running the same code across 3500+ real browsers and devices in parallel, automatically capturing screenshots and debugging artifacts for every session.
What are the Prerequisites for taking a Screenshot in Selenium?
Taking screenshots in Selenium requires a few basic tools and steps to be set up properly. Here’s what you will need to get started:
- Selenium WebDriver: The core tool for automating browser actions. It allows you to perform tasks like clicking buttons, filling forms, and of course, capturing screenshots. Without Selenium WebDriver, taking a screenshot in Selenium isn’t possible.
- TakesScreenshot Interface: The TakesScreenshot interface is a special feature in Selenium that enables you to take a screenshot of your current browser window. By using its getScreenshotAs() method, you can capture an image in different formats like a file or base64.
- OutputType Class: To define how the screenshot should be saved, you’ll use the OutputType class. The most common usage is OutputType.FILE, which saves the screenshot as a file, but you can also save it in base64 format if needed.
- Java File Handling: To save the screenshot, you will need to work with Java’s file handling features. The File class is used to define the screenshot, and FileUtils (from Apache Commons IO) helps in saving it to a specific location.
- Appropriate Browser Driver: Ensure you have the right browser driver, such as ChromeDriver or GeckoDriver, installed for your browser.
Once you have these prerequisites in place, capturing screenshots in Selenium becomes a simple task.
How to take Screenshot in Selenium WebDriver?
To capture screenshots in Selenium, one has to utilize the method TakesScreenshot. This notifies WebDriver that it should take a screenshot in Selenium and store it.
Syntax:
File file = ((TakesScreenshot) driver).getScreenshotAs(OutputType.FILE);
String screenshotBase64 = ((TakesScreenshot)driver).getScreenshotAs(OutputType.BASE64);
OutputType defines the output type for the required screenshot in the above snippet.
If the user intends to take screenshot in Selenium and store it in a designated location, the method is getScreenshotAs.
Here’s an example of this usage method:
X getScreenshotAs(OutputType(X). target) throws WebDriverException
In the above snippet
- X is the return type of the method
- target holds the destination address
- throws WebDriverException is activated if screenshot capturing is not supported.
Depending on the browser being used, the TakesScreenshot method can return the following:
- The entire page
- The current open window
- The visible segment of the current frame
- The whole display containing the browser
- The complete content of the HTML element. This essentially refers to the visible portion of the HTML element.
Guide to Running your Selenium Test using BrowserStack Automate
Please find the Github repo here for the example cited in the video.
Advanced Screenshot Use Cases in Selenium
In real testing scenarios, you often need to go beyond basic screenshots to capture specific areas of a page or even the entire page, especially when dealing with large web applications. Selenium gives you the flexibility to do that.
Screenshot of the Entire Page
By default, Selenium only captures what’s visible on the screen at the moment. But in many cases, important content lies beyond the viewport, like in scrollable pages or long forms.
To take a full-page screenshot in Selenium, you can use external tools like AShot, which allows you to stitch together screenshots taken while scrolling. This way, you get a complete image of the entire webpage.
It’s especially useful for checking if the page layout looks right, making sure all parts of the page are loading properly, or saving the full page as a report for reference.
Screenshot of a Specific Element
Sometimes, you don’t need the entire screen, just a button, image, or input box. Selenium lets you take a screenshot of any specific element using the getScreenshotAs() method on a WebElement.
Here’s a simple example:
java
WebElement element = driver.findElement(By.id("logo"));

File src = element.getScreenshotAs(OutputType.FILE);
This is useful when you want to confirm whether a particular element appears correctly or to highlight where a test is failing.
Both these advanced screenshot methods, capturing the full page and specific elements, can save a lot of time during test reviews in addition to making your test reports easier to understand and more informative.
Screenshot for Test Failure
If a test fails, the ability to take screenshot in Selenium is especially helpful in understanding what went wrong. An easy way to do this would be to use TestNG annotations.
Here are the steps to capture a screenshot in Selenium in this case:
- Create a class. Implement TestNG ‘ITestListener‘.
- Call the method ‘onTestFailure’.
- Add the code to take a screenshot with this method.
- Get the Test method name and take a screenshot with the test name. Then place it in the desired destination folder.
How To Take Multiple Screenshots in Selenium?
To take multiple screenshots in Selenium, repeat the screenshot process at each required step. Use the TakesScreenshot interface and getScreenshotAs() method to capture the images. Here’s how you can do it:
Step 1: Typecast your WebDriver: Convert your WebDriver instance into TakesScreenshot:
TakesScreenshot screenshot = (TakesScreenshot) driver;
Step 2: Capture the screenshot: Use getScreenshotAs() method to grab the screenshot and save it as a file:
File srcFile = screenshot.getScreenshotAs(OutputType.FILE);
Step 3: Generate a unique file name: Add timestamps, page names, or test step identifiers to make sure each screenshot is saved with a unique name.
Step 4: Save the screenshot: Use Apache Commons IO’s FileUtils.copyFile() method:
FileUtils.copyFile(srcFile, new File("path/to/save/imageName.png"));Step 5: Repeat the steps as needed: Wrap the code in a loop or call it after important actions to capture multiple screenshots throughout your test.
To summarize, using loops or custom methods, you can take multiple screenshots in Selenium.
How to get the driver object in TestListeners using TestNG?
To capture a screenshot in Selenium while using TestNG, it’s important to manage the WebDriver instance properly and name your screenshot files in a way that makes sense for easier debugging. Here’s how you can do it effectively.
Passing WebDriver via ThreadLocal or Base Class
Passing WebDriver through ThreadLocal or a Base Class helps manage individual WebDriver instances for each test. This helps keep tests isolated and makes parallel testing easier.
1. ThreadLocal Approach: ThreadLocal helps to create a separate WebDriver instance for each test. This is especially useful when running multiple tests in parallel because it ensures each test has its own isolated WebDriver.
Example:
private static ThreadLocal<WebDriver> driver = new ThreadLocal<>();

public static WebDriver getDriver() {

    return driver.get();

}
2. Base Class Approach: Another way is to use a base class that initializes WebDriver. This allows WebDriver to be shared across different test methods. By doing this, you can create a single point of management for your WebDriver instance.
Example:
public class BaseTest {

    protected WebDriver driver;

    @BeforeMethod

    public void setUp() {

        driver = new ChromeDriver();

    }

}
Using ITestResult to Capture Test Name for Screenshot
Once the test execution is complete, you can use ITestResult to capture the test name and save the screenshot with the method name. This makes it easier to trace which test failed and find the corresponding screenshot.
Here’s how you can implement it:
public void onTestFailure(ITestResult result) {

    WebDriver driver = getDriver();

    File screenshot = ((TakesScreenshot) driver).getScreenshotAs(OutputType.FILE);

    FileUtils.copyFile(screenshot, new File("screenshots/" + result.getName() + ".png"));

}
With these steps, you can easily manage WebDriver and capture screenshots for improved debugging in Selenium with TestNG.
Example of Selenium Screenshot
Here is a three-step process to explore this functions:
The code detailed below will take a screenshot of https://www.browserstack.com & save it as C:/Test.png
Step 1 – Convert web driver object to TakeScreenshot
TakesScreenshot scrShot =((TakesScreenshot)webdriver);
Step 2 – Call getScreenshotAs method to create image file
File SrcFile=scrShot.getScreenshotAs(OutputType.FILE);
Step 3 – Copy file to Desired Location
package BrowserstackScreenShot;
import java.io.File;
import org.apache.commons.io.FileUtils;
import org.openqa.selenium.OutputType;
import org.openqa.selenium.TakesScreenshot;
import org.openqa.selenium.WebDriver;
import org.openqa.selenium.firefox.FirefoxDriver;
import org.testng.annotations.Test;
public class BStackTakeScreenshot {
@Test
public void testBStackTakeScreenShot() throws Exception{

WebDriver driver ;
System.setProperty("webdriver.firefox.marionette","c:\\geckodriver.exe");
driver = new FirefoxDriver();
//goto url
driver.get("https://www.browserstack.com");
//Call take screenshot function
this.takeSnapShot(driver, "c://test.png") ;
}
/**
* This function will take screenshot
* @param webdriver
* @param fileWithPath
* @throws Exception
*/
public static void takeSnapShot(WebDriver webdriver,String fileWithPath) throws Exception{
//Convert web driver object to TakeScreenshot
TakesScreenshot scrShot =((TakesScreenshot)webdriver);
//Call getScreenshotAs method to create image file
File SrcFile=scrShot.getScreenshotAs(OutputType.FILE);
//Move image file to new destination
File DestFile=new File(fileWithPath);
//Copy file at destination
FileUtils.copyFile(SrcFile, DestFile);
}
}Try to take a screenshot in Selenium using the process detailed above. Once mastered, it is pretty simple and requires only a little forethought to set up and execute. This function’s benefits far outweigh any effort required to execute the few basic commands.
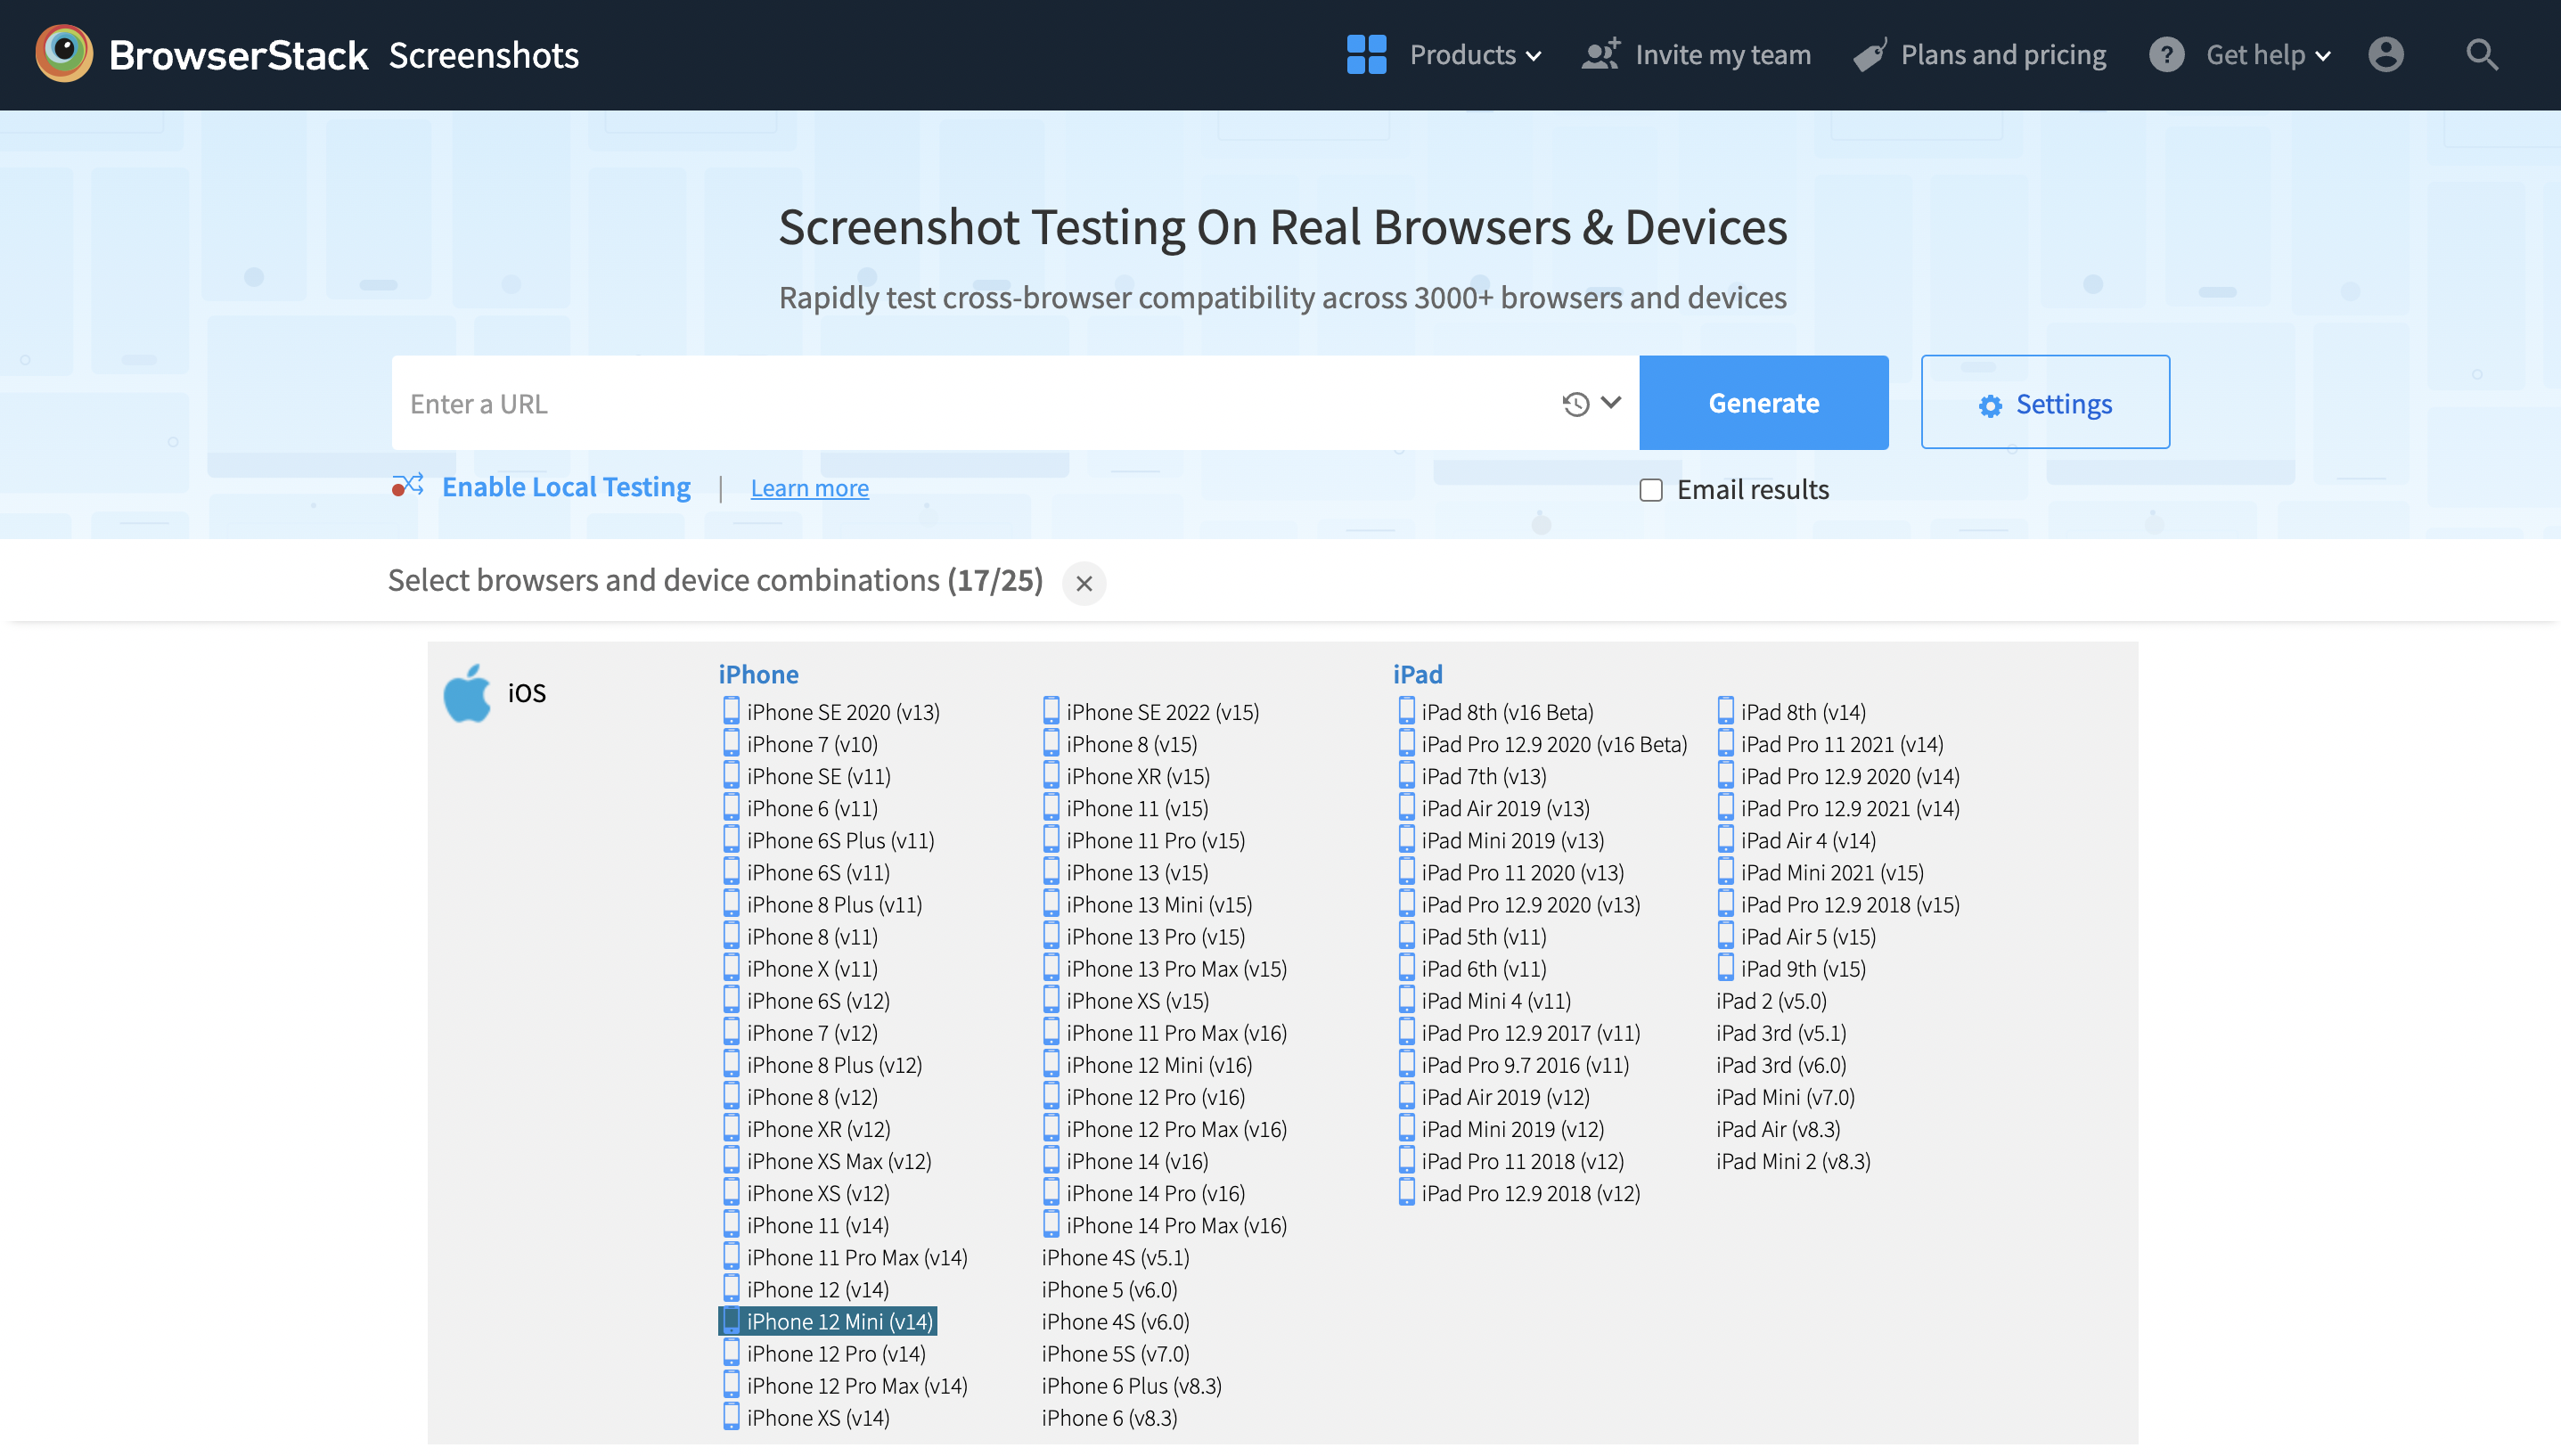
To keep things even simpler, a user can use a tool that allows for capturing screenshots without using code. Using BrowserStack’s screenshot testing requires the user to simply input a URL, click a button and receive screenshots across a host of selected real devices and browsers.
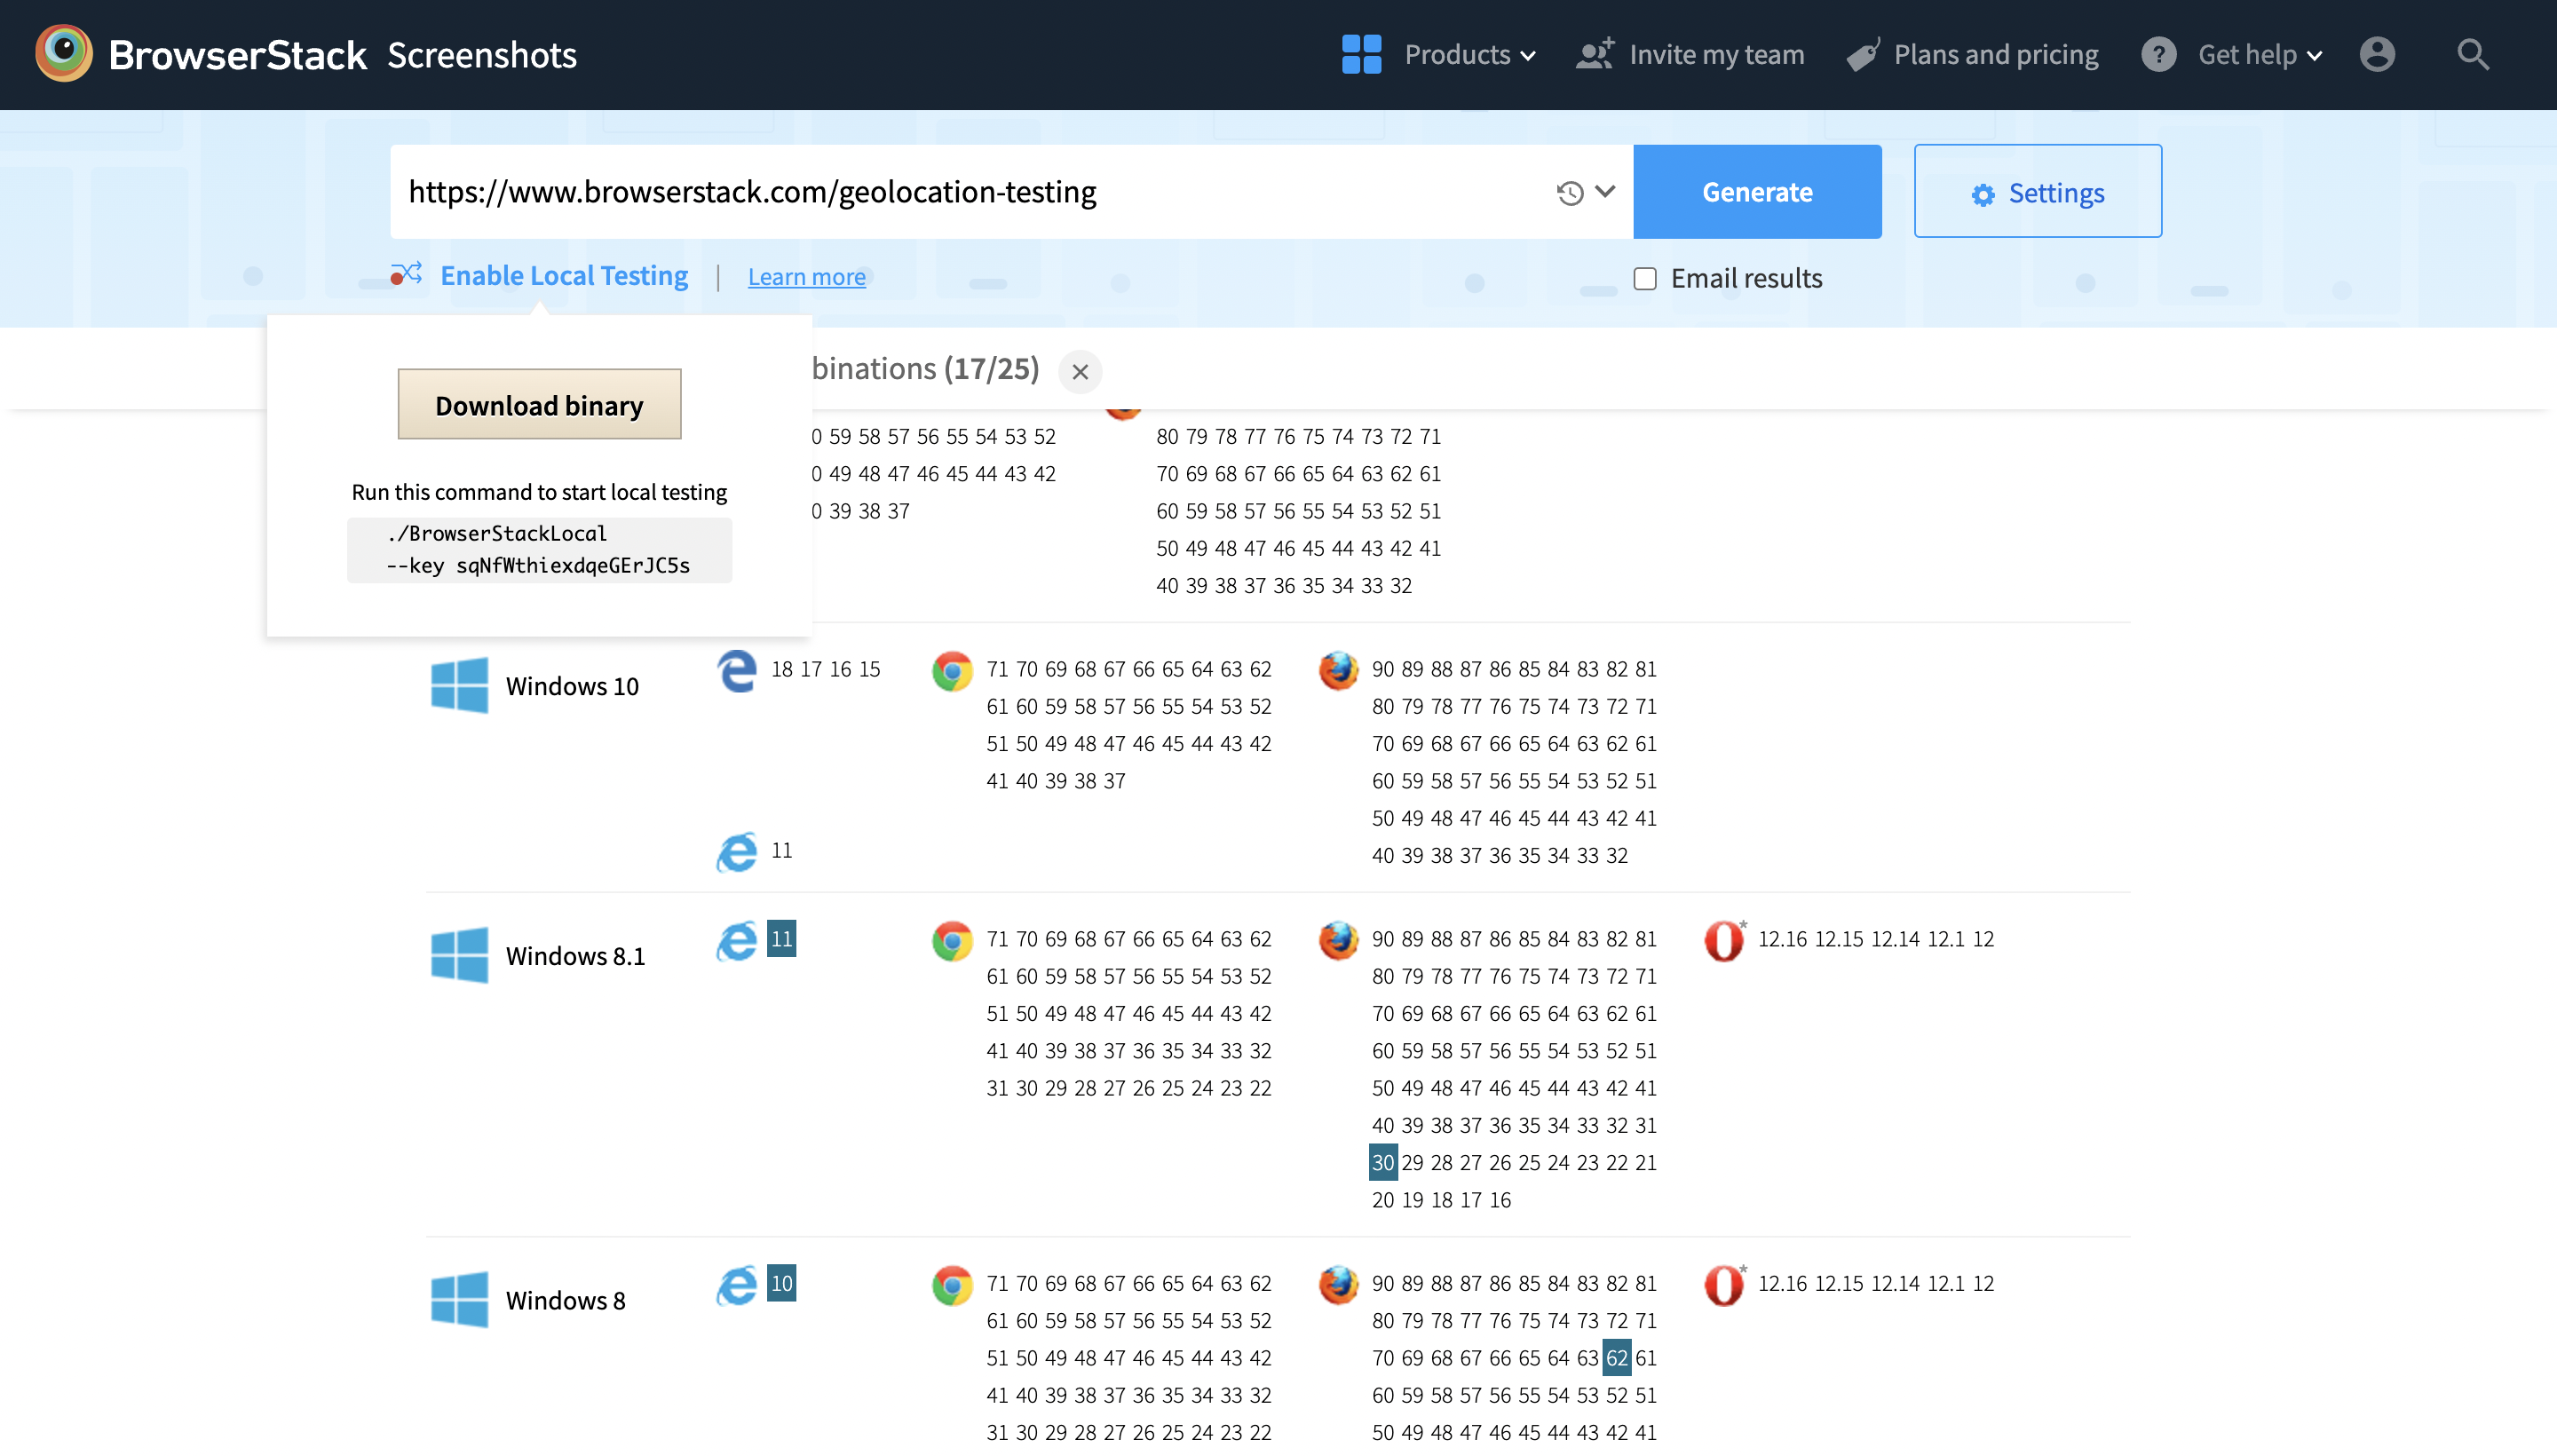
The Local Testing option allows users to do the same with websites that are locally hosted and not publically accessible. Take full-page screenshots of websites across browsers and devices. Generate screenshots at actual device sizes on iOS, Android, OS X & Windows.
Try Screenshot Testing for Free
Either way, the ability to take screenshots is an essential part of the tester’s skillset. Being equipped with the right tools and commands will ensure that a lack of knowledge or foresight does not hinder the testing process.
Follow-Up Read: How to take Screenshots using Python and Selenium
Scale Selenium Screenshots across Real Browsers with BrowserStack Automate
Selenium provides native support for capturing screenshots, but its effectiveness is often limited by the environments available locally or on a self-managed grid.
As test suites grow and applications must be validated across multiple browsers, OS versions, and devices, capturing screenshots in just one or two setups no longer reflects real user conditions.
BrowserStack Automate extends Selenium’s screenshot capabilities by enhancing where, how, and at what scale screenshots are captured.
Key advantages include:
- Seamless execution of existing Selenium screenshot code across 3500+ real browsers and devices
- Parallel test execution to capture screenshots at scale without increasing test runtime
- Screenshots that reflect real user environments, improving cross-browser reliability
- Automatic association of screenshots with videos, console logs, and network logs
- Centralized storage of all screenshot artifacts in the BrowserStack dashboard
- Reduced debugging effort with no need for custom listeners or additional infrastructure
With BrowserStack Automate, screenshots are automatically tied to each test session in the dashboard, making failure analysis faster and more actionable.
Teams can instantly access visual evidence from the exact browser and device where the issue occurred—without adding custom listeners or additional debugging logic.
Additionally, BrowserStack’s Screenshot Testing allows users to simply enter a URL, choose the required browsers and devices, and instantly receive screenshots across multiple real environments, making quick visual checks possible without writing or running Selenium test code.
Conclusion
Taking screenshots in Selenium is crucial for test automation. It helps capture the browser’s state during testing, making it easier to fix issues and track results. One of the effective ways testers can capture screenshots of entire pages or specific elements is by using the TakesScreenshot interface and the getScreenshotAs() method.
Additionally, they can also use loops or custom utility methods to take multiple screenshots in Selenium at different steps of the test flow. However, to make this process seamless, it’s important to manage the WebDriver instance properly, especially during parallel test execution.

