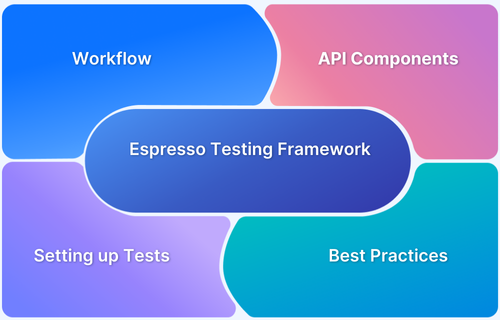
.Espresso testing is Google’s framework for Android UI automation. It ensures fast, reliable, and developer-friendly tests by syncing actions with the app’s UI.
Overview
1. What is Espresso Testing Framework and Why It Matters?
- Google’s official Android UI automation framework.
- Provides a simple, reliable API to test user interactions.
- Automatically synchronizes with the app’s UI thread → fewer flaky tests.
- Ensures faster, more accurate test results compared to manual testing or unstable scripts.
2. What are the Core Components of Espresso?
- Espresso API → Entry point (onView(), onData()).
- ViewMatchers → Identify UI elements (withId(), withText()).
- ViewActions → Perform actions (click(), typeText()).
- ViewAssertions → Validate UI states (isDisplayed(), matches()).
3. How to Set Up and Run Espresso Tests Step by Step?
- Turn off animations (via device settings or ADB).
- Add dependencies in app/build.gradle (espresso-core, runner, rules).
- Configure instrumentation runner (AndroidJUnitRunner).
- Write test cases with ActivityScenarioRule → perform clicks, validate UI changes.
- Run tests in Android Studio on emulator/real device.
This article explains what Espresso Testing is, its core components, setup process, and how to create and run tests effectively. It also covers integration with BrowserStack for running Espresso tests on real Android devices to ensure accuracy.
What is Espresso Framework?
Espresso Testing Framework is an open-source framework created by Google for Android that allows QA to write tests on the user interface. It has a simple API, which easily adapts to the testing needs, and eliminates the complexity of managing different threads.
Espresso automatically synchronizes test actions with the UI of the application. The framework also ensures that your activity is started before the tests and closes after the tests run is completed. For this, Espresso provides @Rule variables to set up the ActivityTestRule objects. It also lets the test wait until all observed background activities have finished.
Components of Espresso
The main components of Espresso include:
- Espresso – It is an Entry point for interactions with views (via onView() and onData()). It also exposes APIs that are not necessarily tied to any view, such as pressBack(), pressBackUnconditionally(), etc.
- ViewMatchers – It allows you to find an item in the view using different attributes like Id, Text, etc.
- ViewActions – It allows you to execute actions on the elements such as click(), typeText(), etc.
- ViewAssertions – It validates a view state i.e., whether it is displayed or not.
For example,
withId(R.id.my_view) is a ViewMatcher in the below command
onView(withId(R.id.my_view_id))
click() is a ViewAction in the following command
.perform(click())
matches(isDisplayed()) is a ViewAssertion
.check(matches(isDisplayed()));
How to set up Espresso?
To set up Espresso for running automated tests on Android Mobile Applications, follow the below steps:
Set up your test environment
To avoid flakiness, It is highly recommended to turn off system animations on the physical or virtual devices used for testing. On the device, under Settings > Developer options, disable the below following three settings:
- Window animation scale
- Transition animation scale
- Animator duration scale
Another way to do this is by running the below adb commands:
adb shell settings put global window_animation_scale 0.0
adb shell settings put global transition_animation_scale 0.0
adb shell settings put global animator_duration_scale 0.0
Add Espresso Dependencies
To add Espresso dependencies to your project, follow the below steps:
Step 1 Open your app’s build.gradle file where you have mentioned the dependencies of the app. This is not the top-level build.gradle file but app/build.gradle.
Step 2 Add the following code lines inside dependencies:
androidTestImplementation 'androidx.test.espresso:espresso-core:3.4.0'
androidTestImplementation 'androidx.test:runner:1.4.0'
androidTestImplementation 'androidx.test:rules:1.4.0'
Set the instrumentation runner
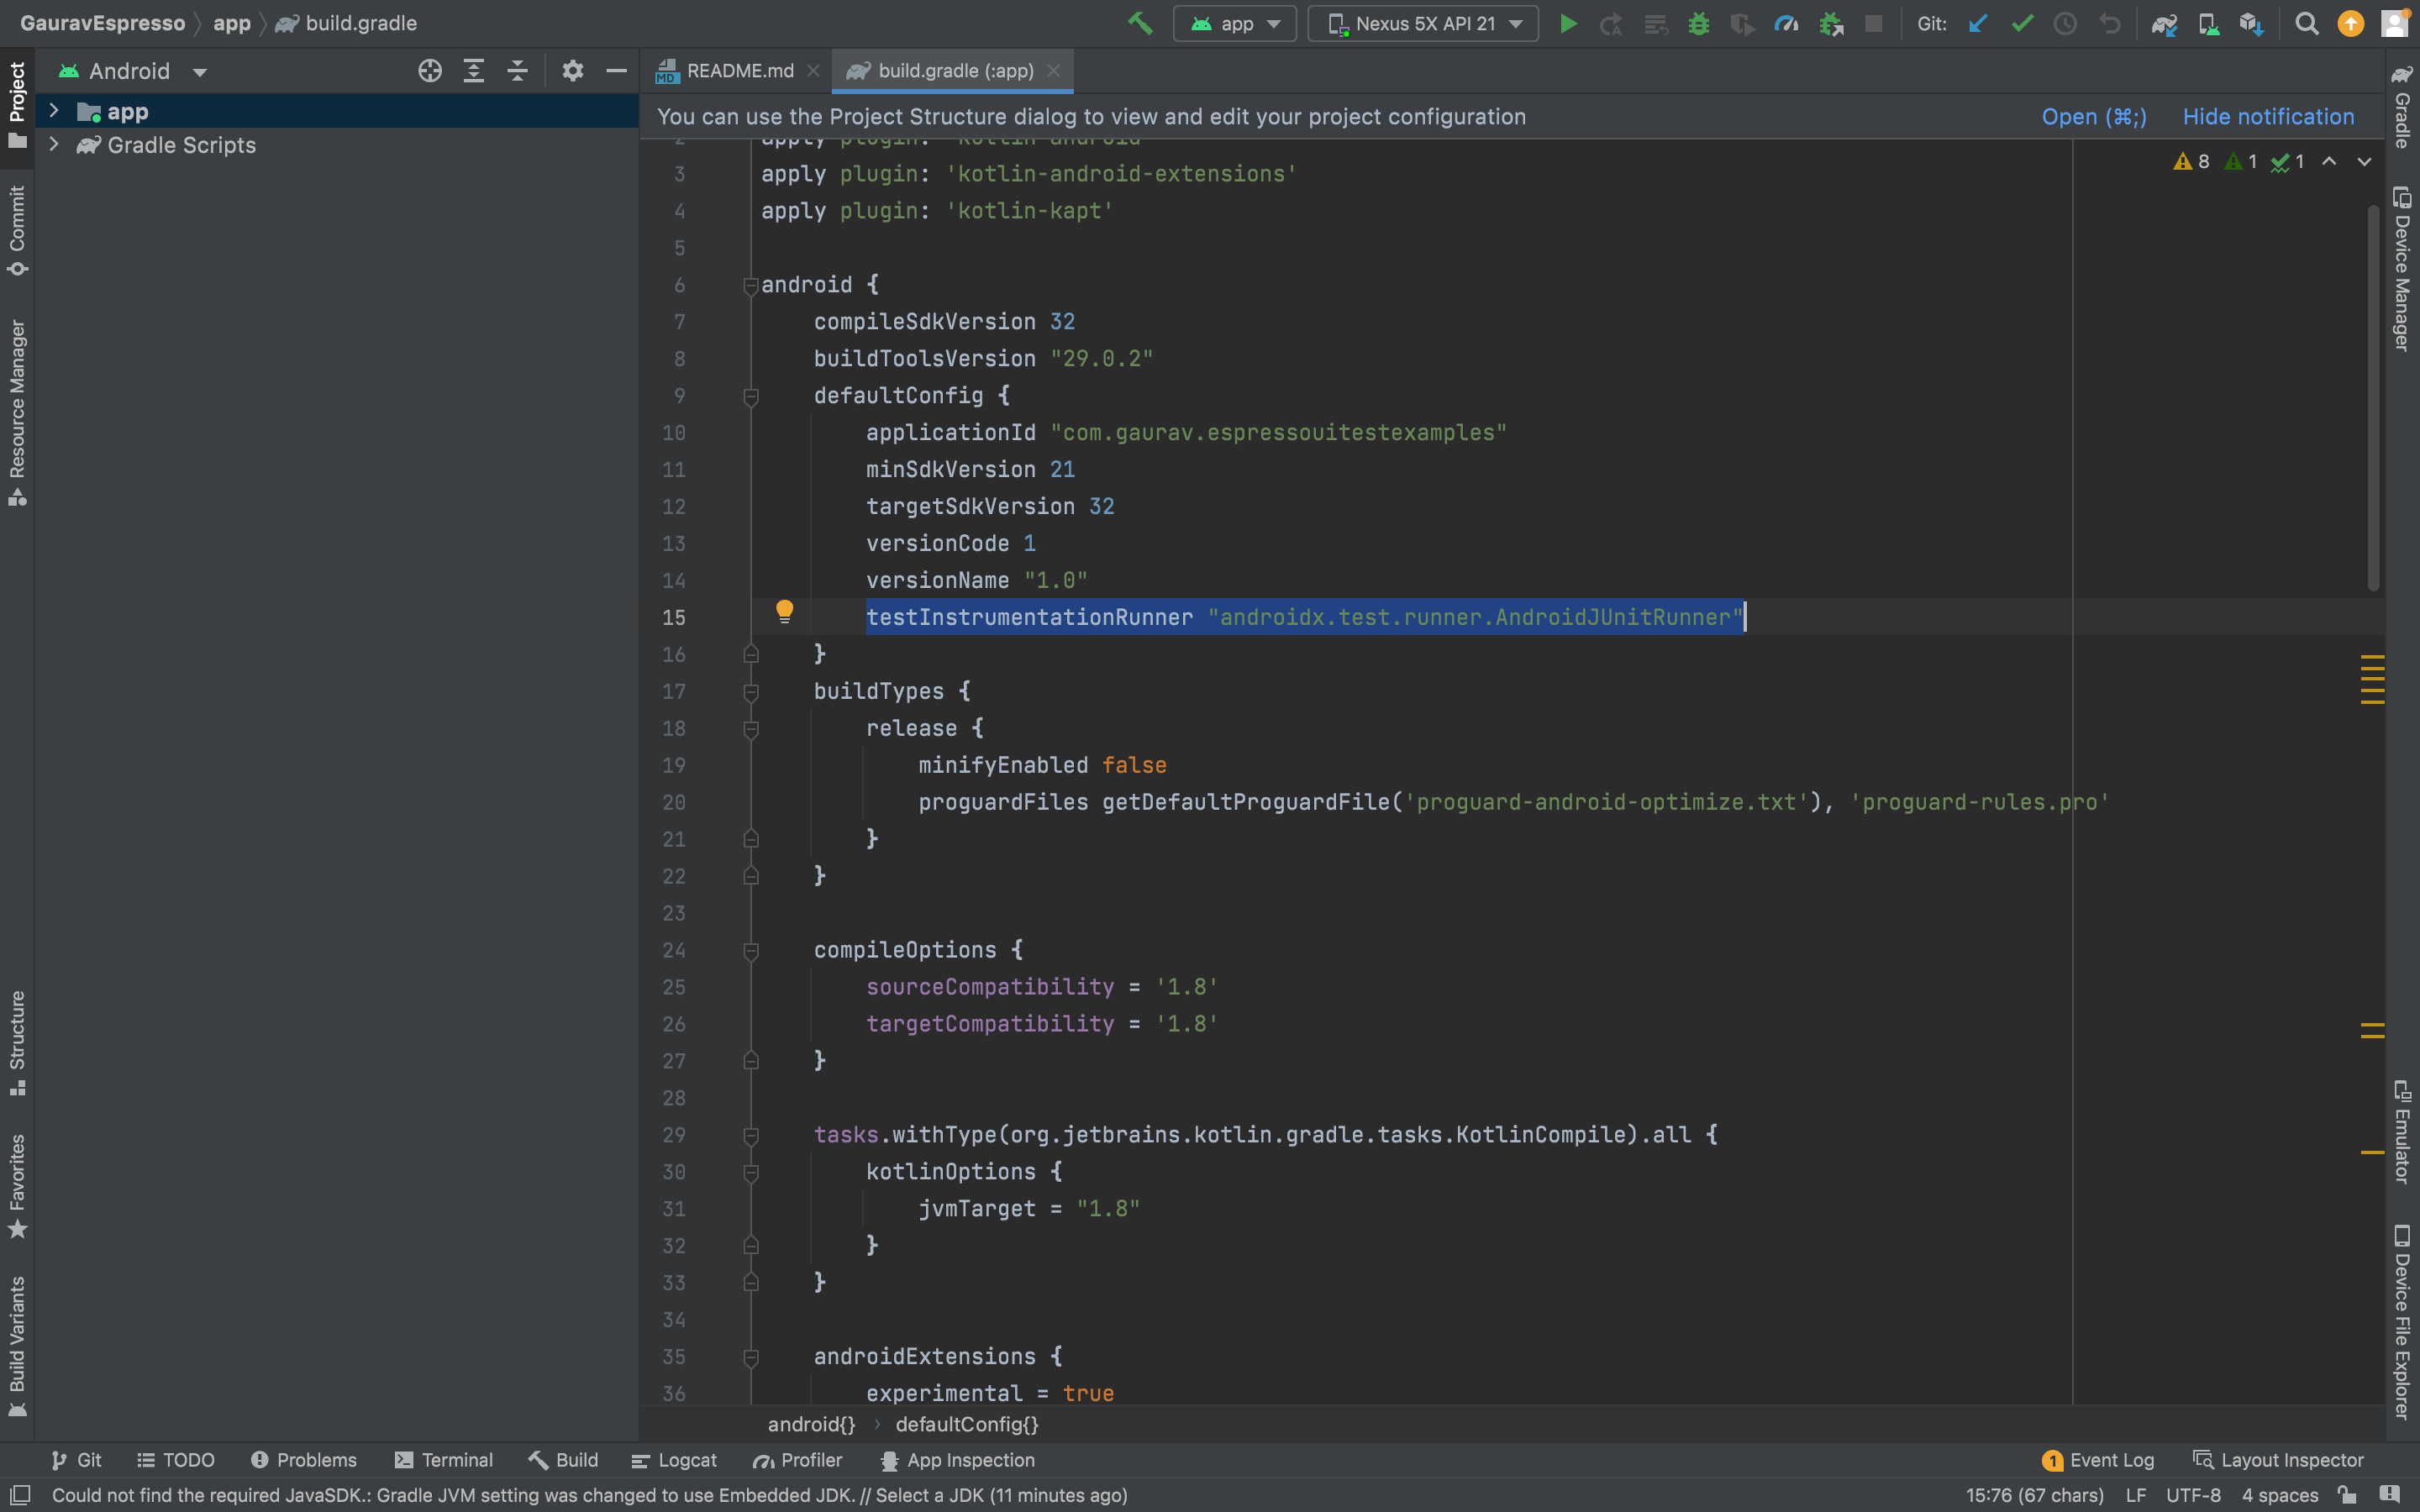
Add to the same build.gradle file the following below line in android.defaultConfig:
testInstrumentationRunner "androidx.test.runner.AndroidJUnitRunner"
Create Espresso Test for your Android App
Taking a sample app to evaluate that on Pressing the button “Add Plant”, Plant List Page opens in the next tab. To do so,
- Create New Java Class file with the name GardenActivityJava file in the AndroidTest Folder, where the package name is com.google.samples.apps.sunflower
- Add the below code snippet in this New Java Class file GardenActivityJava.
//Launch the activity before test

@Rule

    public ActivityScenarioRule<GardenActivity> activityRule =

            new ActivityScenarioRule<>(GardenActivity.class);


    @Test

    public void clickAddPlant_OpensPlantList() {

        // Given that no Plants are added to the user's garden


        // When the "Add Plant" button is clicked(Yellow Button)

        onView(withId(R.id.add_plant)).perform(click());


        // Then the ViewPager should change to the Plant List page (Plant Page)

        onView(withId(R.id.plant_list)).check(ViewAssertions.matches(isDisplayed()));

        Espresso.pressBackUnconditionally();

    }
Run Espresso Test
To run Espresso Test, you need to create a test configuration in Android Studio using the following steps:
- Open Run menu > Edit Configurations
- Add a new Android Tests configuration
- Choose a module
- Add a specific instrumentation runner using the code below
android.support.test.runner.AndroidJUnitRunner
- Add your class name
Once the configuration is setup connect your device or select the emulator and directly run the configuration.
Integrate with BrowserStack
It is essential to get accurate test results by testing on real Android devices. It is time to replace APK emulators with real Android devices to take real user conditions into account while testing for better accuracy. BrowserStack App Automate allows you to run your Espresso tests on real android devices, just sign up for free and get access to thousands of real Android and iOS devices.
Check out the Official Documentation to learn how to Run Espresso Tests using BrowserStack.
Leverage the various advantages of BrowserStack to run Espresso tests effortlessly. Use BrowserStack’s real android device cloud to ensure that all tests return 100% accurate results. Don’t limit your tests to the various inadequacies of emulators and simulators; only rely on the real deal to create customer-ready, meticulously optimized web applications. Integrate it with your CI/CD pipeline and make your Android App user ready seamlessly with every release cycle.


