Many testers assume XPath in Selenium should be avoided unless there’s absolutely no other option. IDs feel safer, CSS selectors seem simpler, and XPath often gets labeled as slow or fragile.
I believed that too—until a test suite started failing after a minor UI update. The application still worked, but the DOM structure had changed just enough to break several locators.
I tried switching selectors, adding waits, and rerunning tests repeatedly, but nothing brought lasting stability. Hours went into debugging, only to realize the fixes were as brittle as the original ones.
That’s when it became clear the issue wasn’t XPath itself, but a lack of understanding of how to use it properly.
Overview
XPath in Selenium is a powerful locator strategy used to navigate through the HTML DOM and identify web elements when common locators like ID or name are not reliable or available.
Basic XPath Syntax
XPath expressions use path patterns such as //tagname[@attribute=’value’] to locate elements based on their structure, attributes, or visible text.
Types of XPath
- Absolute XPath: Starts from the root of the DOM and follows the complete path to the element.
- Relative XPath: Starts from any node in the DOM and is more flexible and commonly used in Selenium automation.
Key XPath Functions and Techniques
- Functions like contains(), starts-with(), and text() help handle dynamic attributes.
- XPath axes enable navigation through parent, child, sibling, and ancestor relationships in complex DOM structures.
This article explores how to use XPath in Selenium effectively, covering essential concepts and practical techniques to build more stable and maintainable test automation.
What is XPath in Selenium?
XPath (XML Path Language) is a locator strategy used in Selenium to identify and interact with web elements by navigating through the HTML DOM structure.
It allows testers to locate elements based on their tag names, attributes, text values, and relationships with other elements, making it especially useful when common locators like ID or name are not available or are dynamically generated.
According to Crissy Joshua, a software testing expert, when using XPath in Selenium prefer relative and stable XPath expressions over long, absolute paths, as they are less likely to break with minor UI or DOM changes.
This approach improves locator reliability, reduces test maintenance effort, and results in more resilient automation scripts.
In large test suites, validating XPath reliability across different browsers and environments becomes equally important.
Platforms like BrowserStack Automate helps teams run Selenium tests on real browsers and devices, making it easier to verify that XPath locators behave consistently across varied user conditions without maintaining local infrastructure.
Types of XPath in Selenium
Here is a quick overview of the two types of Selenium XPath:
- Absolute XPath: Begins from the root of the HTML document and specifies the complete path to the element. It’s not as flexible and can break if the page structure changes.
- Relative XPath: Starts from a specific element and navigates through the DOM hierarchy to locate the desired element. It’s more flexible and resilient to changes in the page structure.
1. Absolute Path
The simplest XPath locator example in Selenium is to provide the absolute path of an element in the DOM structure.
For instance, consider the HTML below:
<html>
<head>...</head>
<body>
...
<form id="loginForm">
<input name="name" type="text" value="First Name" />
<input name="name" type="text" value="Last Name" />
<input name="email" type="text" value="Business Email" />
<input name="password" type="password" />
<input name="continue" type="submit" value="Sign Me Up" />
</form>
</body>
</html>
The syntax to select the business email field is as follows:
html/body/form/input[3]
This searches for the first form tag in the body of the page and selects the third input field in the form. This format, though simple, is also the most vulnerable to minor changes in the page’s structure. This method is also known as a single slash search.
2. Relative Path
A relative path, or a double slash search, begins with double slashes. The double slashes signify a break in the absolute path. Here is how to select the same business email field using a relative path.
//form/input[3]
If multiple forms exist on the page, one may need to provide an extra identifier for the form field.
What is Chained XPath in Selenium?
A chained XPath in Selenium is the practice of combining numerous XPath queries to locate an element on a web page in a more exact and readable manner. Instead of creating a single, complex XPath, you divide it into smaller, more manageable chunks and connect them together with functions like findElement or findElements.
When to Use Chained XPath?
Chained XPath is especially beneficial for complicated web pages when items are embedded behind multiple levels of HTML tags and you want to keep your test scripts clear and flexible.
Advantages of using Chained Xpath
- Readability: Dividing the XPath into smaller sections can make it easier to read and comprehend.
- Reusability: Intermediate elements, such as containers, can be used to locate other child elements in the same scope.
- Flexibility: Chaining enables you to interact with elements step by step, which is useful when working with dynamic information.
Example of Chained XPath and Explanation
Assume you wish to locate a specific input field inside a form with a given id.
Single Complex XPath would be:
//form[@id='loginForm']//input[@name='username']
This expression locates the input field by specifying the whole path in a single XPath string.
Chained XPath would be:
WebElement form = driver.findElement(By.xpath("//form[@id='loginForm']"));
WebElement usernameInput = form.findElement(By.xpath(".//input[@name='username']"));
This method first locates the form element with the id loginForm. Then, within that form, it finds an input field with the name attribute set to username.
The advantages of using chained XPath to locate an ‘input’ field within a ‘form’ are as follows:
- Improved Readability: Breaking down the XPath into smaller pieces makes the code easier to read and comprehend. By first locating the ‘form’ element and then the ‘input’ within it, the code becomes more intuitive and error-free.
- Increased Maintainability: The intermediate ‘form’ element can be employed to locate further elements within the same ‘form’. This modular approach simplifies code updates and maintenance because changes to the structure of the ‘form’ element do not require modifications to the full XPath query.
- Simplified Debugging: Isolating the steps allows you to more easily detect and troubleshoot errors. If the ‘input’ field is not discovered, you can start by ensuring that the ‘form’ element is correctly identified, which will make troubleshooting easier.
- Effectiveness through Targeted Searches: Chained XPath restricts the search to a specific section of the Document Object Model (DOM). This can make element location more efficient by lowering the amount of elements Selenium must look for.
- Flexibility: Dynamic Content: In dynamic web applications with changing content, chained XPath is useful for dealing for components that may be loaded or modified at runtime. It allows you to focus on a specific area of the page, making it easier to manage dynamic information within a predefined container.
Overall, chaining XPath expressions improves code readability and maintainability, particularly in complicated HTML structures.
XPath Locators
XPath (XML Path Language) locators in Selenium WebDriver are a strong tool for locating elements within an XML document or HTML page. XPath expressions use the document’s structure to locate elements based on attributes, tag names, or hierarchical relationships.
Some Key Features of XPath Locators are:
1. Versatility: It can either be Absolute (Specifies the route from the root to the target element. For example, //html/body/div/p.) or Relative (Starts at a specified node and uses conditions to find elements.
For example: //div[@id=’container’].//p[@class=’text’].)
2 Flexible Element Selection:
- By Tag Name: Selects elements based on their tag names, such as //input, which selects all input elements.
- By Attribute: Locates items based on their attributes.
- For example, //input[@name=’username’] selects an input element with the name attribute set to ‘username’.
- By Text Content: Finds items that contain certain text, such as //button[text()=’Submit’] picks a button labeled ‘Submit’.
- By Hierarchical location: Selects elements according to their location in the document hierarchy; for example, //div[1] selects the first div element.
3. Axes: Leverages Axes to scan the web page
- Parent: chooses the parent node; for example, ‘..’ chooses the current node’s parent.
- Child: Selects child nodes; for example, //div/child::* selects all of div’s child elements.
- Sibling: Selects sibling nodes, such as //div/following-sibling::*, which selects all of div’s siblings.
4. Predicates: These are Condition-Based and Filters elements based on conditions, such as //input[@type=’text’].[1] chooses the first text-based input element.
5. Functions: Leverages functions like:
- Contains() returns elements with partial matches, such as //div[contains(@class, ‘header’)].
- Starts-With(): Matches elements whose attributes begin with a certain value, such as //input[starts-with(@id, ‘user’)].
Some examples are :
Locate a Button by Text:
//button[text()='Login']
Find an Input Field by ID:
//input[@id='username']
Advantages and Disadvantages of XPath Locators
XPath locators are widely used in Selenium for their flexibility and precision in element identification. Understanding their strengths and limitations helps testers decide when XPath is the right choice and how to use it effectively.
Advantages of XPath Locators:
- XPath is powerful and flexible, allowing for complicated searches to precisely locate items based on a variety of parameters.
- Because XPath can adapt to changes in page structure, it is particularly beneficial for pages with dynamic content.
Disadvantages of XPath Locators:
- Complex XPath queries may be slower than simpler locators such as CSS selectors.
- XPath expressions that rely on specific structures or attributes may fail if the page structure changes.
Xpath Axes
XPath axes are a crucial element in XPath that allows you to travel through the nodes of an XML or HTML document in different directions relative to the context node. Each axis creates a distinct relationship between nodes, making it easier to choose items depending on their position and relationship within the document hierarchy.
Some XPath Axes are:
- Ancestor: Selects the current node’s ancestor nodes (except the node itself). E.g //p/ancestor::div selects all div elements that are ancestors of p.
- Ancestor-or-self: Selects all ancestors of the current node, including the node itself. Example: //p/ancestor-or-self::div selects the div element itself and all its ancestor div elements.
- Attribute: Selects attributes of the current node. //input/attribute::type selects the type attribute of input elements.
- Child: Selects all child nodes of the current node. Example: //div/child::* selects all child elements of div
- Descendant: Selects all descendant nodes (children, grandchildren, etc.) of the current node. Example, //div/descendant-or-self::span selects the span elements inside div, as well as div itself if it is a span.
- Following: Selects all nodes that come after the current node in the document, excluding any descendants. Example. //h2/following::p selects all p elements that follow an h2 element.
- Following-sibling: Selects all siblings that come after the current node. //h2/following-sibling::p selects all p elements that are siblings following an h2.
- Namespace: Selects namespace nodes of the current node. Example, //element/namespace::* selects all namespace nodes for the element.
- Parent: Selects the parent node of the current node. //p/parent::div selects the div parent of a p element.
- Preceding: Selects all nodes that come before the current node in the document, excluding any ancestors. Example. //p/preceding::h2 selects all h2 elements that precede p.
- Preceding-sibling: Selects all siblings that come before the current node. //p/preceding-sibling::h2 selects all h2 elements that are siblings preceding p.
- Self: Selects the current node itself. //div/self::div selects the div element itself.
When to use XPath Axes
- XPath axes are useful for browsing and choosing nodes based on their relationship to other nodes, making it easier to access items in a given context.
- They enable more complex queries that simple locators may not be able to handle, such as picking items based on their relative position to other nodes.
Some Examples with Chained XPath
Suppose you have the following HTML structure and you want to locate a specific input field based on its relationship with other elements:
<div id="container">

  <form id="loginForm">

    <fieldset>

      <legend>Login</legend>

      <div class="form-group">

        <label for="username">Username:</label>

        <input id="username" type="text" />

      </div>

      <div class="form-group">

        <label for="password">Password:</label>

        <input id="password" type="password" />

      </div>

    </fieldset>

    <button type="submit">Submit</button>

  </form>

</div>
1. You can find the input Field Based on Its Label
You can find the input field for “username” by first locating the label and then the corresponding input field, you can use XPath axes in a chained manner:
// Locate the `label` element
WebElement label = driver.findElement(By.xpath("//label[text()='Username:']"));
// Use the `ancestor` axis to find the closest ancestor `div` with the class `form-group`
WebElement formGroup = label.findElement(By.xpath("./ancestor::div[@class='form-group']"));// Use the `following-sibling` axis to locate the `input` field within the same `form-group`
WebElement usernameInput = formGroup.findElement(By.xpath("./input[@id='username']"));2. Finding the input Field by Using a Combination of ancestor and descendant Axes
If you want to find the input field directly by navigating through its ancestor form and then finding it within the fieldset, you can use:
// Locate the `form` element
WebElement form = driver.findElement(By.xpath("//form[@id='loginForm']"));
// Use the `descendant` axis to find the `input` field within the form
WebElement usernameInput = form.findElement(By.xpath(".//input[@id='username']"));Explanation
- Ancestor Axis: This axis helps in navigating up the DOM tree to locate ancestor elements of the current node. In the first example, we use the ancestor axis to find the closest div with a specific class.
- Following-Sibling Axis: This axis allows navigating to sibling elements that follow the current node. It’s useful when the element you need is a sibling of another known element.
- Descendant Axis: This axis is used to select all descendant nodes of the current node. In the second example, it simplifies locating the input element within a specific form.
- Chaining XPath expressions with different axes allows you to precisely find components even in complicated and nested HTML structures, making your tests more reliable and maintainable.
How to handle Dynamic Elements in Selenium using XPath?
Dynamic elements can make Selenium tests unstable when attributes or DOM structures change frequently. Using XPath effectively helps create flexible locators that adapt to these changes and keep tests reliable.
1. Using Attributes
While the example shown above is feasible if only a single form is on the page, one can make the search patterns more robust by using attributes.
//form[@id='loginForm']/input[3]
In place of id, one can use any attribute and its corresponding value to locate an element with Selenium.
While this example shows a single attribute, one can also use multiple attributes of the same tag to locate it on the page.
For instance, to select the Last Name field, one can use the following XPath syntax in Selenium:
//input[@name='name'][@value='Last Name']
2. Logical Operators in Selections
While attributes may be sufficient to locate elements in most cases, testers may also need to use logical operators.
For instance, if the HTML structure has name or id attributes populated by the value “name”, one may use the following syntax to select them.
//input[@id='name' or @name='name']
Similarly, one can replace the or keyword with and to only select an element that satisfies all conditions.
Also Read: Quick CSS Selectors Cheat Sheet
3. Using Text
One may search for an element using the text that it contains too. For instance, to select a link that says “Click Me”, one can use the following search:
//a[text()='Click Me']
This snippet searches for any hyperlink containing the text “Click Me”. Replace the tag with a wildcard * to search for any element that contains the text “Click Me”.
//*[text()='Click Me']
While these XPath techniques help stabilize locators in dynamic applications, validating them across different browsers and environments is equally important.
As test suites scale, ensuring consistent behavior without increasing maintenance overhead becomes a key challenge—this is where the right test infrastructure can significantly improve efficiency.
Learn More: CSS Selector in Selenium scripts
How BrowserStack Automate makes Selenium Testing efficient?
While well-written XPath locators improve test stability, validating them consistently across browsers and environments is critical for reliable automation.
BrowserStack Automate helps teams move beyond local execution and scale Selenium testing efficiently without added infrastructure complexity.
BrowserStack Automate improves Selenium testing efficiency by:
- Running Selenium tests on 3500+ real browsers and devices, ensuring XPath locators behave consistently across real user environments
- Supporting parallel test execution to significantly reduce overall test runtime
- Allowing existing Selenium scripts to run without any code changes, including XPath-based locators
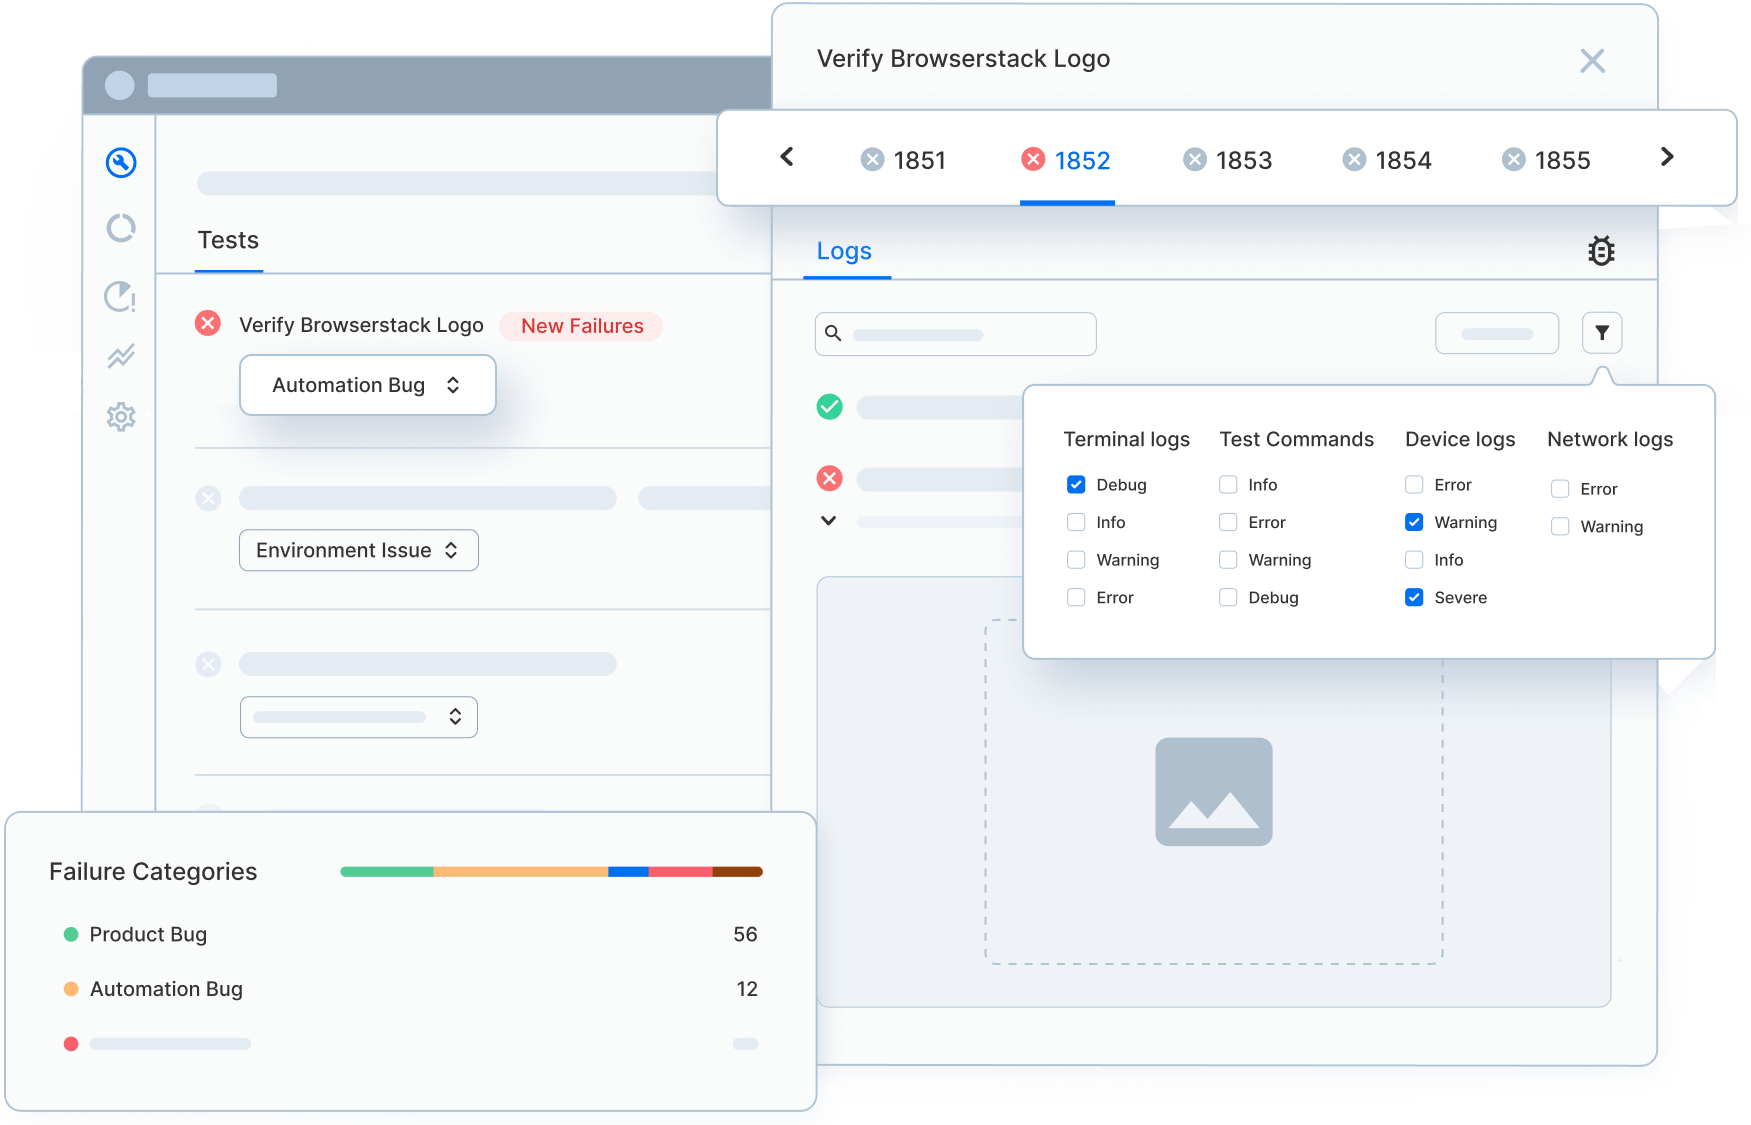
- Automatically capturing screenshots, video recordings, console logs, and network logs for every test session
- Providing centralized access to all debugging artifacts through the BrowserStack dashboard
By combining real-device testing with built-in debugging and scalability, BrowserStack Automate enables faster feedback, easier failure analysis, and more reliable Selenium automation.
Conclusion
XPath remains one of the most powerful locator strategies in Selenium when dealing with complex, dynamic, or deeply nested web applications.
By understanding different XPath types, axes, and techniques for handling dynamic elements, testers can build more stable and maintainable automation scripts.
However, reliable locators alone are not enough. Validating XPath behavior across real browsers and devices is essential to avoid flaky tests and unexpected failures in production.
By combining well-structured XPath strategies with scalable real-browser testing using BrowserStack Automate, teams can achieve faster feedback, stronger test reliability, and more confident Selenium automation.


