Appium is a popular open-source tool for automating mobile apps on iOS and Android. Setting it up on macOS involves several steps, including installing Node.js, configuring environment variables, and setting up Xcode for iOS testing. A clear understanding of each step is key to getting your automation environment ready.
Overview
Appium is an open-source automation framework that allows testing of native, hybrid, and mobile web applications on iOS and Android using a single codebase. It supports cross-platform testing and integrates well with popular testing tools.
How to set up Appium on macOS:
- Install Required Dependencies
- Configure Environment Variables
- Set Up Xcode for iOS Testing
- Create a Maven Project
- Start the Appium Server
- Run Your Test Script
This article explores how to set up Appium on macOS and run Appium tests on BrowserStack.
What is Appium?
Appium is an open-source automation framework designed for testing mobile applications across different platforms, including iOS, Android, and Windows. It supports testing of native apps, hybrid apps, and mobile web apps using standard WebDriver protocols.
One of Appium’s key advantages is that it allows you to write tests in multiple programming languages such as Java, Python, JavaScript, and Ruby, without requiring any modifications to the app’s source code. Its cross-platform capabilities and flexibility make it a popular choice for mobile automation at scale.
To run Appium tests at scale across real iOS and Android devices without managing in-house infrastructure, BrowserStack offers a cloud-based platform that provides instant access to a wide range of real devices, enabling fast, reliable, and scalable mobile test automation.
How to setup Appium on Mac?
To step and run an Appium test on macOS, refer to the following 9 steps:
- Install the dependencies, including Java, Maven, Node.js, Xcode, And appium.
- Once you have installed all the dependencies, make sure you set the path variables in the bash profile for each of the dependencies.
- Sign in to Xcode with your apple developer account.
- Open the webdriveragent project from the Appium CLI path and change the bundle ID to io.appium.WebDriverAgentRunner.
- Change the target to webdriveragent runner and build the project.
- Open any IDE, and create a Maven Project.
- Add all the required Appium dependencies, and declare desired capabilities.
- Start the Appium server.
- Initiate iOSdriver and run your code.
Learn More: How to set up your Appium Grid
Running Appium Tests on Browserstack
To eliminate the hassle that you might have to face with the conventional Appium tests on macOS, you can follow the steps below to run the Appium tests on macOS using BrowserStack.
Step 1. Upload your test application on BrowserStack App Automate. You can use the following script written in Python, which will upload the application to the servers.
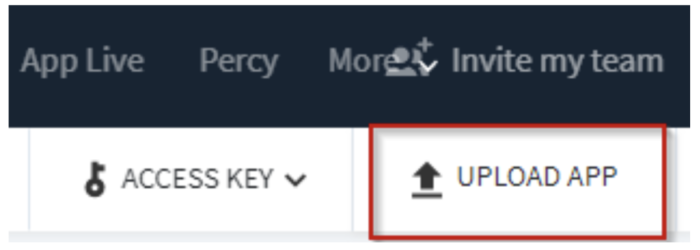
Step 2. You can directly upload your application on Browserstack App Automate, as shown in the image below.
Step 3. Once you have uploaded the application, you will get a code you can write in your test script shown in step 2.
Step 4. Create a Appium test script and change the desired capabilities to the ones you require.
Step 5. If you are confused about your application’s capabilities, you can use the Appium capability generator from BrowserStack for easier access.
Step 6. In the following script, open the uploaded application and find a web element, enter keys and assert based on responses from the search.
[python]

from appium import webdriver

from appium.webdriver.common.mobileby import MobileBy

from selenium.webdriver.support.ui import WebDriverWait

from selenium.webdriver.support import expected_conditions as EC

import time


desired_cap = {

    # Set your access credentials

    "browserstack.user": "XXXXXXXXXXXXXXXXXXXXX",

    "browserstack.key": "XXXXXXXXXXXXXXXXXXXXX",


    # Set URL of the application under test Generated from the JSON Response

    "app": "bs://c700ce60cf13ae8ed97705a55b8e022f13c5827c",


    # Specify device and os_version for testing

    "device": "iPhone 14",

    "os_version": "16",


    # Set other BrowserStack capabilities

    "project": "Localization Testing",

    "build": "build-1",

    "name": "first_test",


    # set the language capabilities

    "language": "es",

    "locale": "ES"

}


# Initialize the remote Webdriver using BrowserStack remote URL

# and desired capabilities defined above

driver = webdriver.Remote(

    command_executor="http://hub-cloud.browserstack.com/wd/hub",

    desired_capabilities=desired_cap

)

# Test case for the BrowserStack sample Android app.

# If you have uploaded your app, update the test case here.

search_element = WebDriverWait(driver, 30).until(

    EC.element_to_be_clickable((MobileBy.ACCESSIBILITY_ID, "Search Wikipedia"))

)

search_element.click()

search_input = WebDriverWait(driver, 30).until(

    EC.element_to_be_clickable(

        (MobileBy.ID, "org.wikipedia.alpha:id/search_src_text"))

)

search_input.send_keys("BrowserStack")

time.sleep(5)

search_results = driver.find_elements(MobileBy.CLASS_NAME, "android.widget.TextView")

assert (len(search_results) > 0)


# Invoke driver.quit() after the test is done to indicate that the test is completed.

driver.quit()

[/python]
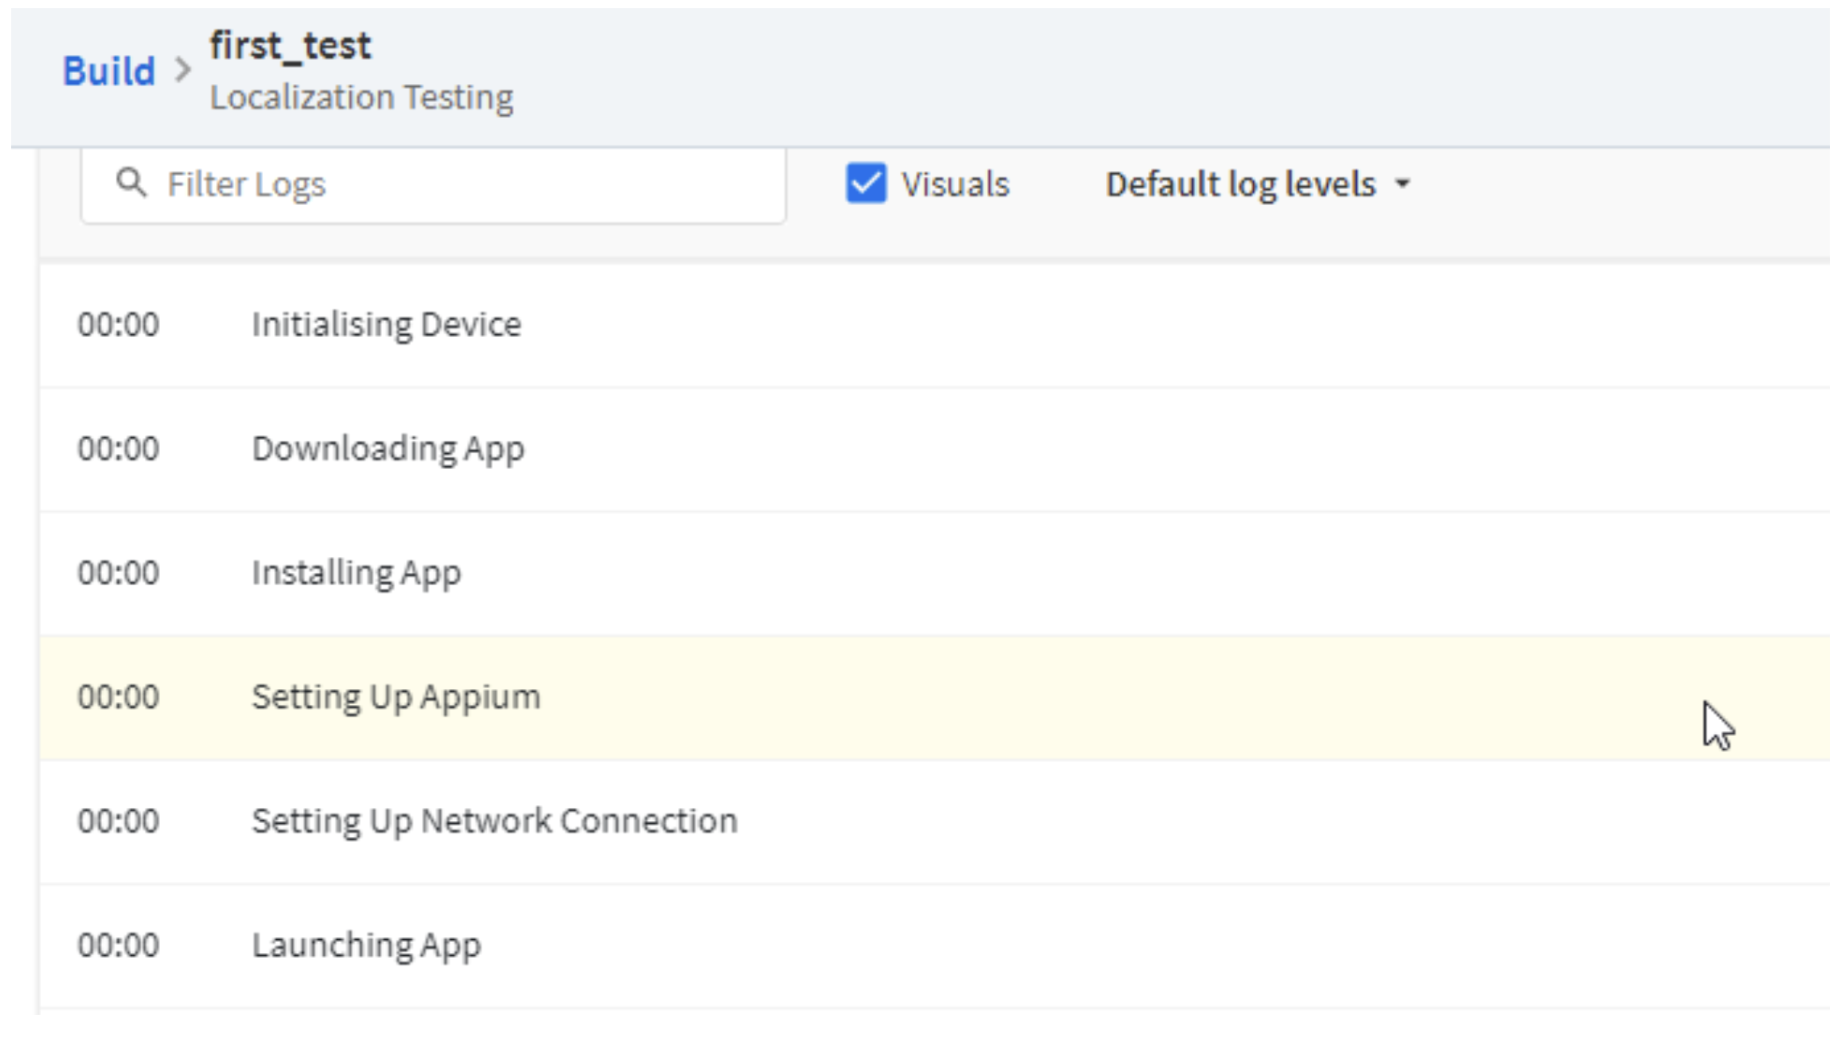
Step 7. After you run the script, you can monitor the progress on the dashboard and get the detailed report with the Appium logs on BrowserStack.
Also Read: Migrating to Appium 2.0
Conclusion
Setting up Appium on macOS involves installing essential dependencies like Java, Maven, Node.js, and Xcode, configuring environment variables, and properly preparing Xcode for iOS automation. Following these steps carefully ensures a smooth and functional mobile test automation environment.
For teams looking to scale testing without the hassle of managing physical devices, leveraging cloud platforms like BrowserStack can simplify running Appium tests on a wide range of real devices, accelerating the testing process and improving app quality.


