Run Appium tests using WebDriverIO
A guide to running automated app tests using Appium with WebDriverIO on BrowserStack App Automate. Start testing on real Android and iOS devices.
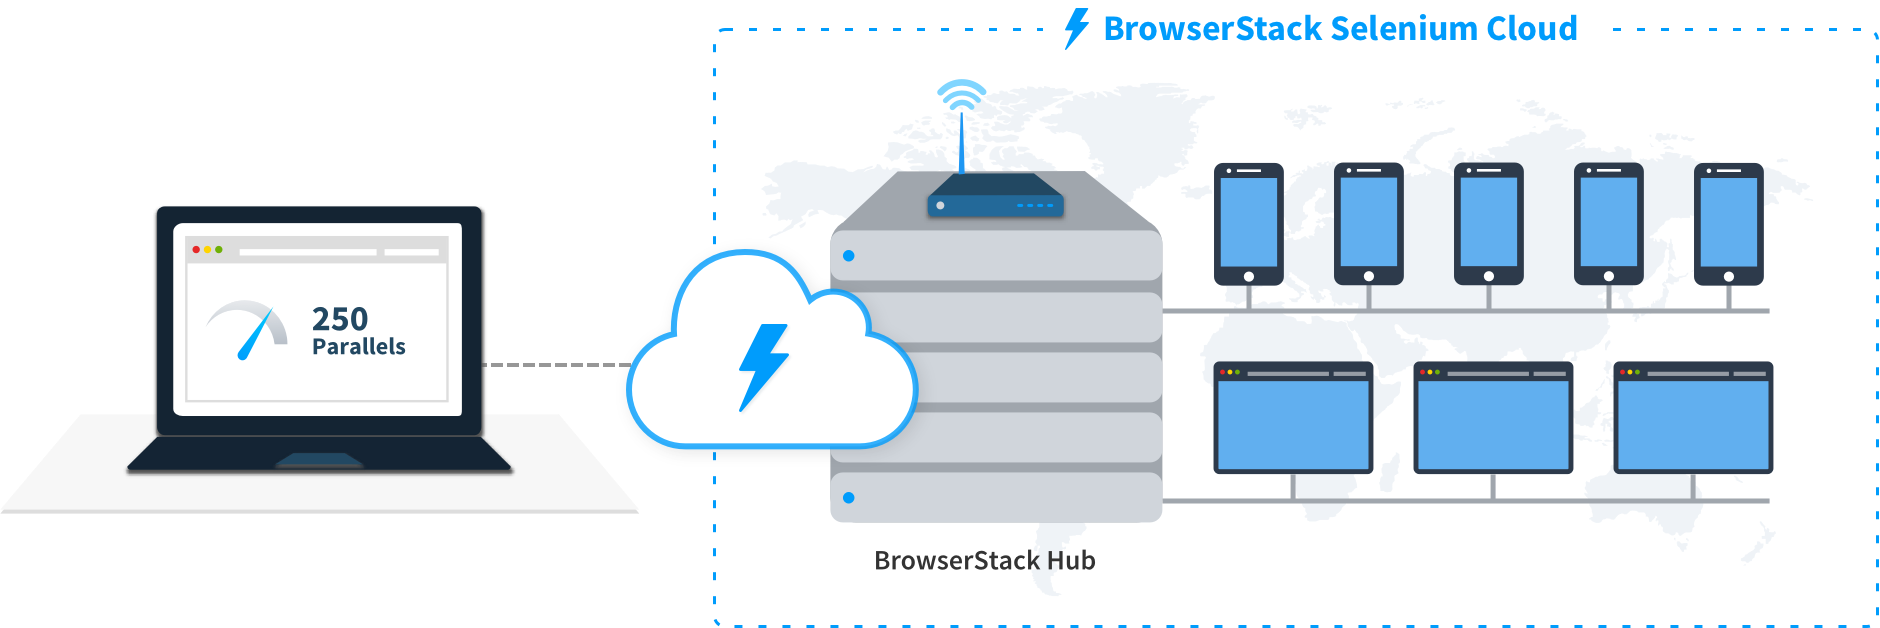
Your guide to running tests using WebdriverIO on BrowserStack’s Appium Grid of 3000+ real devices.
 In this document, you’ll learn how to set up your WebdriverIO Appium testing environment, configure your test settings, and execute your first automated test on BrowserStack’s real device cloud. We’ll walk you through each step, from initial setup to viewing your test results on the dashboard.
Prerequisites
- You need to have BrowserStack Username and Access key, which you can find in your account settings. If you have not created an account yet, you can sign up for a Free Trial
- Node.js 8.11.2+ installed on your system. You can download updated Node version from nodejs.org
BrowserStack currently supports WebdriverIO versions 7, 8, and 9.
Run sample build
Here’s how you can run a sample WebdriverIO test build in three simple steps on BrowserStack:
Clone the sample repository
Clone our sample repository and install the dependencies. You’ll need a developer environment with Node 12+.
# Clone our sample repo and install dependencies
git clone -b tra https://github.com/browserstack/webdriverio-appium-app-browserstack
cd webdriverio-appium-app-browserstack/ios
npm install
# Clone our sample repo and install dependencies
git clone -b tra https://github.com/browserstack/webdriverio-appium-app-browserstack
cd webdriverio-appium-app-browserstack/android
npm install
Configure the test script
In order to test, you will need to configure a few parameters in the sample repository.
Set access credentials
Set userName and accessKey parameters using environment variables to authenticate your tests.
# Set these values in your ~/.zprofile (zsh) or ~/.profile (bash)
export BROWSERSTACK_USERNAME="YOUR_USERNAME"
export BROWSERSTACK_ACCESS_KEY="YOUR_ACCESS_KEY"
setx BROWSERSTACK_USERNAME "YOUR_USERNAME"
setx BROWSERSTACK_ACCESS_KEY "YOUR_ACCESS_KEY"
set BROWSERSTACK_USERNAME=YOUR_USERNAME
set BROWSERSTACK_ACCESS_KEY=YOUR_ACCESS_KEY
Select Android or iOS devices from a list of 150+ available combinations
Use one of our sample apps to run your first Appium test on BrowserStack App Automate. Choose from the options below:
Update the parallel.conf.js config file
The parallel.conf.js file located in the /examples/run-parallel-test folder of your preferred project(android/ios) holds all the required capabilities to run your tests on BrowserStack. We recommend you to export your BrowserStack credentials using environment variables as mentioned in Step. 2.
For a complete list of capabilities, refer to the WebDriverIO BrowserStack service on App Automate documentation.
You can also pass regular expressions (regex) in deviceName and platformVersion capabilities if your device selection is more flexible. Check out how to use regular expressions to specify device attributes.
Execute the build on BrowserStack
You are now ready to run your build on BrowserStack. From the root directory of this project, run the following command.
- After you run your test, visit the App Automate dashboard to view your test results.
- If you want to toggle between BrowserStack and your Local device grid when using BrowserStack SDK, refer to the commands here.
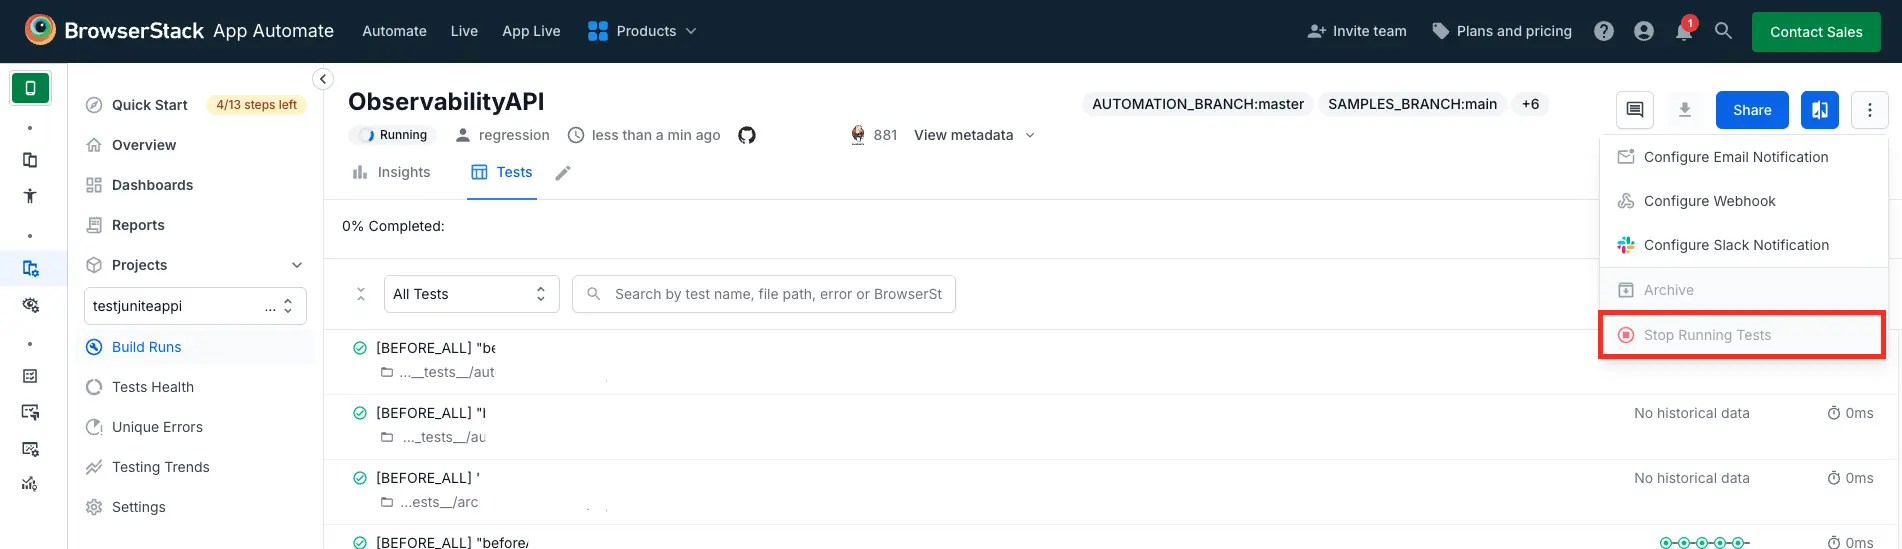
If a test run stops due to a crash, you can stop the build from running by clicking the Stop build option from the App Automate dashboard.
Next steps
Once you have successfully run the sample test on BrowserStack, you might want to check the following:
- Integrate your test suites with BrowserStack
- Test on apps that are hosted on your internal/staging API servers
- Generate a list of capabilities that you want to use in tests
- Find information about your Projects, Builds and Sessions using our REST APIs
We're sorry to hear that. Please share your feedback so we can do better
Contact our Support team for immediate help while we work on improving our docs.
We're continuously improving our docs. We'd love to know what you liked
We're sorry to hear that. Please share your feedback so we can do better
Contact our Support team for immediate help while we work on improving our docs.
We're continuously improving our docs. We'd love to know what you liked
Thank you for your valuable feedback!