Edit or Delete test cases
Edit or delete test cases based on the project priorities and requirements
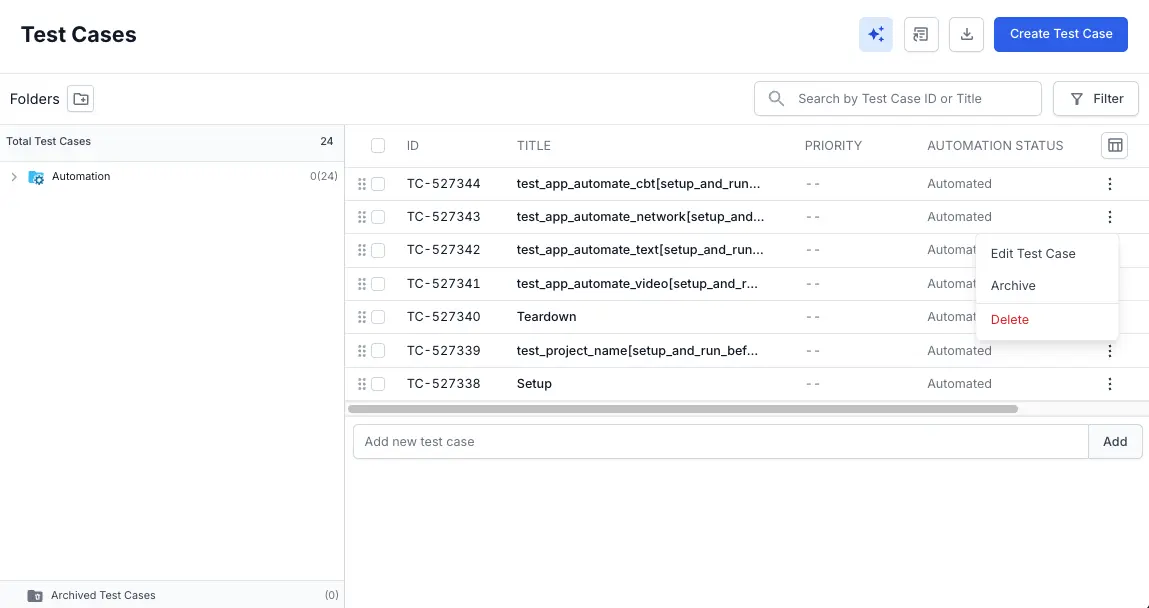
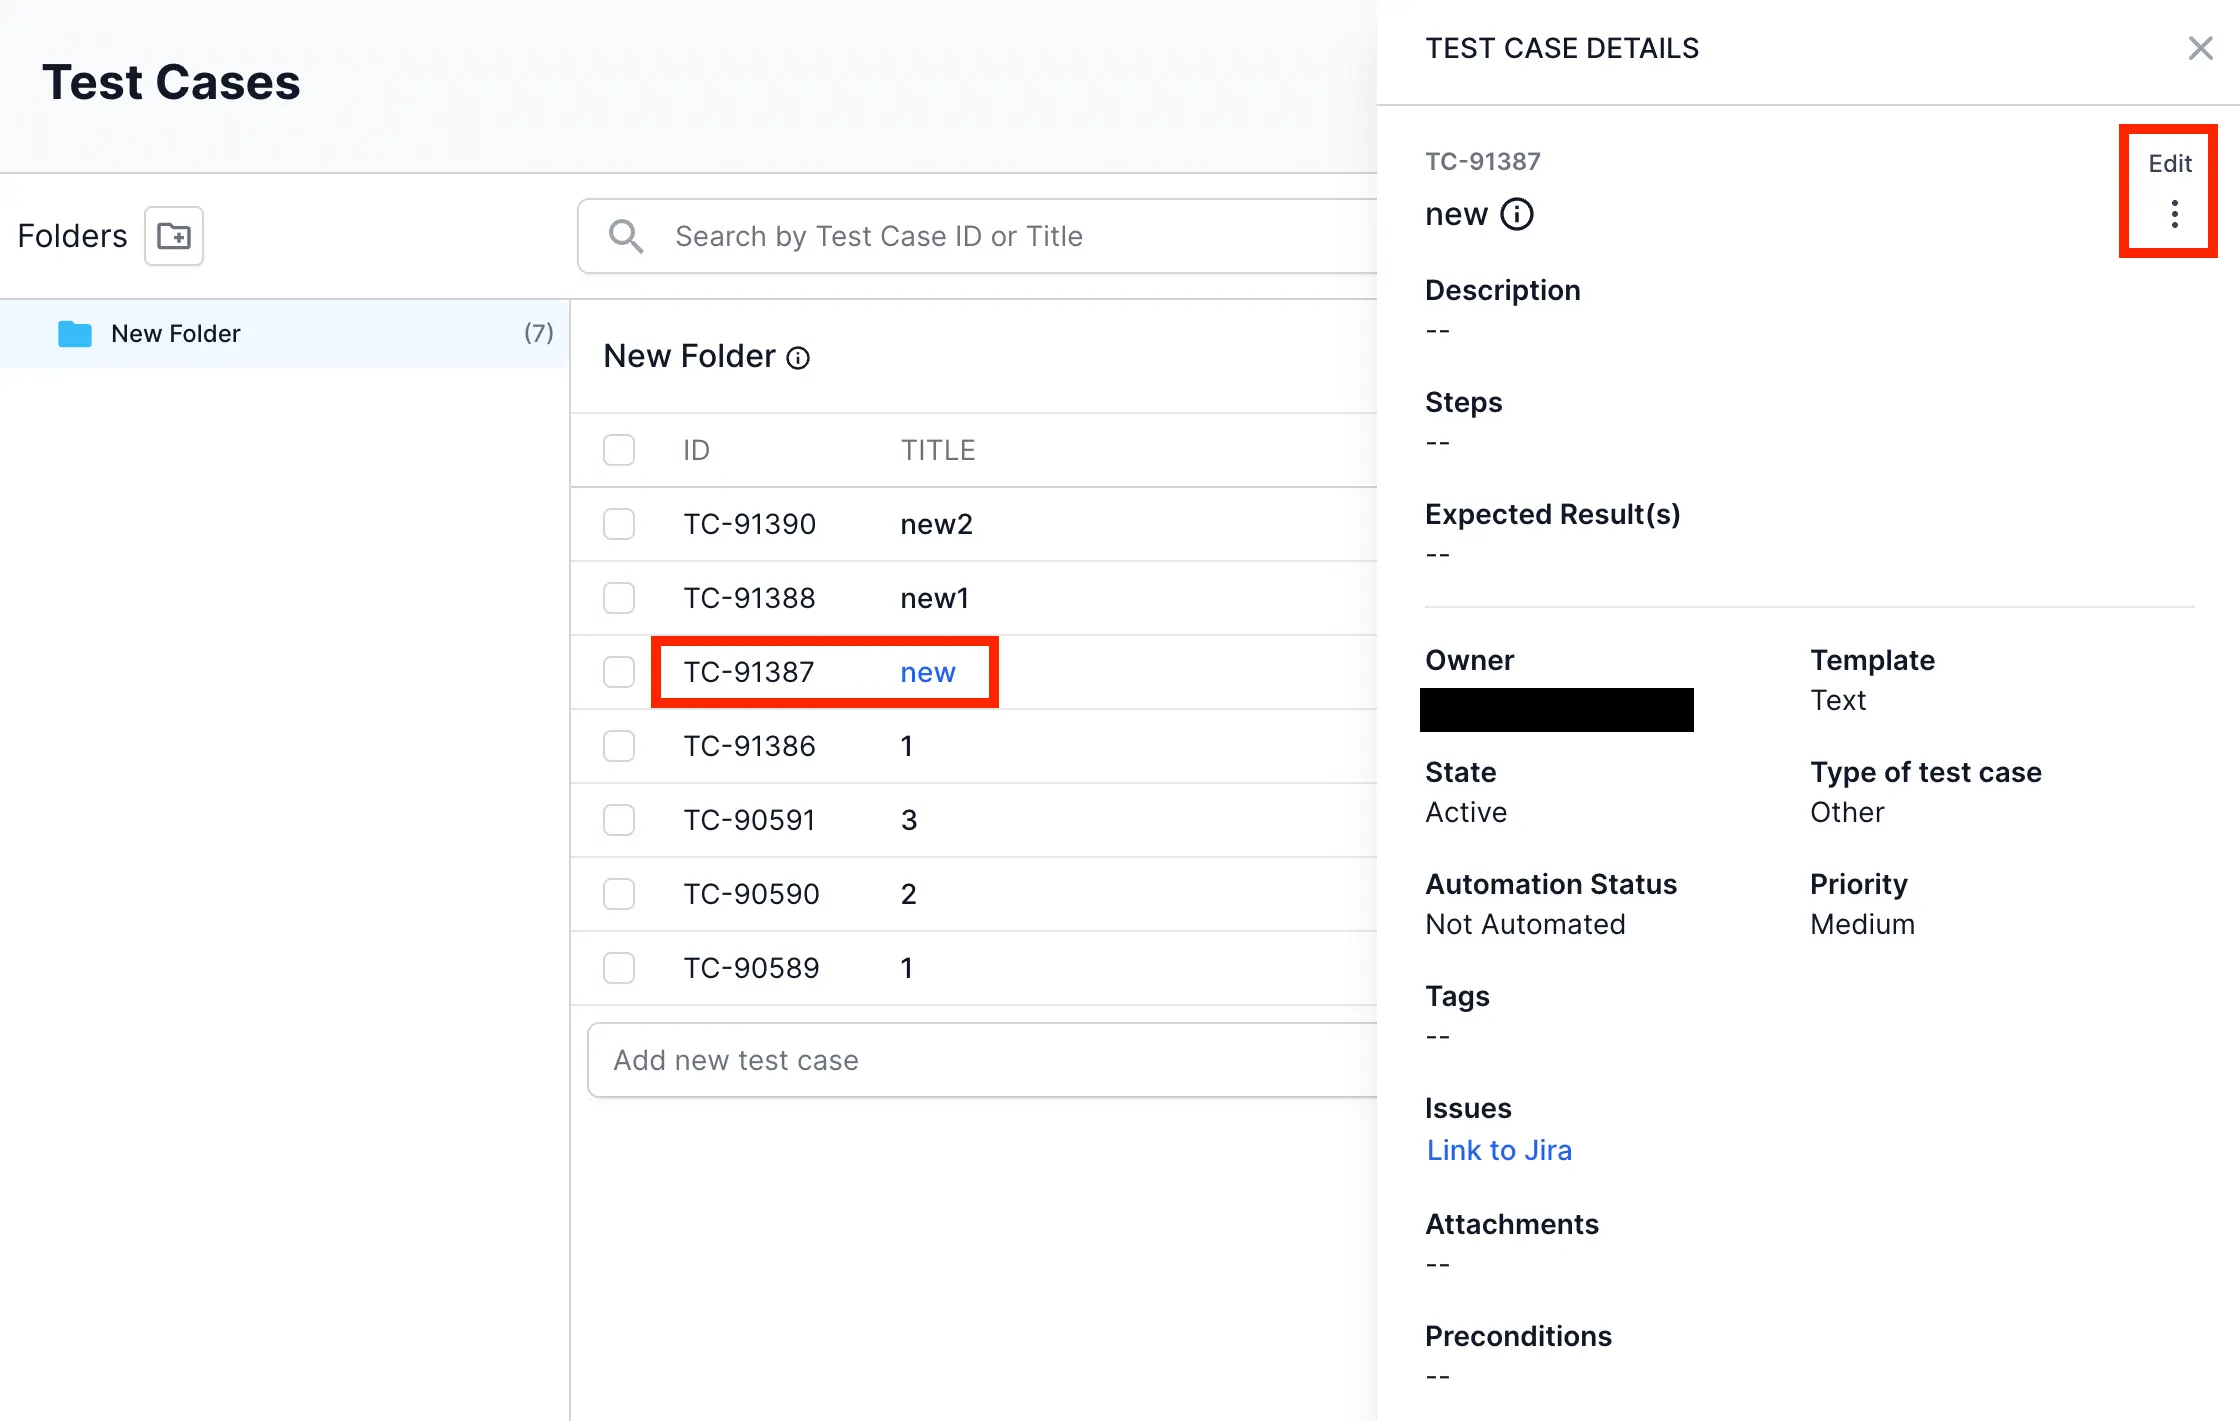
Edit a test case
To edit a test case:
- Click the pencil icon next to the test case or select Edit Test Case from the menu (three dots).
- Update details such as
- State, Owner, Priority, Type of Test Case, Automation Status, Tags, Attachments,
- Connect a Jira ticket in Jira Issues or Azure Work Item in Azure.
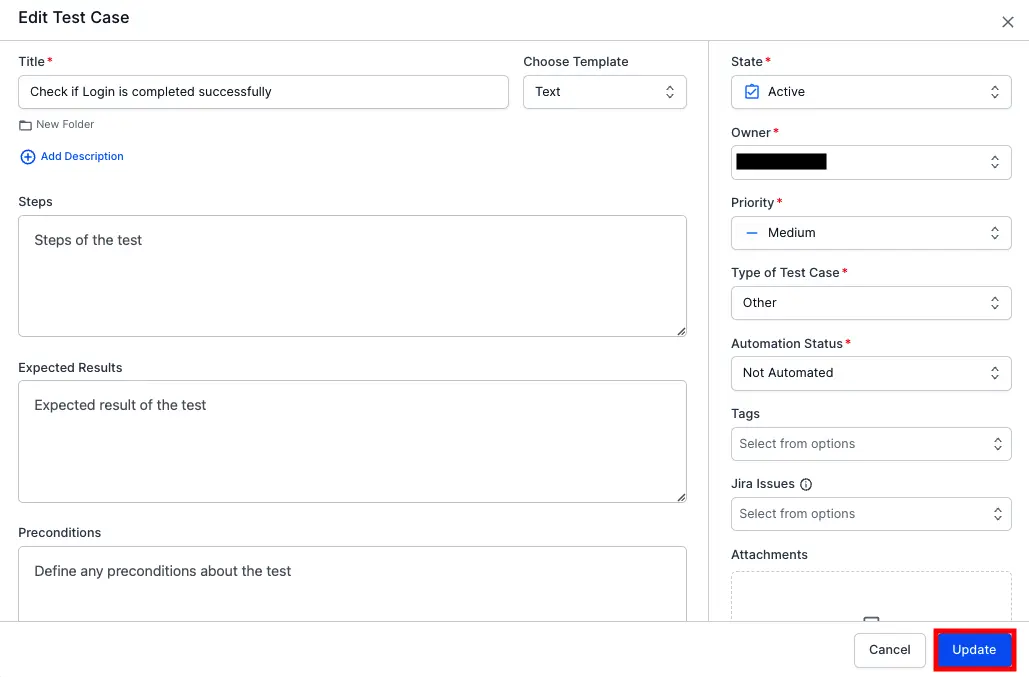
- Click Update to submit all the changes.
The test case is now updated with the new information.
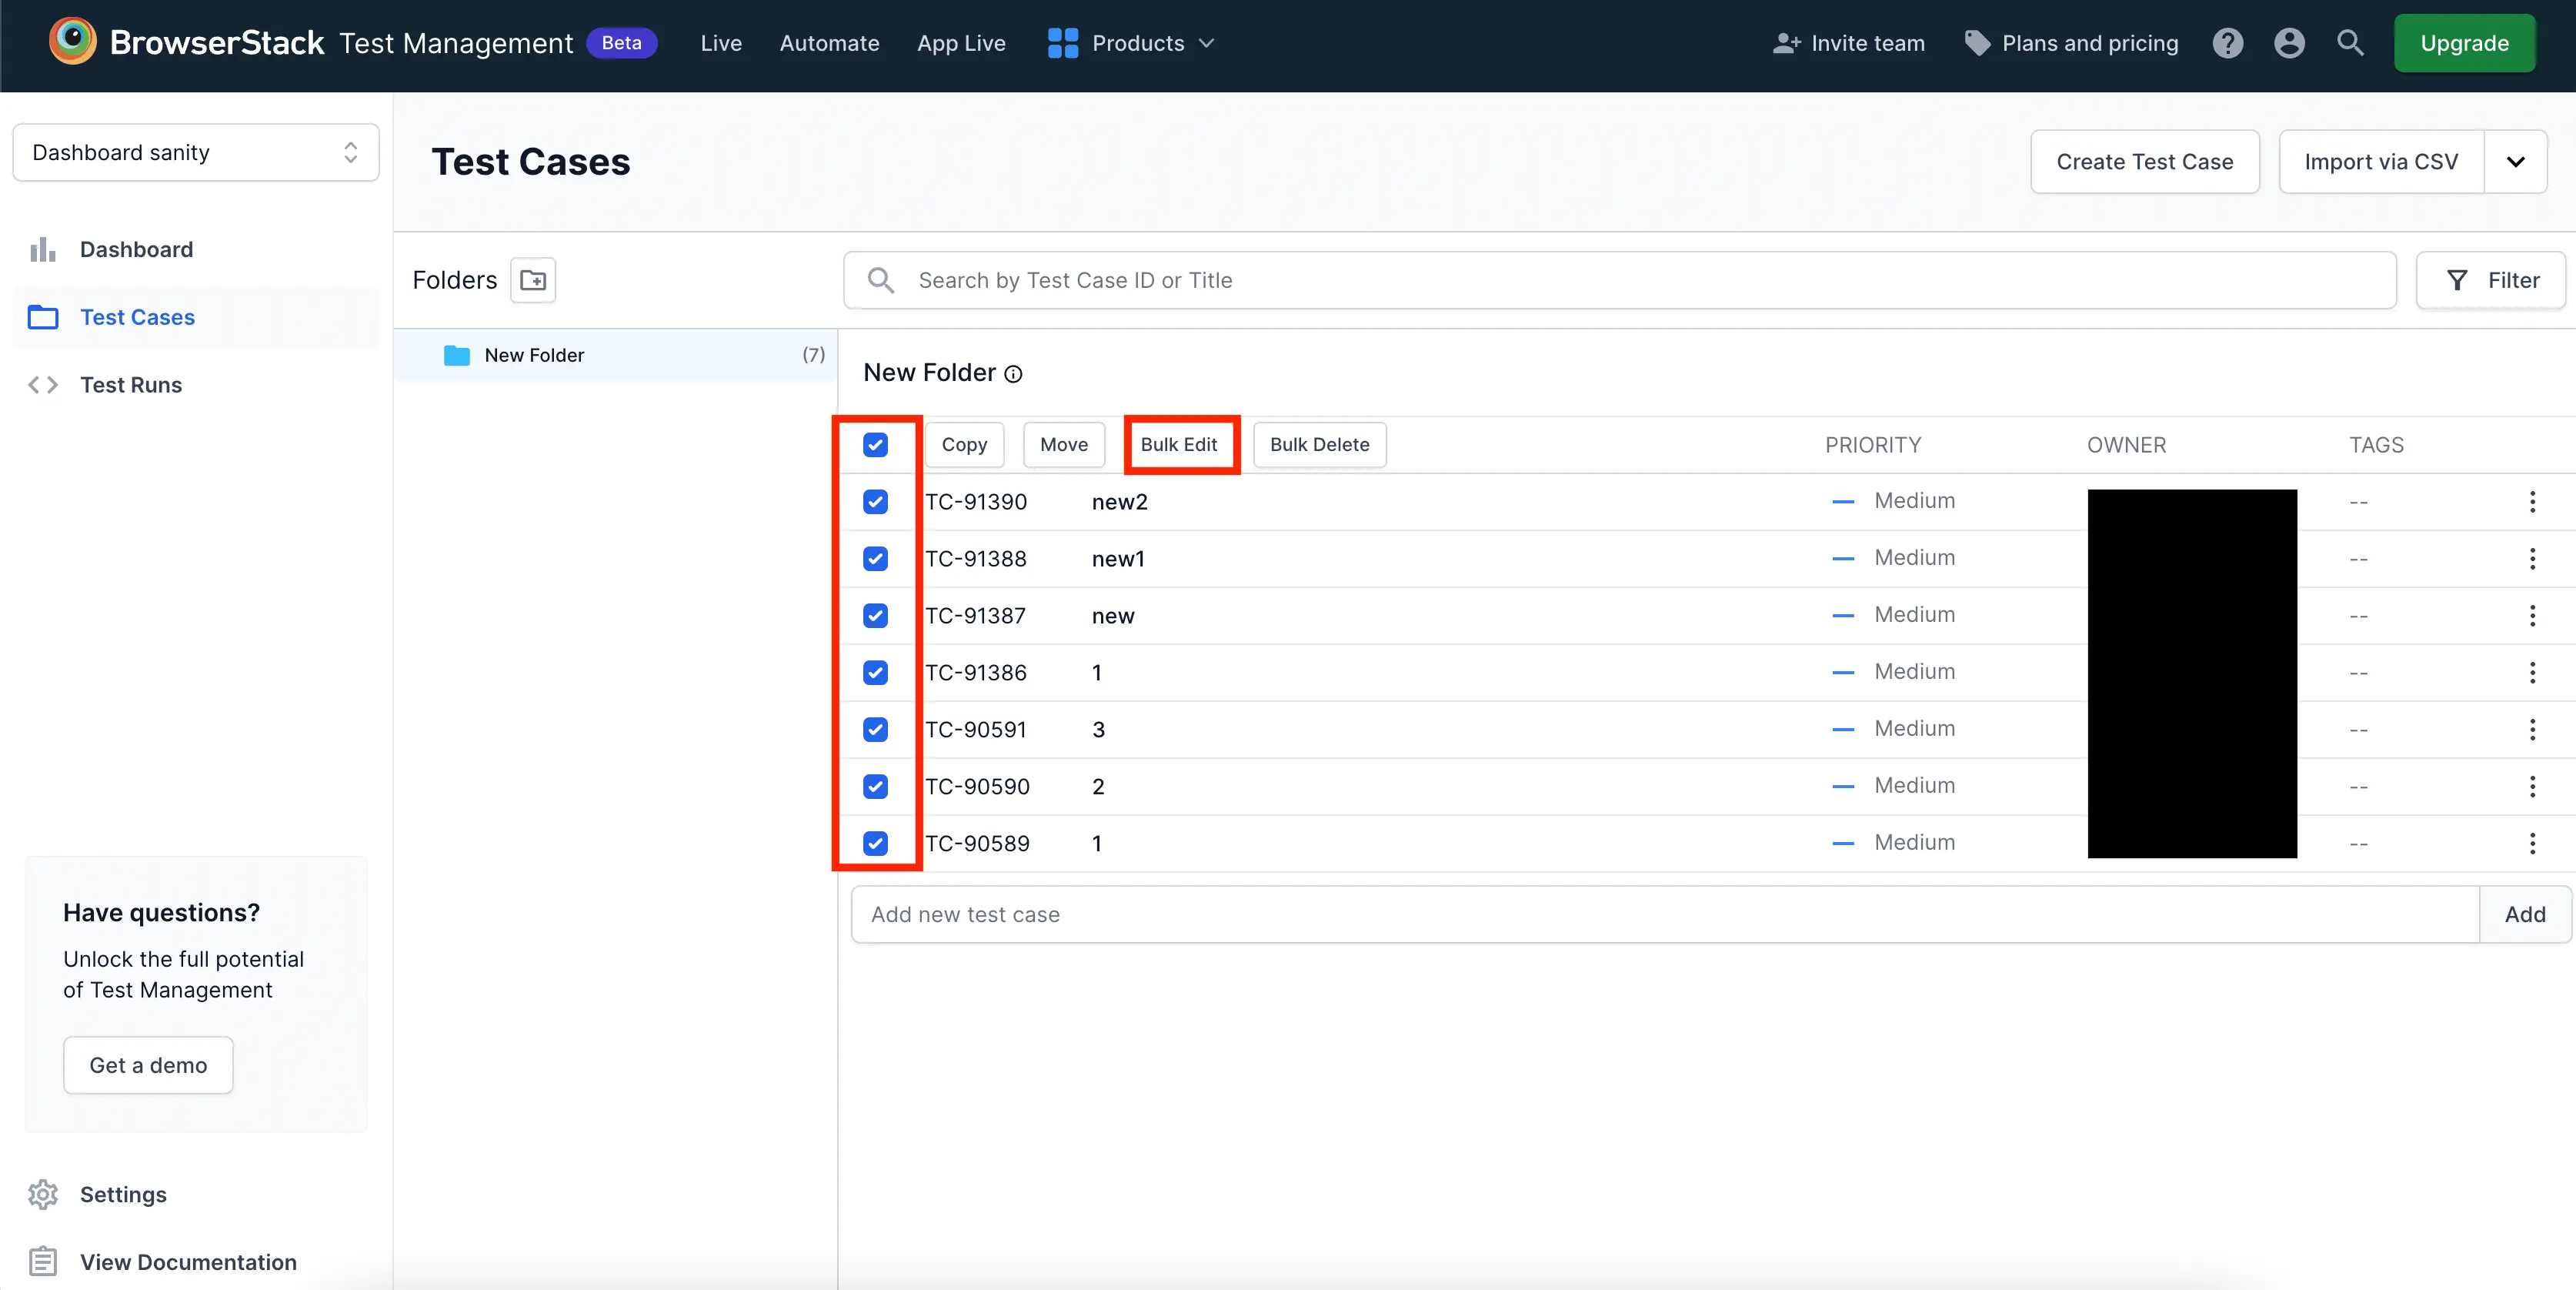
Bulk Edit
Perform the following steps to bulk edit your existing test cases.
- Select the required cases.
- Click Bulk Edit to edit test cases details.
- Update the fields with new values and click Update All.
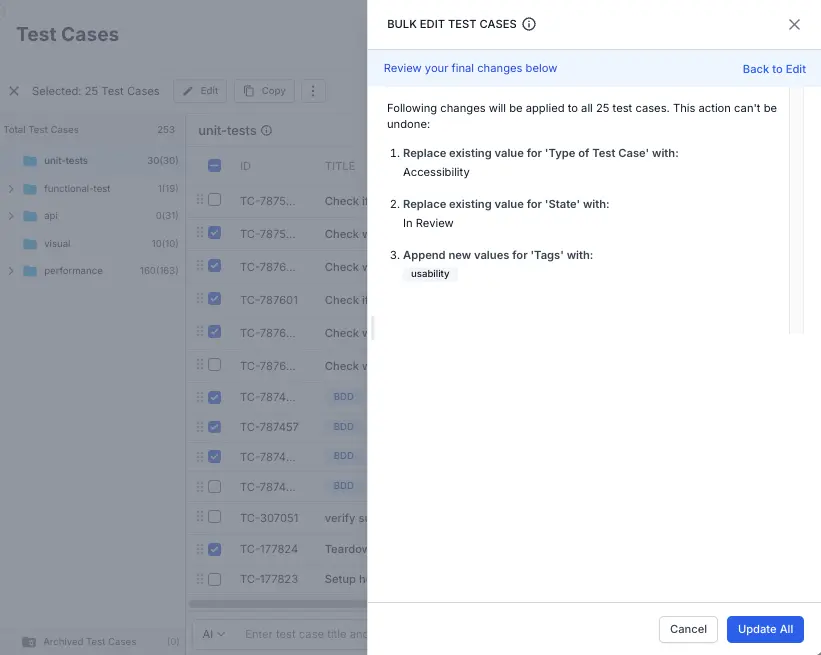
- Click Update Cases to apply the changes.
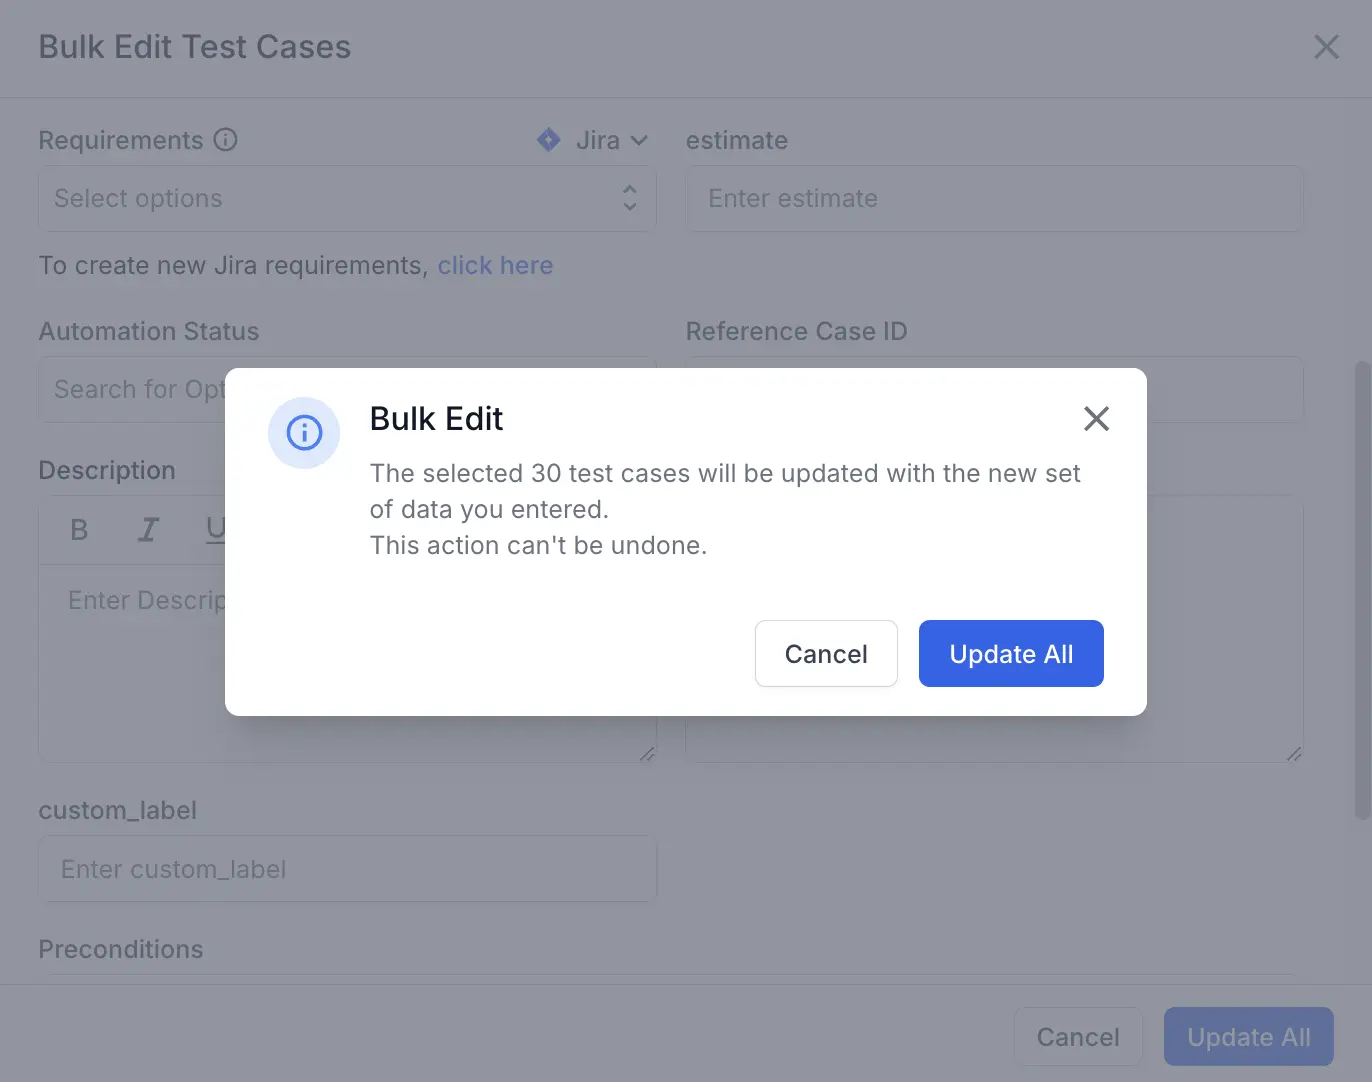
The test cases are now updated with the new information.
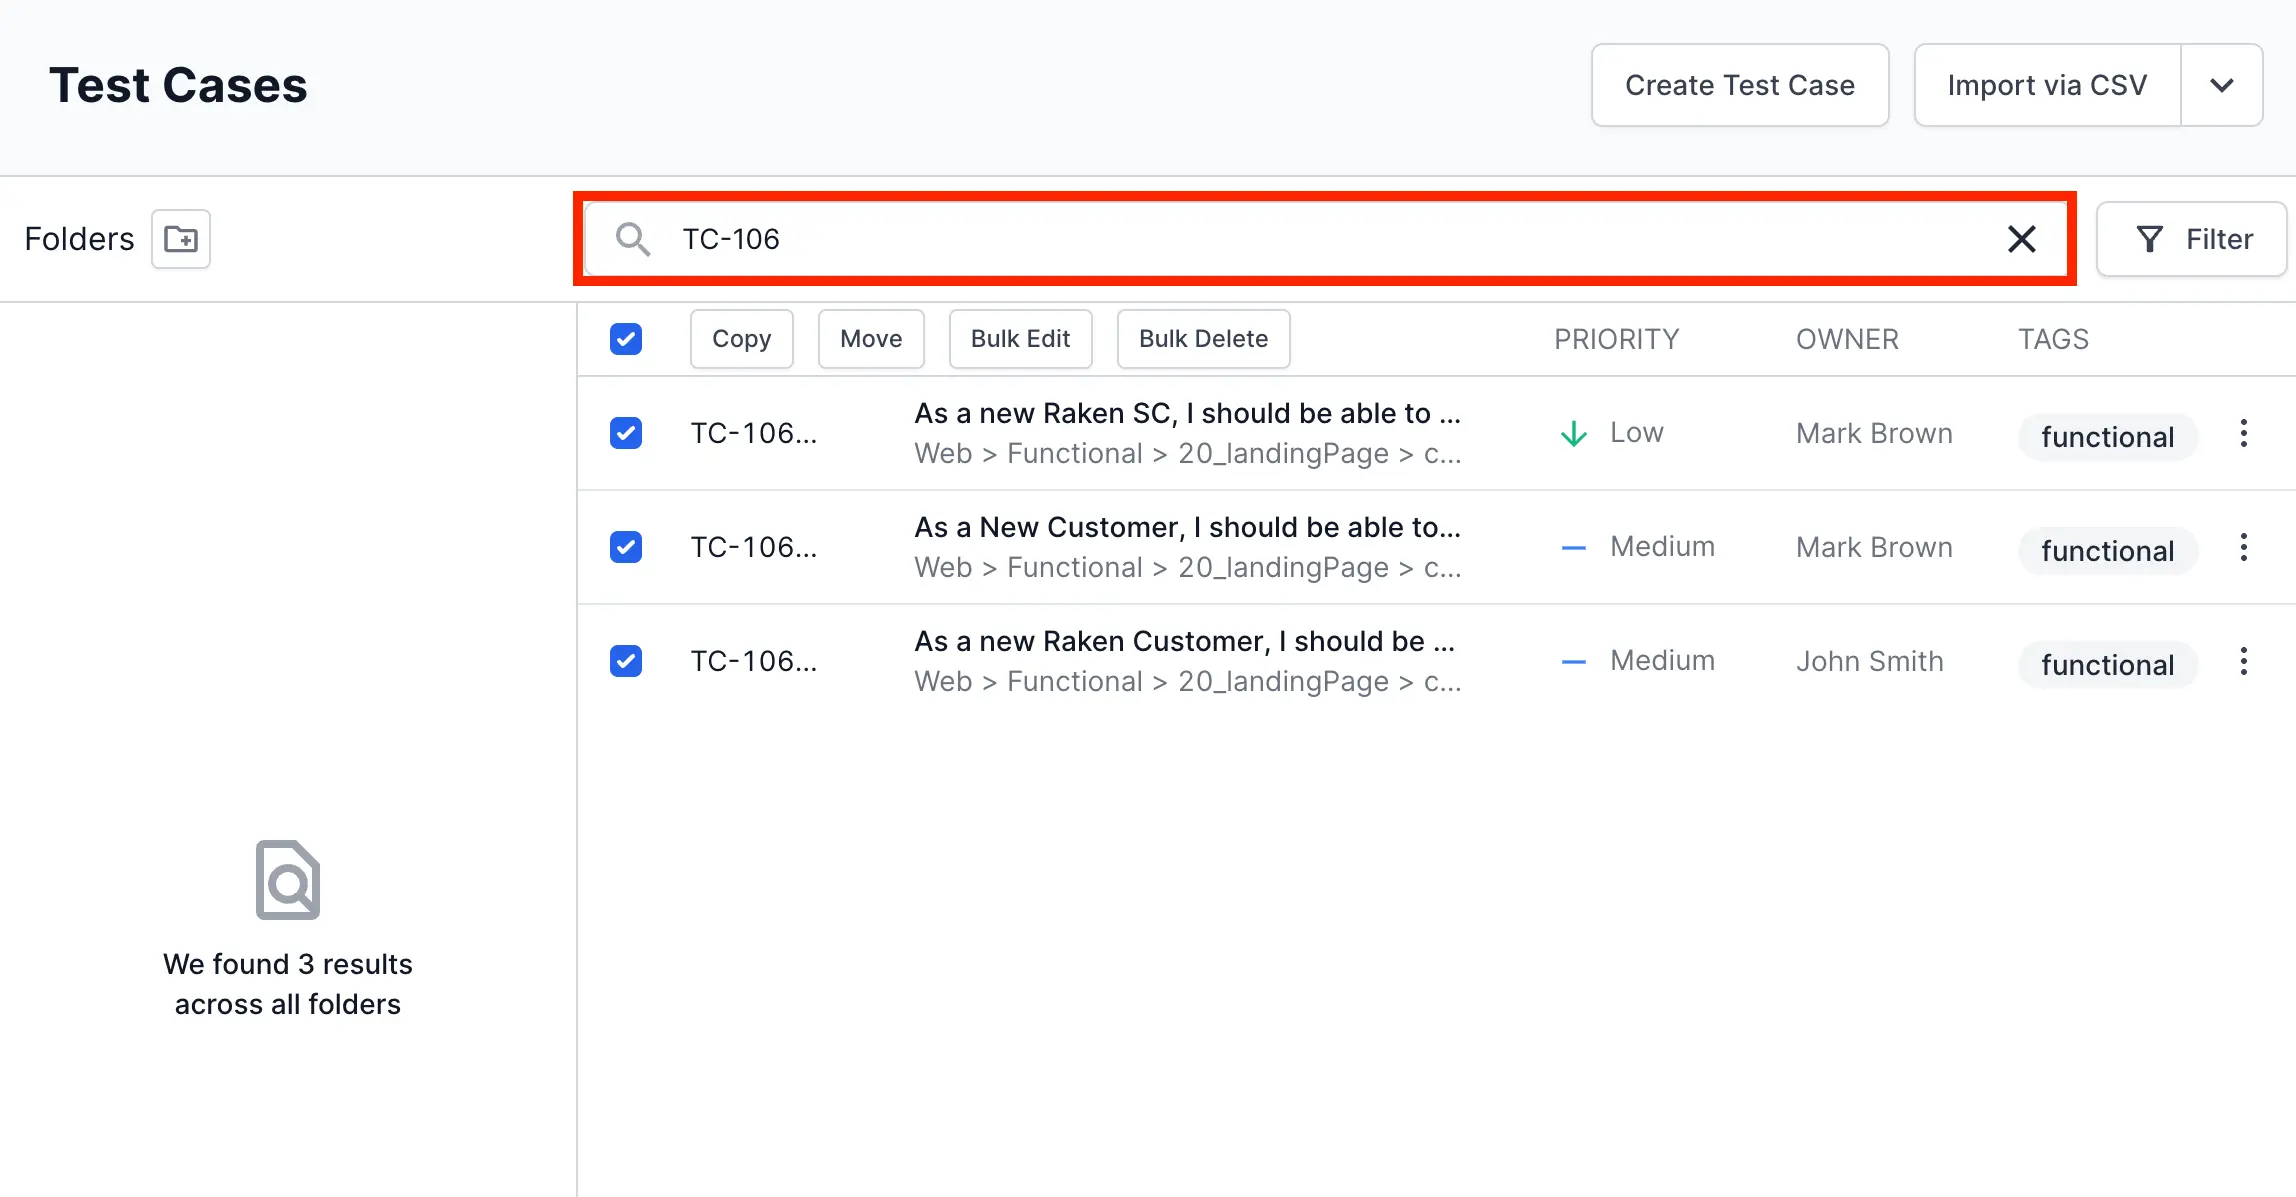
Search test cases
You can search for test cases using specific keywords by typing them into the search bar.
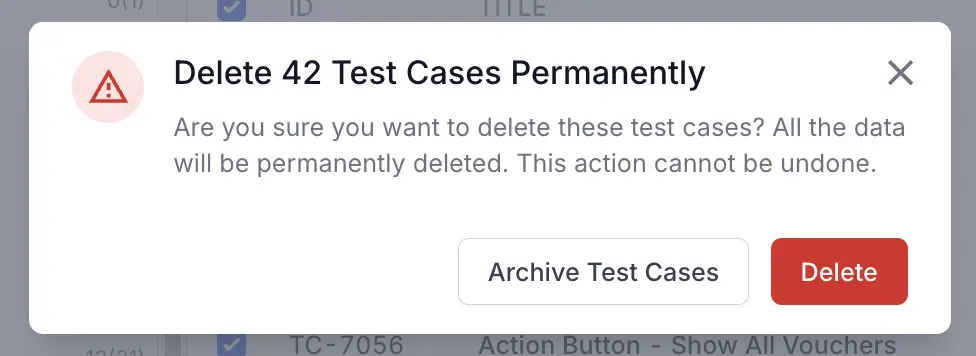
Delete a test case
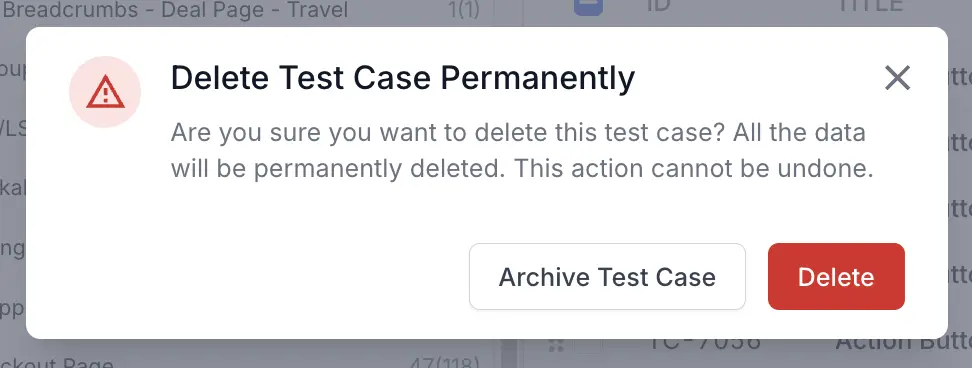
To delete a test case:
- Select Delete in the kebab menu appearing in the test case detail view.
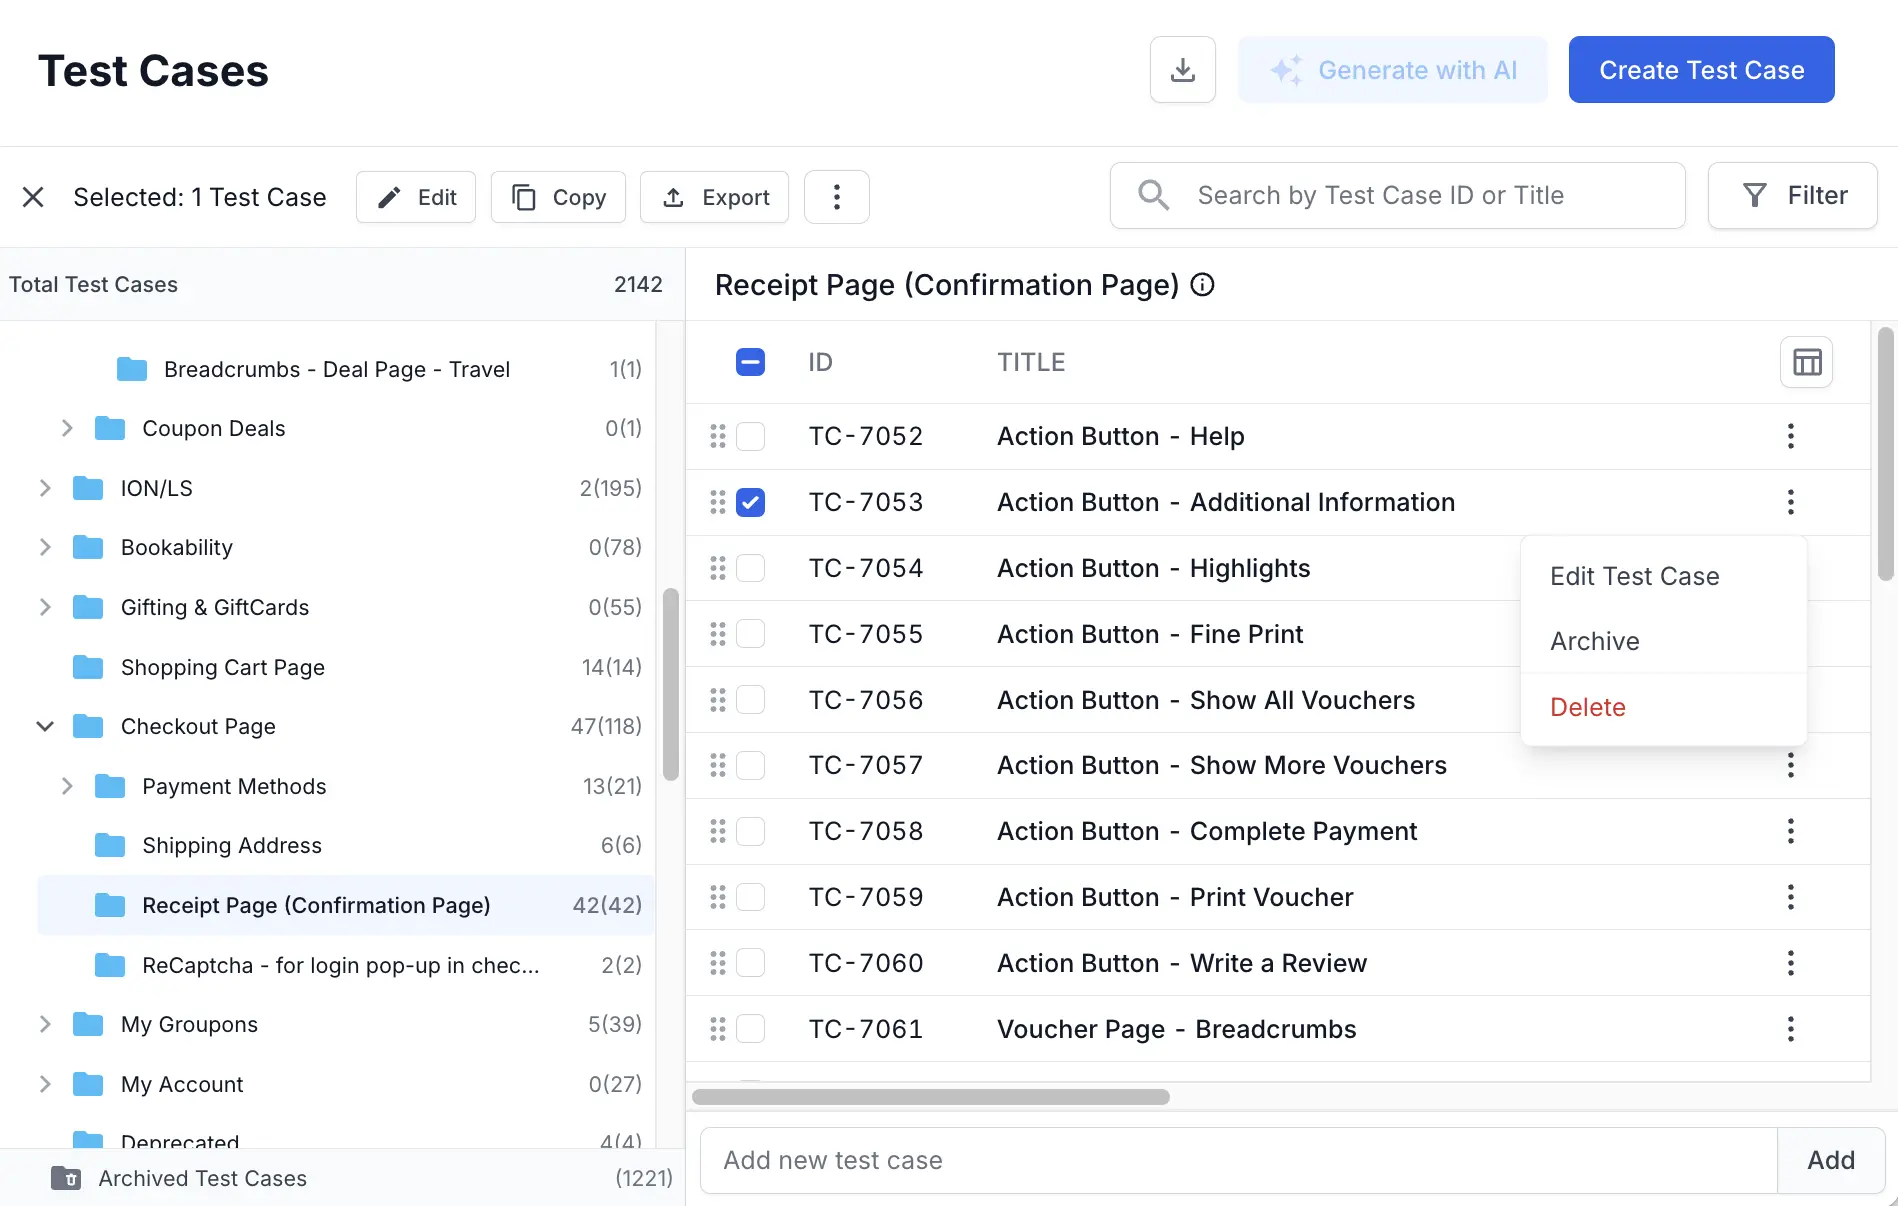
- Click Delete Test Case in the pop-up to confirm delete.
Bulk Delete
Perform the following steps to bulk delete your existing test cases.
- Select the required test cases.
- Click Bulk Delete to delete the selected test cases.
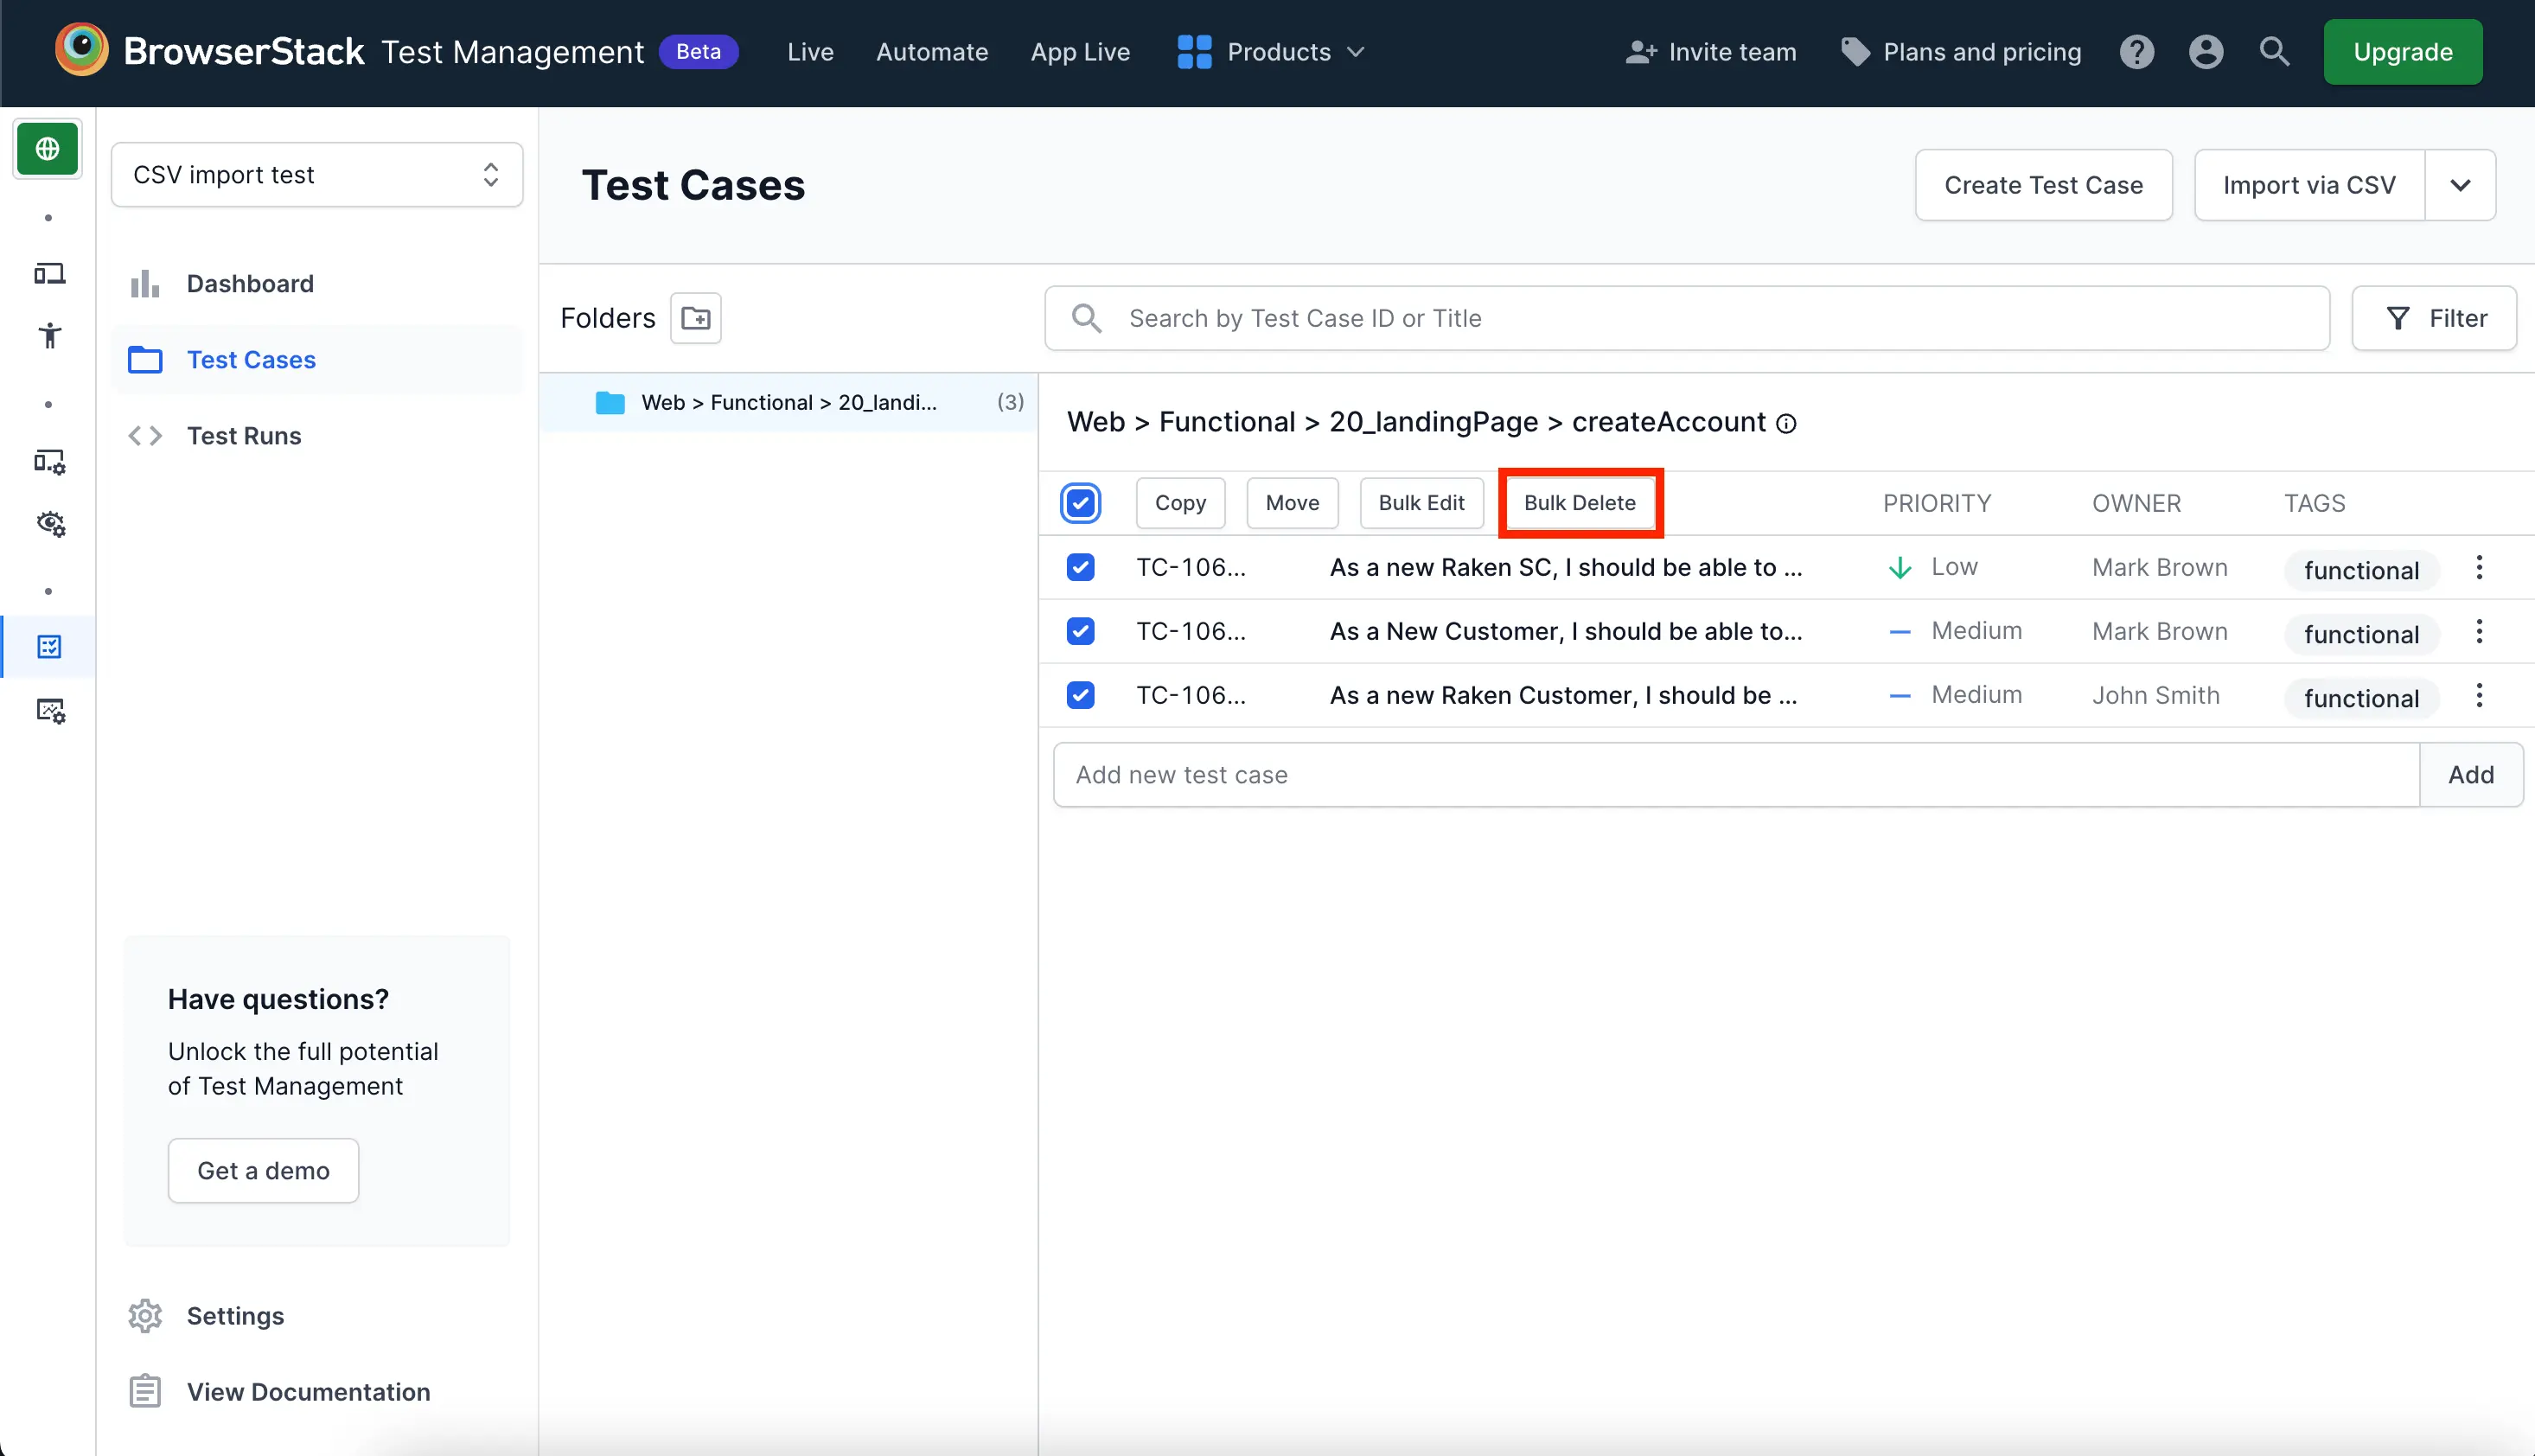
- Click Delete to confirm the deletion of test cases.
Test case details view
When you click a test case TITLE or ID, a window slides over on the right side. The window has the test case details. To edit the test case, click Edit. To delete it, select Delete from the kebab menu.
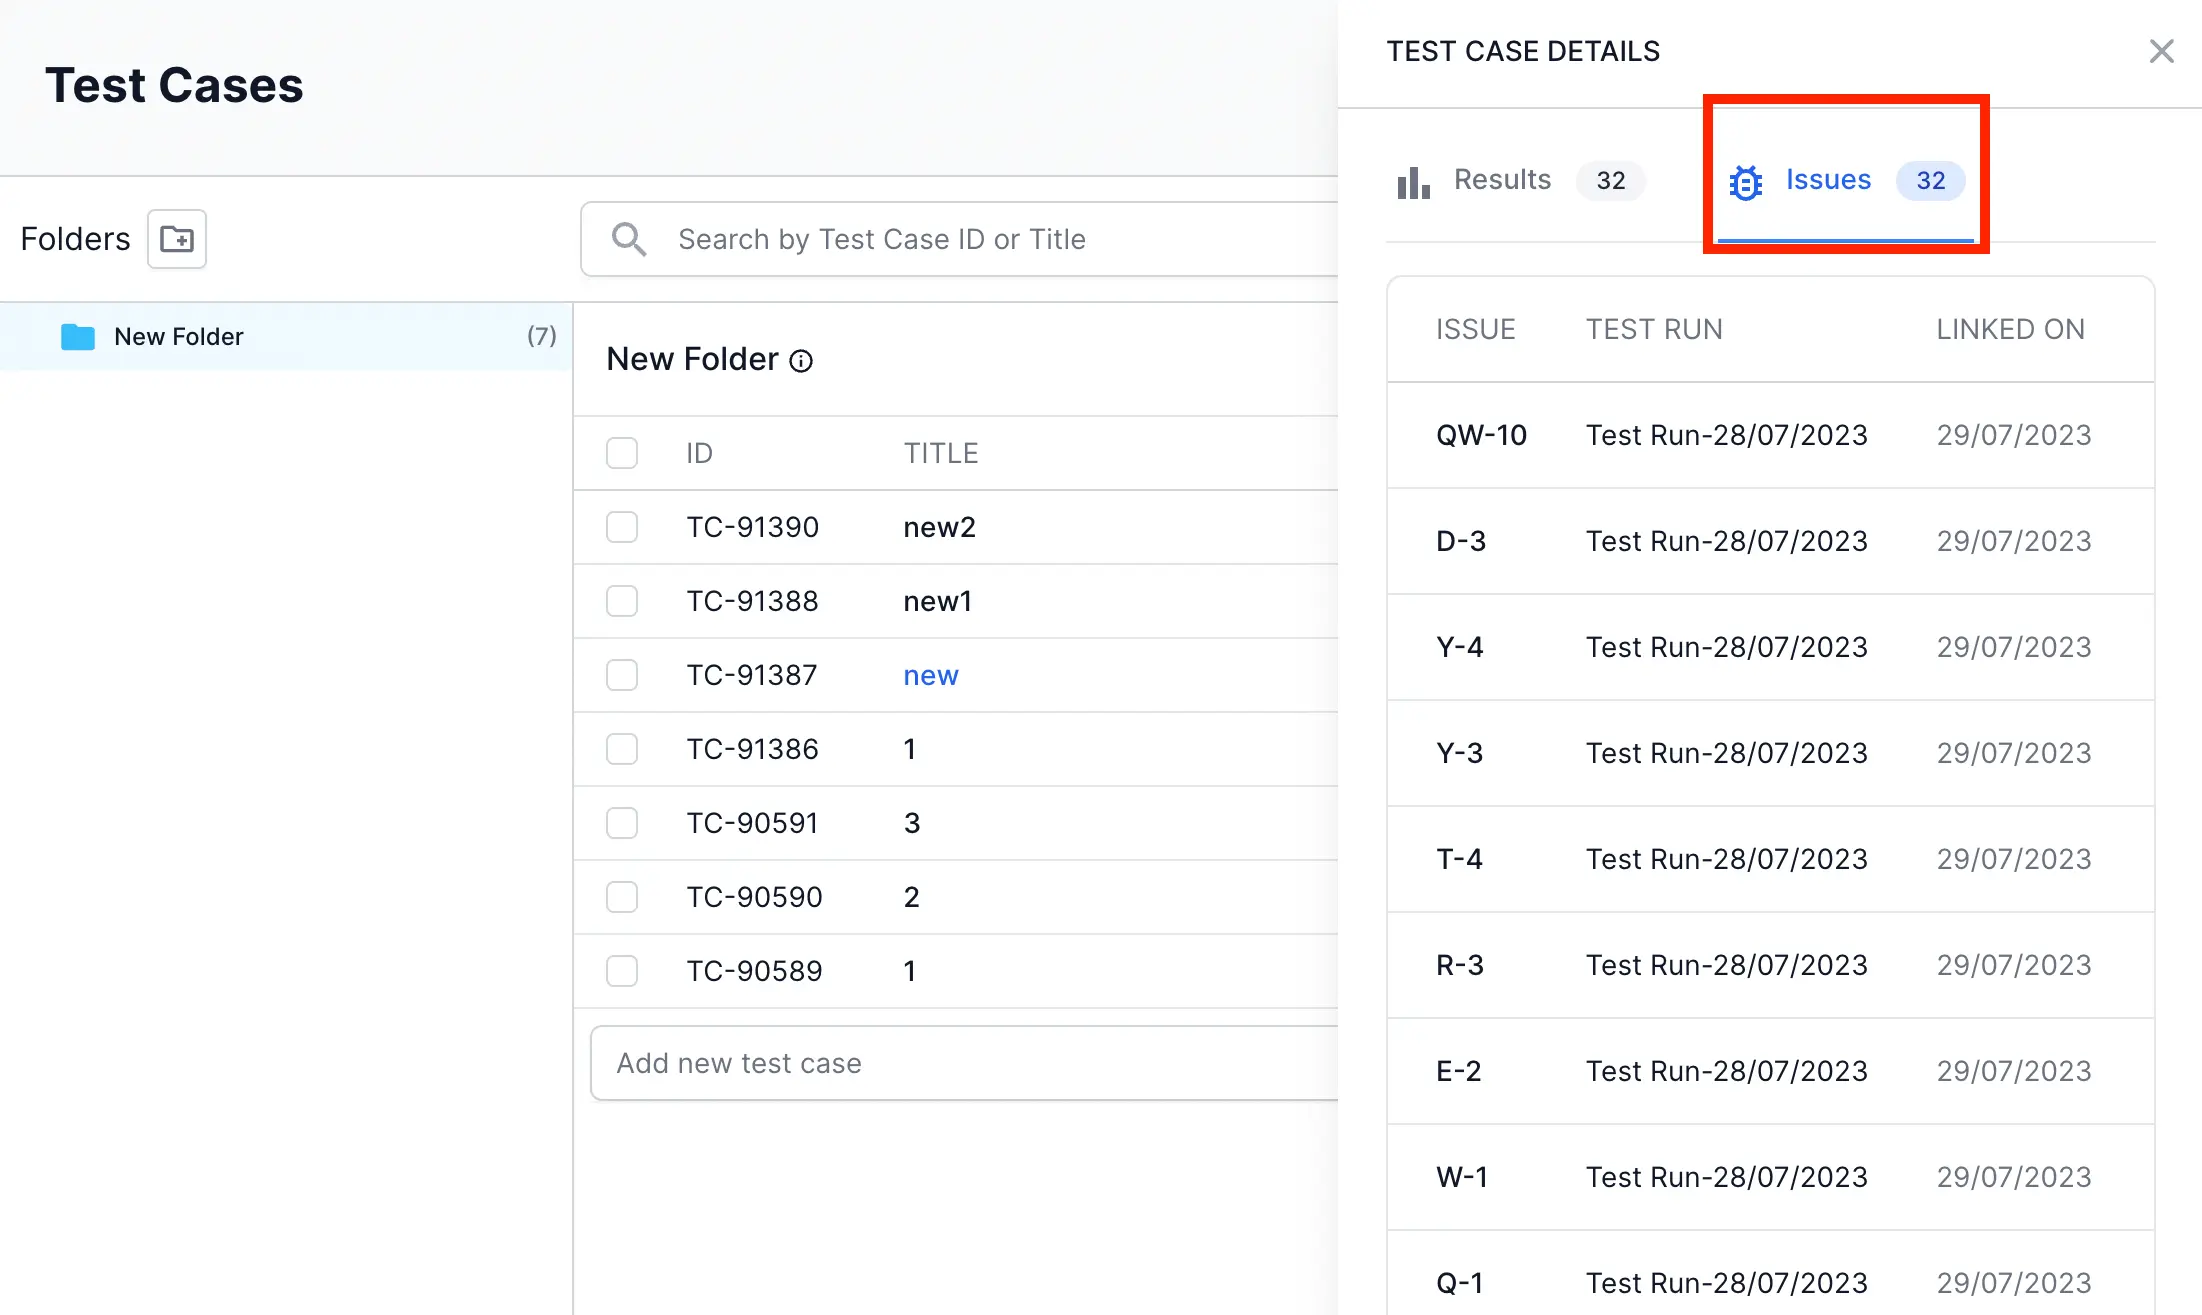
Results and Issues tabs
You can see Results and Issues tabs in the bottom of the TEST CASE DETAILS section.
-
The Results tab shows the Status of each test run.
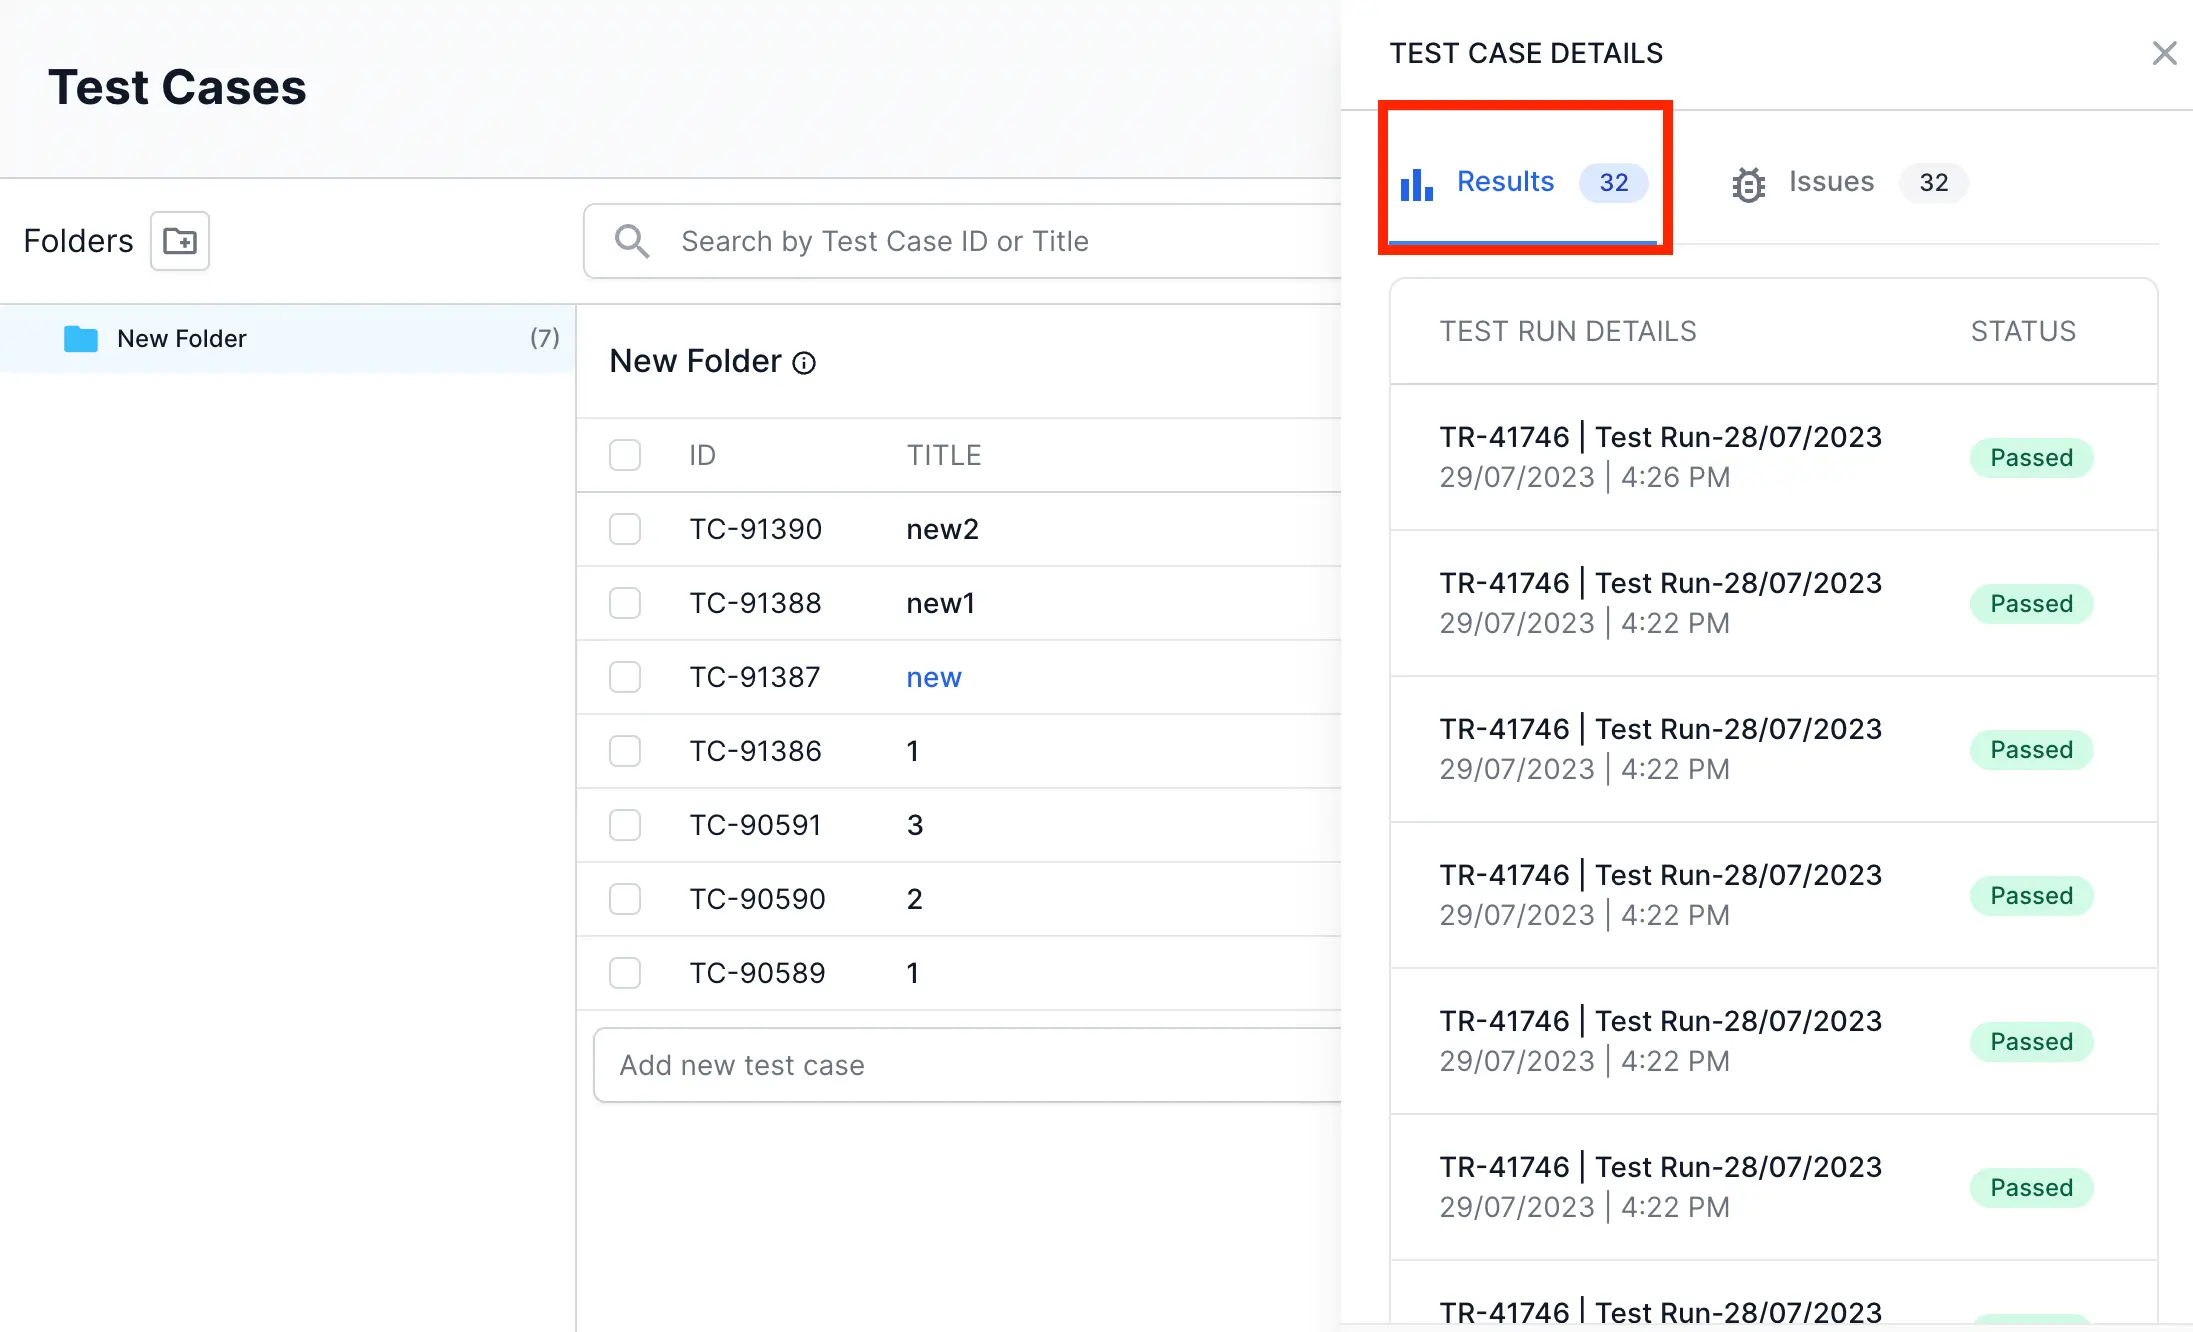
-
The Issues tab shows the JIRA issue associated with each test run.
We're sorry to hear that. Please share your feedback so we can do better
Contact our Support team for immediate help while we work on improving our docs.
We're continuously improving our docs. We'd love to know what you liked
Is this page helping you?
 Yes
No
Yes
No
We're sorry to hear that. Please share your feedback so we can do better
Contact our Support team for immediate help while we work on improving our docs.
We're continuously improving our docs. We'd love to know what you liked
Thank you for your valuable feedback!