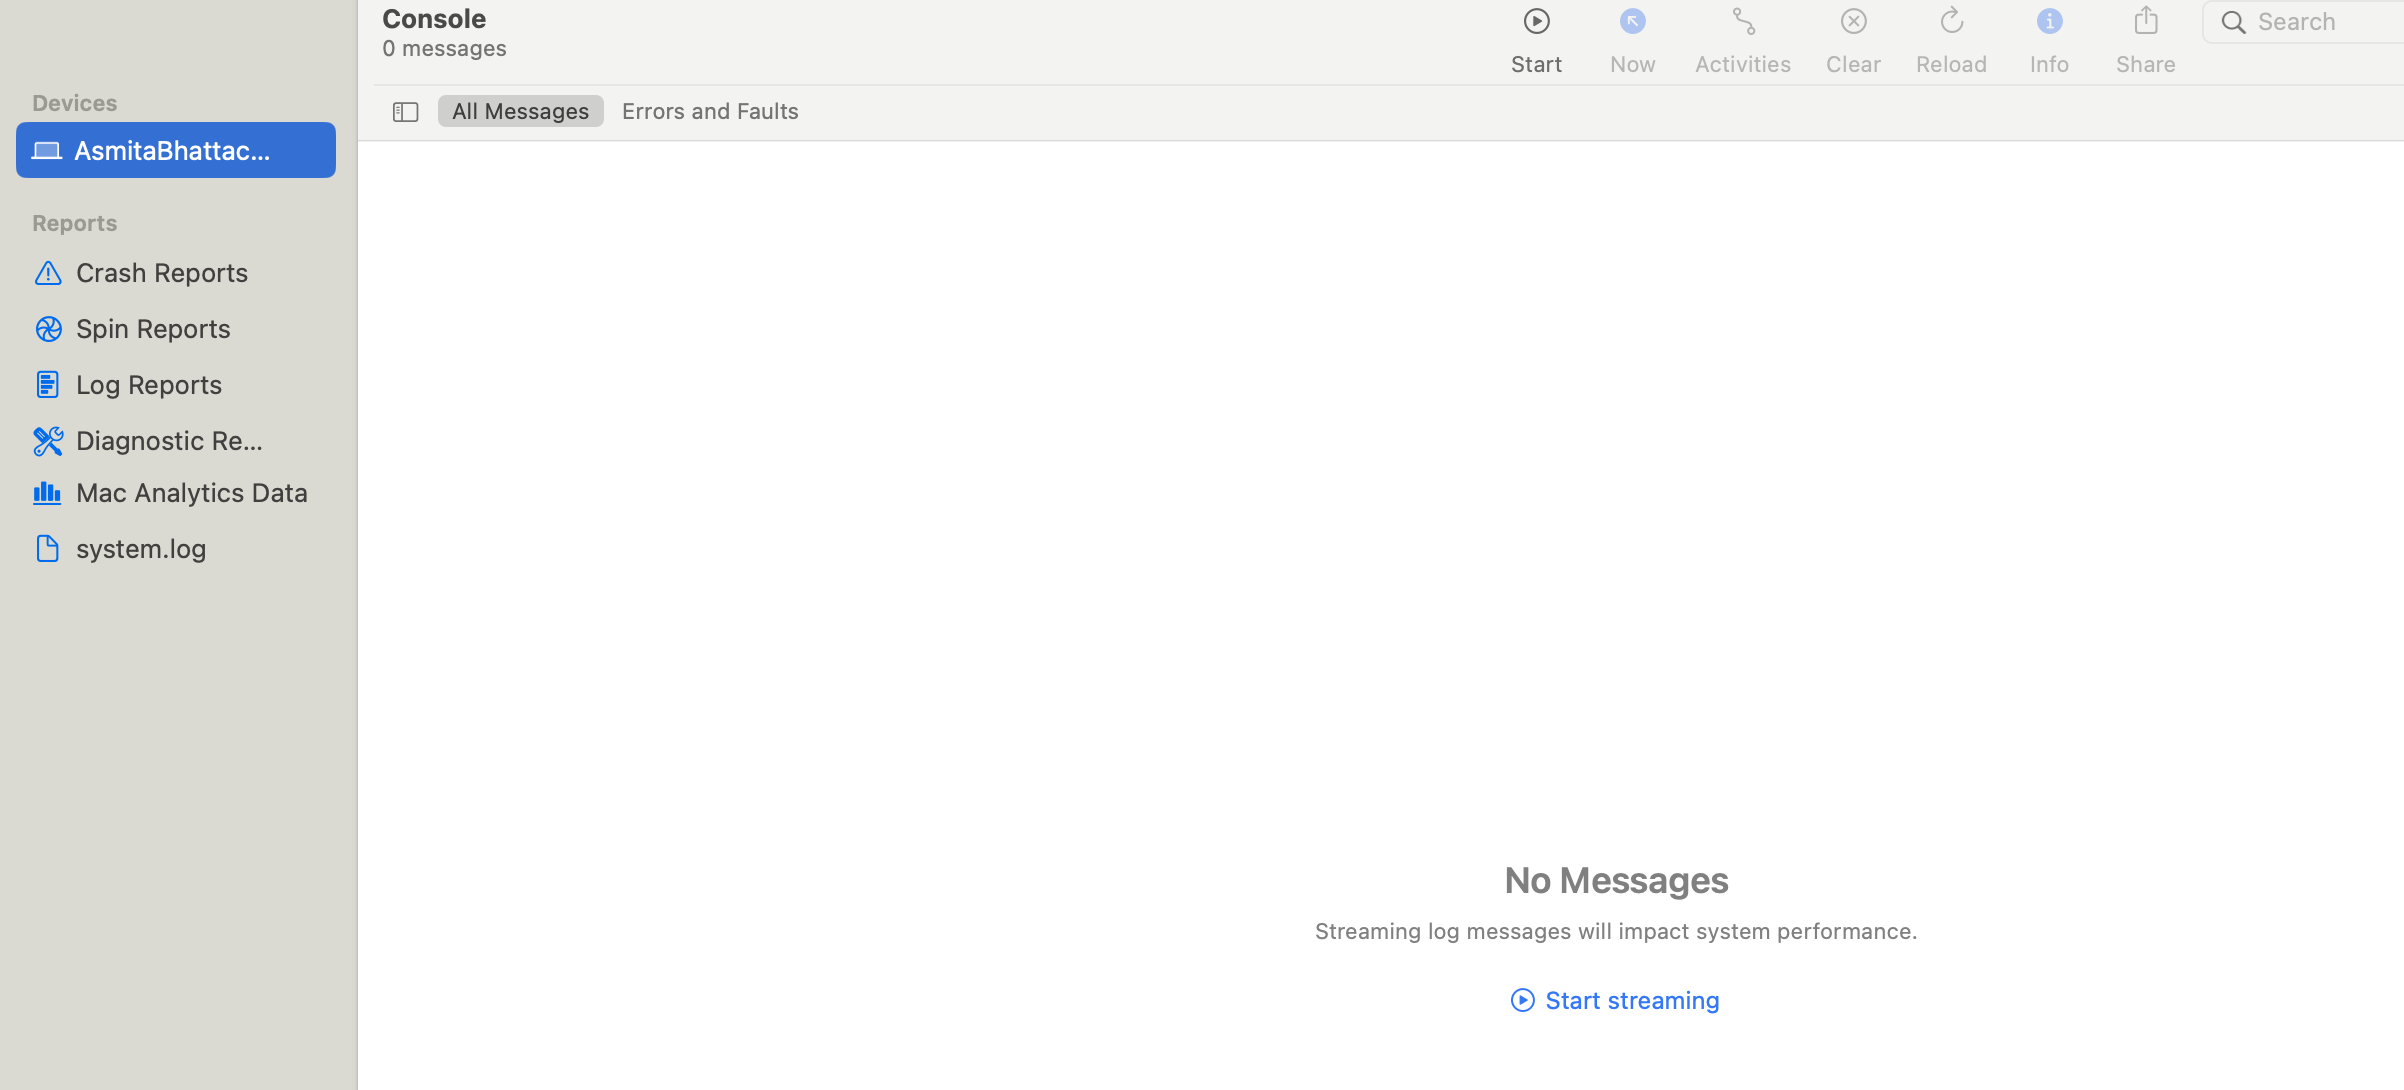
The Console on Mac records system logs, helping users monitor activity and troubleshoot issues.
Whether diagnosing app crashes or debugging performance, the Console provides real-time insights.
This article explains how to open the console on a Mac.
Steps to Open the Console on Mac
To access the Console on macOS, follow these steps:
- Open Finder and navigate to Applications.
- Open the Utilities folder.
- Double-click Console to launch it.
- Select your Mac device from the left panel to view logs.
Quick Access via Spotlight:
- Press Command (⌘) + Spacebar
- Type Console and hit Enter
Understanding Console Logs
The Console displays logs in real time, color-coded by severity:
- Red: Critical faults
- Yellow: Errors that need attention
- Dark Gray: Debugging messages
- Light Gray: Informational logs
Users can filter logs, search for specific entries, or create custom queries for efficient troubleshooting.
Conclusion
The Mac Console is essential for diagnosing system issues, monitoring logs, and debugging applications.
For developers testing web applications, BrowserStack Live offers real-time testing on actual macOS devices. It allows you to replicate issues across different browsers and system versions on their real device cloud and test under real user conditions.


