Integrate Android Studio with App Live
Test apps on App Live as you develop them in Android Studio
Android Studio is a widely used Integrated Development Environment (IDE) for developing Android apps. You can integrate Android Studio with App Live to test your apps on App Live as you develop them on Android Studio.
Integrating Android Studio with App Live reduces the time spent on building an APK file of your app that is still in development on Android Studio and uploading it on App Live. With this integration, you can launch an App Live session directly from Android Studio and test or debug your apps on App Live seamlessly.
This feature is in the private alpha stage and only available for paid plans. After you install the plugin by following the steps in this documentation, you also need to request access to get it enabled for your account by contacting us.
Integrating Android Studio with App Live requires the following steps:
- Install the BrowserStack App Live plugin
- Sign in to your BrowserStack account
- Launch an App Live test session with your in-development app
Supported Android Studio versions
The integration is supported on the following Android Studio versions:
- Android Studio Hedgehog
- Android Studio Iguana
- Android Studio Jellyfish
- Android Studio Koala
- Android Studio Ladybug
- Android Studio Meerkat
- Android Studio Narwhal
- Android Studio Otter
Prerequisites
Before you begin, ensure the following:
- You have one of the supported Android Studio versions installed on your machine.
- You have a BrowserStack account. If you do not have a BrowserStack account, you can sign up for free or purchase a plan.
Install the BrowserStack App Live plugin
To install the App Live plugin, follow these steps:
In Android Studio, open Preferences or Settings:
- On macOS, click Android Studio > Settings (Preferences for some macOS versions)
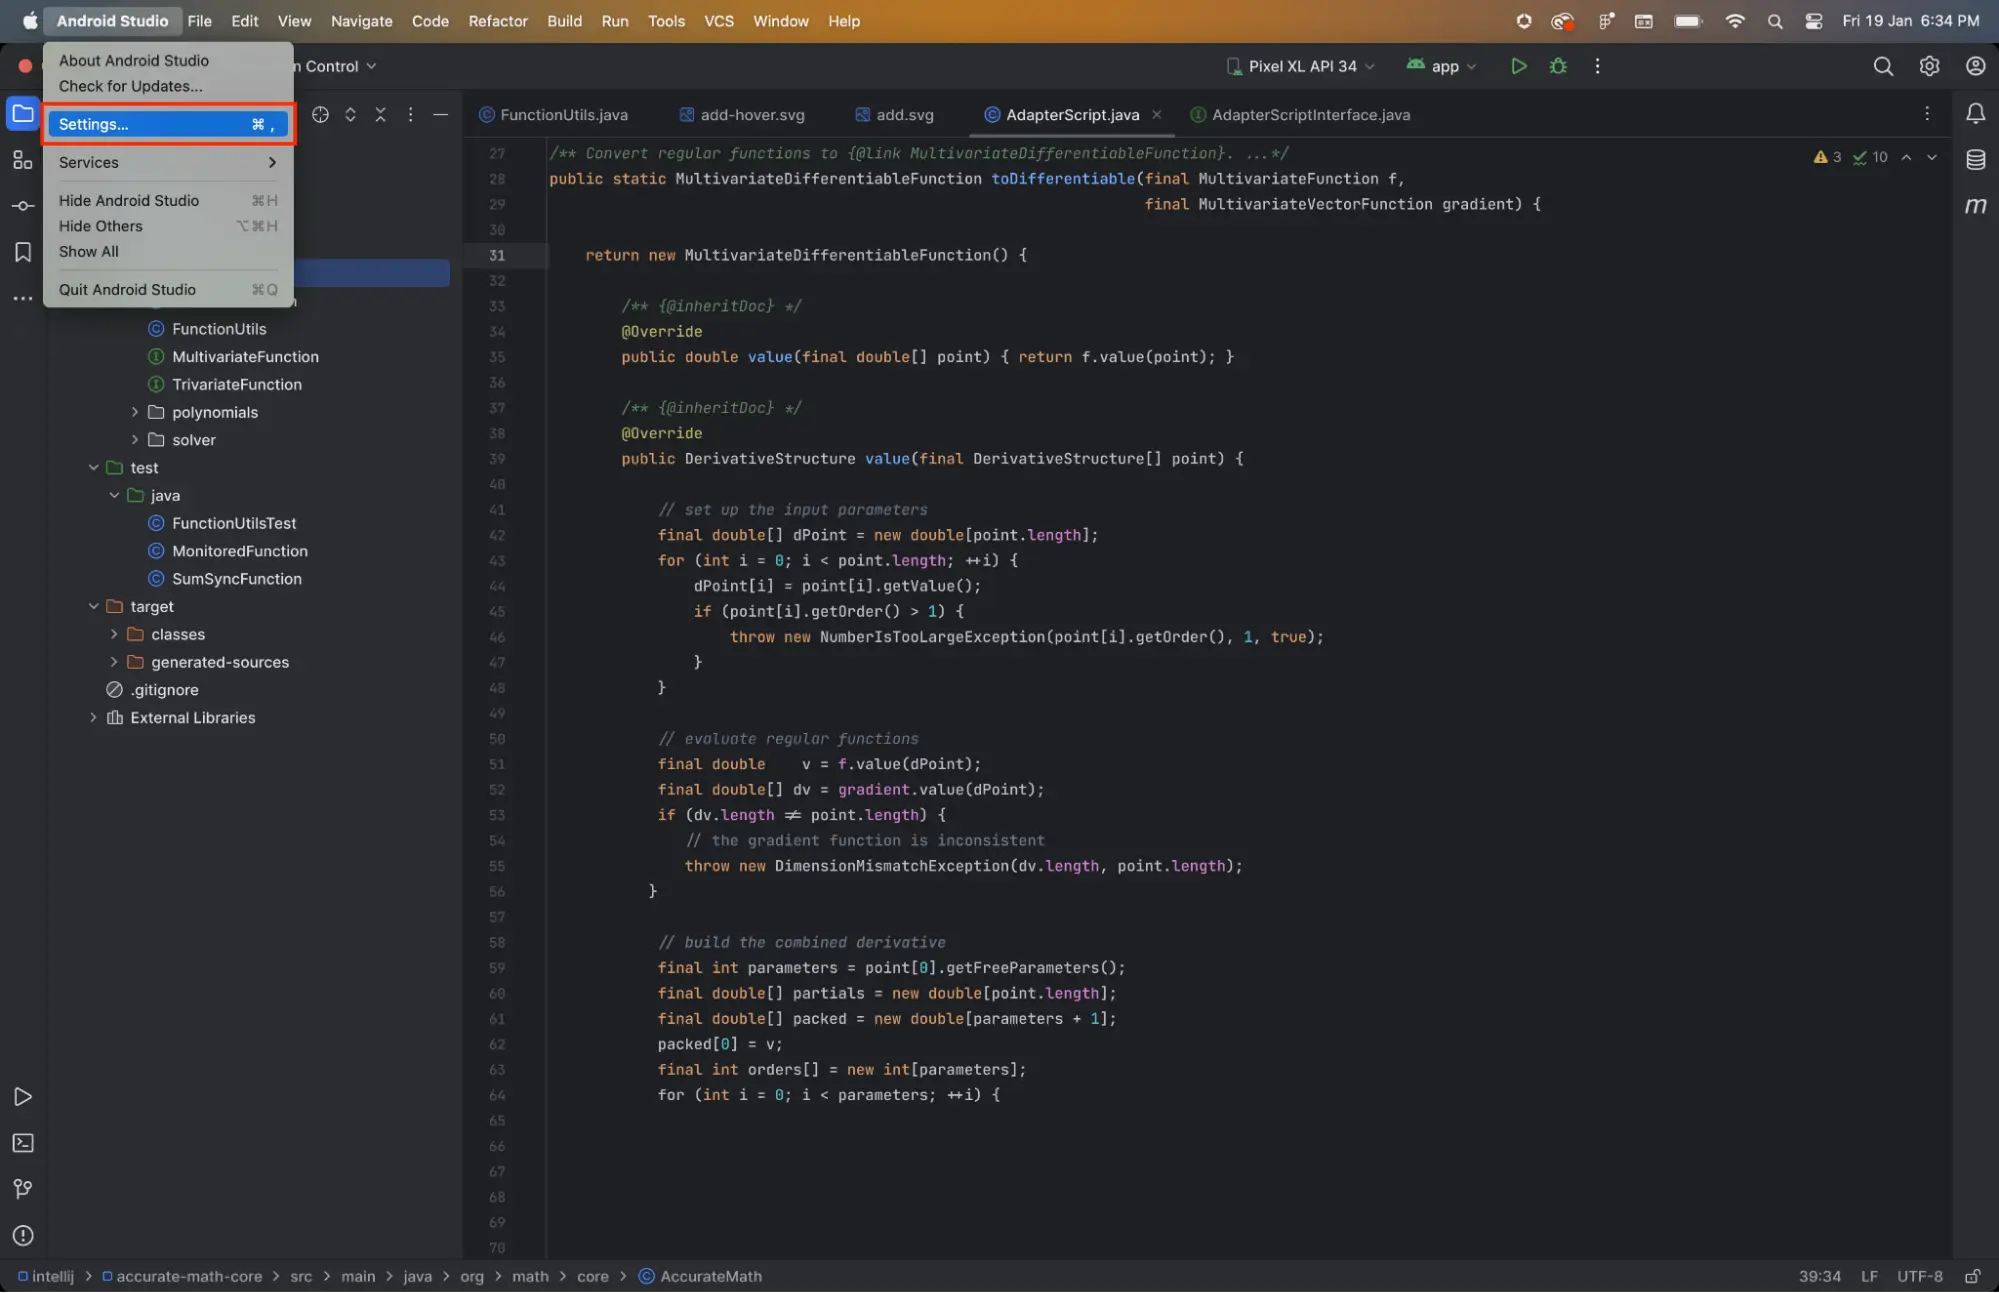
- On Windows, click File > Settings.
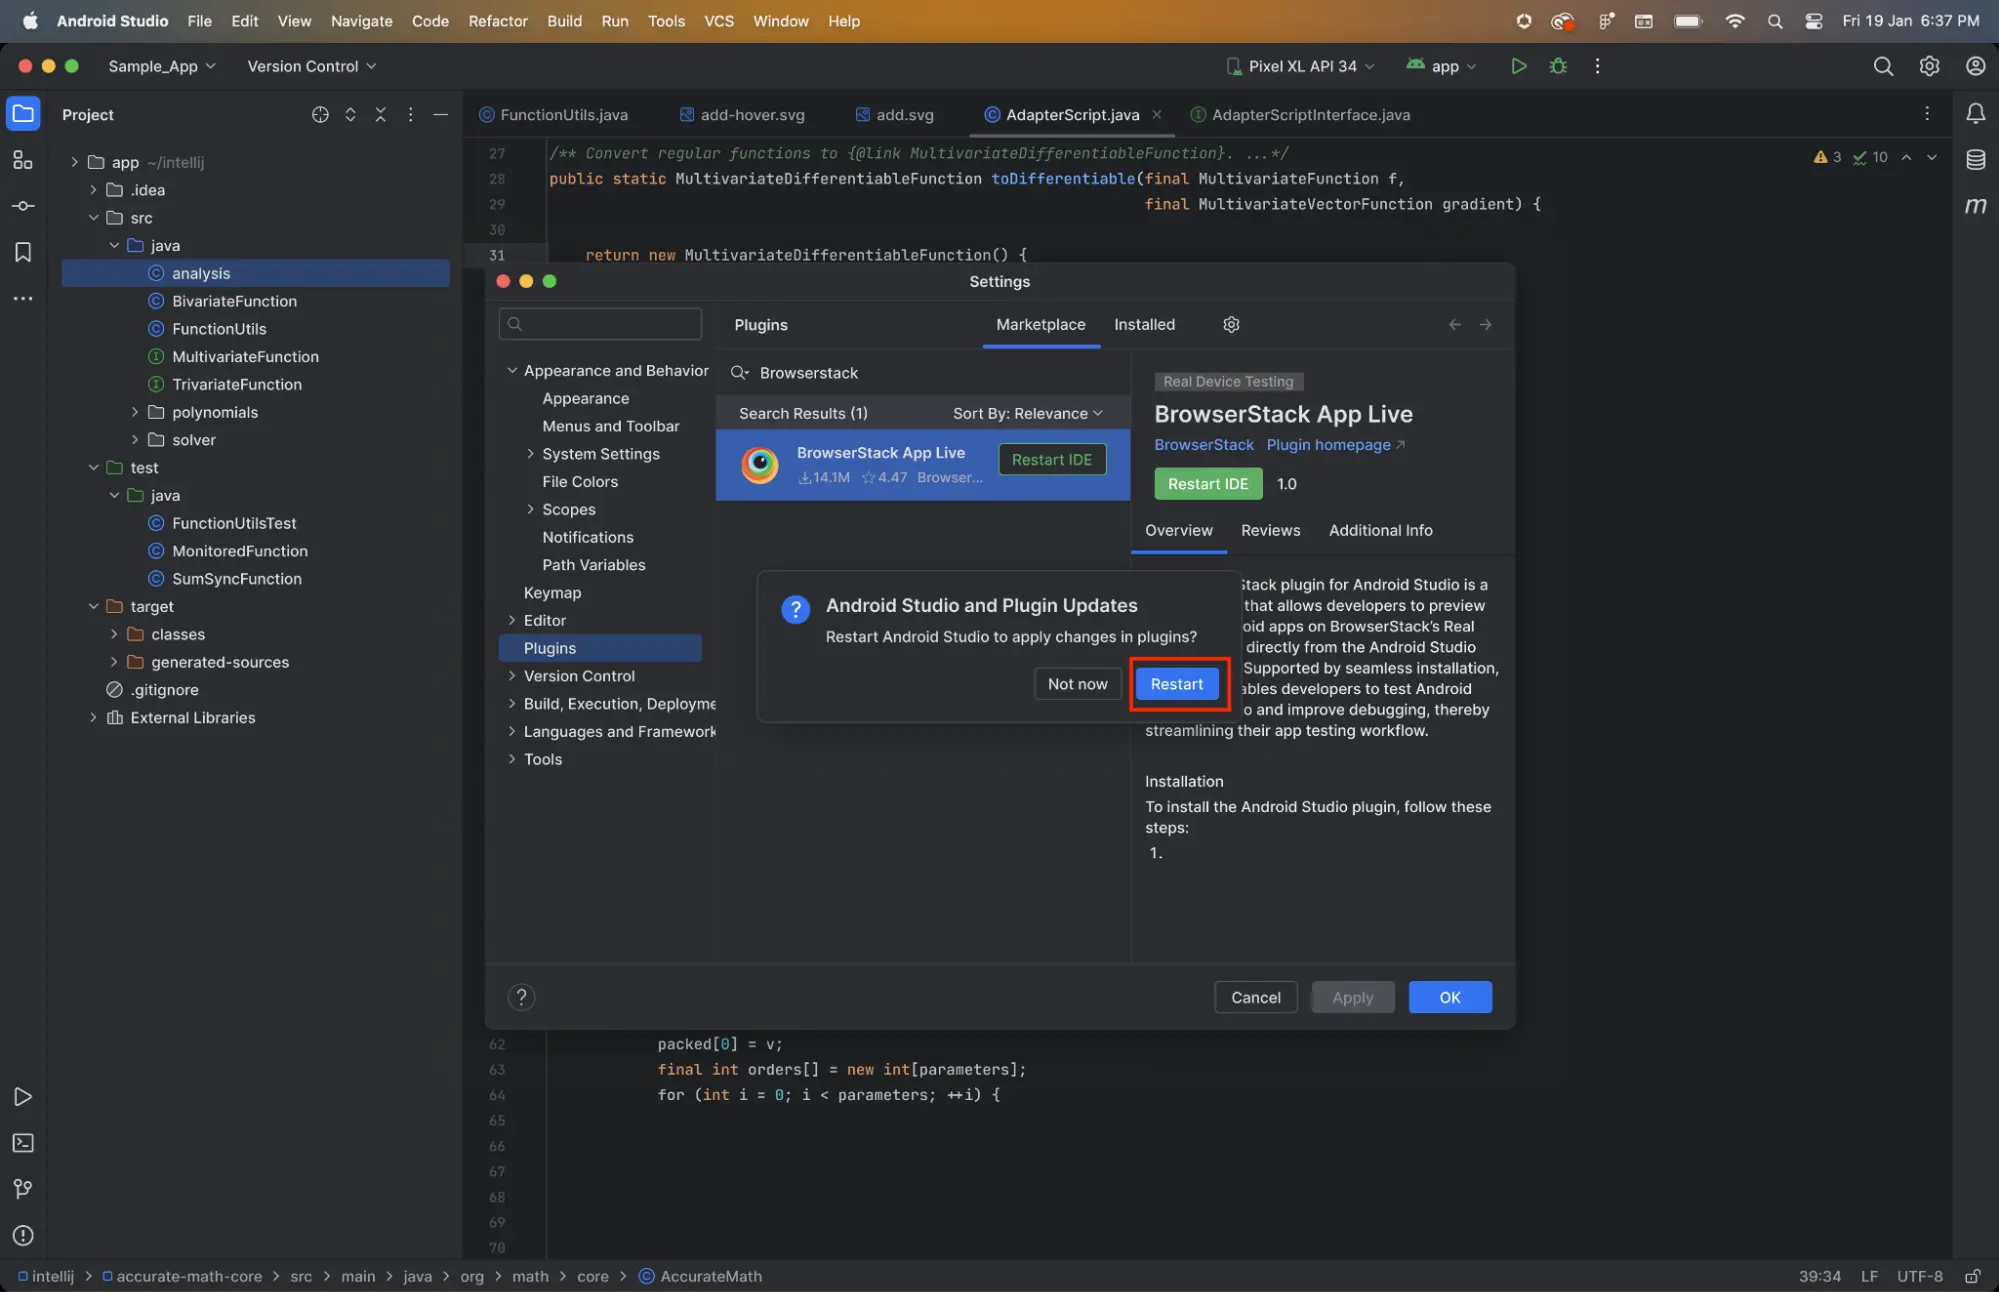
On the Preferences or Settings screen, click Plugins.
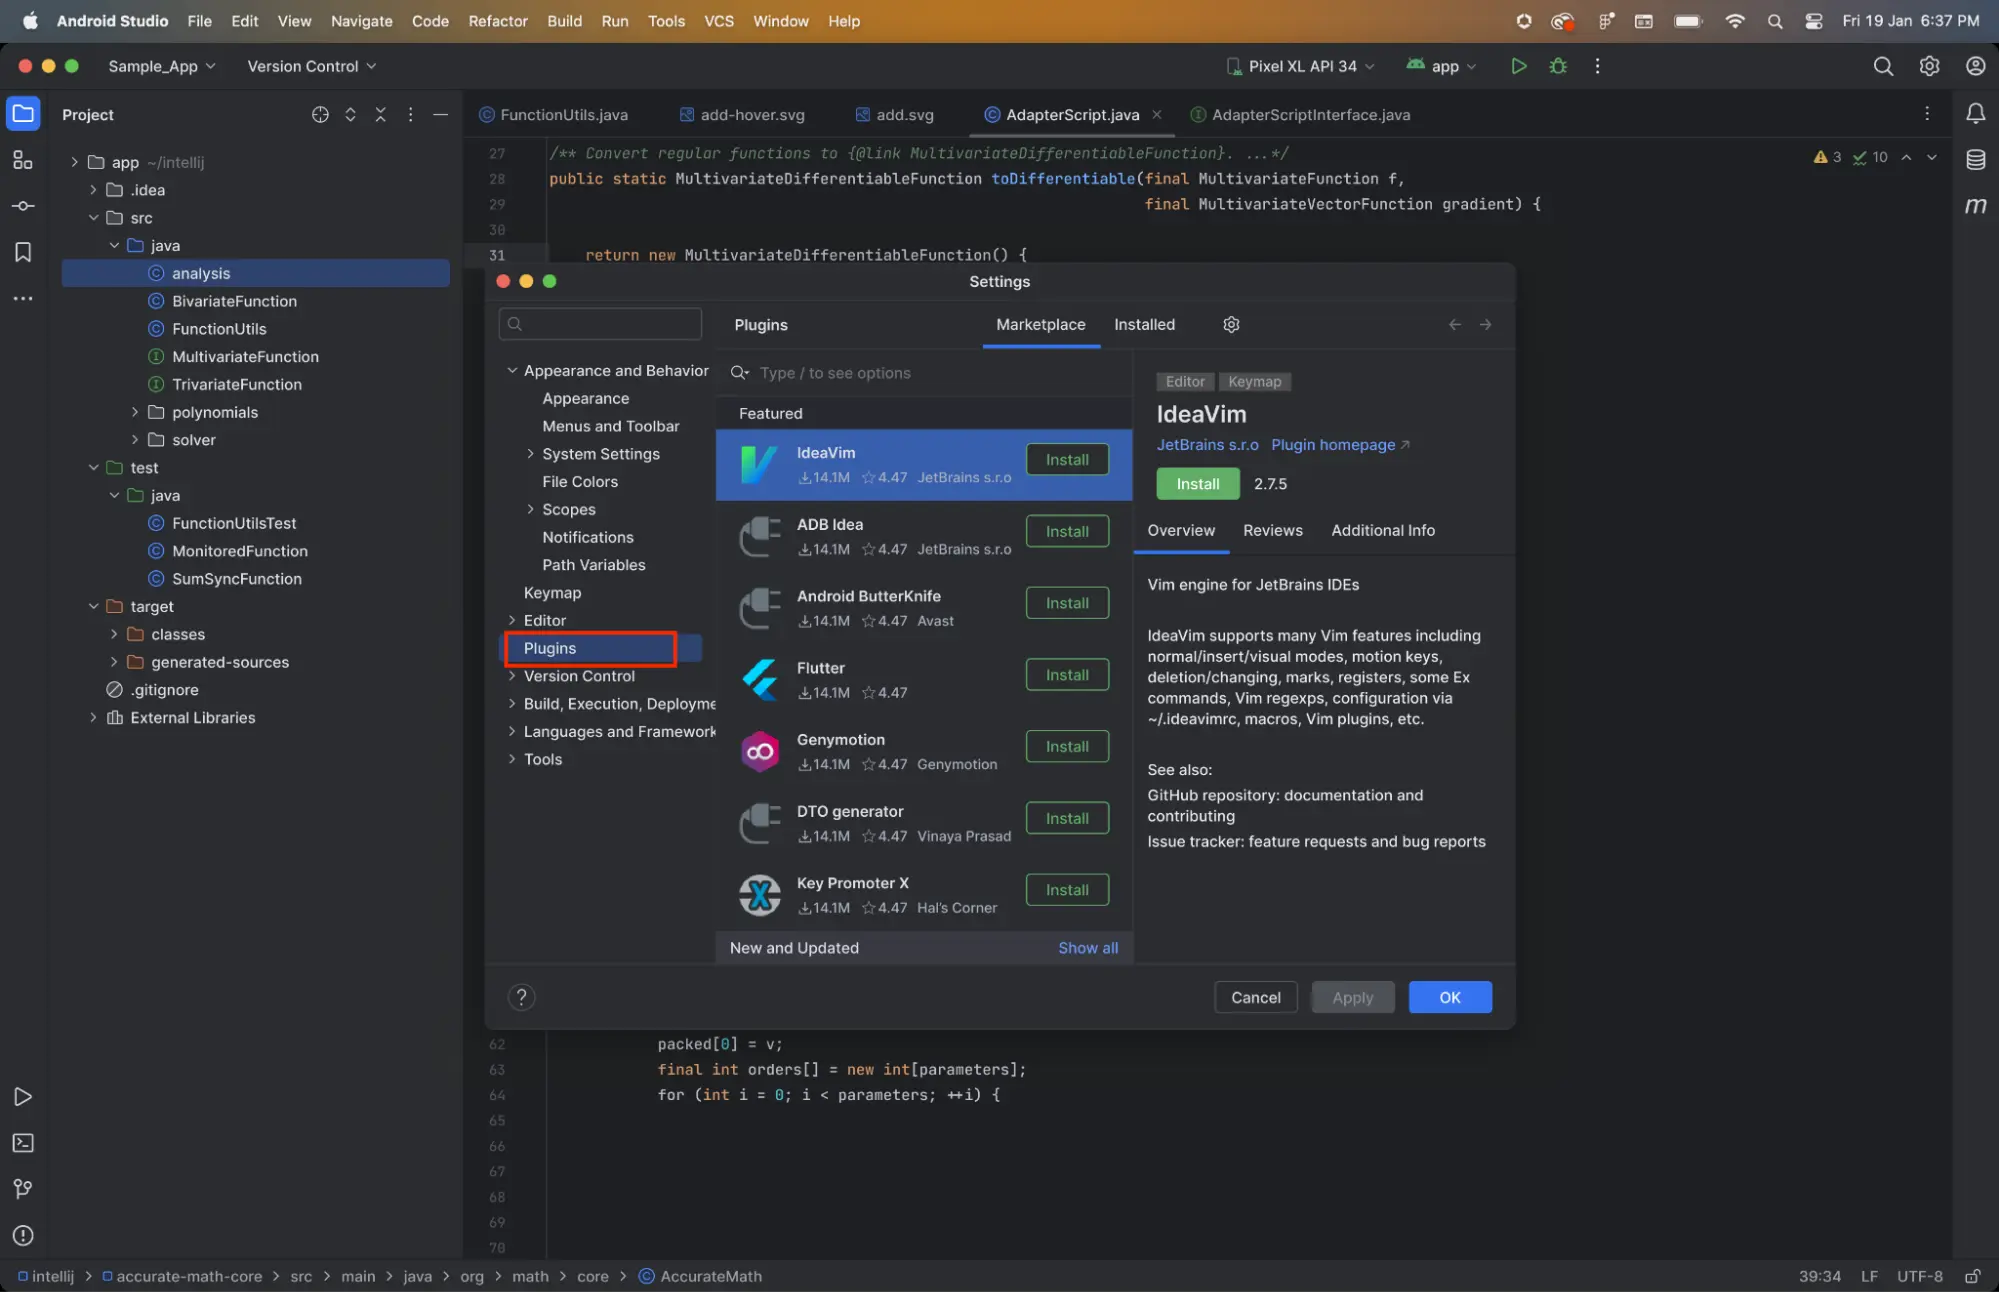
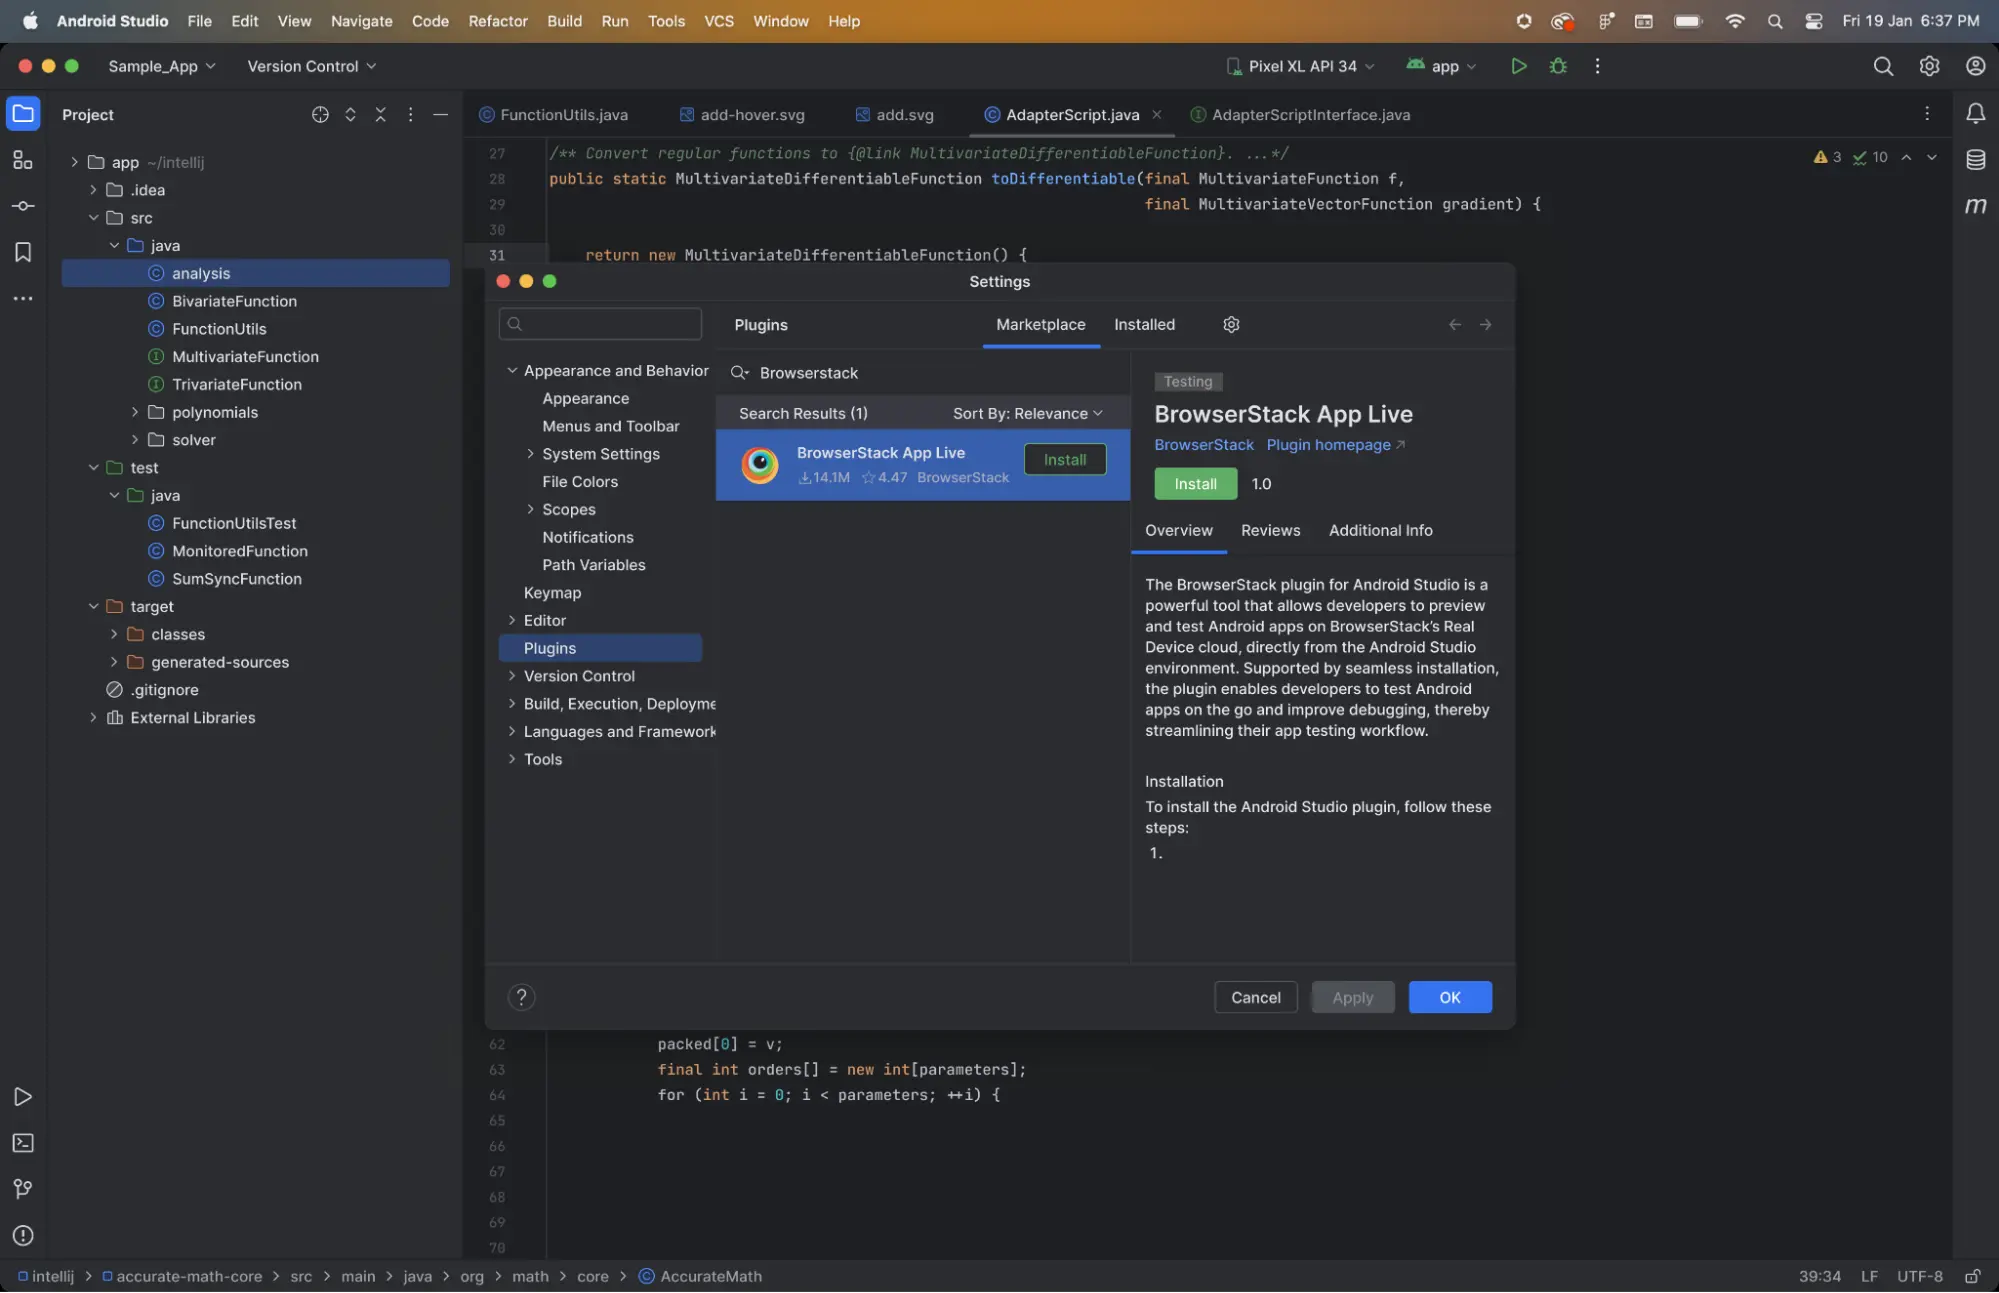
In the Marketplace tab, search for the BrowserStack App Live plugin and click Install.
Ensure you have a supported Android Studio version installed. If you have an unsupported Android Studio version installed, the plugin doesn’t show up in the Marketplace search results.
After installation, the Install button changes to Restart IDE.
Click Restart IDE to restart Android Studio.
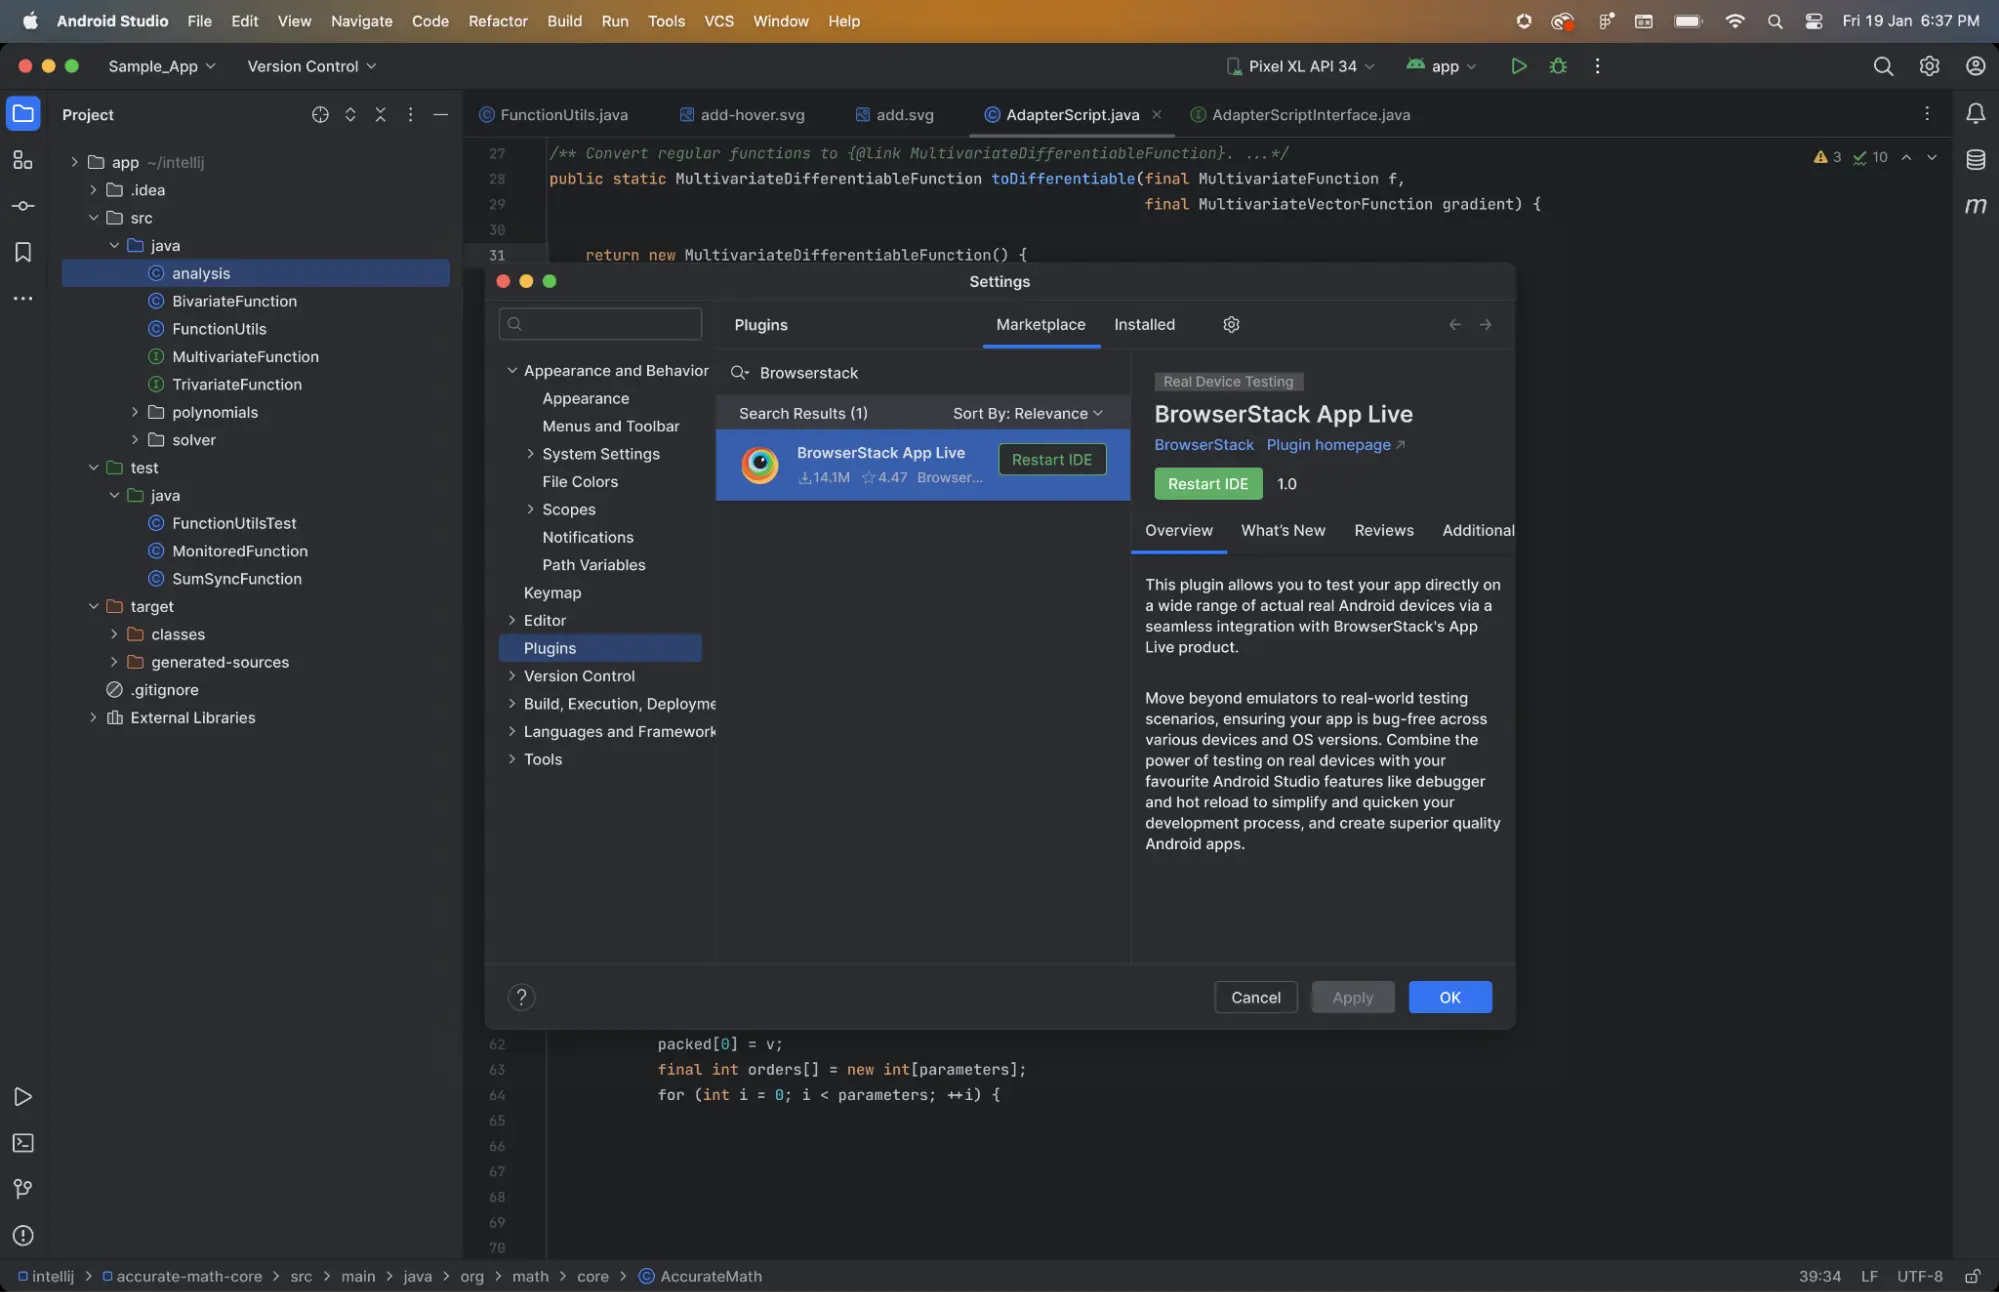
In the confirmation message, click Restart.
A notification confirms the BrowserStack App Live plugin is installed.
The BrowserStack App Live icon appears on the right toolbar.
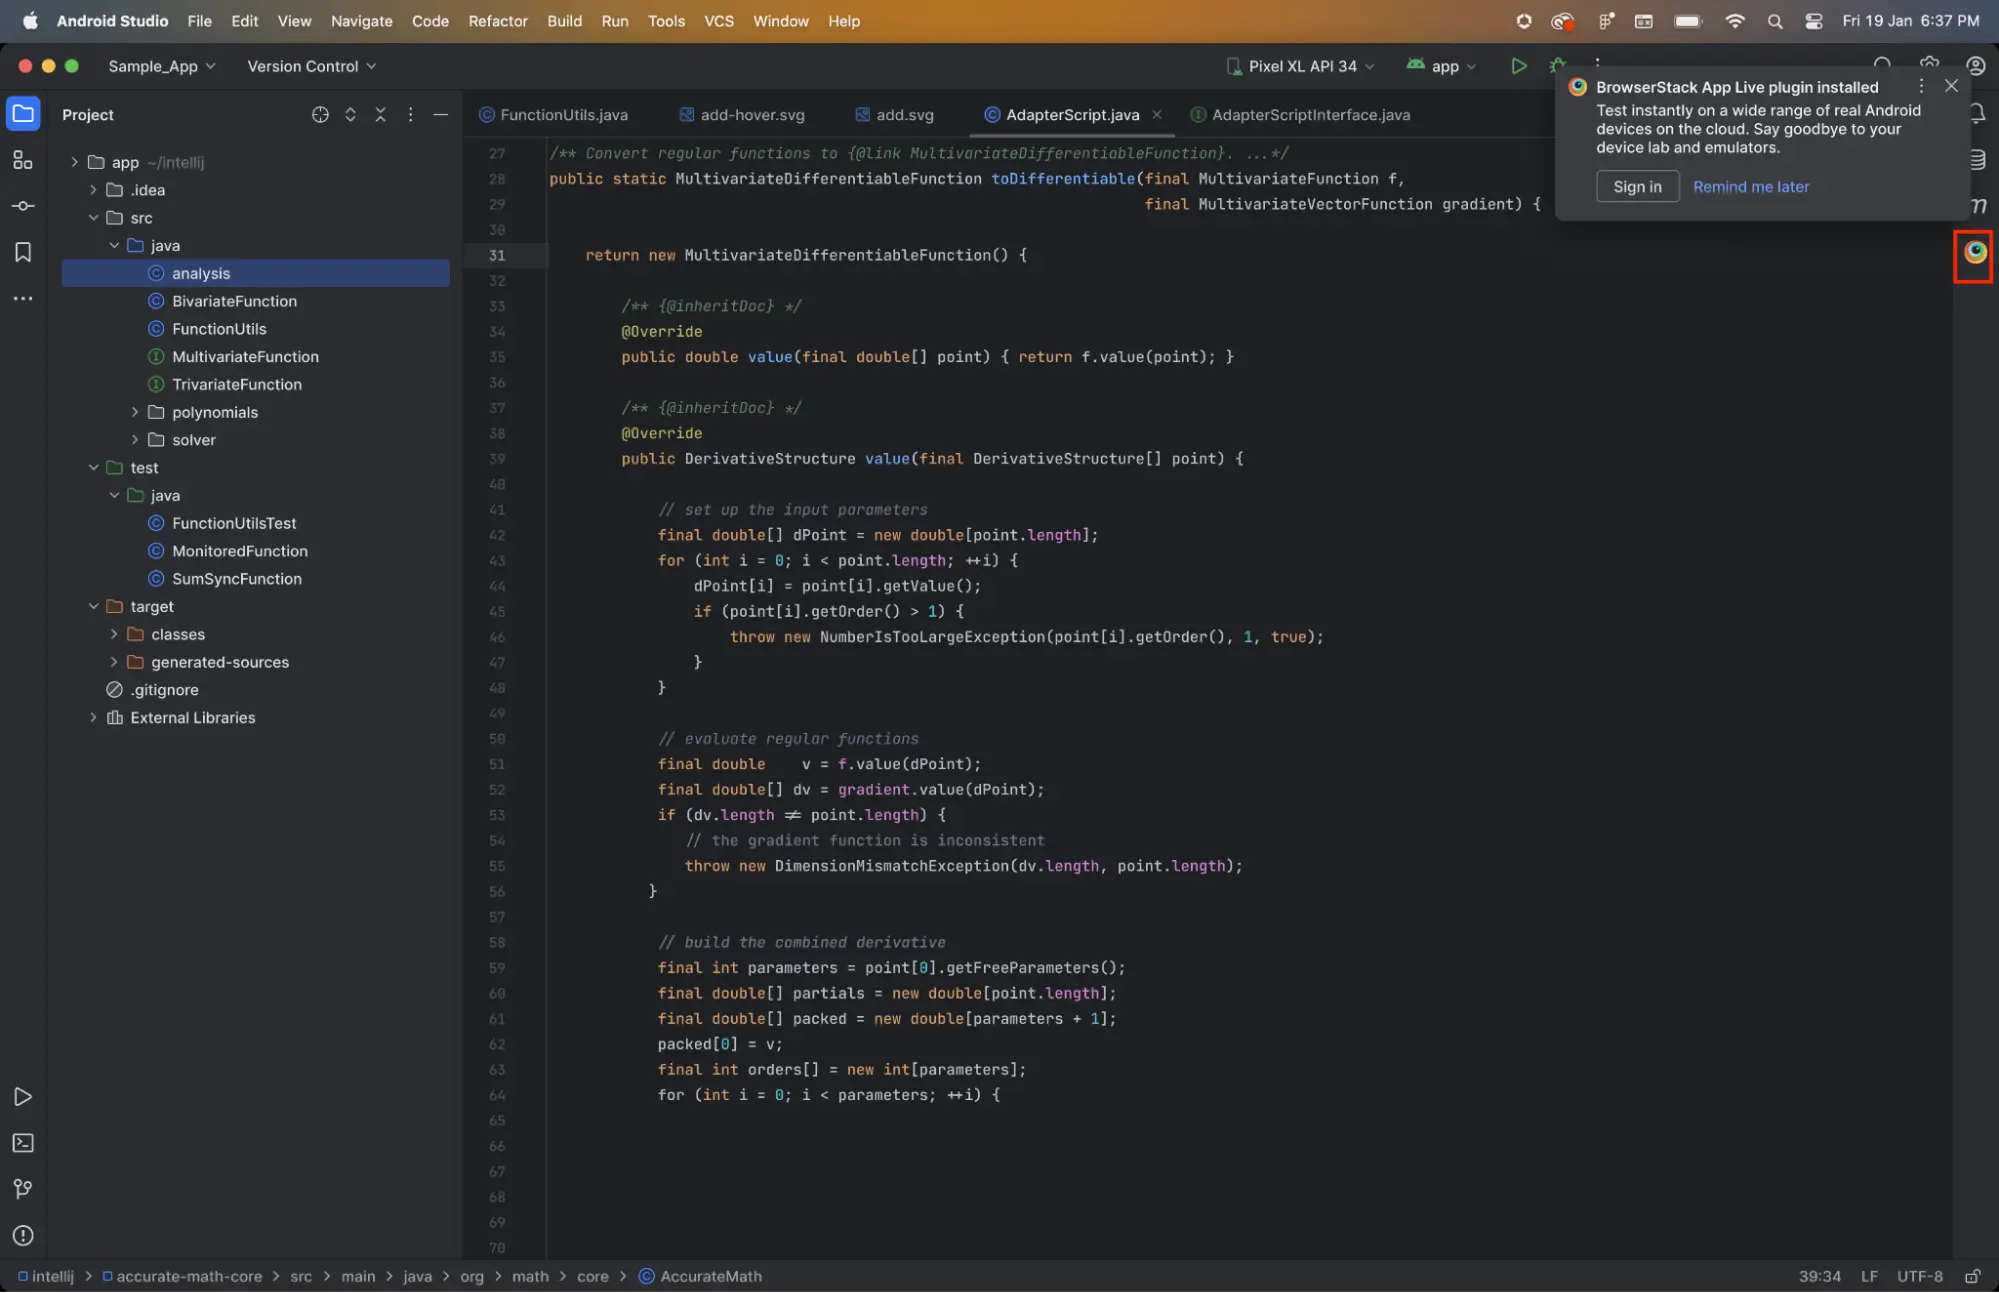
You have now successfully installed the BrowserStack App Live plugin.
Sign in to your BrowserStack account
To sign in to your BrowserStack account, follow these steps:
- In Android Studio, on the right toolbar, click the BrowserStack icon to open the BrowserStack App Live panel.
- Click Sign in.
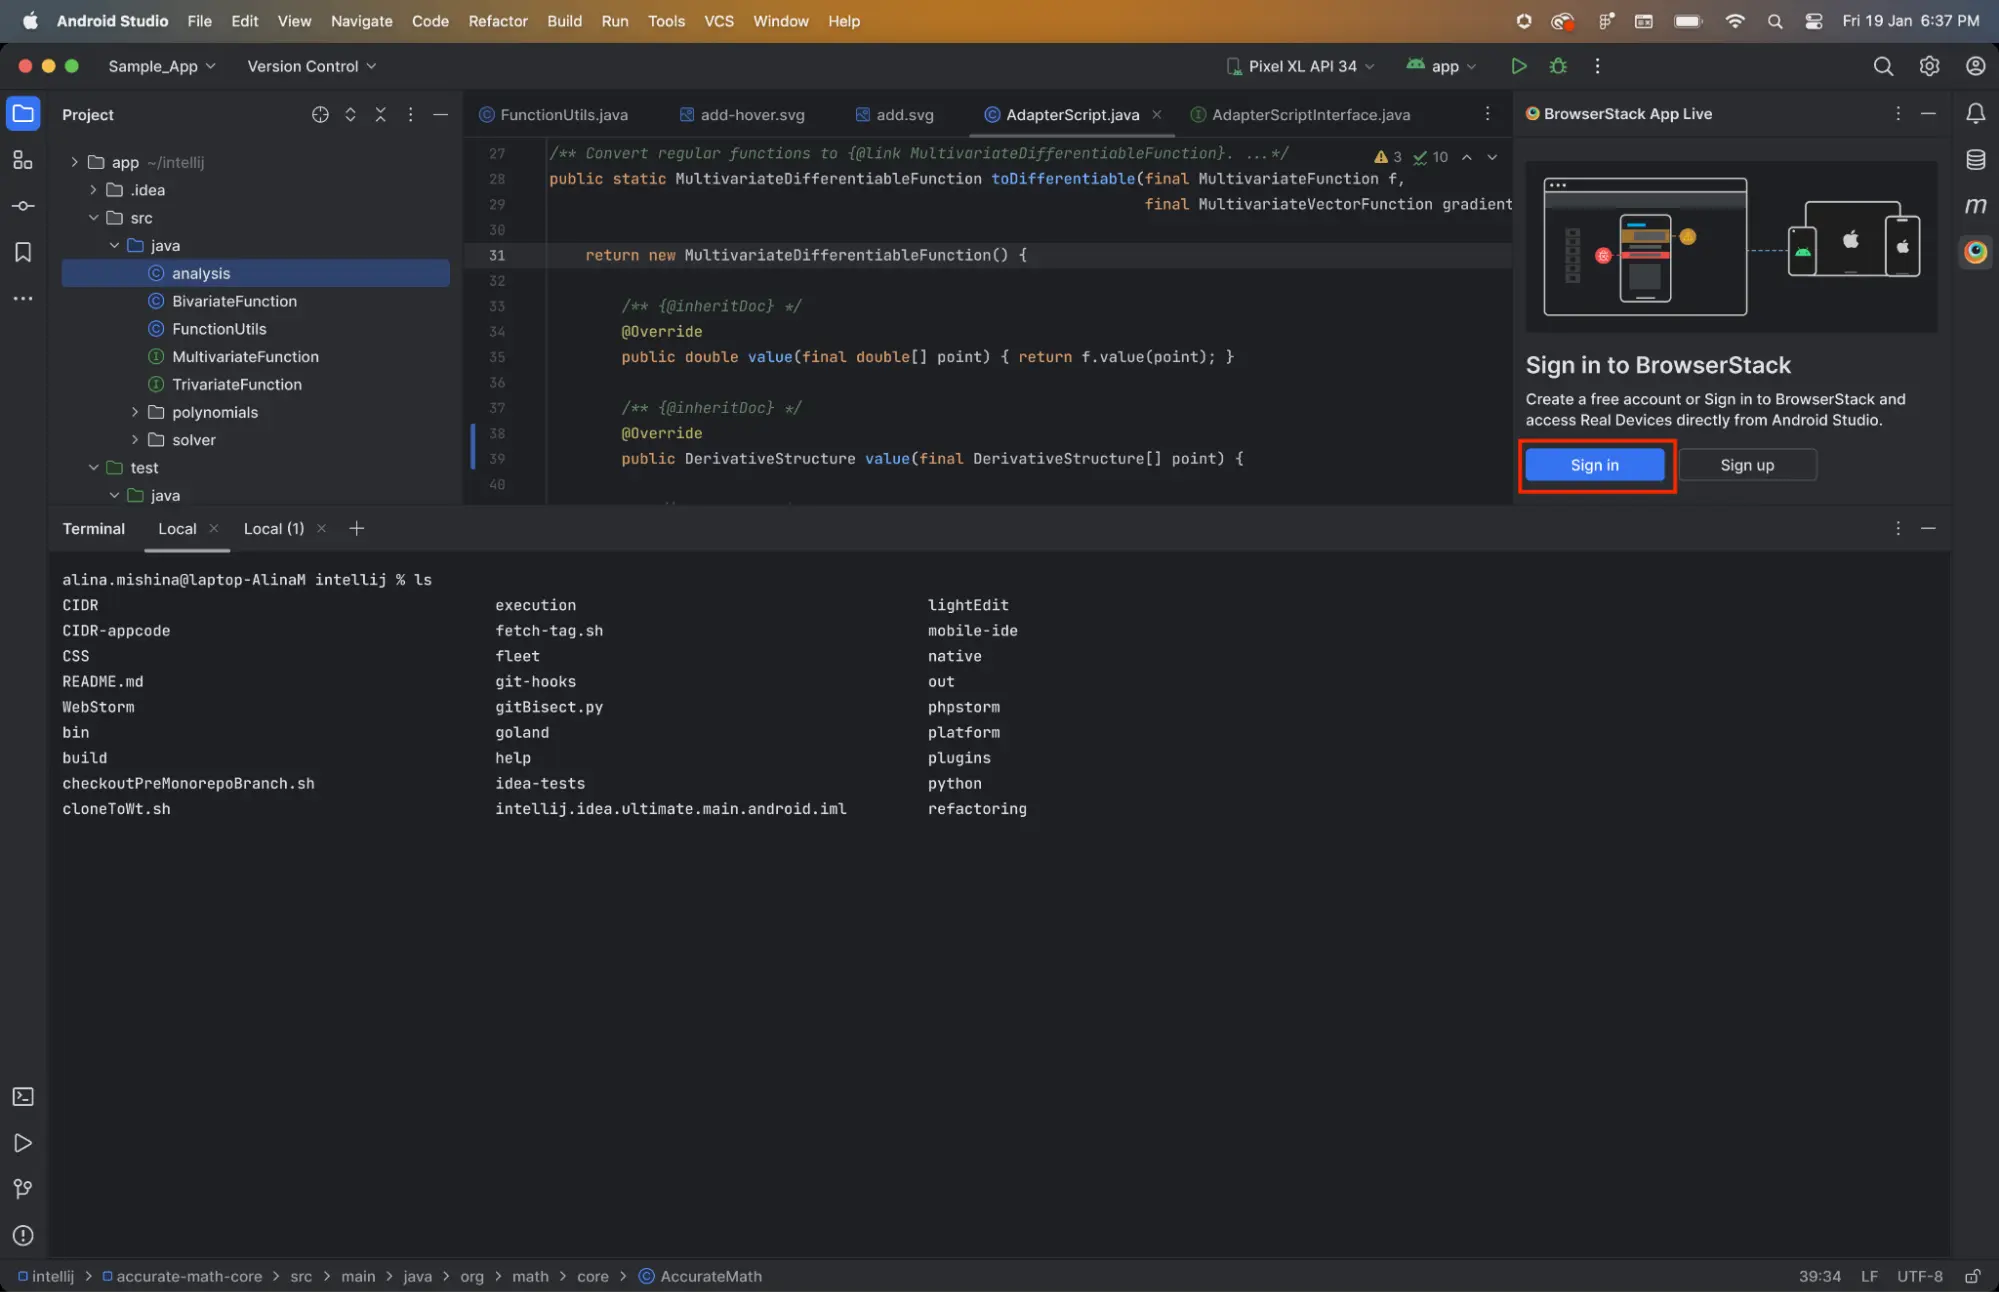
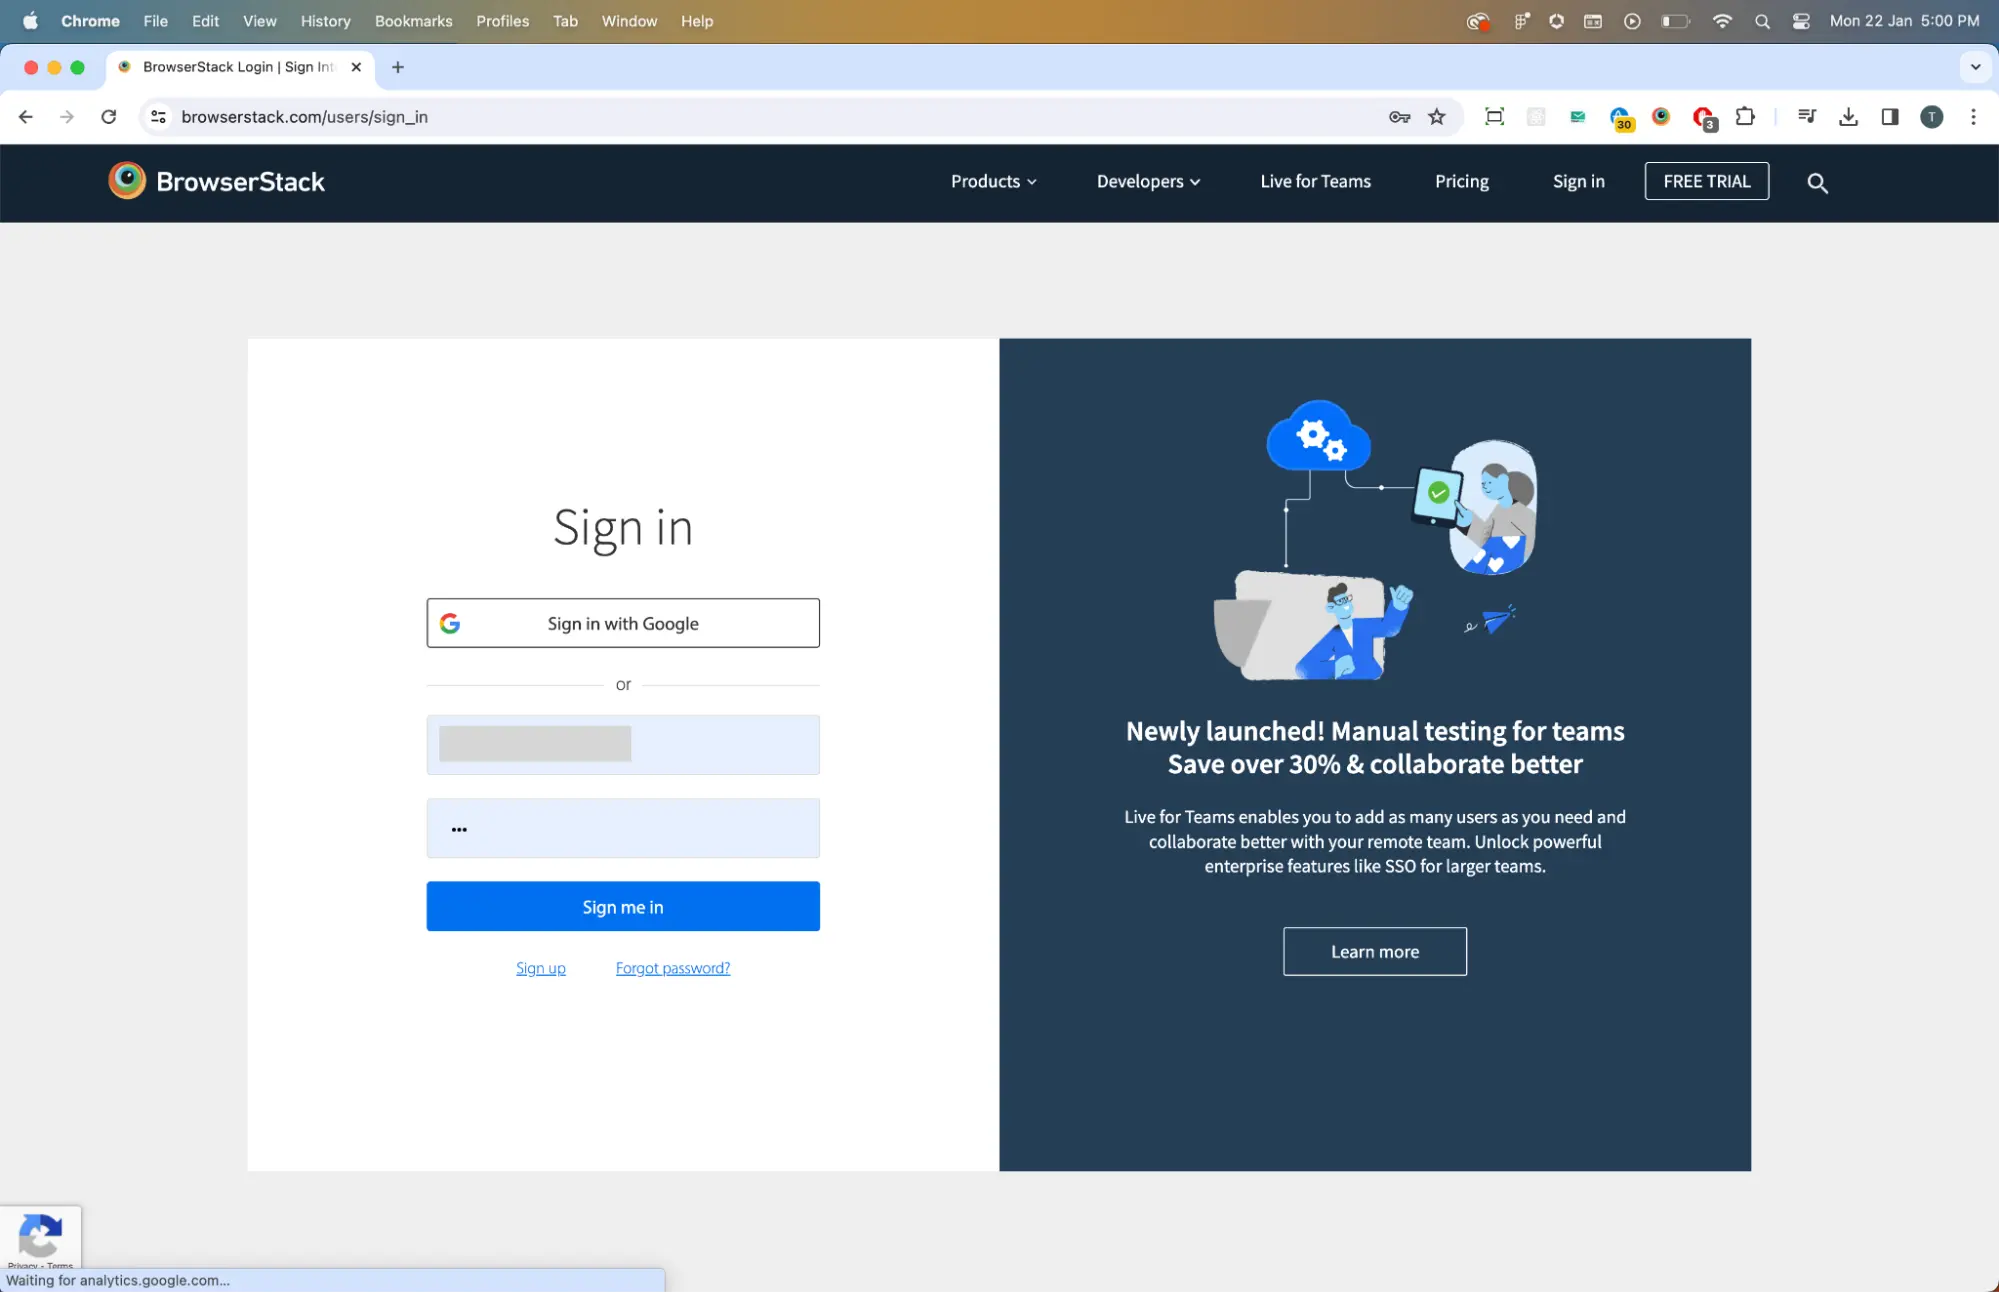
You are redirected to the BrowserStack sign-in page. - Sign in to your BrowserStack account.
After you are signed in, a confirmation message is shown.
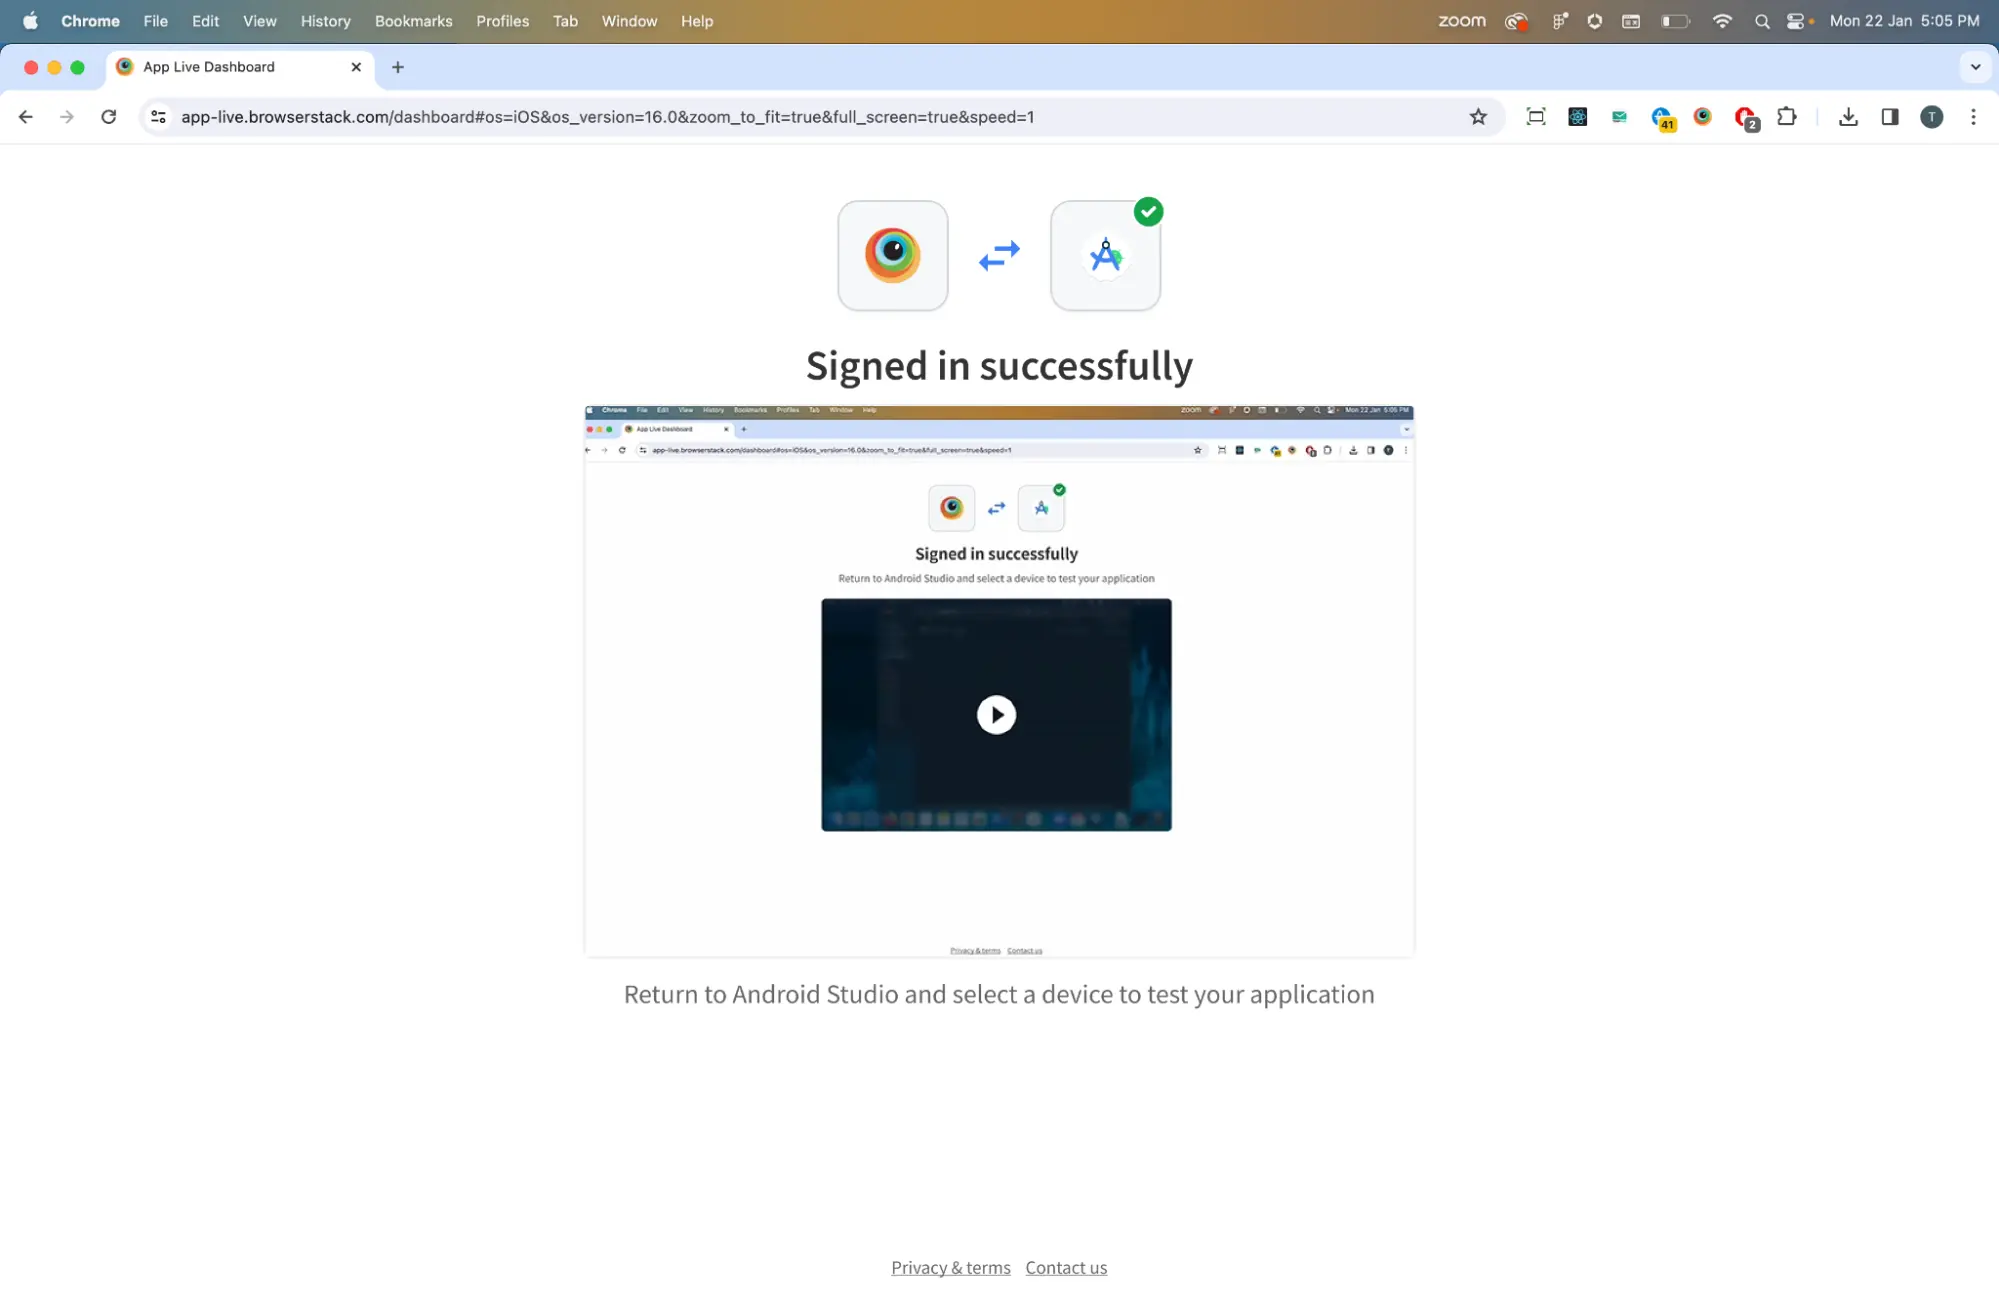
- Return to Android Studio.
Depending on your BrowserStack user plan, you see the following options in the BrowserStack App Live panel. Take the steps described below:
-
Request access: If you have a paid plan for App Live, you need to raise a request to get Android Studio enabled for your account. To raise a request, contact us.
After you raise a request, the Android Studio feature is enabled for your account and you are informed on the email ID you shared in the Contact Us form. - Go to App Live or Explore plans: If you are a Free Trial User, you can go to the App Live dashboard or explore App Live plans.
-
Request access: If you have a paid plan for App Live, you need to raise a request to get Android Studio enabled for your account. To raise a request, contact us.
Launch an App Live test session with your in-development app from Android Studio
To launch an App Live session, follow these steps:
- On the BrowserStack App Live panel of Android Studio, click the start button beside the device you want to test your app with.
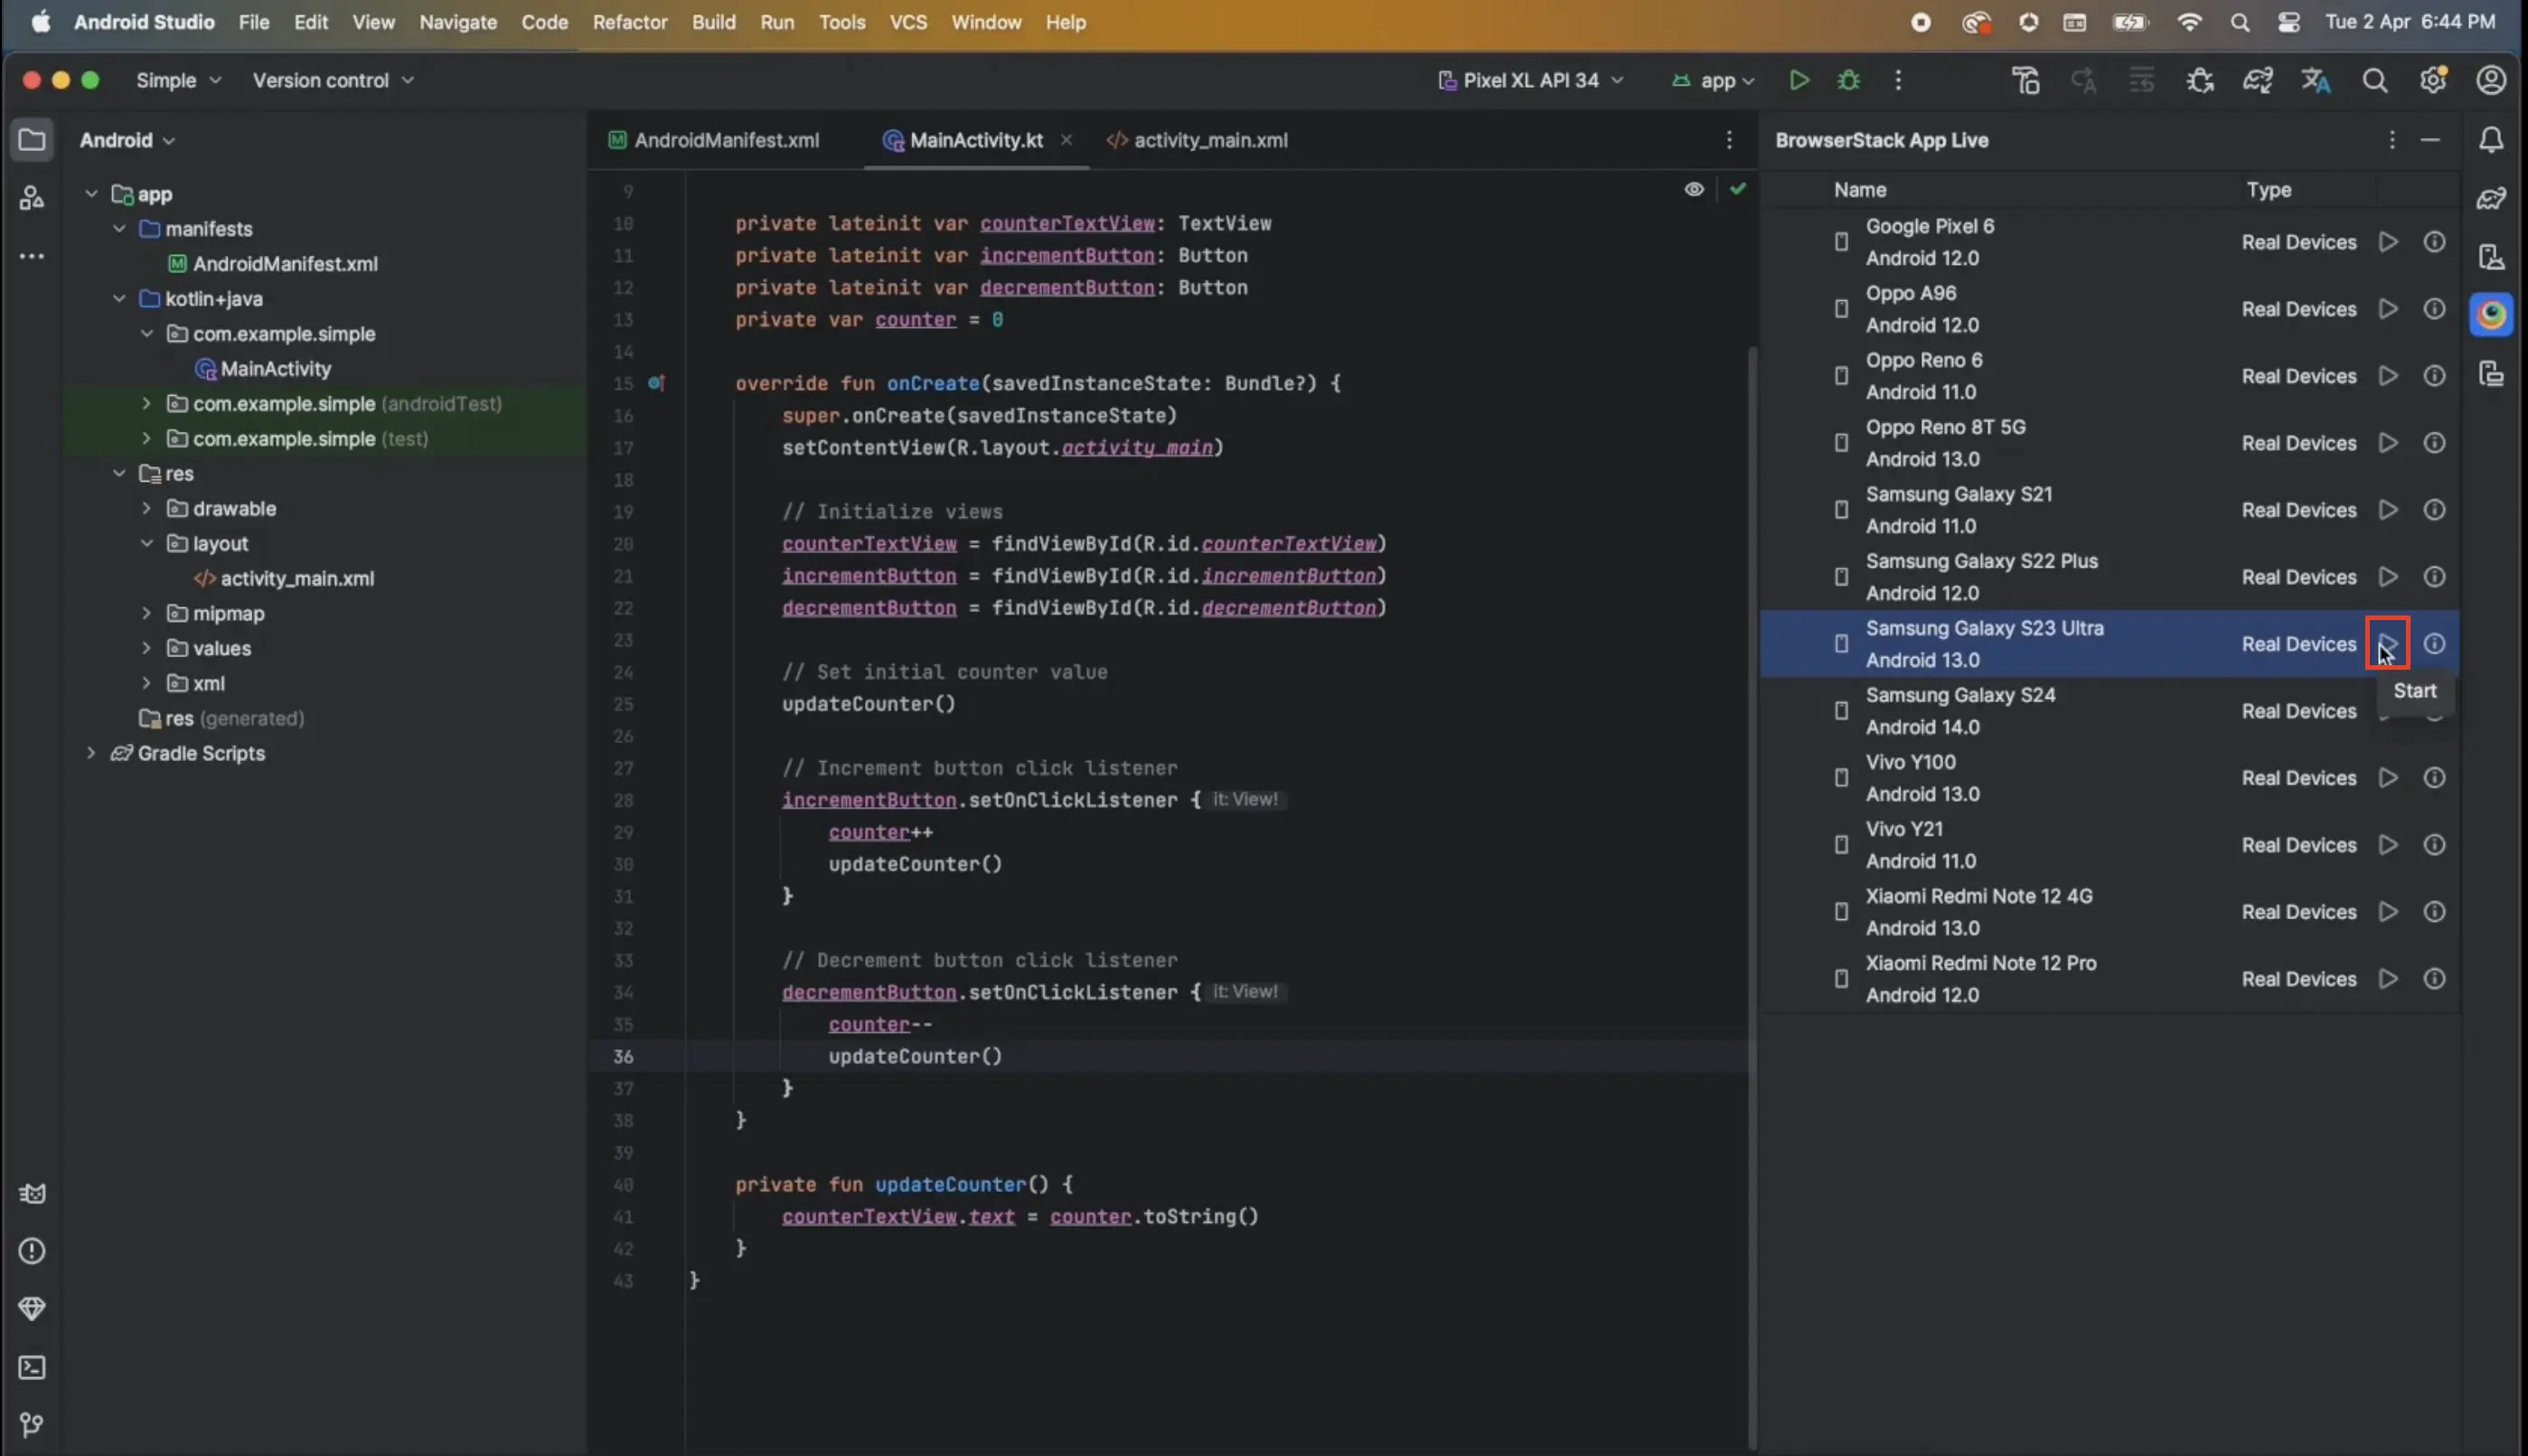
An App Live test session is launched with the device. However, your app is not installed on the device.
A message is displayed that requests you to return to Android Studio.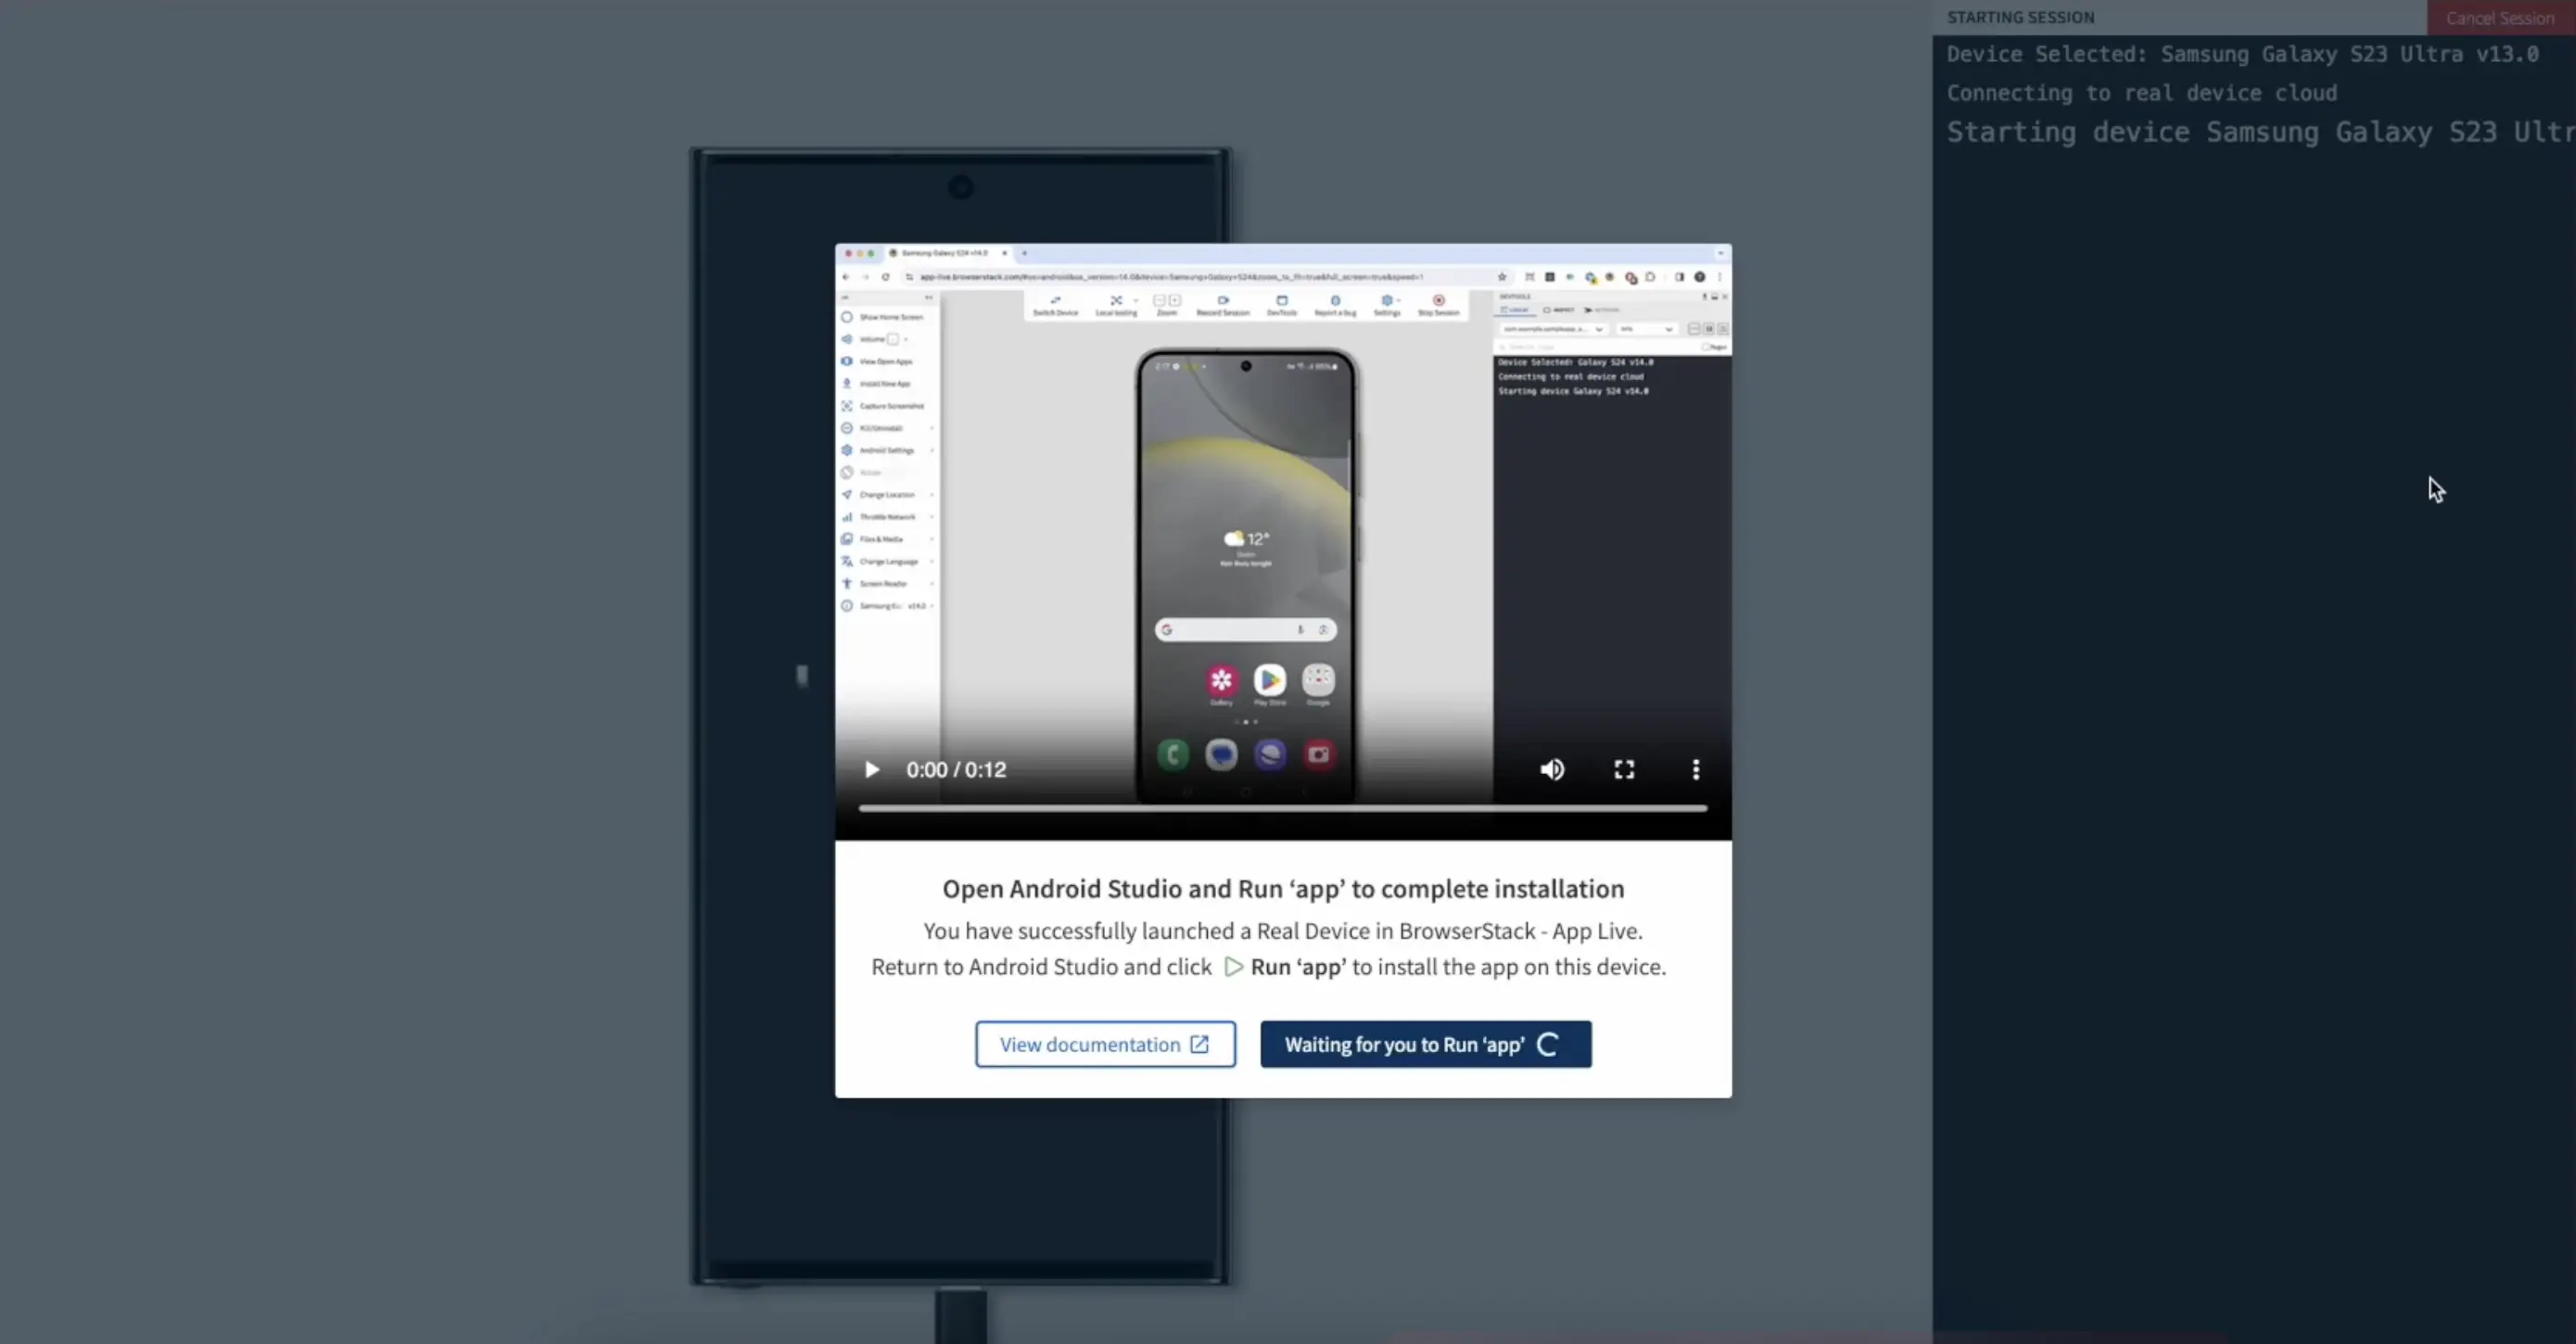
- Return to Android Studio, and click Run ‘app’ to install the app on the device running in the App Live test session.
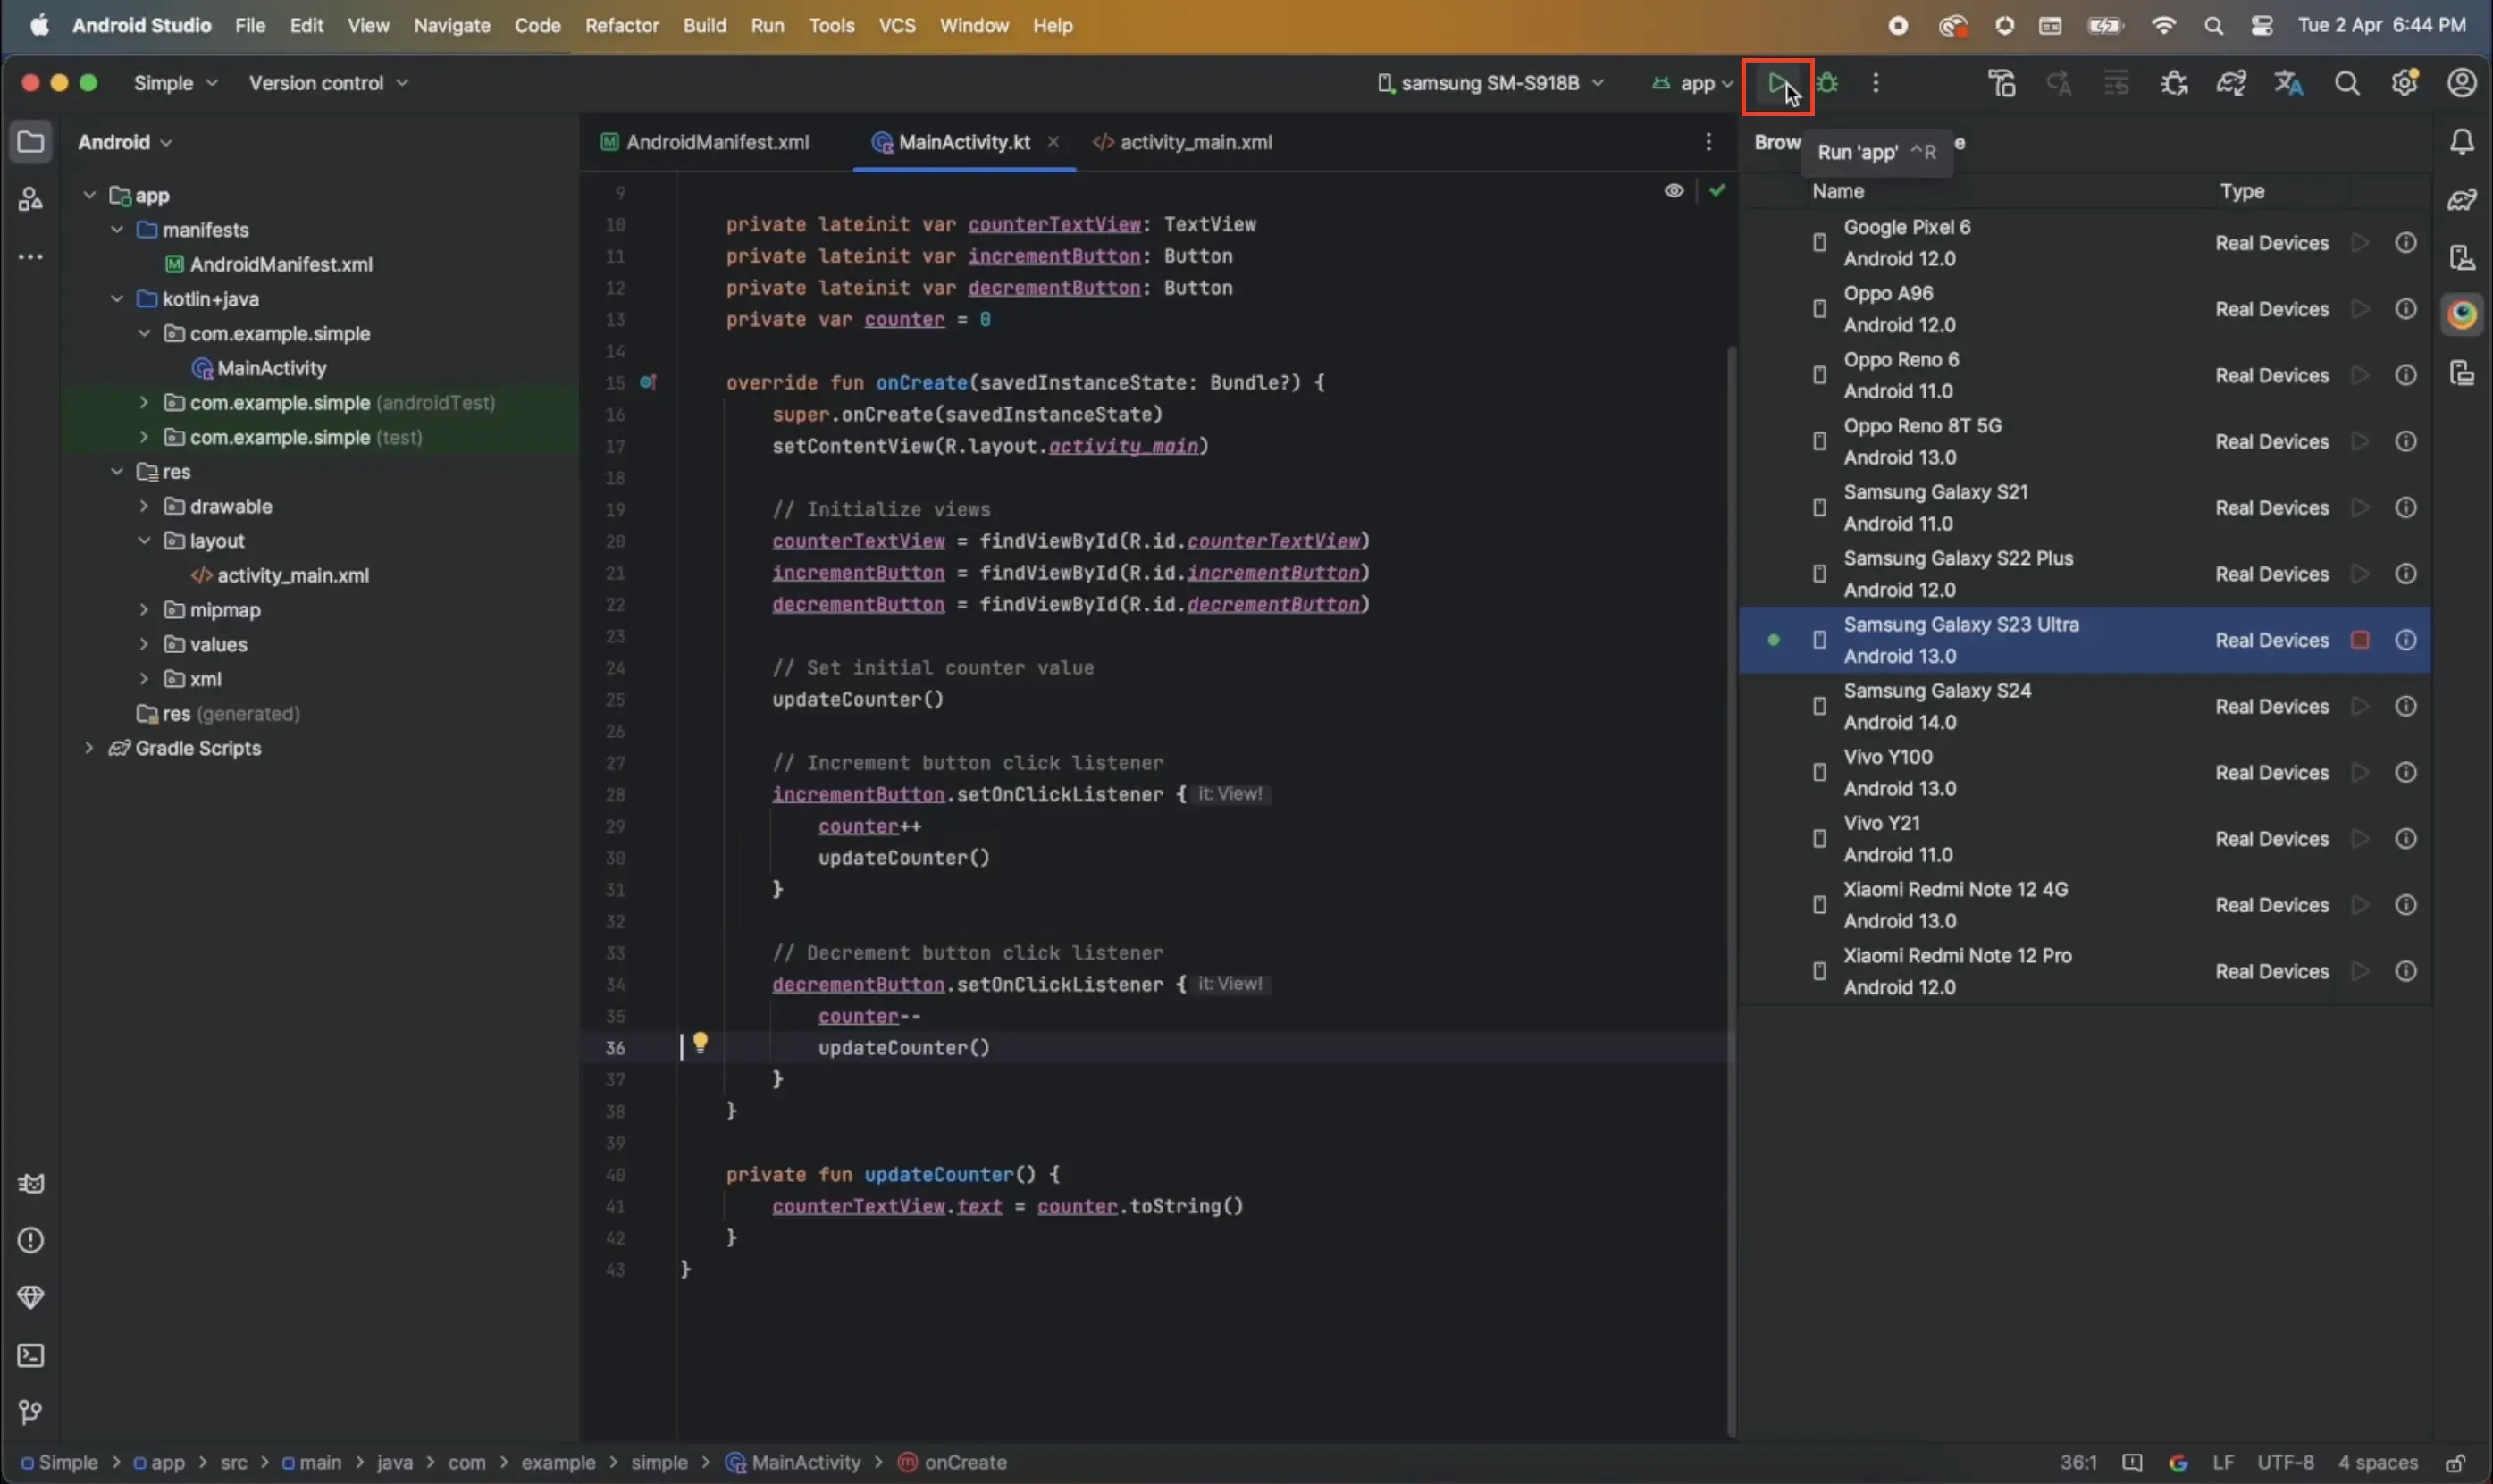
Your app is installed on the device running in the App Live session and a confirmation message is displayed.
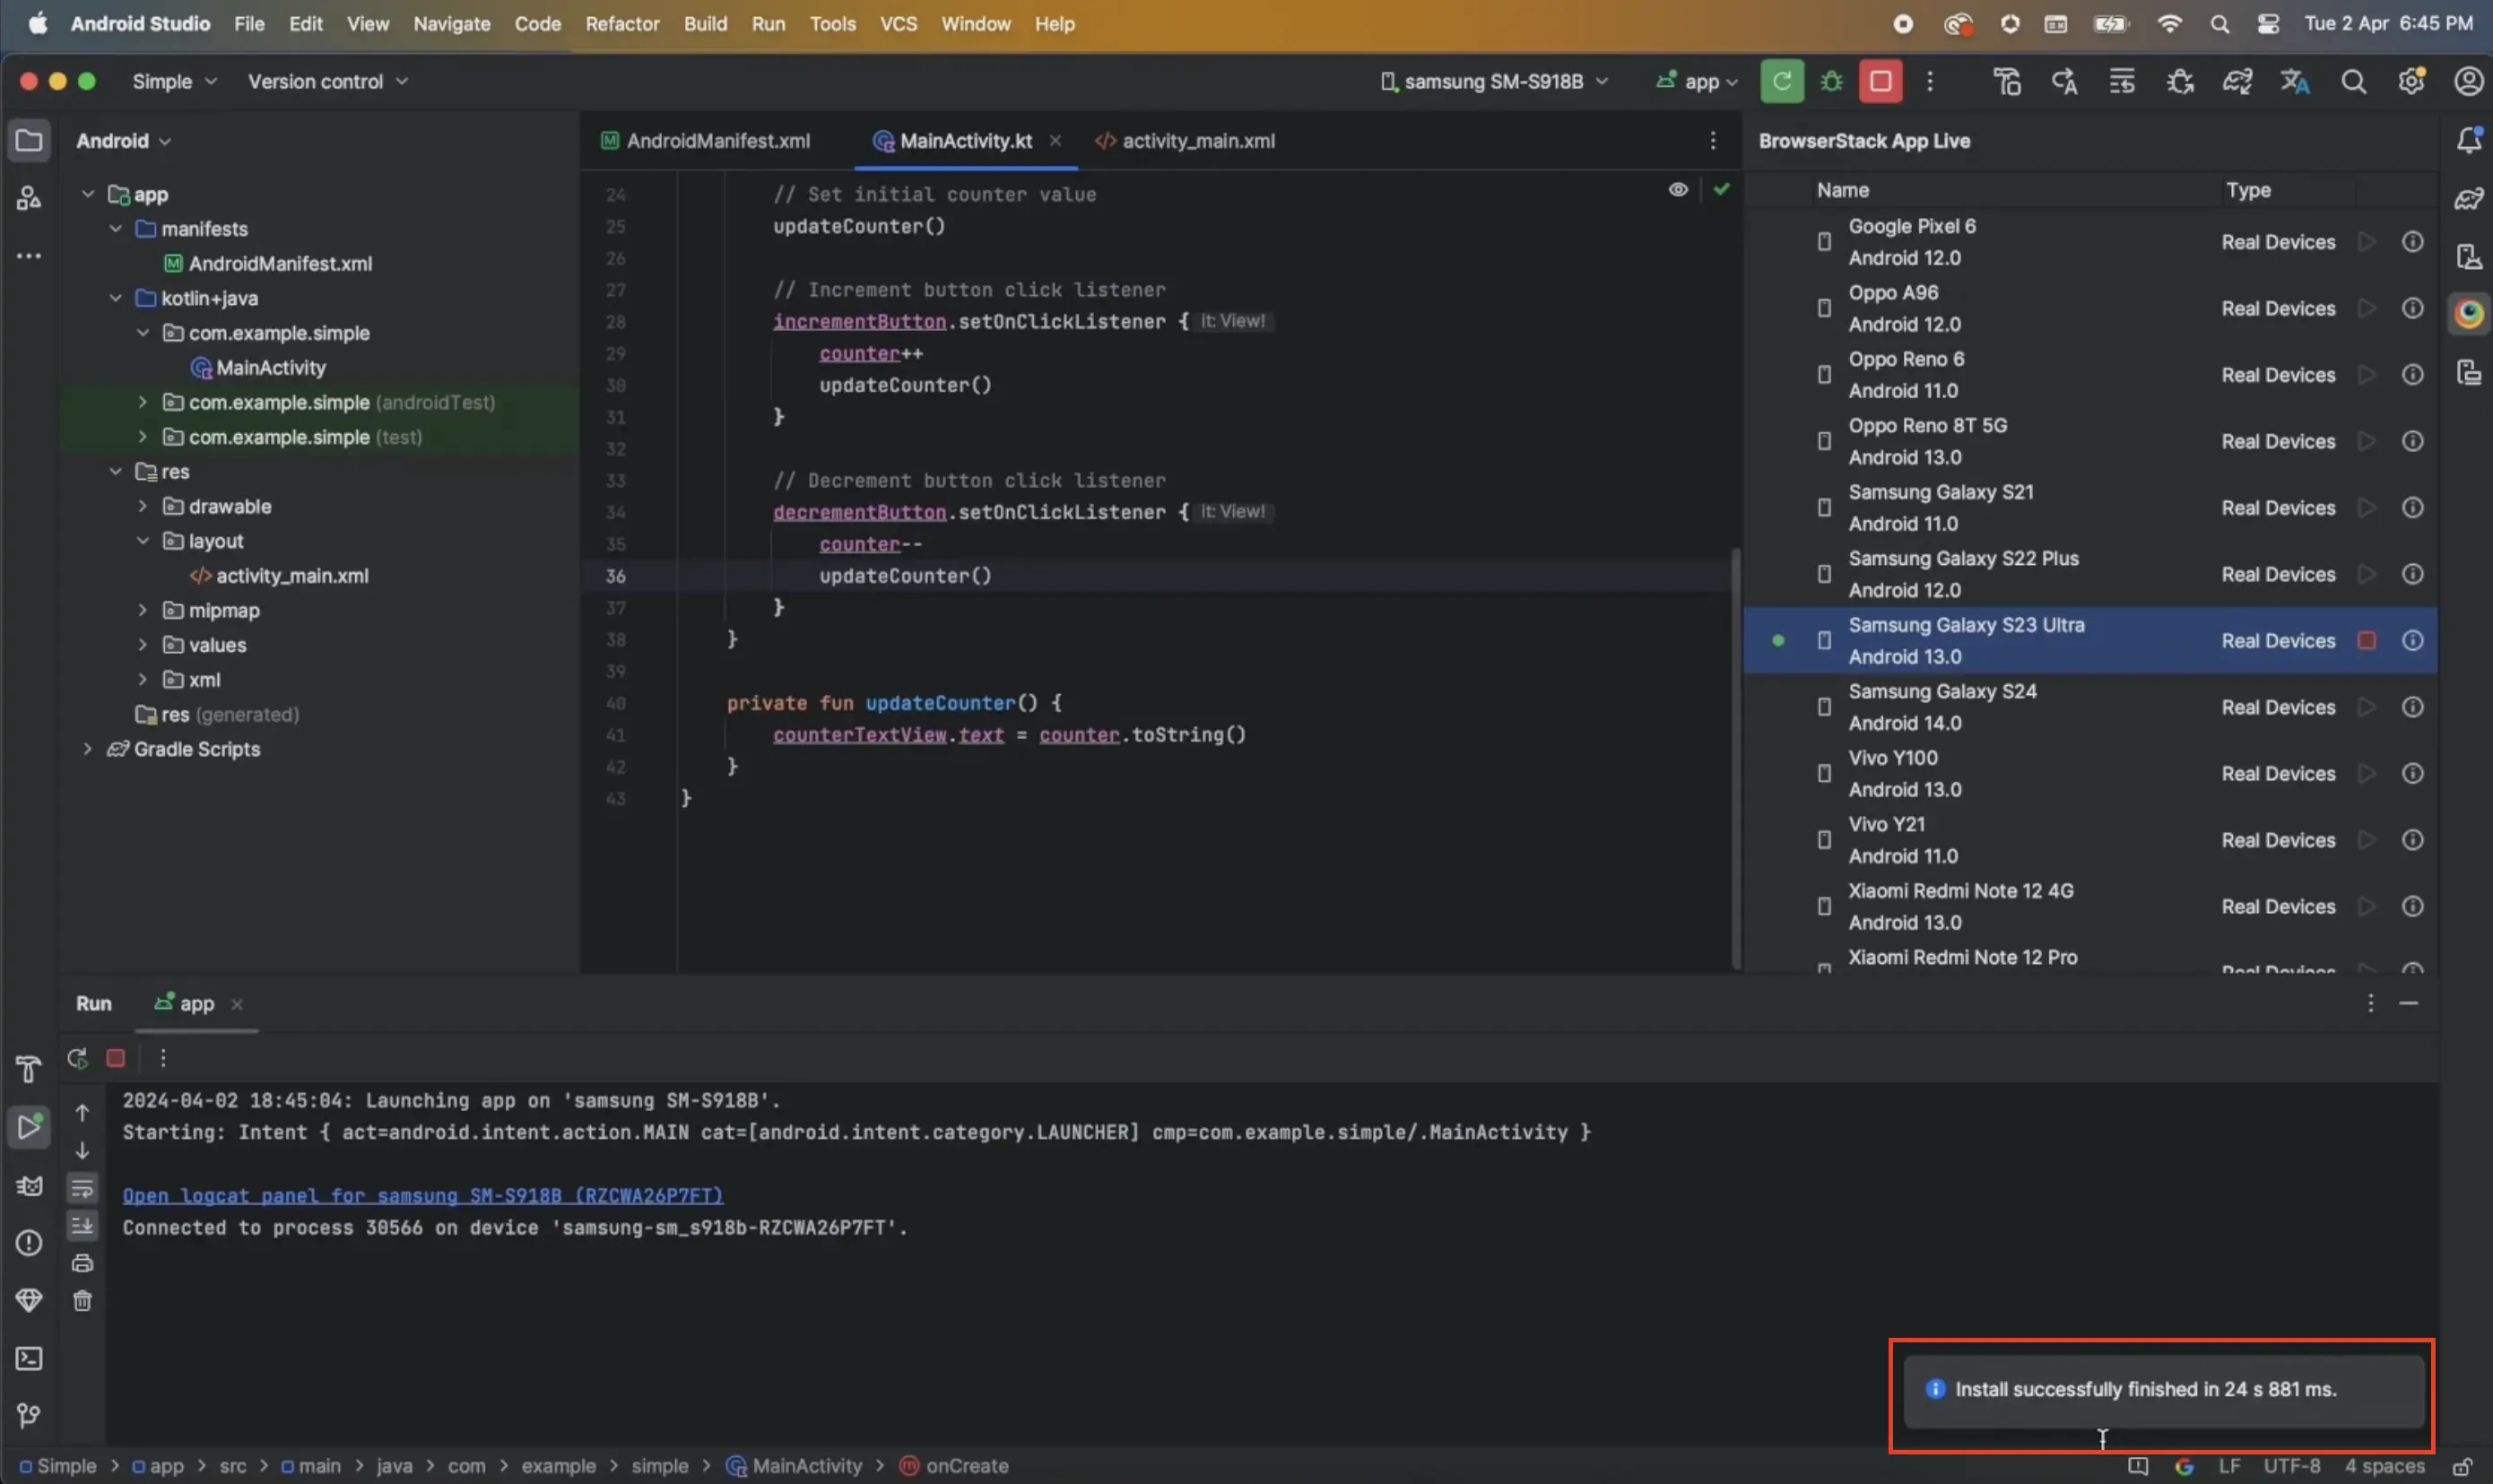
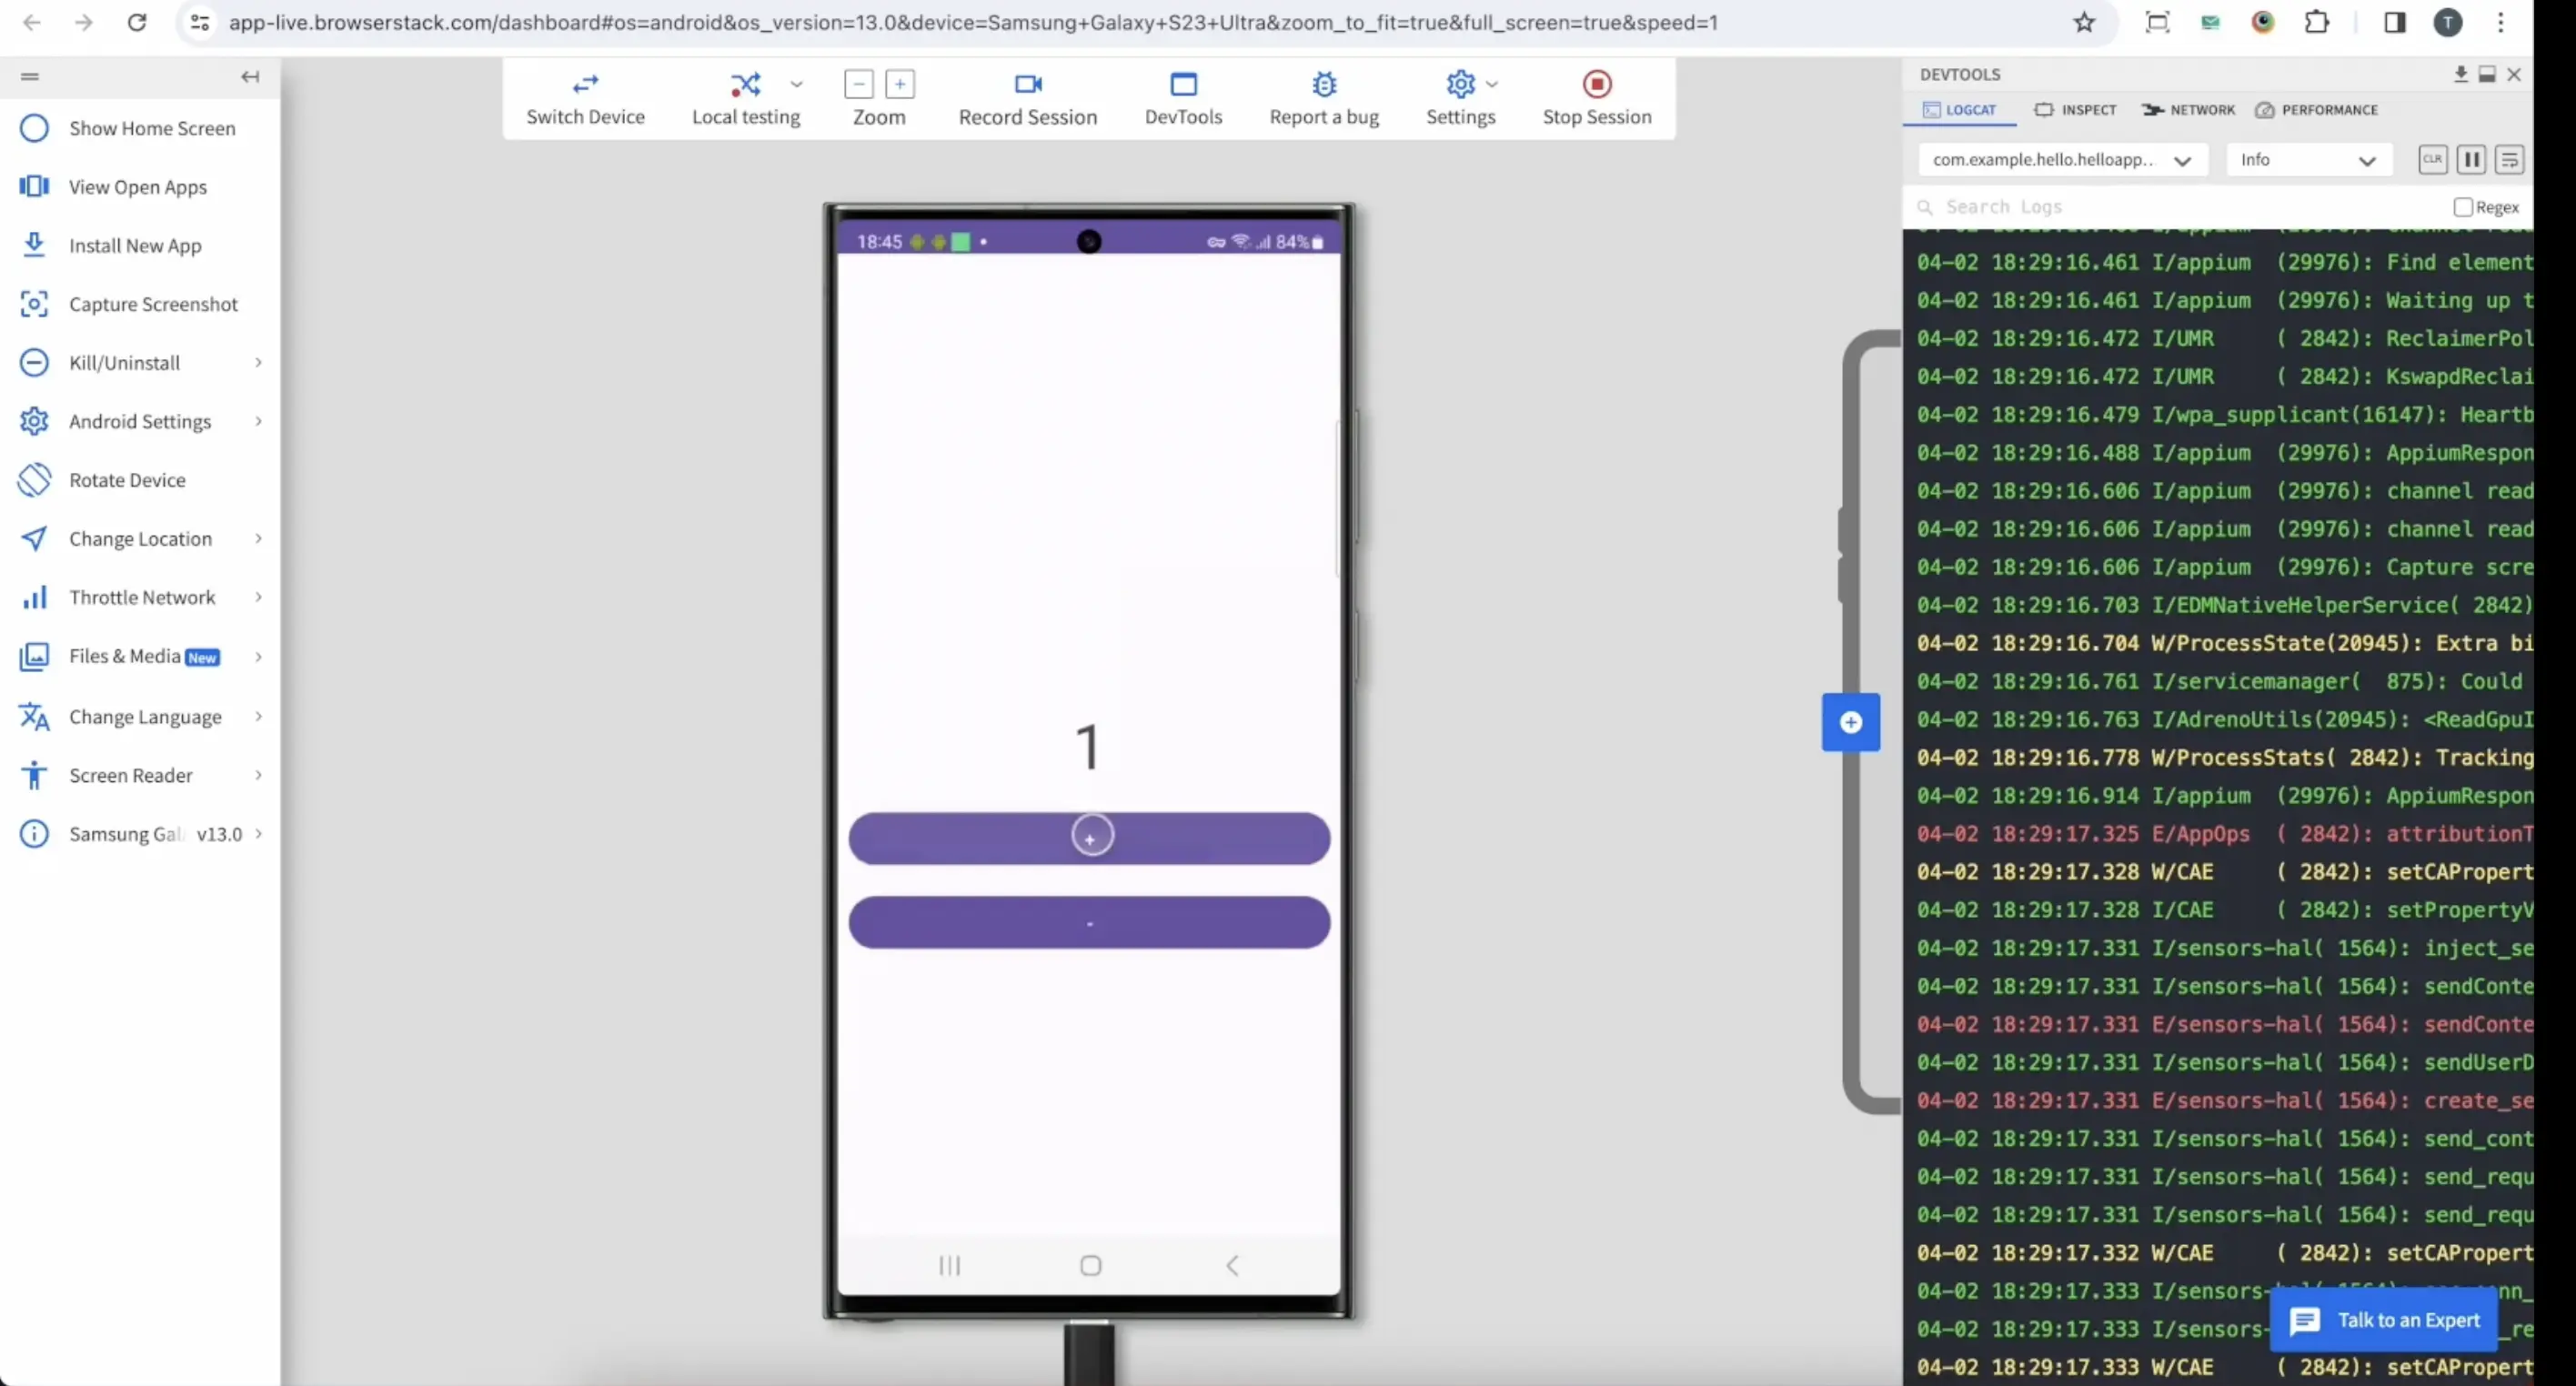
- Return to the App Live session running in the browser to continue testing your app on App Live.
The following video demonstrates how to launch an App Live test session from Android Studio and install your app on the device running in the App Live test session:
Test an app after making further updates
If you make further changes to your app, you just need to click Run ‘app’ again in Android Studio. The updated app is reinstalled on the device running in the App Live test session.
The following video demonstrates how you can make further changes to your app and install and test the updated on App Live:
Debug an app
You can debug your app on the device running in the App Live test session. You can set breakpoints on any line of code and then, in Android Studio, click Debug ‘app’. Your app with the breakpoints is installed on the device running in the App Live test session.
The following video demonstrates how you can debug your app on App Live:
We're sorry to hear that. Please share your feedback so we can do better
Contact our Support team for immediate help while we work on improving our docs.
We're continuously improving our docs. We'd love to know what you liked
We're sorry to hear that. Please share your feedback so we can do better
Contact our Support team for immediate help while we work on improving our docs.
We're continuously improving our docs. We'd love to know what you liked
Thank you for your valuable feedback!